Load Balanced Test Bed Part 5-Configuring the Cluster
Configuring the Cluster
Part 5 of 5: For overall context, please see the introduction to this series
Up to this point we have prepared the node VM and operating system to become part of a load-balanced cluster. Now we will create the cluster!
Create the Network Load Balancing Cluster
We’re finally ready to create the NLB cluster
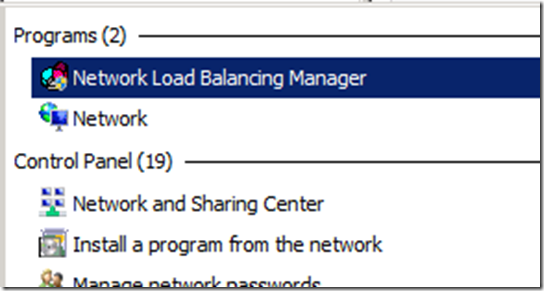
Click the Windows Start button in the VM node and type Network. You should see the Network Load Balancing Manager. Click on it to start it.
In the NLB Manager Cluster menu, choose New
In the Host text box, type the name of the cluster node you’re currently working on (ClusterNodeA if still adding the first node). Click Connect. The network interface names will show up in the list.
Click the Cluster interface and click Next.
Just accept the defaults in the New Cluster: Host Parameters dialog and click Next.
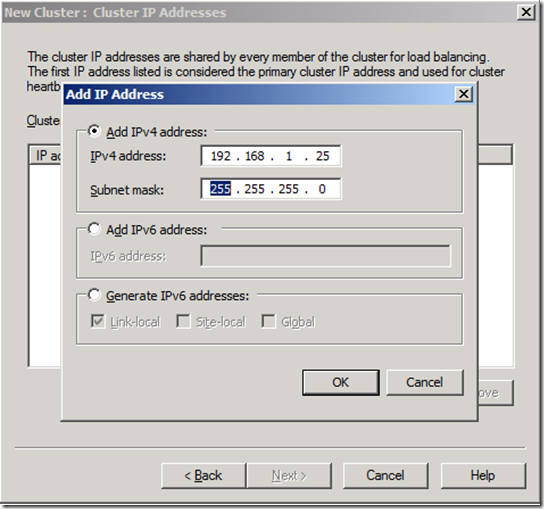
In the New Cluster: Cluster IP Addresses dialog, click Add
Type the cluster IP address that you created the Host A record for earlier into the IPv4 address box. In this example, the static cluster IP I created in DNS was 192.168.1.25 (see below).
Fill in the subnet mask (or press tab to get the default).
Click OK
Click Next
Type the full DNS name of your cluster in the Full Internet Name text box, which is the same as the DNS name associated with the Host A DNS record you created (mine was Cluster2).
Leave the operation mode Unicast (because we’ve set up 2 network adapters).
Click Next
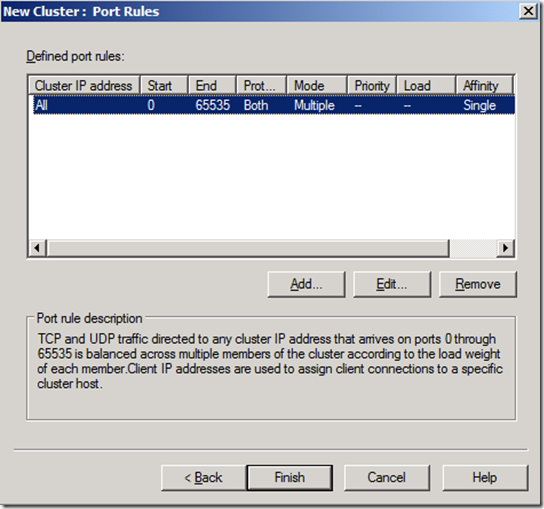
Click Finish on Port Rules. This means that all traffic to the cluster address (192.168.1.25 in my case) will be load balanced.
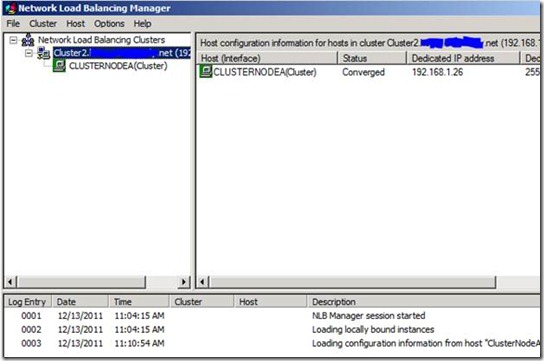
The cluster will be created and you should see ClusterNodeA converge (turn green) in the left tree of the Network Load Balancing Manager under the cluster name. Your cluster is now operational with one node.
Adding successive nodes
Create a new ClusterNodeB, by repeating the node creation and configuration procedures (but name the new disk and machine ClusterNodeB). I assigned ClusterNodeB an IP address of 192.168.1.27 when I configured its cluster adapter static IP.
Log onto ClusterNodeB as the cluster administrator domain user
Start the Network Load Balancing Manager
From the Cluster menu, choose Connect to Existing
Type ClusterNodeA in the Host box and click Connect.
Choose the cluster name from the Clusters listbox, and click Finish
Now you have connected to your existing single node cluster and are ready to add a node to it
Right-click on your cluster name in the left navigation tree, and choose Add Host To Cluster from the context menu. The cluster name will be under Network Load Balancing Clusters parent node.
Type ClusterNodeB in the Host text box and click Connect
Click on the Cluster interface name in the Interfaces Available for configuring the cluster listbox. It should have the static IP address that we set earlier. Click Next.
Accept the defaults and click Next
Accept the defaults and click Finish
ClusterNodeB should now come online and converge in the cluster
Congratulations, you have an operational 2 node network load balanced cluster!
To start testing, install your web application on each node and traffic directed to the cluster DNS name (IP) will be balanced between nodes. You may get some surprises from your application when a user is balanced to an alternate node :-).


