How to Enable, View and Customize Reports using the new O365 Adoption Pack
How to Enable, View and Customize Reports using the new O365 Adoption Pack
Building on the Usage Reports in the admin portal, we now have greater visibility and analytics utilizing the rich reporting features of Power BI. The new Adoption Content Pack takes the deep usage and user level detail for Office 365 and presents sharable and editable views.
You can now slice and dice the data and create reports to realize consumption and ROI of the Office 365 service.
After you assign a license to a user, this report lets you see monthly, how many users actively use the
O365 products (SharePoint, OneDrive, Exchange, Skype) you have assigned them and how many return the
next month to use those products. Reviewing the Adoption pack reports and trends can help you identify where users
need help getting started.
- Log into your SharePoint admin portal (https://portal.office.com/)
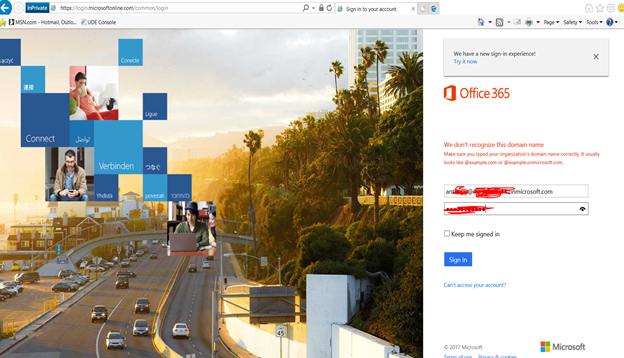
2. Click Admin tile
3. Go All the way down on the page, Click on Active Users
4 . Click on the O365 Adoption Pack Preview Tile
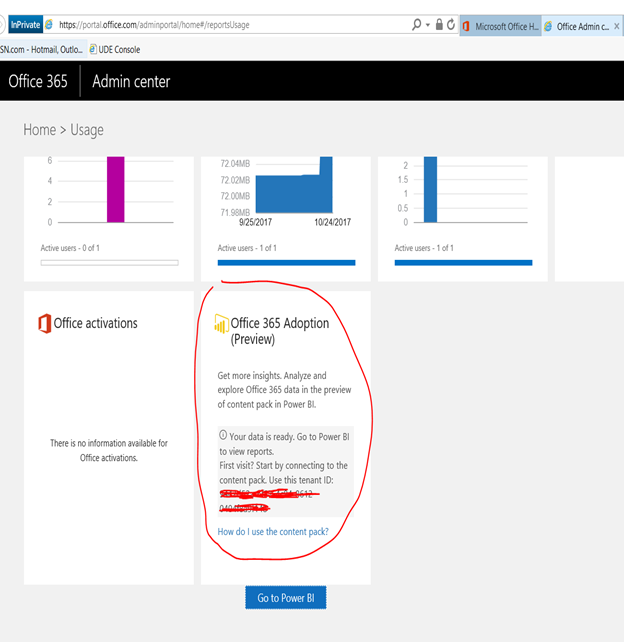
5. If This is your first time, Turn On reporting and click Save.

5b. Wait 24 hours. O365 needs to gather your data for the first time This takes time. Be patient.
5c. After 24 hours, log back into the O365 admin portal and Repeat steps 1-2 above, and Copy the GUID
on the Office365 Adoption Preview tile. You will need it later (Highlight and CTRL-C to copy).
Right clicking with the mouse and copy will not work here. 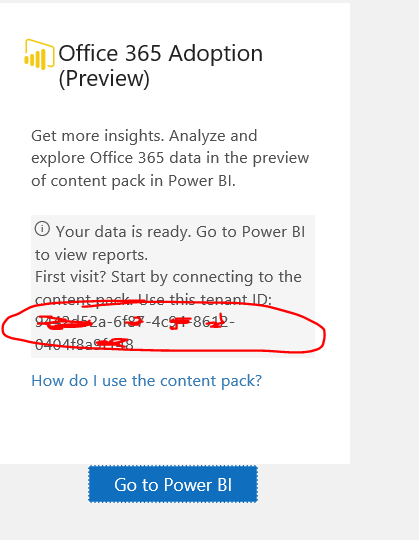
6. Click on "Go to Power BI"
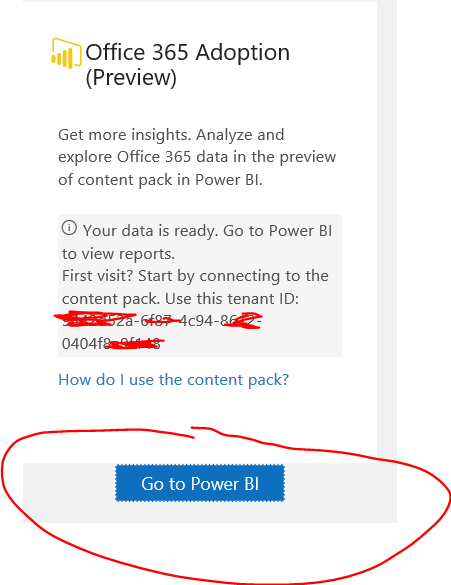
7. Sign in to Power BI.

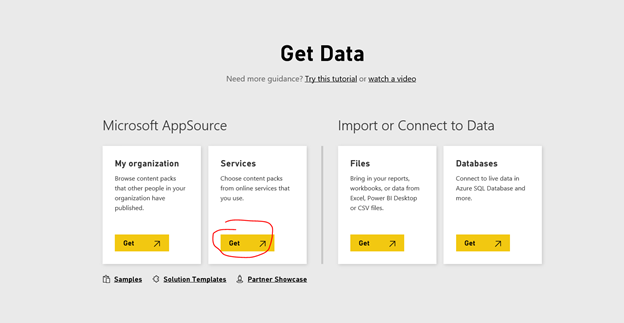
8. Go to Services tile, and Click Get
9. Type in Adoption to Search for Adoption pack tile. Click Get Now on the tile. 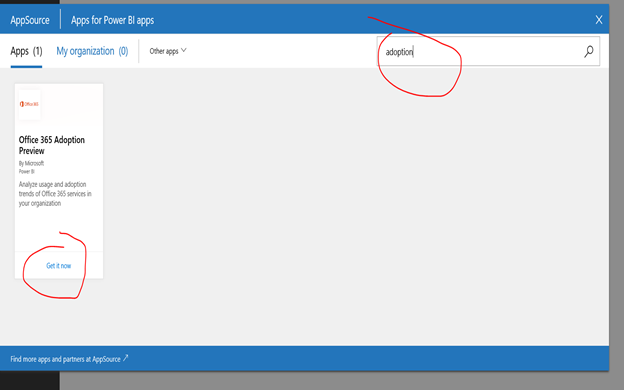
10. Enter the GUID you copied earlier to access the Office 365 Adoption pack reports

11. Initially, use will see many reports such as Active users, Adoption Overview and last month user activity,
Yammer usage, SharePoint usage, etc... Take a moment to familiarize yourself with the reports.
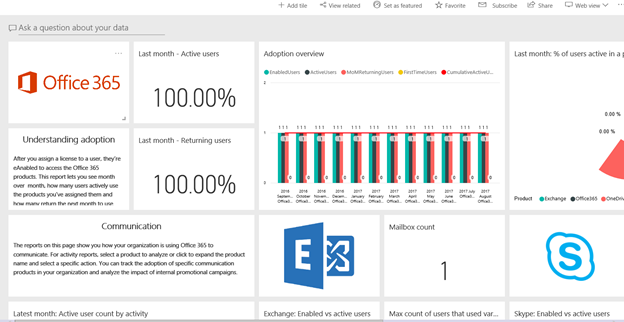
12. You can also Choose product to Filter on a particular product such as OneDrive or Exchange Online.
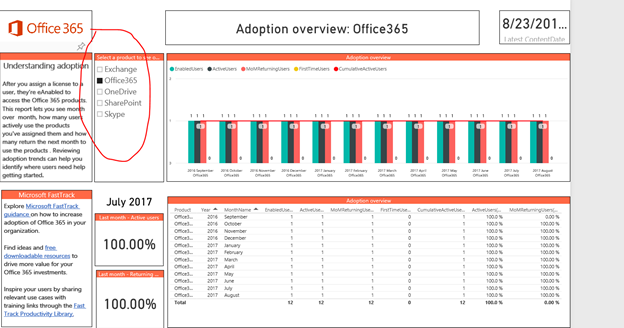
13 . Click on Adoption Overview Tile. 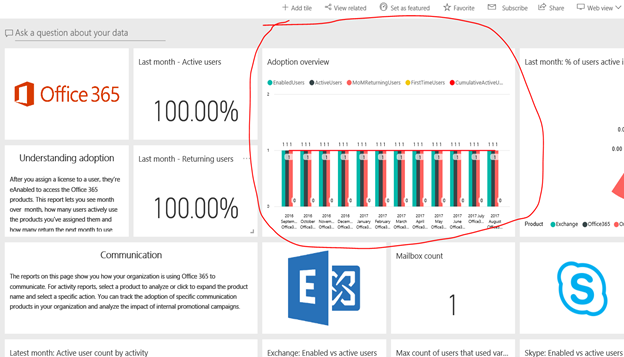
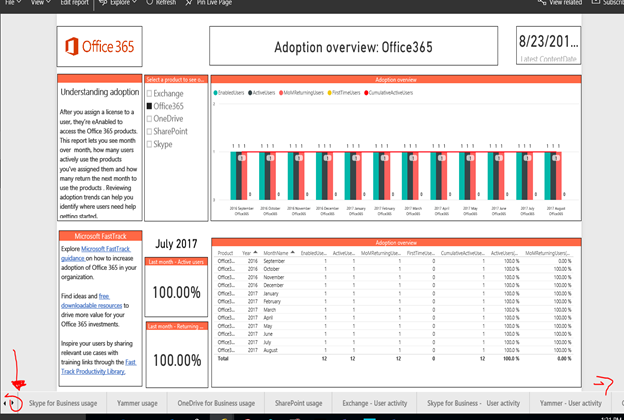
14. On the lower left-hand corner of the screen, click on the Right arrow below to scroll to the end of the report.
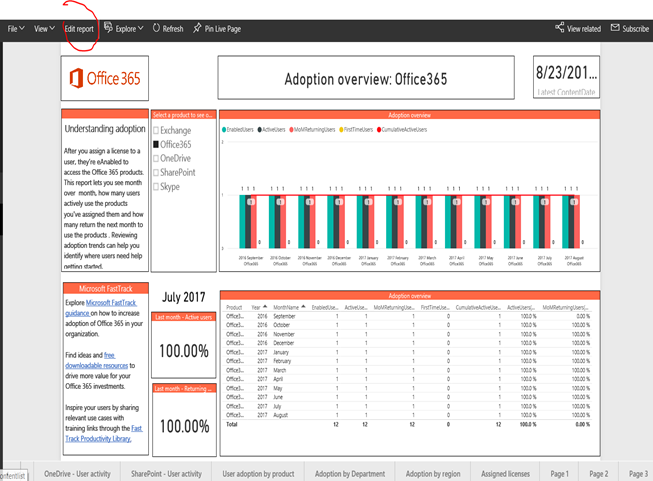
15. At the top left-hand corner, Choose to Edit Report
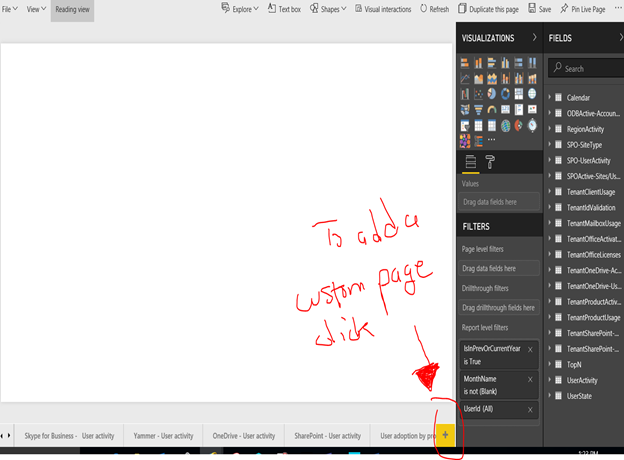
16. To Add your own custom page, click the Plus + sign below
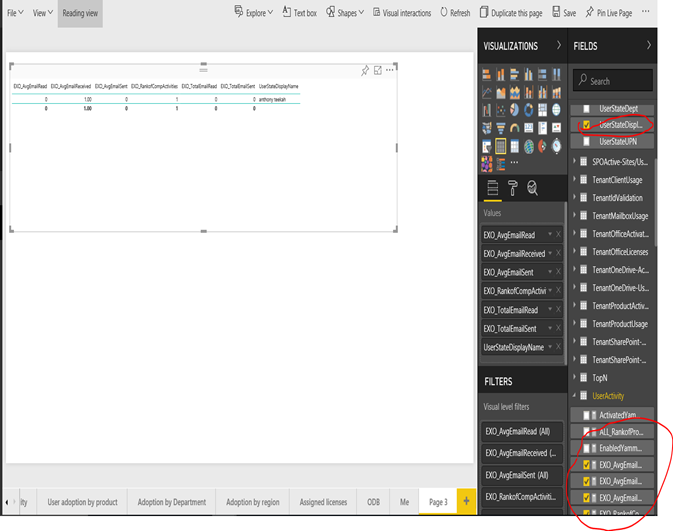
17. This is Example of a custom report showing email activity for a user.
Notice that in Fields on the left, I selected User StateDisplayname to see the actual username in the Field.
Otherwise you will see a userid ID GUID. You can also filter by Userstatedisplayame
or UserstateUPN if you have many users.
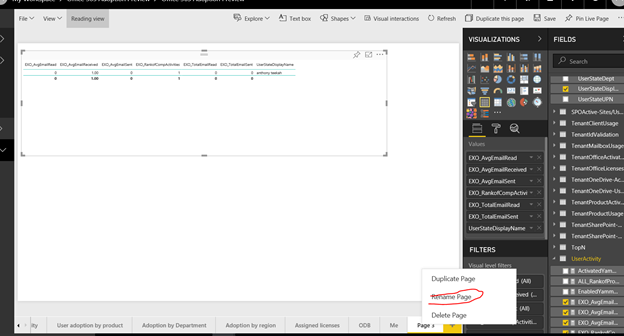
18. Rename page to a Friendlier name of your choice.
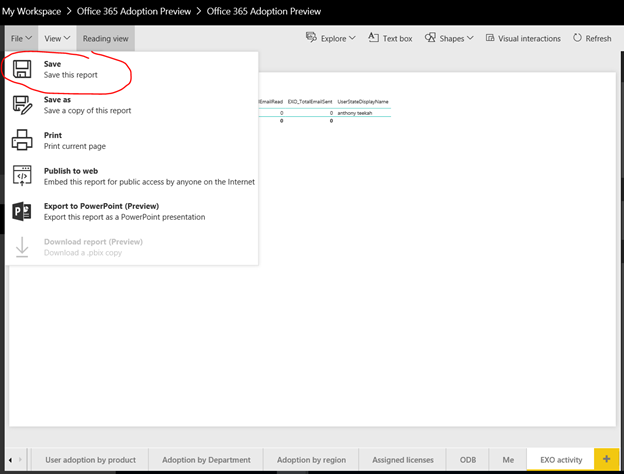
19. Save Report
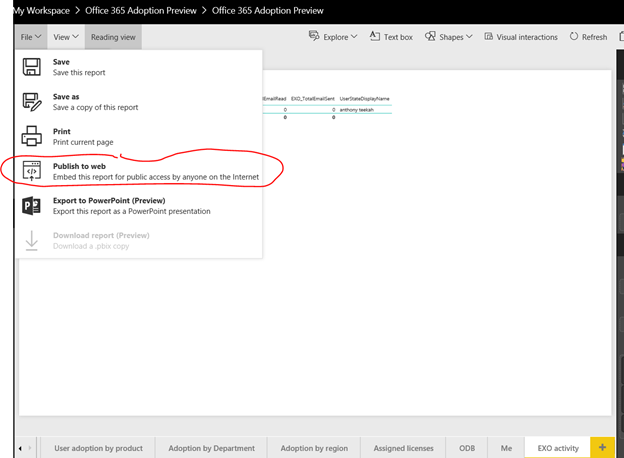
20. You can Publish your report to a web site or SharePoint site page.
For ex, (Copy url to a page viewer web part).
If you choose Publish to web, place url code on a SharePoint page or page viewer web part.
This url code will not work in a PowerBI web part.
** Very important -If you choose Publish to web- - Please note that anyone accessing that url can see the report.
Place url code on a SharePoint page or page viewer web part on a SharePoint page, so that users who are
authorized and authenticated, are the actual ones viewing the reports.
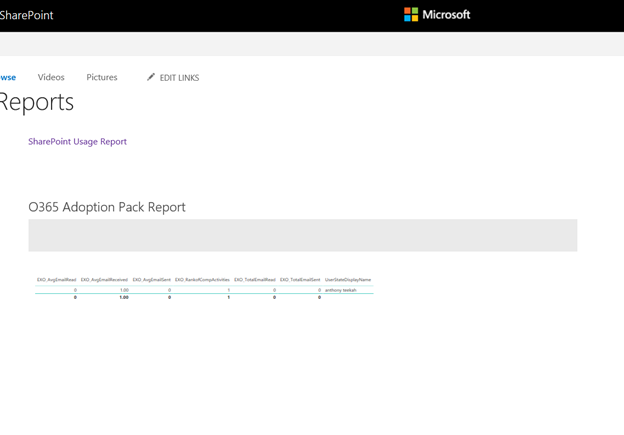
20b. This is an example how I Added a url to Page viewer web part on a Sharepoint page to view the customized report.
20c. If you have a Power BI license, you will see an additional option to Publish to a SharePoint site.
You can then publish the url code to SharePoint page, and Imbed the the url code into a PowerBI Web part.
You then have the ability to view all the reports, and filter reports in the PowerBI web part.
You must have a PowerBI licence in order to Publish to SharePoint PowerBI webpart.
Very cool indeed!
I hope that the above screen shots steps helps enabling, viewing and customizing the new
O365 Adoption Packs reports easier and simpler. Enjoy!