MIM-CM 2016 + Virtual Smart Card Modern App Part I
Hello All and Happy New Year! I hope everyone is recharged from a most excellent holiday season! I'm back with another security focused topic, virtual smart cards and also taking a look at MIM CM 2016 to life cycle the credential. The threat landscape today is more fluid and dynamic then ever before and organizations are looking at new security technologies to better protect themselves and their assets. Two factor authentication has been around for some time in the form of smart cards, rsa tokens, etc. It's widely considered to be a stronger and more secure form of authentication than traditional user name and password credentials. In this day and age we have the advent of a virtual smart card (vsc), a smart card that is always inserted, has no visible/tangible physical footprint, and uses a machines trusted platform module (TPM) for a secure root of trust and isolated cryptography. More and more of todays' newest security technologies (credential guard, code integrity, device guard, etc.) are using the TPM due to its hardware assurance level benefits. Today I want to share with you my experience on getting Microsoft Identity Manger 2016 installed in a lab for testing and dev purposes. One of the new features of MIM CM 2016 is the addition of a nice Modern style app that lets you enroll, renew, and manage virtual smart cards. As it turns out MIM CM is a little lengthy in getting it off the ground, at least that's been my experience; but once up and running there are some nifty features for virtual smart cards! Good experience with PKI and Windows Certificate Authorities is very helpful when setting up FIM CM. This setup assumes you have all of the servers required for MIM CM; a Domain Controller, MIM-CM server, SQL server, Windows 10586 enterprise client on physical hardware with a TPM 1.2 or later, and a CA server all running 2012 R2 Update, fully patched. Lets get to it!
Schema ExtensionMIM CM requires some additional attributes and extended rights to be added to the Schema. Hopefully you know the drill on the Schema and all of the pre-requisites for modifying it, its a one-way ticket so make sure you have at least one good system state backup from at least one DC in every domain. Drop your admin account in Schema Admins and logoff/login to a DC to reflect the new membership. Review the Schema folder on the MIM 2016 media, if you're doing a single forest, single domain installation like I am you'll want to use the "ResourceForest.ldif" file and use ldifde to extend it:
This is fairly straightforward and hopefully you get a success message. Don't forget to take yourself out of Schema Admins when you're done ; )
MIM-CM Pre-requisites
Lets just say there are a number of these. You'll want to use the following TechNet article for FIM CM which largely still applies. We've already gone through the schema extension, but there are also SQL and certificate template pre-reqs that need to be completed that are documented there.
For this scenario I didn't perform the optional steps in the article. One of the last things are the IIS pre-requisites for the MIM-CM web server, I used server manager to add all of the role services I wanted to install, then exported to an xml file via the UI so that I could add them via PowerShell and use on an additional CM webserver later:
MIM-CM Install
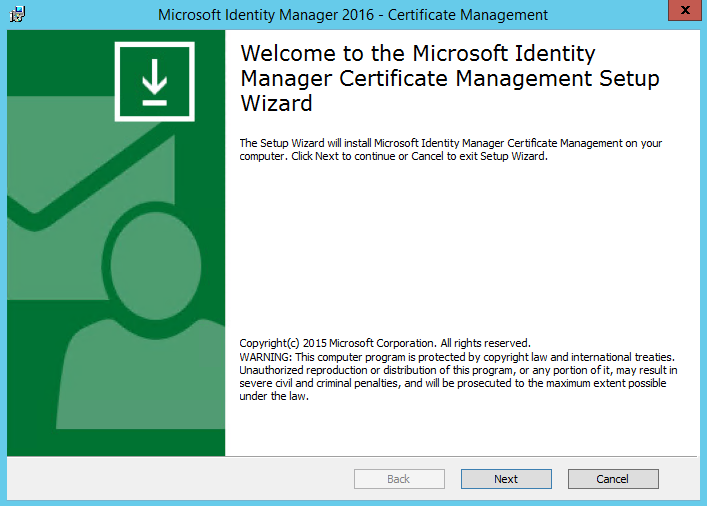
Now that all of the pre-requisites are complete we're ready to install MIM-CM on the designated MIM-CM server. Launch the MIM-CM installer and execute the installer:
Next!
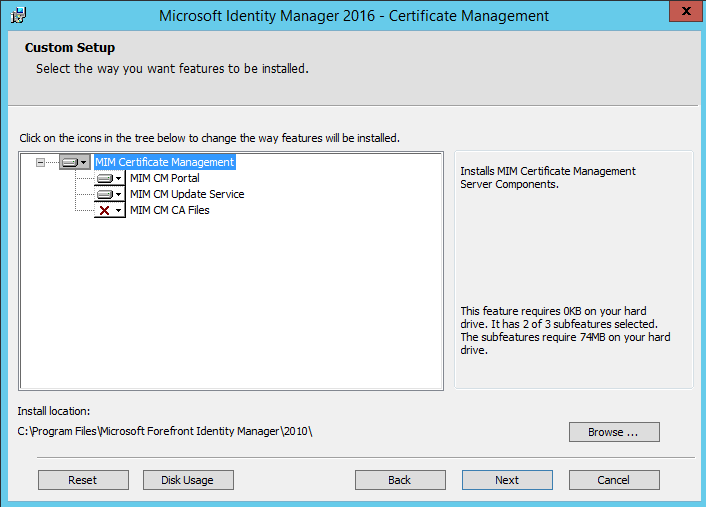
Select the Portal and Update Service.
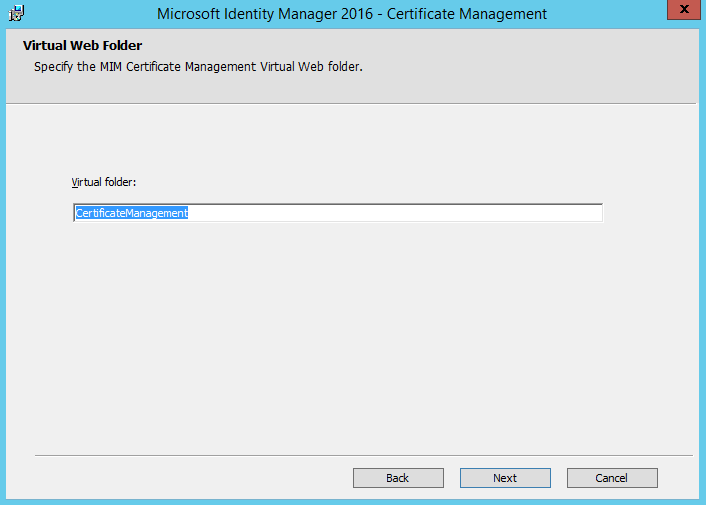
This is the IIS virtual directory - I used the default configuration. Go Next and click Install. That should wrap up the installation on the CM web server. Now that the MIM CM website is in IIS, we need to disable Kernel mode authentication which is documented here. Let's move over to the Certificate Authority server and install the MIM-CM bits there, same drill here let's execute the installer and this time we'll choose the MIM CM CA files which will install the MIM CM policy module and exit module:
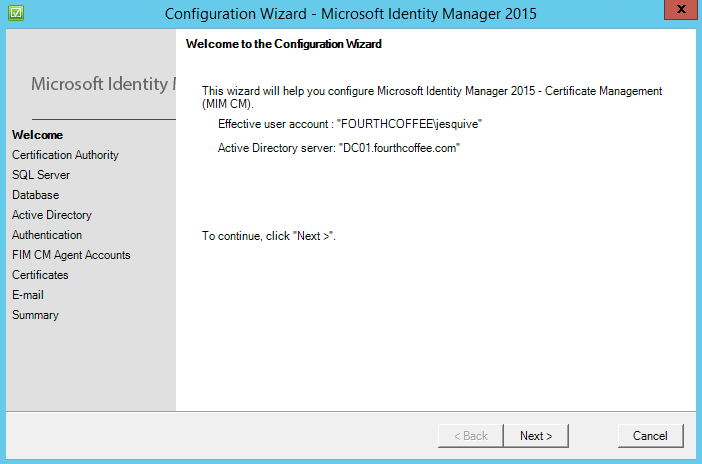
Next we need to allow the CA to access the MIM CM database, which is detailed here. Ensure you complete these steps or the CA will not be present in the MIM CM SQL database. Now that we've laid down the bits we need to run the MIM CM configuration Wizard on the server where you installed the MIM CM portal. So head over there and on the start menu you should see the MIM CM configuration wizard, let's execute it and step through it. Ensure the credential you're using has SA rights on the SQL server you're going to use (or optionally specify another account), and has the appropriate rights in AD to create all of the user objects.
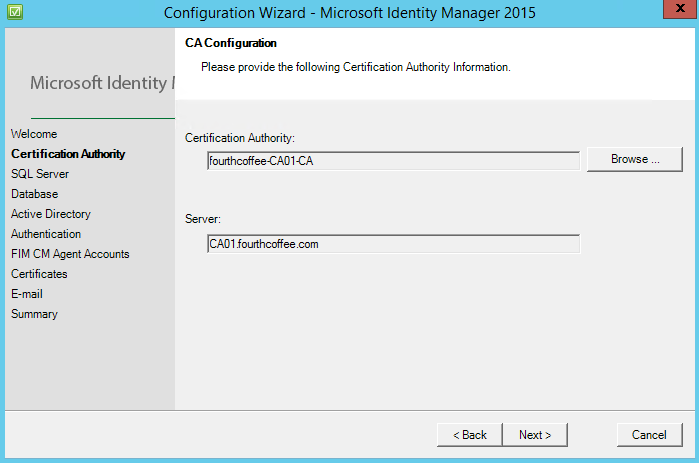
Next. Select the Certification Authority that MIM CM will use for certificate issuance clicking browse.
Specify the sql server name and which credential you are going to use to create the database.
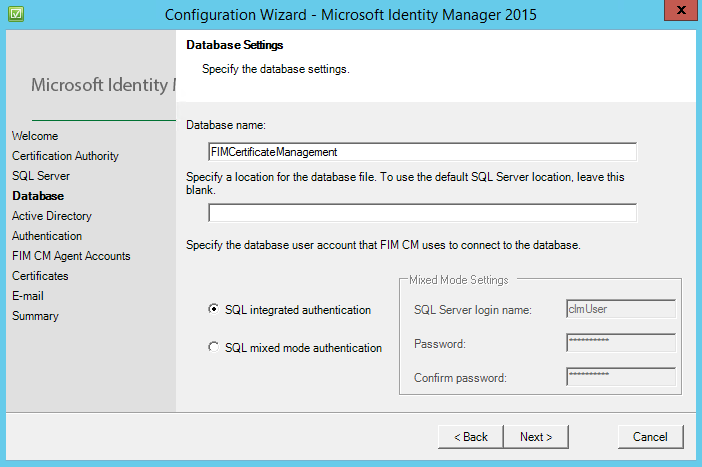
Specify the database name, I accepted the default name and used SQL integrated authentication.
For the AD piece it's recommended to keep the default setting, and so it was done.
This screen is interesting and is actually new with MIM CM 2016, we can now use the power of ADFS for authorization and authentication into the MIM CM portal. For this scenario we will use IWA/Kerberos.
If you chose to follow the aforementioned article and create all of the accounts yourself in AD, here is where you punch them into the configuration wizard. For this scenario I used the MIM default settings and specified the OU that the accounts will be created in.
MIM CM needs a couple of certificates to function, they are issued from the certificate templates that you created and made available on the CA based on the TechNet article previously mentioned. Choose the respective certificate templates for each entry, if you do not see them double check the permissions on the templates based on the TechNet article.
Email configuration. I didn't have any exchange servers setup nor was I looking to specifically test any mail related functionality so I used the defaults here.
Now that we arrived at the summary, we can review our selections/configurations. If you're ready to let her rip, click configure.
Hopefully we arrive here!
The idea is to get MIM CM installed and configured so that we can issue virtual smart cards to end users via the MIM CM portal, and the new MIM CM modern application. MIM CM offers additional capabilities in reporting, enrollment, retirement, and other smart card functions. We still have quite a bit of configuring to do to get this all off of the ground. We have some CA, AD, IIS, and MIM CM portal configurations to complete. So we'll see you at the next post.
Jesse Esquivel
Comments
- Anonymous
May 28, 2016
Hi, were you able to get the MIM CM and CM Modern App up and running? For me it looks like this does not really work. Any experience? - Anonymous
January 27, 2017
Jesse, this is a great start but where is the next post on this topic? I see this is already a year old :( I was so excited to see that someone was showcasing this capability; let's get to the good stuff, namely, how to build out our lab so we can flex the modern app that lets you enroll, renew, and manage virtual smart cards!


