Hybrid Cloud Identity Part 2: Hybrid Exchange
On the previous step we've connected On-Premise Active Directory with Azure AD. We've deployed Azure AD Connect and ADFS Environment. Now we'll integrate the existing Exchange environment with our Hybrid Identity system and configure Hybrid deployment of Exchange. Also I'll show Hybrid Cloud dashboard, which simplifies the logon process to Office 365 and Exchange On-Premise services.
Integration of Exchange Server with ADFS
You can easily integrate existing Exchange Server with ADFS if you run Exchange Server 2013 SP1 or later. It will allow end-users to leverage ADFS single sign on capabilities to seamlessly sign on to OWA, and ITPros will be able to seamlessly sign on to ECP. Check this page for details. I'm using Exchange Server 2016 and ADFS environment that was deployed during Azure AD Connect installation.
There are 2 ways how you can integrate Exchange with ADFS. First way - publish Exchange on ADFS Proxy (Web Application Proxy). This is an easier way, because you don't need to touch existing Exchange installation. Second way - enable ADFS authentication on Exchange virtual directories (OWA and ECP). I prefer 2nd way, because it allows seamless sign on experience not only externally, but also internally. It means that end-users will be able to sign on to OWA without credential prompts if they use domain-joined computers. But if you'll prefer 1st way - read documentation on TechNet.
Login to ADFS Server with admin credentials, create folder C:\Files and put 2 files there:
IssuanceAuthorizationRules.txt file with this text:
@RuleTemplate = "AllowAllAuthzRule"
=> issue(Type = "https://schemas.microsoft.com/authorization/claims/permit",
Value = "true");
And IssuanceTransformRules.txt file with this text:
@RuleName = "ActiveDirectoryUserSID"
c:[Type == "https://schemas.microsoft.com/ws/2008/06/identity/claims/windowsaccountname", Issuer == "AD AUTHORITY"]
=> issue(store = "Active Directory", types = ("https://schemas.microsoft.com/ws/2008/06/identity/claims/primarysid"), query = ";objectSID;{0}", param = c.Value);
@RuleName = "ActiveDirectoryUPN"
c:[Type == "https://schemas.microsoft.com/ws/2008/06/identity/claims/windowsaccountname", Issuer == "AD AUTHORITY"]
=> issue(store = "Active Directory", types = ("https://schemas.xmlsoap.org/ws/2005/05/identity/claims/upn"), query = ";userPrincipalName;{0}", param = c.Value);
Then run this script using elevated PowerShell console (don't forget about the "/" in the end of URLs):
$OWAURL = " https://mail.corp.kotlyarenko.com/owa/"
$ECPURL = " https://mail.corp.kotlyarenko.com/ecp/ "[string]$IssuanceAuthorizationRules=Get-Content -Path C:FilesIssuanceAuthorizationRules.txt
[string]$IssuanceTransformRules=Get-Content -Path c:FilesIssuanceTransformRules.txt
Add-ADFSRelyingPartyTrust -Name "Outlook Web App" -Enabled $true -Notes "This is a trust for OWA" -WSFedEndpoint $OWAURL -Identifier $OWAURL -IssuanceTransformRules $IssuanceTransformRules -IssuanceAuthorizationRules $IssuanceAuthorizationRulesAdd-ADFSRelyingPartyTrust -Name "Exchange Admin Center" -Enabled $true -Notes "This is a trust for EAC" -WSFedEndpoint $ECPURL -Identifier $ECPURL -IssuanceTransformRules $IssuanceTransformRules -IssuanceAuthorizationRules $IssuanceAuthorizationRules
Go to "AD FS Management" console and check that 2 Relying Party Trusts were succesfully created:
Your Exchange servers need to trust ADFS environment. To achieve that you need to add Token-signing ADFS certificate to Trusted Root Certificate Authorities folder on every Exchange server with Client Access Role (for Exchange 2016 in means "every Exchange server"). If you've already configured ADFS to use Enterprise certificate for Token-signing instead Self-issued certificate (which is default), then you can skip this step.
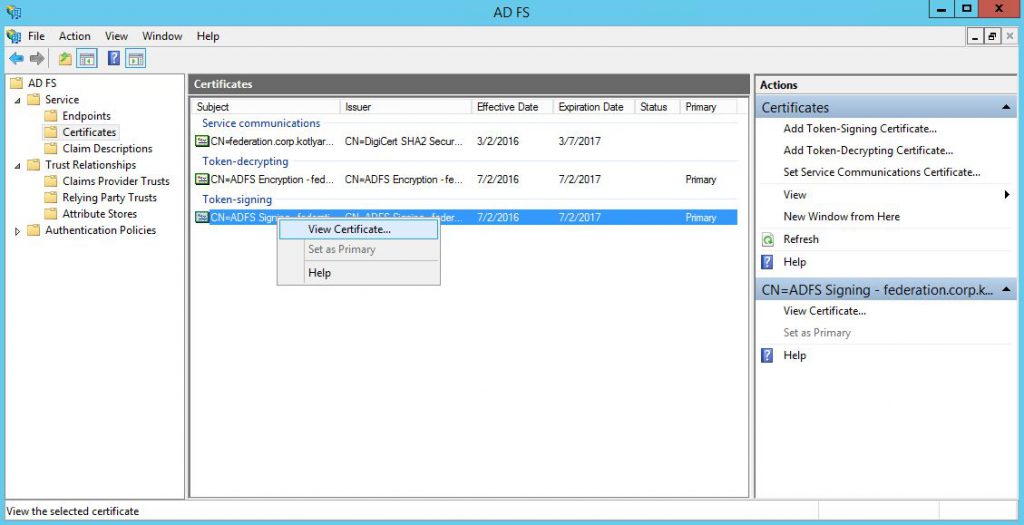
Go to "Certificates" menu in ADFS Management console, select Token-signing certificate and click "View Certificate".
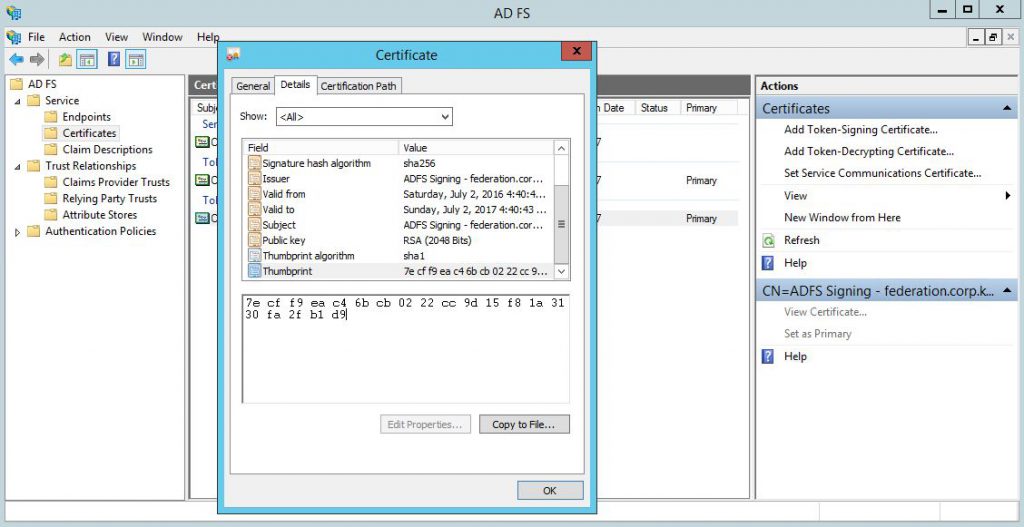
Copy the certificate thumbprint from "Details" tab (we'll need in on the next step) and then click "Copy to file" to export this certificate.
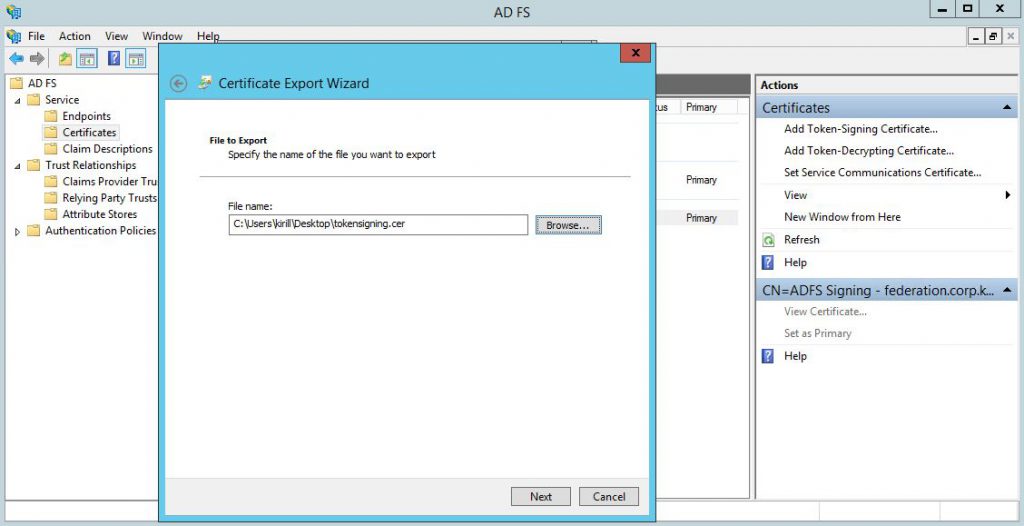
Save the certificate as *.cer file somewhere:
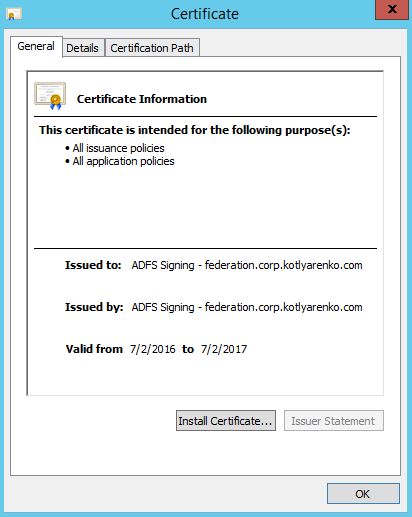
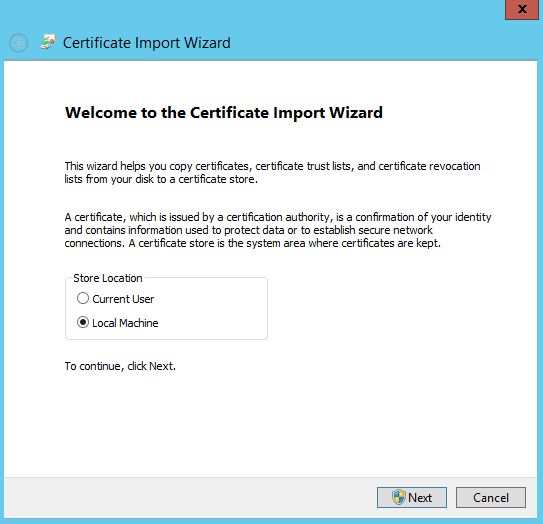
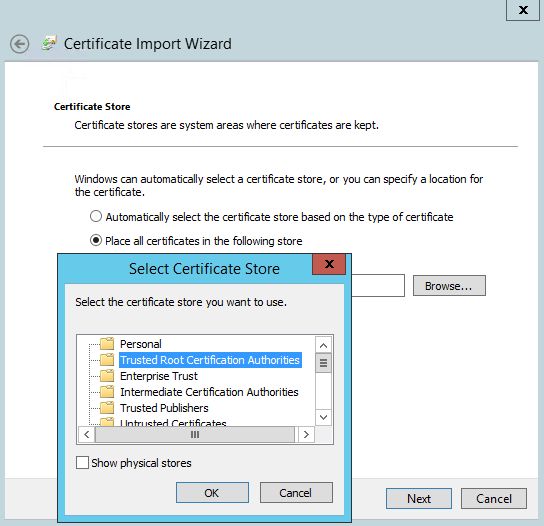
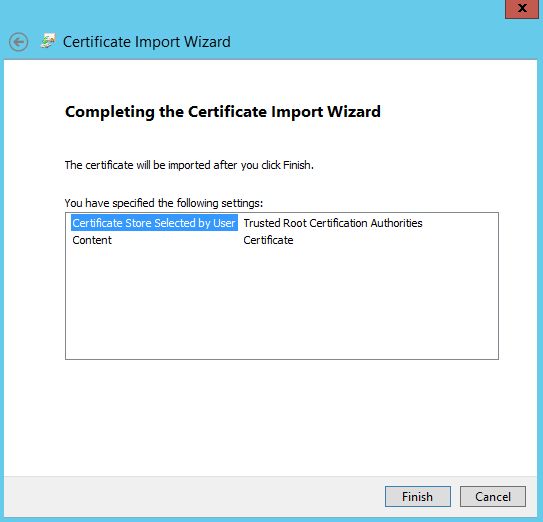
Logon to Exchange server with admin credentials and install this certificate to Trusted Root Certificate Authorities folder of a Local Machine. Repeat this on every Exchange server with Client Access role.
Then launch Exchange Management Shell and run these commands to enable ADFS Authentication of OWA and ECP virtual directories. Use Token-signing certificate thumbprint, copied on the previous step, without spaces.
$OWAURL = " https://mail.corp.kotlyarenko.com/owa/ "$ECPURL = " https://mail.corp.kotlyarenko.com/ecp/ "$ADFSURL = " https://federation.corp.kotlyarenko.com/adfs/ls/ "
$TokenSigningCertThumbpring = "PASTEYOURTOKENSIGNINGCERTHEREWITHOUTSPACES"
$uris = @($OWAURL,$ECPURL)
Set-OrganizationConfig -AdfsIssuer $ADFSURL -AdfsAudienceUris $uris -AdfsSignCertificateThumbprint $TokenSigningCertThumbpring
Get-EcpVirtualDirectory | Set-EcpVirtualDirectory -AdfsAuthentication $true -BasicAuthentication $false -DigestAuthentication $false -FormsAuthentication $false -WindowsAuthentication $false
Get-OwaVirtualDirectory | Set-OwaVirtualDirectory -AdfsAuthentication $true -BasicAuthentication $false -DigestAuthentication $false -FormsAuthentication $false -WindowsAuthentication $false -OAuthAuthentication $false
iisreset /noforce 
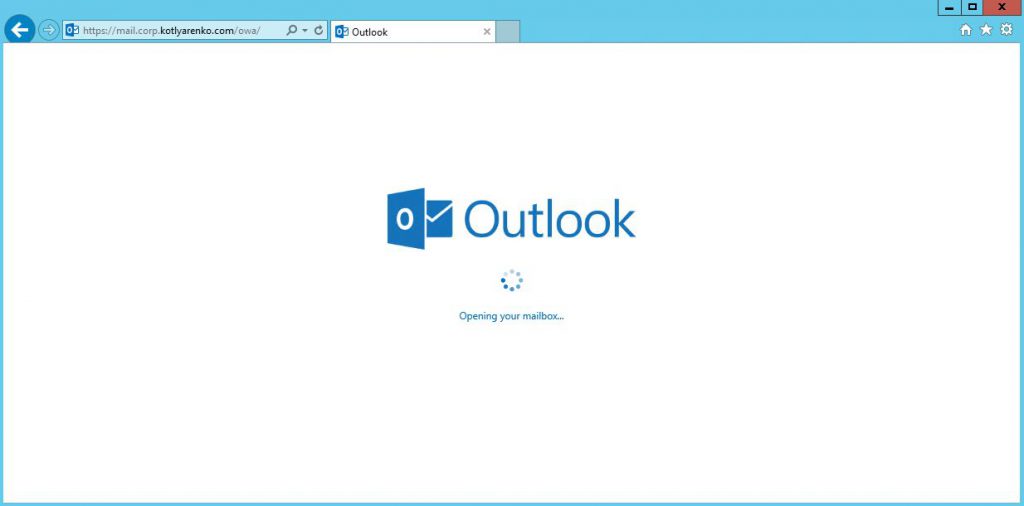
That's all. Now try to open OWA and ECP using long URL externally and internally and check that single sign on works correctly.
Configure Hybrid Exchange Configuration
On this step we'll enable Hybrid configuration of Exchange Server. Typical scenario - you want to store some mailboxes on on-premise Exchange Server (e.g. end-users in HR, IT, Finance and other departments where you want to have more control) and move some mailboxes to Exchange Online in Office 365 (e.g. retail stores end-users). But you still want to allow users seamlessly sign-on to their mailboxes and collaborate with other users no matter where their mailbox is located. Detailed documentation for Hybrid Exchange is available here.
I will use Office 365 Enterprise E3 subscription, purchased from CSP partner. But any other Office 365 will work the same.
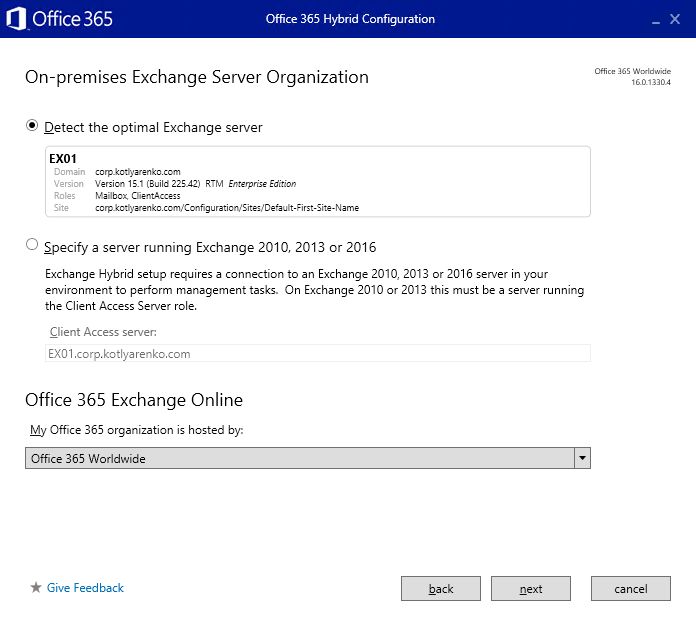
Open Exchange Admin Center (ECP), go to Hybrid menu and click "Configure" and sign-in to Office 365 as Global Admin. I use Enterprise Admin account in my Active Directory, which is integrated with Azure AD and has Global Admin rights in Office 365. So single sign on should work.
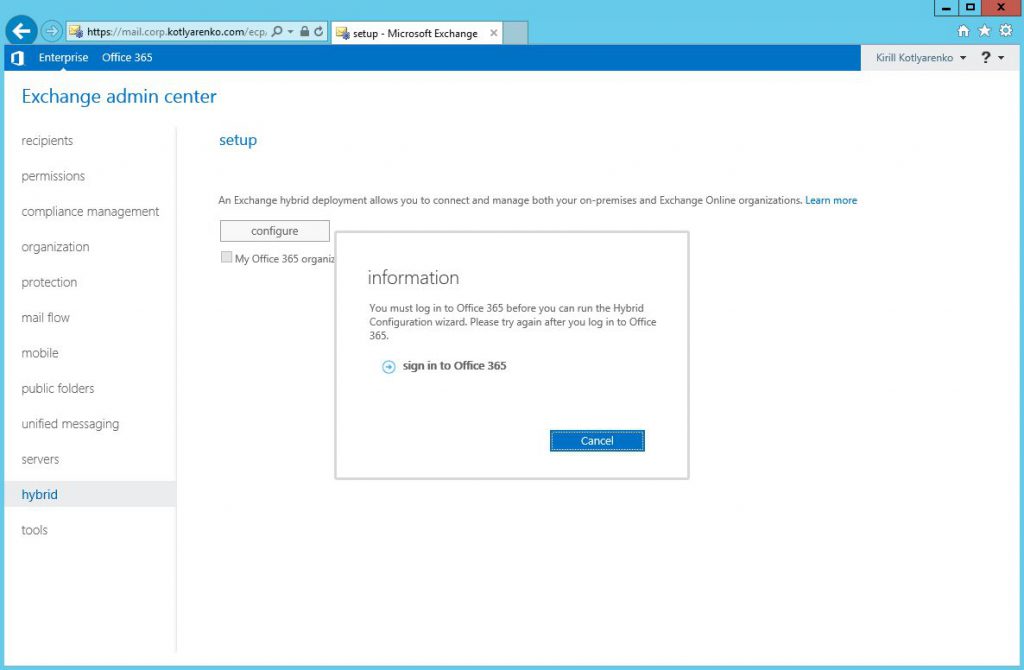
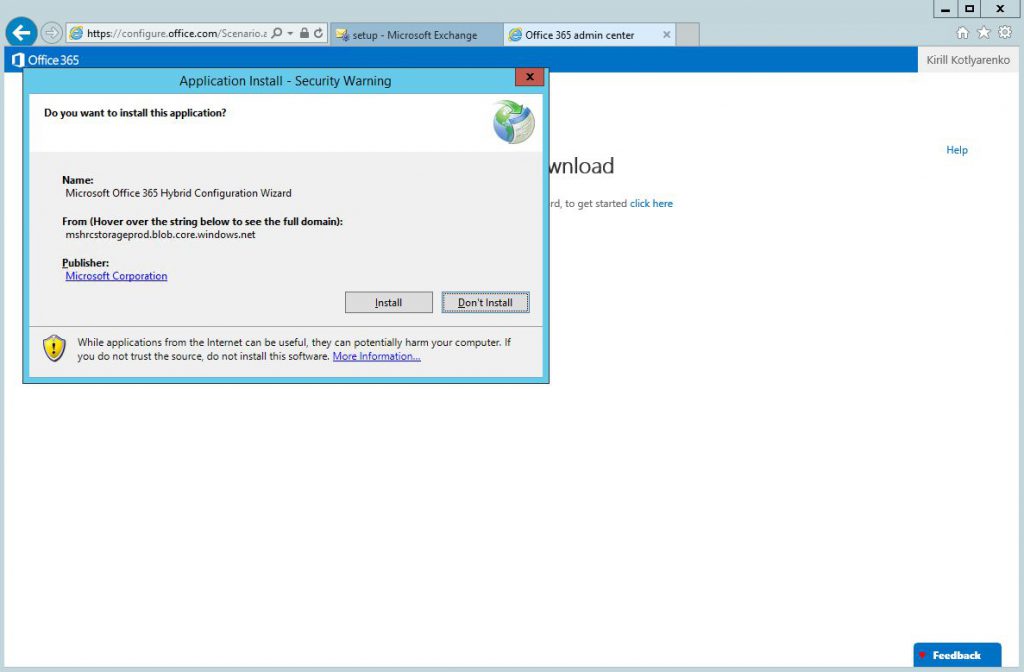
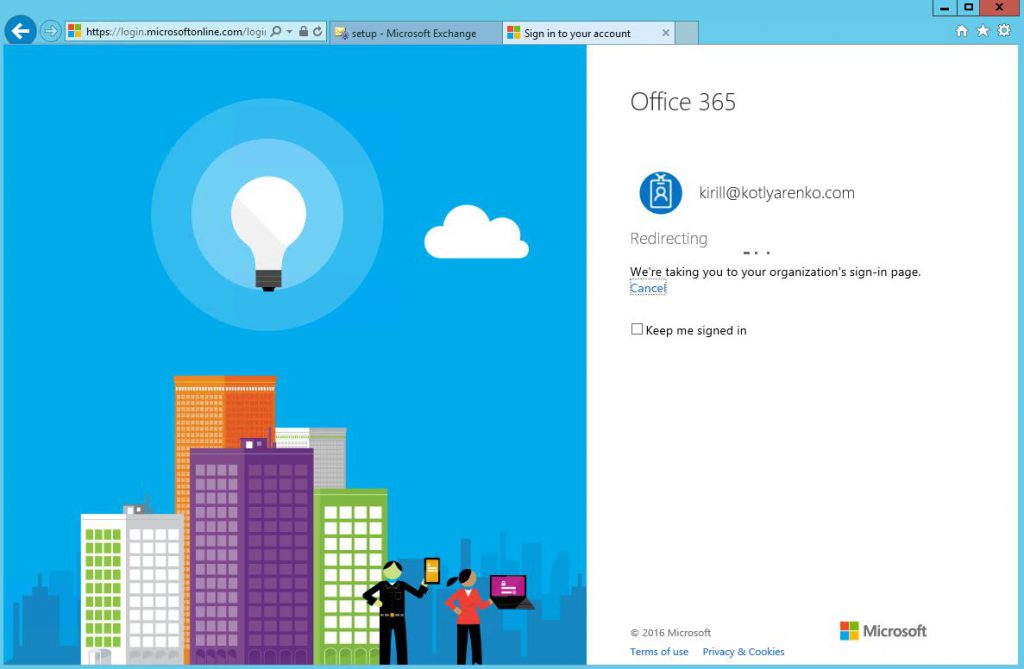 Install and launch Hybrid Configuration Wizard:
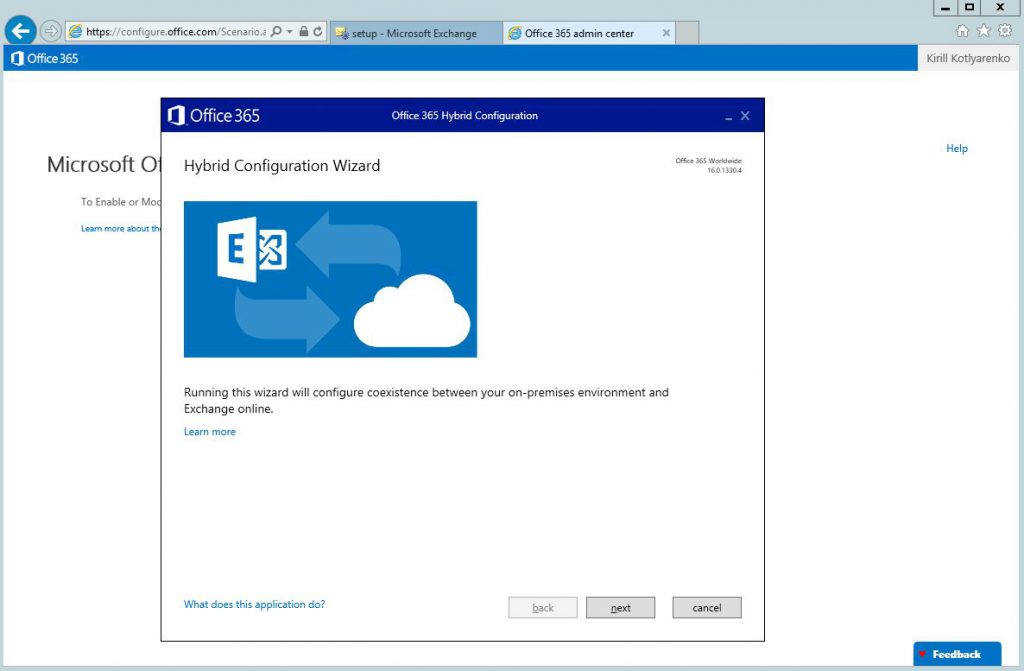
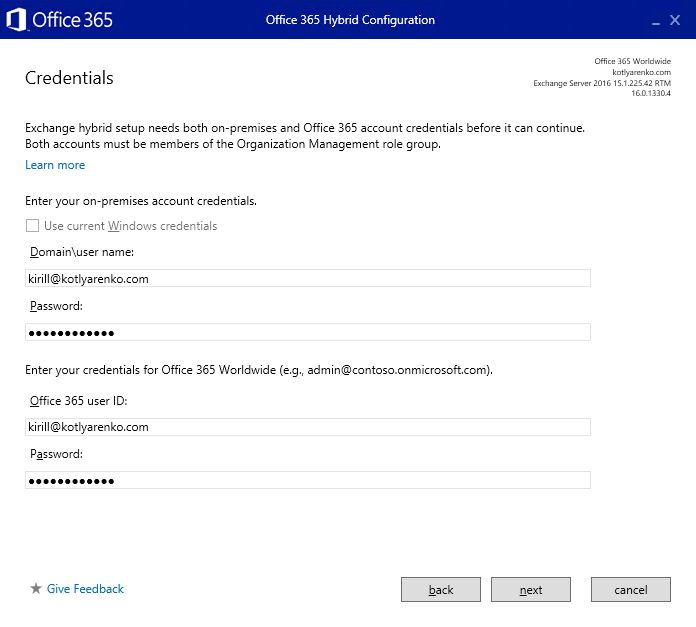
 On the Credentials page specify admin credentials for On-premise Exchange Server and Exchange Online. Important - use UPN format for login (user@domain.com) instead of Domainuser format, otherwise ADFS authentication won't work on next page.
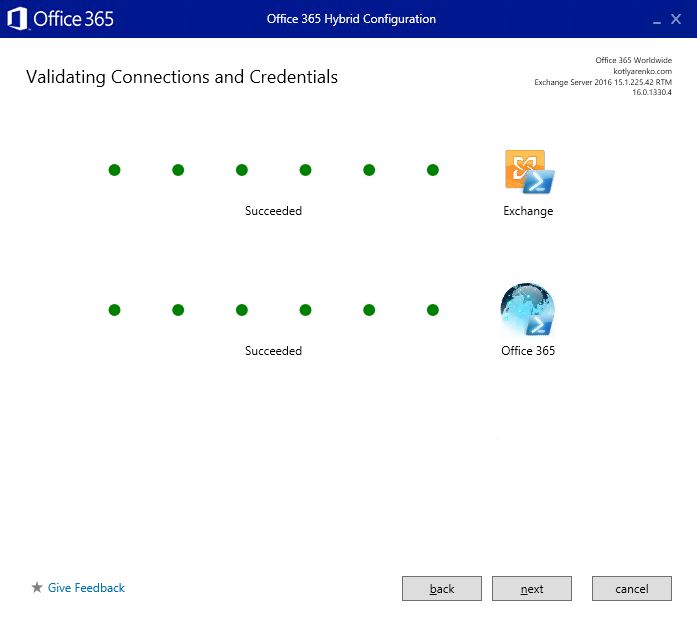
 Credentials and permissions will be validated on next page:
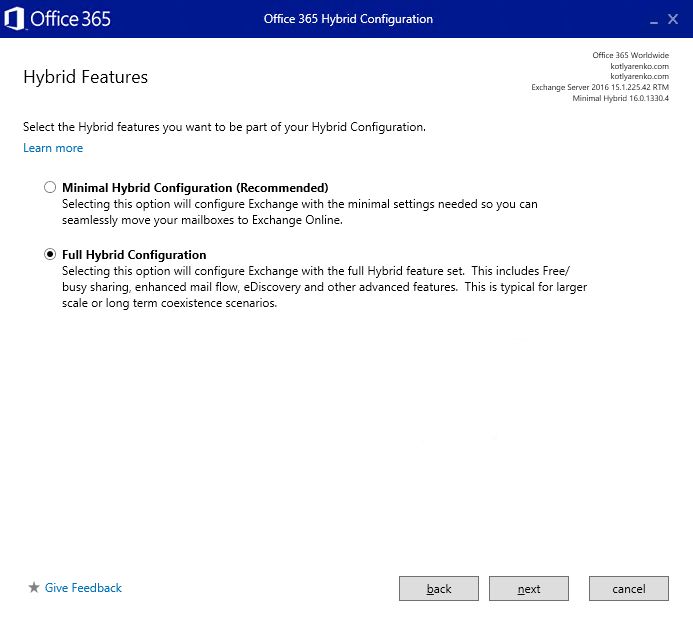
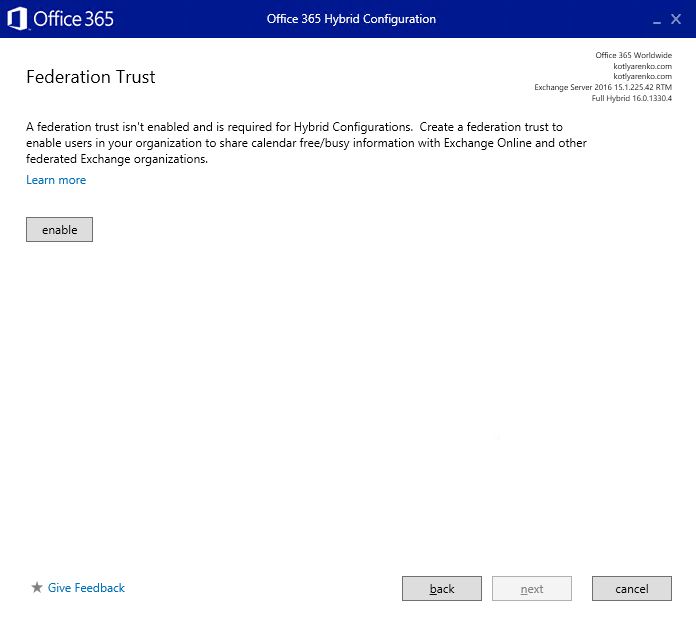
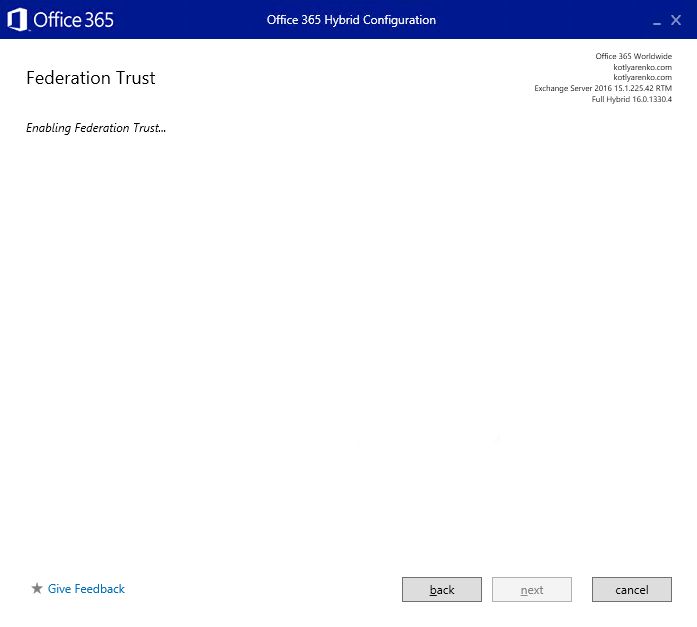
 Choose Full Hybrid Configuration and enable Federation Trust:
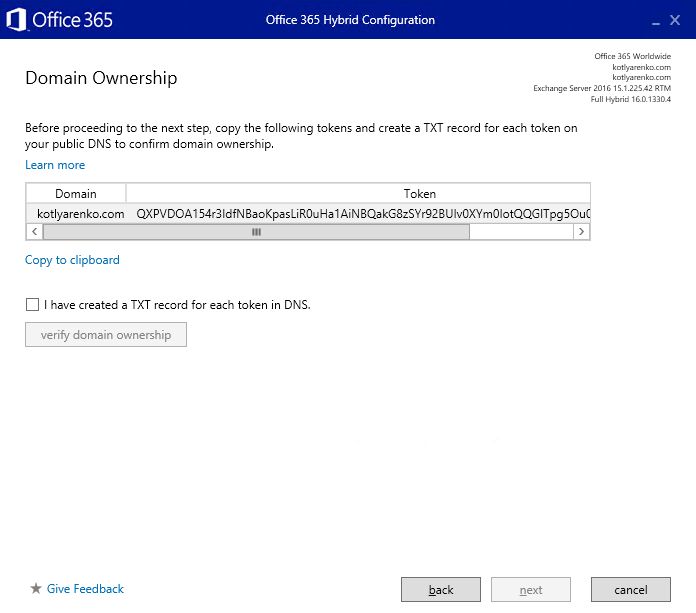
Then you'll need to confirm domain ownership. Create new TXT record with specified text in your DNS zone and wait for several hours until the DNS changes will be replicated:
 I don't use Edge servers in my Exchange environment, so I will choose Client Access and Mailbox servers for mail transport. Choose 2nd option if you have Exchange Edge server deployed.
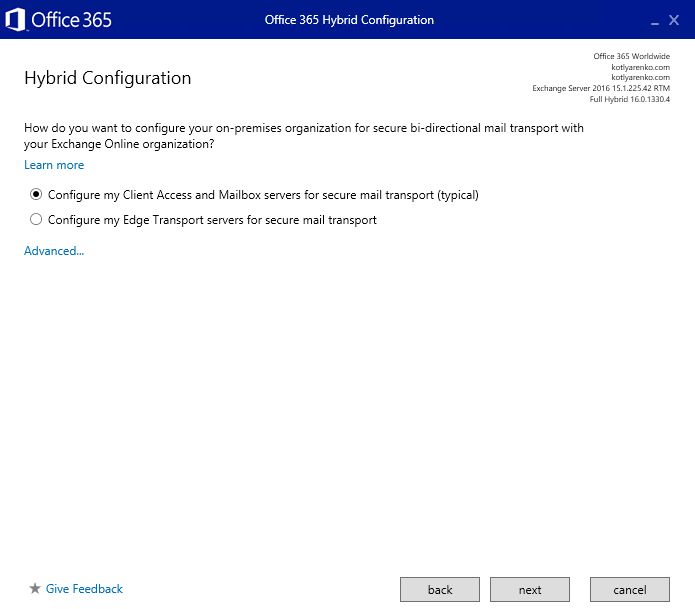
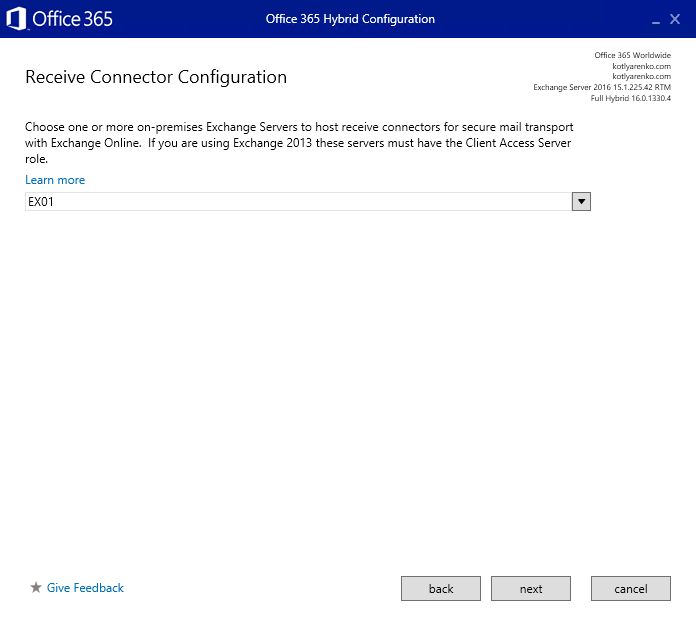
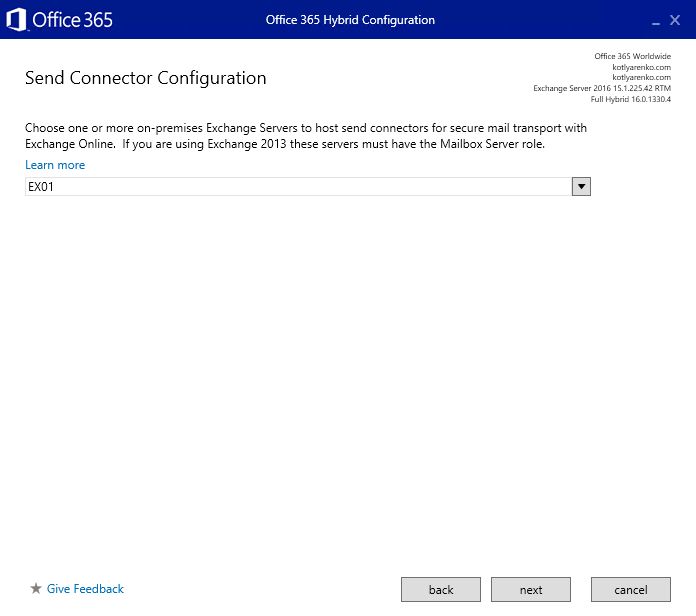
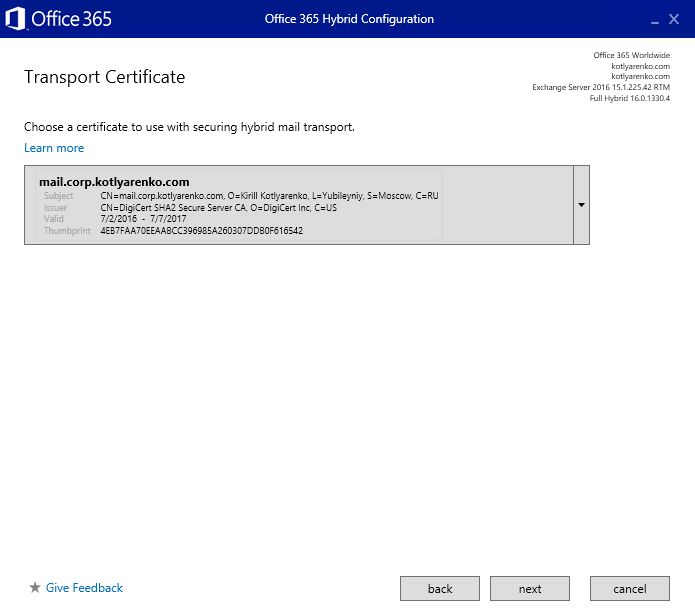
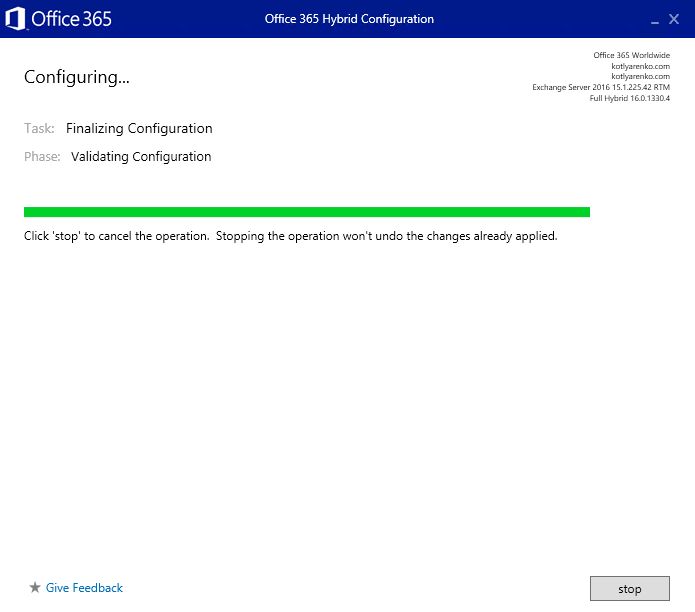
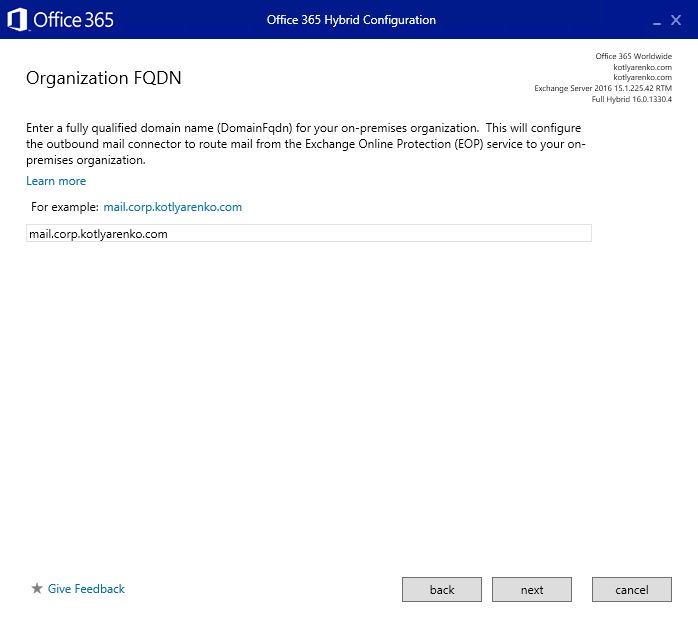 Then the configuration process will start. After 5-20 minutes you'll see the confirmation page.
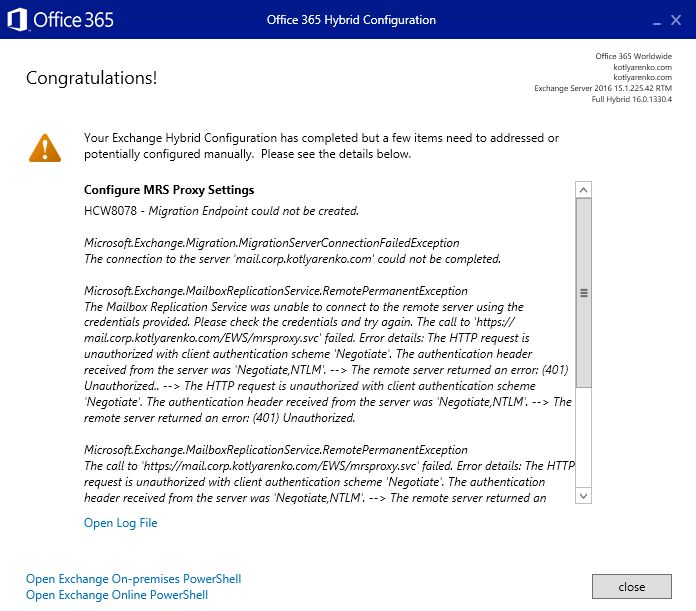
Because we use ADFS authentication for ECP and OWA, but not for EWS (which doesn't support ADFS authentication), you should see a warning that Migration Endpoint couldn't be created. You'll need to do it manually, the process is described here.
Bonus: Hybrid Cloud Dashboard
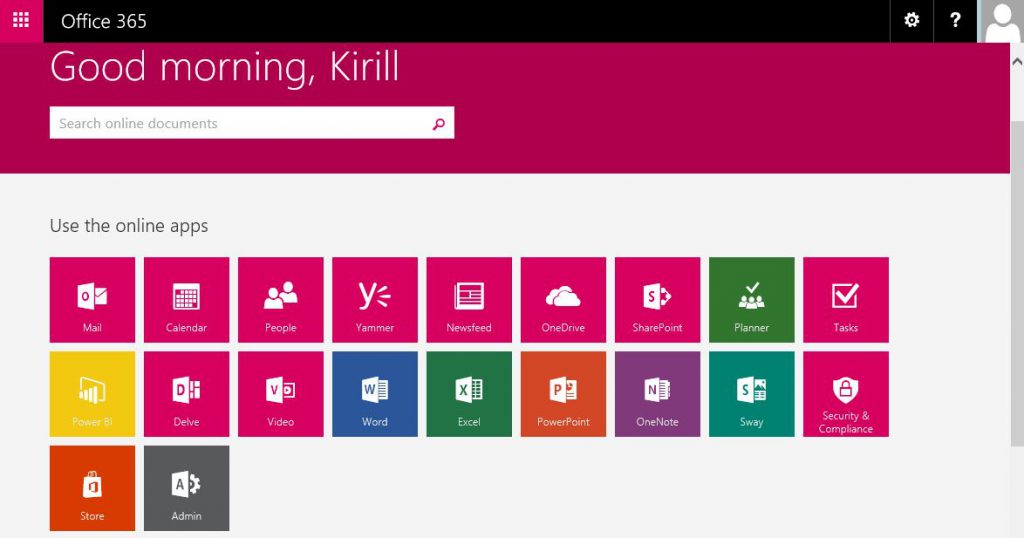
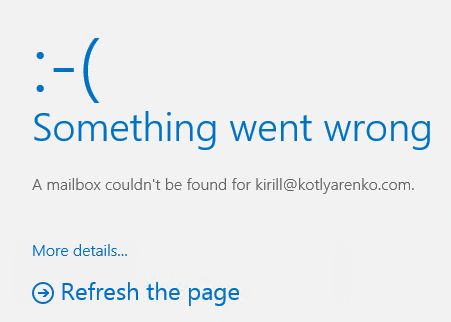
Unfortunately Office 365 portal won't redirect users, which mailboxes are stored on On-Premise Exchange Server, if they will try to launch MailCalendarTasksPeople links on Office 365 Dashboard. Users will see an error that their mailbox can't be found.
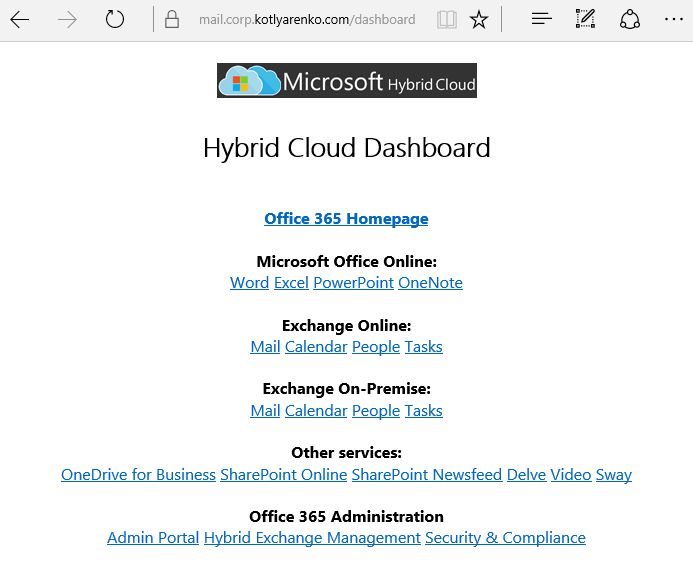
As a workaround, I've created a simple dashboard with links to all Office 365 and Exchange On-Premise web-pages. It is a simple web page with a set of grouped links. It is available live using this link. All links will require ADFS authentication, so it means that users won't be prompted several times for their credentials.
Here is the source of that page. You can modify the links and embed it into your existing portal in the company.
<!DOCTYPE html>
<html lang="en">
<head>
<title>Hybrid Cloud Dashboard</title>
<meta charset="utf-8">
</head>
<body>
<h1 align=center><img src="logo.png" alt="Hybrid Cloud Logo"></h1>
<h1 align=center><span style='font-size:20.0pt;line-height:105%;font-family:"Segoe UI Light","sans-serif"'>Hybrid Cloud Dashboard</span></h1>
<p align=center><span style='font-family:"Segoe UI","sans-serif"'><br>
<a href="https://www.office.com/1/?auth=2" target="_blank"><b>Office 365 Homepage</b></a><br><br>
<b>Microsoft Office Online:</b><br>
<a href="https://office.live.com/start/Word.aspx?auth=2" target="_blank">Word</a> <a href="https://office.live.com/start/Excel.aspx?auth=2" target="_blank">Excel</a> <a href="https://office.live.com/start/PowerPoint.aspx?auth=2" target="_blank">PowerPoint</a> <a href="https://www.onenote.com/notebooks?auth=2" target="_blank">OneNote</a><br><br>
<b>Exchange Online:</b><br>
<a href="https://outlook.office365.com/owa/?realm=kotlyarenko.com&exsvurl=1&ll-cc=1033&modurl=0" target="_blank">Mail</a> <a href="https://outlook.office365.com/owa/?realm=kotlyarenko.com&exsvurl=1&ll-cc=1033&modurl=1" target="_blank">Calendar</a> <a href="https://outlook.office365.com/owa/?realm=kotlyarenko.com&exsvurl=1&ll-cc=1033&modurl=2" target="_blank">People</a> <a href="https://outlook.office365.com/owa/?realm=kotlyarenko.com&exsvurl=1&ll-cc=1033&modurl=3" target="_blank">Tasks</a><br><br>
<b>Exchange On-Premise:</b><br>
<a href="https://mail.corp.kotlyarenko.com/owa/#path=/mail" target="_blank">Mail</a> <a href="https://mail.corp.kotlyarenko.com/owa/#path=/calendar" target="_blank">Calendar</a> <a href="https://mail.corp.kotlyarenko.com/owa/#path=/people" target="_blank">People</a> <a href="https://mail.corp.kotlyarenko.com/owa/#path=/tasks" target="_blank">Tasks</a><br><br>
<b>Other services:</b><br>
<a href="https://kotlyarenko-my.sharepoint.com/_layouts/15/MySite.aspx?MySiteRedirect=AllDocuments" target="_blank">OneDrive for Business</a> <a href="https://kotlyarenko.sharepoint.com/_layouts/15/sharepoint.aspx" target="_blank">SharePoint Online</a> <a href="https://kotlyarenko-my.sharepoint.com/default.aspx" target="_blank">SharePoint Newsfeed</a> <a href="https://kotlyarenko-my.sharepoint.com/_layouts/15/me.aspx?origin=shell" target="_blank">Delve</a> <a href="https://kotlyarenko.sharepoint.com/portals/hub/_layouts/15/videohome.aspx" target="_blank">Video</a> <a href="https://sway.com" target="_blank">Sway</a><br><br>
<b>Office 365 Administration</b><br>
<a href="https://portal.office.com/admin/default.aspx" target="_blank">Admin Portal</a> <a href="https://mail.corp.kotlyarenko.com/ecp" target="_blank">Hybrid Exchange Management</a> <a href="https://protection.office.com/" target="_blank">Security & Compliance</a></span>
</body>
</html>
In the next blog post I will show how to deploy Azure Multi-factor Authentication servers to increase the security level of the Hybrid Cloud environment. Stay tuned :)
This post is a part of the Hybrid Cloud Identity series:
Part 1 - Integration of On-Premise AD and Azure AD using Azure AD Connect and ADFSPart 2 - Hybrid Exchange (you are here) Part 3 - Azure Multi-factor Authentication Part 4 - Azure AD Connect Health
Comments
- Anonymous
August 06, 2016
Thanks - Anonymous
September 10, 2016
Hi Thanks for another Excellent contribution.....

