31 Days of Servers in the Cloud: Using your own SQL Server in Windows Azure (Part 22 of 31) by Blain Barton
At 5:00 AM on Tuesday, January 22, 2013, Blain Barton posted Part 22 of 31 in the 31 Days of Servers in the Cloud Blog Series. Below is a small excerpt from his blog.
In this article, you can create a new VM and learn how to install SQL Server. You can then add disk images to the existing VM in order to split the data from the logs generated by SQL Server.
First, you will need to create a new VM using the Windows Azure portal -
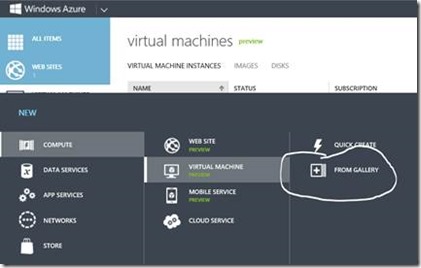
1. In the menu located at the bottom, select New | Compute | Virtual Machine | From Gallery to start creating a new virtual machine.
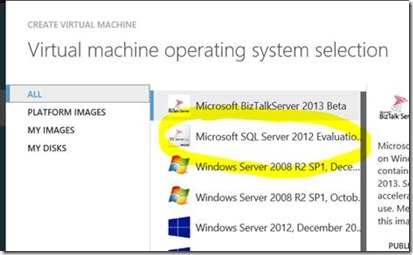
2. In the VM OS Selection page, click Platform Images on the left menu and select the Microsoft SQL Server 2012 image from the list. (Use will still need a license for SQL Server as this is a evaluation copy) Click the arrow to continue.
3. In the VM Configuration page, enter the Virtual Machine Name (i.e. "sqlvm1"), the administrator user's Password and the Size. Click the right arrow to continue.
4. On the VM Mode page, select “Standalone Virtual Machine” and a VM you created from the drop down list and either create a new storage account of use your existing storage account. Click the right arrow to continue.
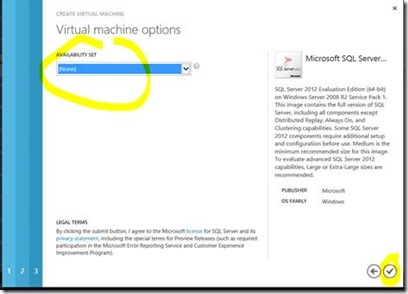
5. In the VM Options page, leave the default values and click the button to create a new VM.
6. In the Virtual Machines section, you will see the VM you created with a provisioning status. Wait until it changes to Running in order to continue with the following step.
Note: It will take from 8 to 10 minutes for the Virtual Machine to complete the provisioning process.
To get the full article, please read it here: https://blogs.technet.com/b/blainbar/archive/2013/01/22/31-days-of-servers-in-the-cloud-using-your-own-sql-server-in-windows-azure-part-22-of-31.aspx
Harold Wong


