Windows Azure Geo Location Feature Walkthrough
As you may have noticed if you logged in to the Azure Services Developer Portal since yesterday afternoon (4/29/2009), the Windows Azure Geo Location feature has been released and added to the existing Dev Portal functionality.
The feature was announced at MIX ‘09 with availability targeted “soon following the conference”. With Geo Location (Geo for short), developers will now be able to specify either the “USA – Northwest” or “USA – Southwest” region when they create a Windows Azure storage account or hosted services.
They may also select “USA – Anywhere” if there is no specific need to geolocate their storage account or hosted service in a specific region.
I will post a separate article on the terminology and concepts introduced along with the Geo feature, this post focuses on how to create affinity groups and use them.
The scenario covers the creation of a Windows Azure hosted service and various storage accounts, a few of which will be put together in an affinity group.
I provided every screenshot along the way on purpose to avoid any doubt along the way as to what I did, but you need not check all of them if you are already familiar with how to create storage accounts or hosted services on the Dev Portal, without the Geo feature.
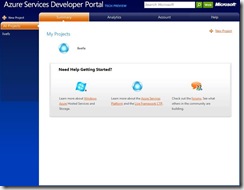
As I first login to the Dev Portal, there’s only one project in my roster, called “livefx”.
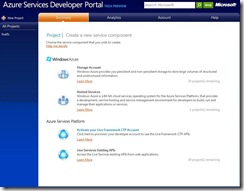
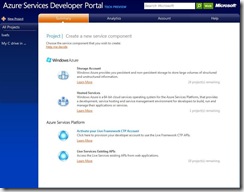
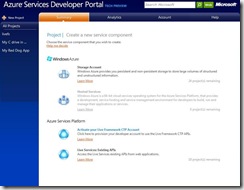
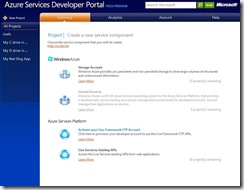
1. I go to the “New Project” page by clicking on the “plus” sign in the top left, there I choose to create a Windows Azure storage account.
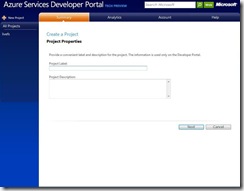
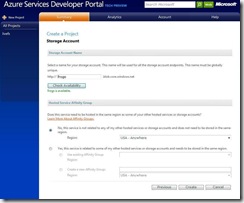
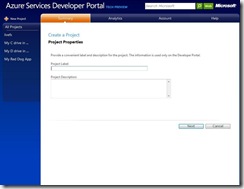
2.a. I see the familiar new storage account creation page.
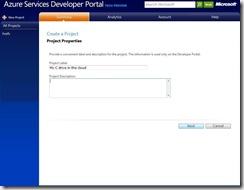
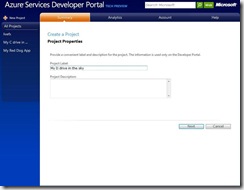
2.b. I type a label “My C drive in the cloud”, then I click “Next”.
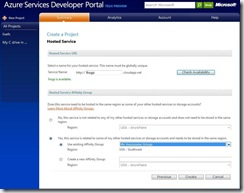
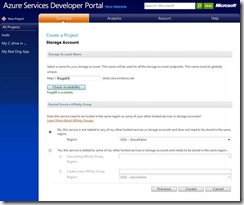
2.c. I type a namespace “frogs”, then check for availability.
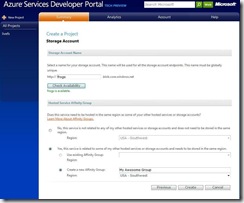
2.d. I select that I want to create a new affinity group, I type an affinity group name “My Awesome Group” and choose a region “USA – Southwest”, then click on “Create”.
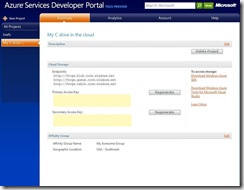
3. My storage account is now created and ready to use.
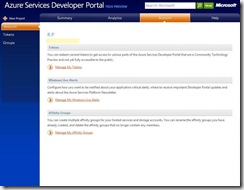
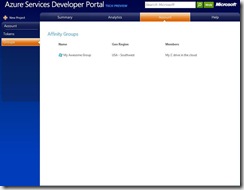
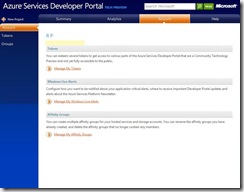
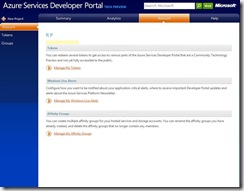
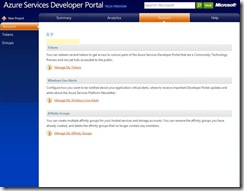
4. I go to my account page by clicking on “Account” in the top nav, and there I click on the link “Manage My Affinity Groups” at the bottom of the page.
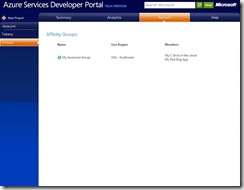
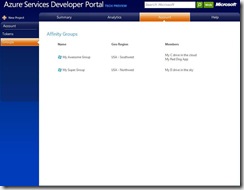
5. I see the list of all my affinity groups, which only contains one for now, with their membership, only the newly created storage account for now.
6. I go back to the “New Project” page by clicking on the “plus” sign in the top left, there I choose to create a Windows Azure hosted service this time.
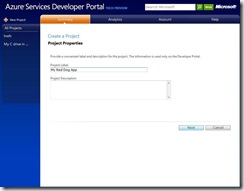
7.a. I type a label “My Red Dog app”, then I click “Next”.
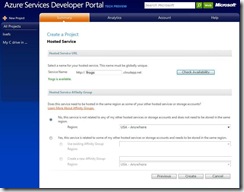
7.b. I type a namespace “frogs”, then check for availability. In this case I choose the same name as I did for the storage account (cf. step #2.c.) to show that they are related to the same application. They are still globally unique as one is in blob.core.windows.net and the other is in cloudapp.net).
7.c. I select that I want to use an existing affinity group, I select the previously created affinity group called “My Awesome Group”. Notice that I cannot change the region. This is an immutable attribute of the affinity group in this first version.
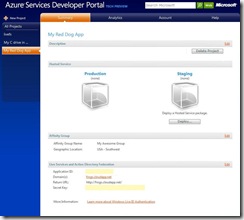
8. My hosted service container is created and awaits package deployment (no details here, as this is out of context for this post).
9. I go back to my account page by clicking on “Account” in the top nav, and I click on the link “Manage My Affinity Groups” at the bottom of the page.
10. I see the list of all my affinity groups, still only one, with their membership, which is now one storage account and one hosted service.
11. I go back to the “New Project” page by clicking on the “plus” sign in the top left, there I choose to create a second storage account.
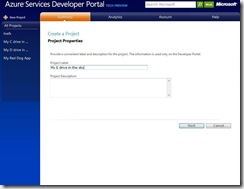
12.a. I type a label “My D drive in the sky”, then I click “Next”.
12.b. I type a namespace “frogs69”, then check for availability.
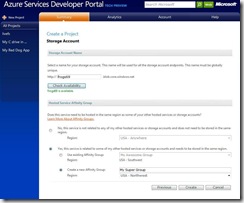
12.c. I select that I want to create a new affinity group, I type an affinity group name “My Super Group” and choose a different region “USA – Northwest”, then click on “Create”.
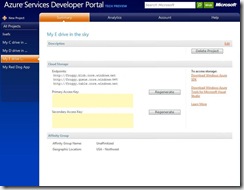
13. My storage account is now created and ready to use.
14. I go to my account page by clicking on “Account” in the top nav, and I click on the link “Manage My Affinity Groups” at the bottom of the page.
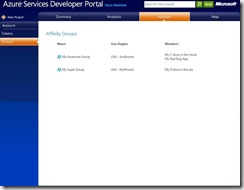
15. I see the list of all my affinity groups, there are now two of them, with their membership, one storage account and one hosted service on one hand, and only one storage account on the other hand.
16. I go to the “New Project” page by clicking on the “plus” sign in the top left, there I choose to create a third storage account.
17.a. I see the new storage account creation page.
17.b. I type a label “My E drive in the sky”, then I click “Next”.
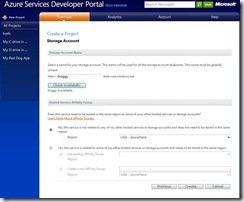
17.c. I type a namespace “froggy”, then check for availability.
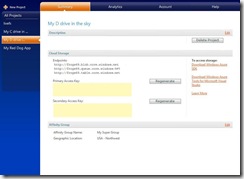
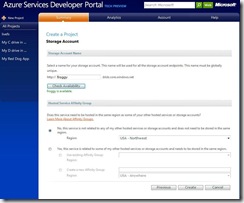
17.d. I select that I do NOT want to create a new affinity group, however I can still pick a region and I choose “USA – Northwest”, then click on “Create”. By doing so, I make an explicit statement about this storage account being “standalone” and not related to any of my other assets in the cloud.
18. My storage account is now created and ready to use.
19. I go one last time to my account page by clicking on “Account” in the top nav, and I click on the link “Manage My Affinity Groups” at the bottom of the page.
20. I see the list of all my affinity groups, where the most recently created storage account is NOT shown, because I left it “unaffinitized” (as shown in the property page of that storage account.
Enjoy!!
