Part 1 of 4: Introduction to Consuming Azure Mobile Services from Android
Introduction to Android and Azure Mobile Services
- This series shows you how to use Windows Azure Mobile Services to leverage data in an Android application.
- This means you can use these techniques for tablets as well. And with minimal adjustments, they could be made to work with any Java application.
- This post is a follow up to https://blogs.msdn.com/b/brunoterkaly/archive/2012/09/26/part-5-of-5-introduction-to-consuming-azure-mobile-services-from-ios.aspx, which highlighted an iOS approach.
- See Part 5 of 5: Introduction to Consuming Azure Mobile Services from iOS
- Here is what was demonstrated previously:
- Mobile Services enables you to create a web service and a database in minutes.
- Android developers to get started right away consuming JSON-formatted data through http.
- Direct support for iPhone, Windows Phone & Android is coming soon but I will show you how you can use Andorid today, or any other type of client.
- What I will not cover here today, is the features of Push Notifications and Authentication.
This is the goal
- Notice that data is visible.
- This data comes from the Windows Azure Mobile Service.
- This is what we are going to build
- There is work to do at the Windows Azure Portal
- There is code to add to the Android application that we build with Eclipse
Previous Posts
You will need a trial account for Windows Azure
- Please sign up for it here:
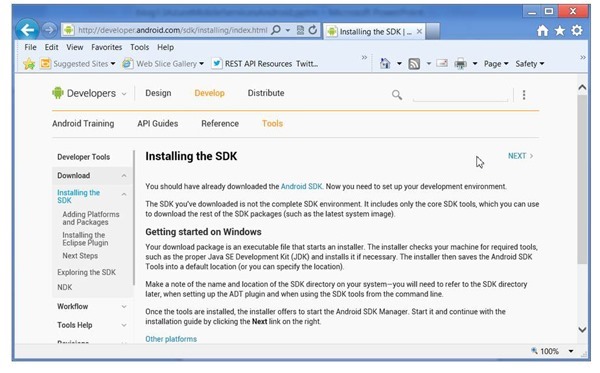
Setting Up Android for Development
- I find it incredibly challenging.
- There are many steps and it is somewhat confusing.
- I will leave it to my Android expert friends to discuss setup.
Assumption: You've signed up for a free trial account for Windows Azure
- The assumption is that you've signed up for a free trial account.
- Download the free trial
- You will need a trial account for Windows Azure
- Please sign up for it here:
- You will need a trial account for Windows Azure
- I start by clicking on BILLING.
- You can also click on Visit the Preview Portal at the bottom.
Accessing Preview Features
- Azure Mobile Services is currently in preview mode.
- Azure Mobile Services is a very cost effective and productive solution.
- In short, Windows Azure mobile services help developers build mobile app experiences faster, and enable even better user experiences by connecting your client apps to the cloud.
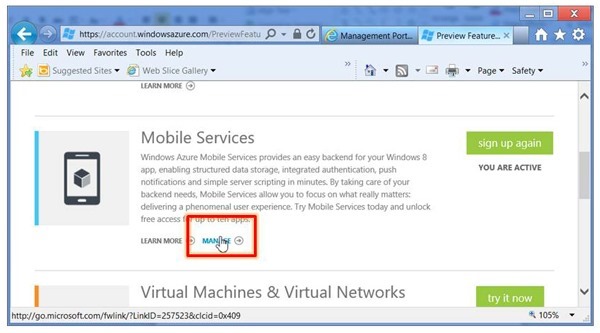
Drilling into Mobile Services
- Click on MANAGE.
- This is where we begin creating our Mobile Services project.
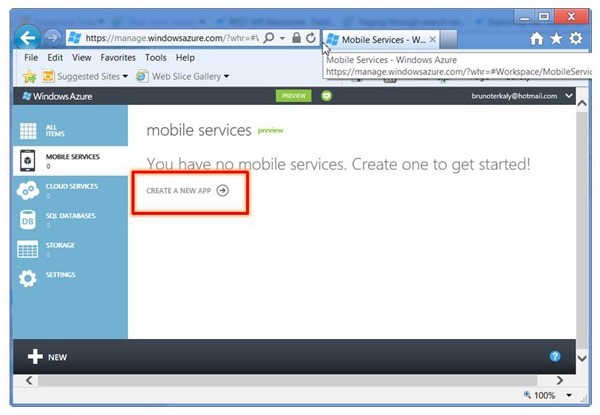
Creating a mobile service
- When you click on CREATE A NEW APP and follow through with the ensuing wizard, the following will occur:
- A SQL Database will be created
- A web service will be created with a URL that you define
- A sample Windows 8 application can get generated
- We will ignore the sample application and create an Android application instead
- We will build the Android app from scratch for maximum knowledge
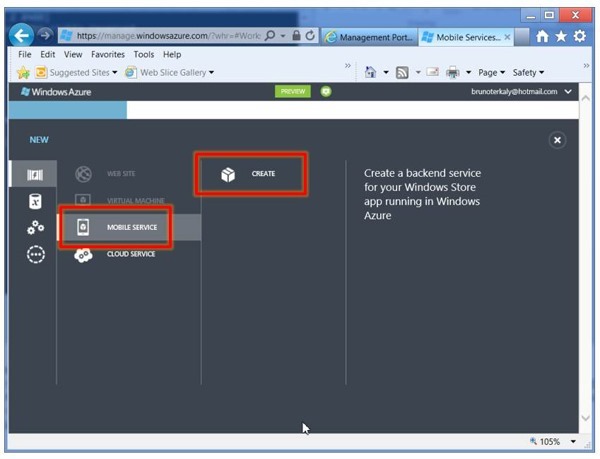
How to Create a backend service for your Android Application
- There is a caveat, though.
- Our Android app will not end up in the Windows Store.
- Obviously, you can deploy Android apps to the appropriate Google marketplace.
Specifying the URL that our Android app will use
- This is the URL that will be used by mobile clients to access the mobile service
- Windows 8, Android (or any REST-enabled client using http), and iOS
- We can create a new database or use an existing one.
- We are creating a new SQL Database.
- This new database will contain the data that is sent to the Android device.
- We are creating a new SQL Database.
- Currently, only the EAST is available for the region.
Specifying the name of the database
- This database is automatically used by the service we just created
- We will specify a new server to place the new database in
- We will also specify and login name, password, and region
Advanced Settings
- You can choose alternate sizes for the database
- You can go up to 150gb
- That is the business edition
- We only need 1GB for this example.
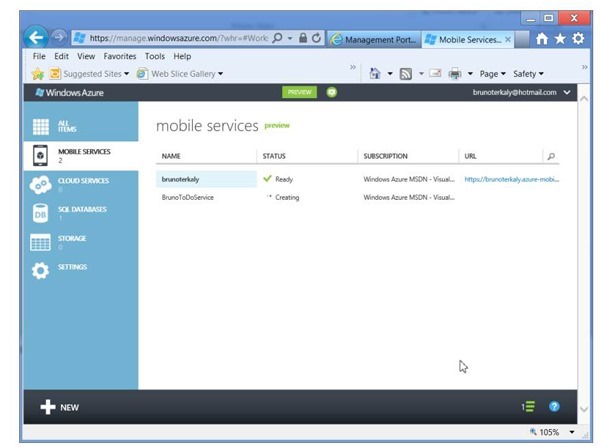
The results of actions can be seen
- The mobile service has been created
- Note the name of the service
- BrunoToDoService
- Your name will necessarily differ
- BrunoToDoService
- Note the name of the service
- It takes less than a minute.
- When the service is created, it is automatically bound to your previously created database.
Next steps
- The next post will cover the following:
- Adding data to a relational database
- Understanding the application key
- Creating a database and a table
- Managing the database through the portal
- Modifying table structures (adding columns)
- Inserting data into the table (TodoItem table)
Comments
- Anonymous
April 09, 2015
Thanks for your valuable posting, it was very informative. Am working in <a href="http://www.excelanto.com">Cloud Erp In India</a>


