Using the Azure ARM REST API – End to end Example Part 1
In the first two blog post about using the Azure (ARM) REST API I explained how to get the Access Token and how to get some simple info about your Azure Subscription.
In the last two blog posts about using the Azure (ARM) REST API we are going to do the following:
- Create a Resource Group
- Create a Virtual Machine using an ARM template
- Call an Azure Automation Runbook to stop the Virtual Machine
And all these steps are being executed by plain web requests against the Azure (ARM) REST APIs.
Pre-requisites:
- Azure Automation already setup
- Azure Runbook for stopping the VM already created.
Tooling:
There are a number of tools you can use for making web requests, like:
I like to work with HTTPMaster and that’s why I will use it in this blog post.
HttpMaster has the following great features:
- Web API Tool for development and testing of API applications & services
- Web Service Tool with complete support for testing RESTful web services
- Website Testing Tool focused on posting HTML forms and uploading files
- Universal Http Tool to simulate client activity for any web application type
Just download and install the Free Express Edition to get started.
- Create the Resource Group
We will look at the Azure Reference web site for more information on creating a Resource Group.
The request needs to look like this:
| Method | Request URI |
| PUT | https://management.azure.com/subscriptions/{subscription-id}/resourcegroups/{resource-group-name}?api-version={api-version} |
Request Body:
| JSON |
| {"location": "West US","tags": {"tagname1": "tagvalue1"}} |
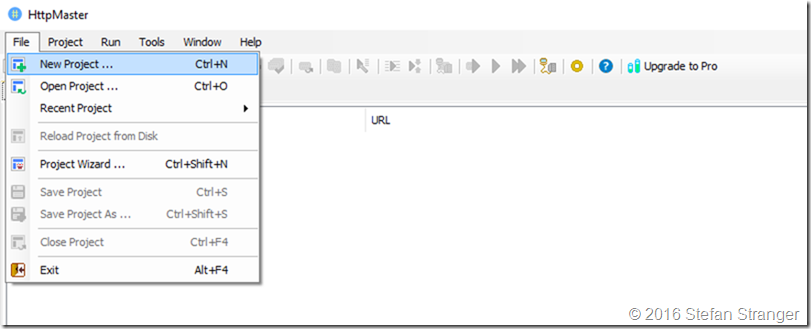
Open HttpMaster and create a new Project.
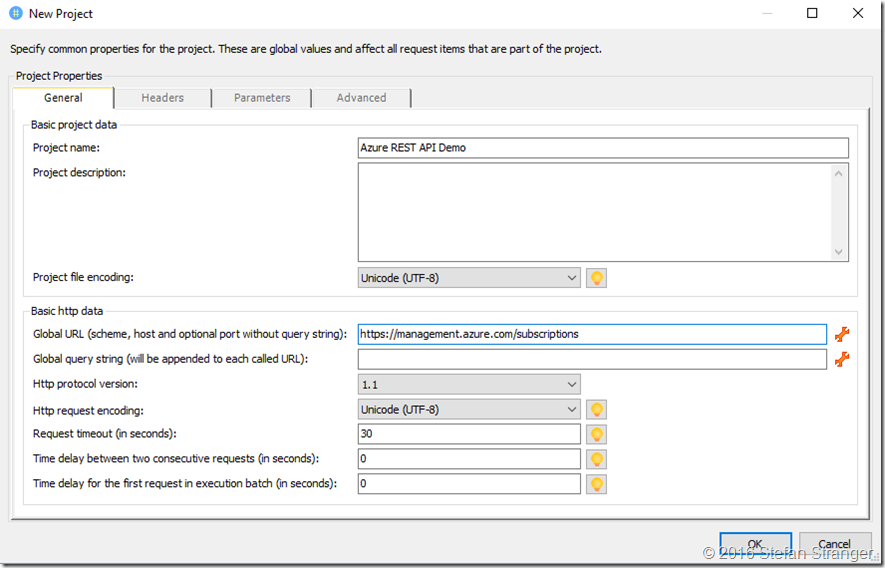
Enter project properties: (use as global URL: https://management.azure.com/subscriptions) and click on OK.
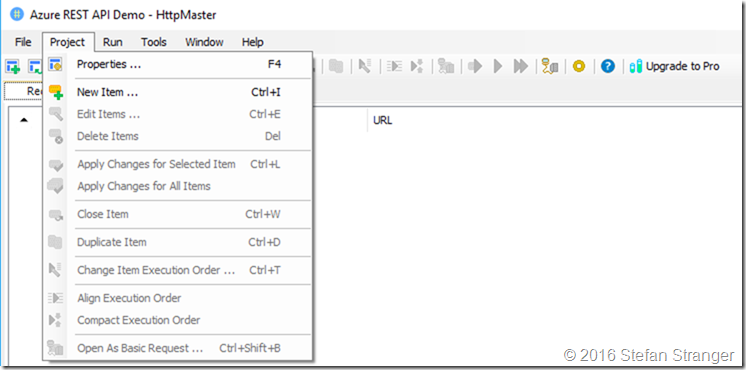
Add a new item to your Project.
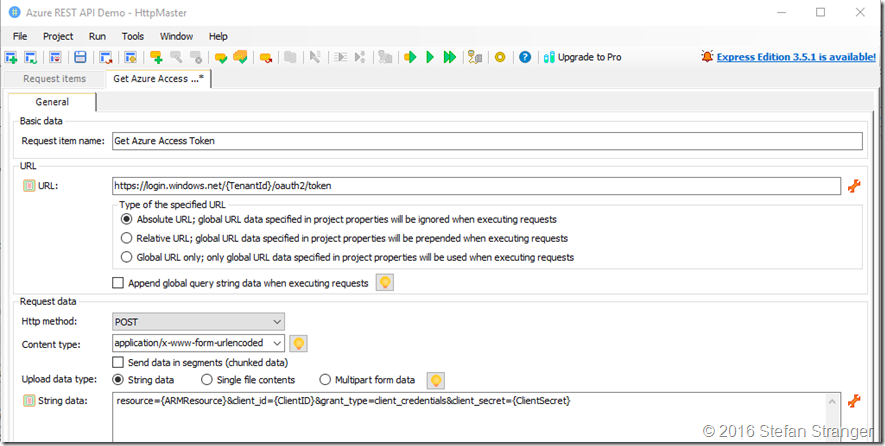
We first need to retrieve the SAS Token which I explained in my first blog post.
All the values between the curly brackets are parameters you can use in your HttpMaster project.
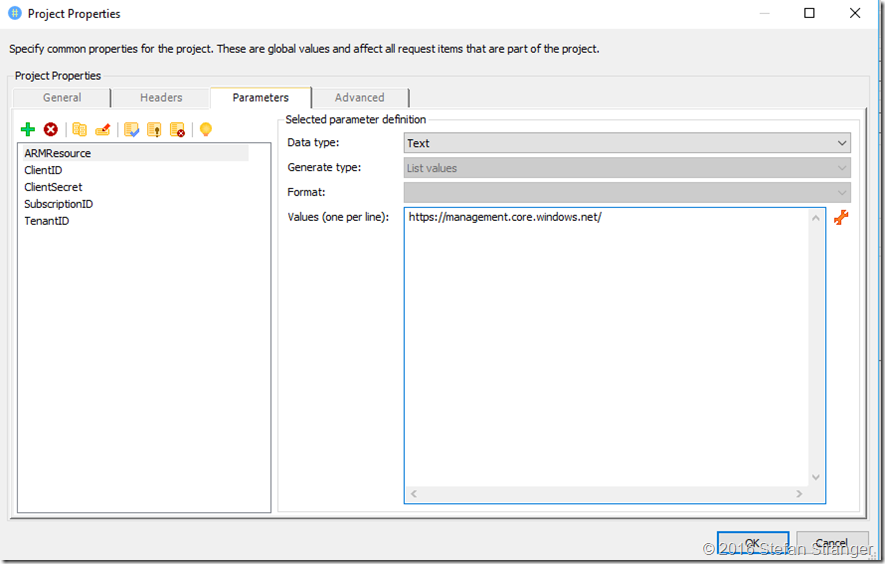
Create the following parameters in your project:
- TenantId (enter your value in the value field of HttpMaster)
- ARMResource (https://management.core.windows.net/)
- ClientID (enter your value in the value field of HttpMaster)
- ClientSecret (enter your value in the value field of HttpMaster)
- SubscriptionID (enter your value in the value field of HttpMaster)
Enter your Azure Subscription values for these parameters in your HTTPMaster project.
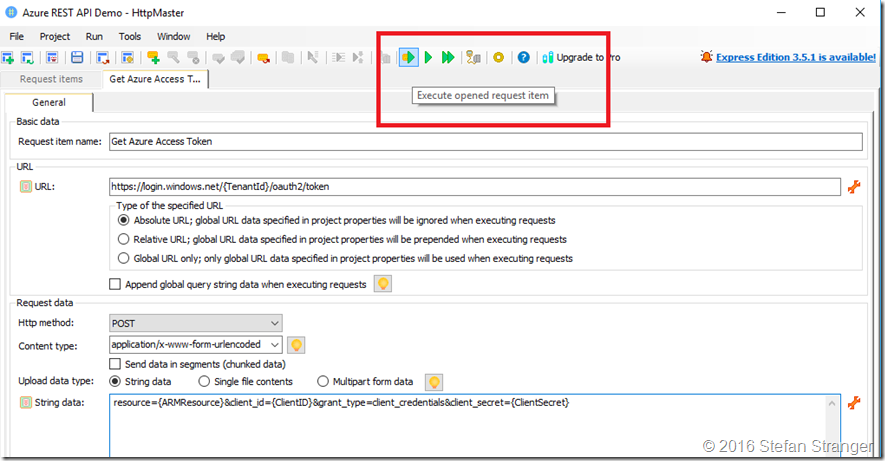
Save your project and execute the Get Access Token request.
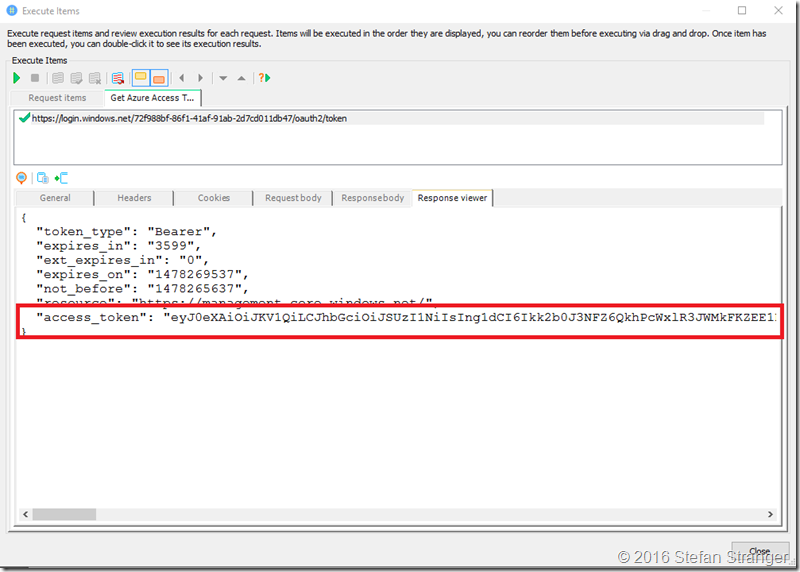
And now you have you access token returned.
We need this access token in our next request so copy the value of the access token to Notepad++ or another editor of your choice and add bearer to the beginning of the string.
Copy the complete string to the Header section of HTTPMaster’s Project properties and create a new header with a Name Authorization (keep in mind the token is valid for an hour)
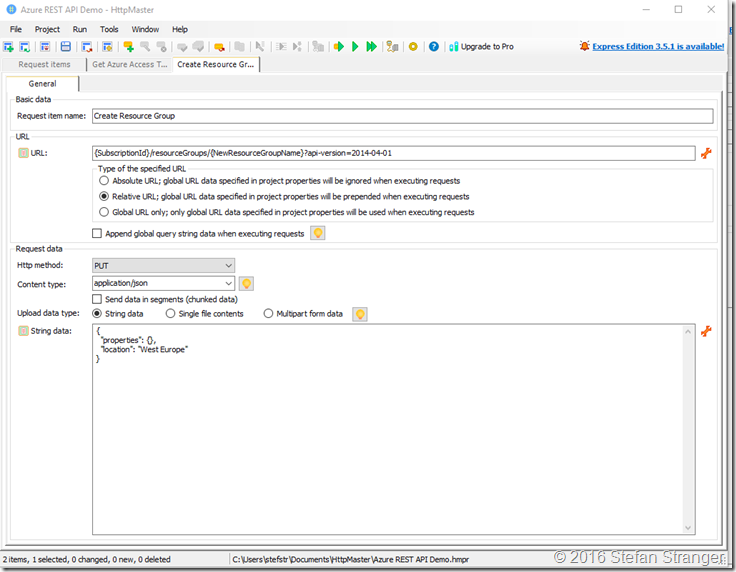
Now we are going to create a new request for creating the Resource Group.
You need to following information:
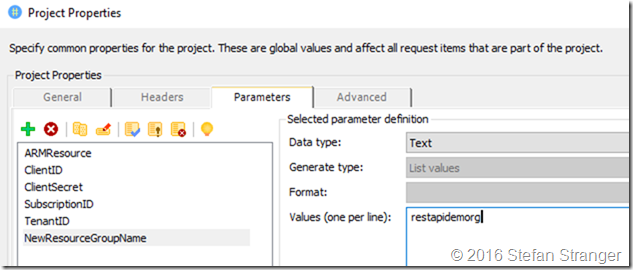
- URL: {SubscriptionId}/resourceGroups/{NewResourceGroupName}?api-version=2014-04-01
- Body:
{"properties": {},"location": "West Europe"} - New parameter NewResourceGroupName. (this is new resource group we are going to create)
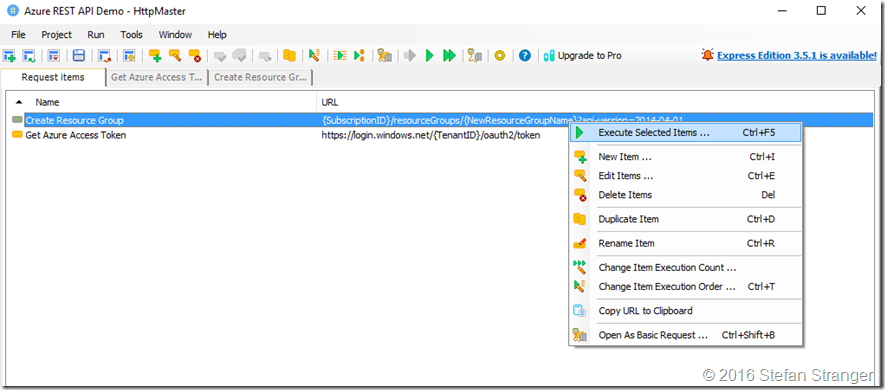
Now execute the Create Resource Group request.
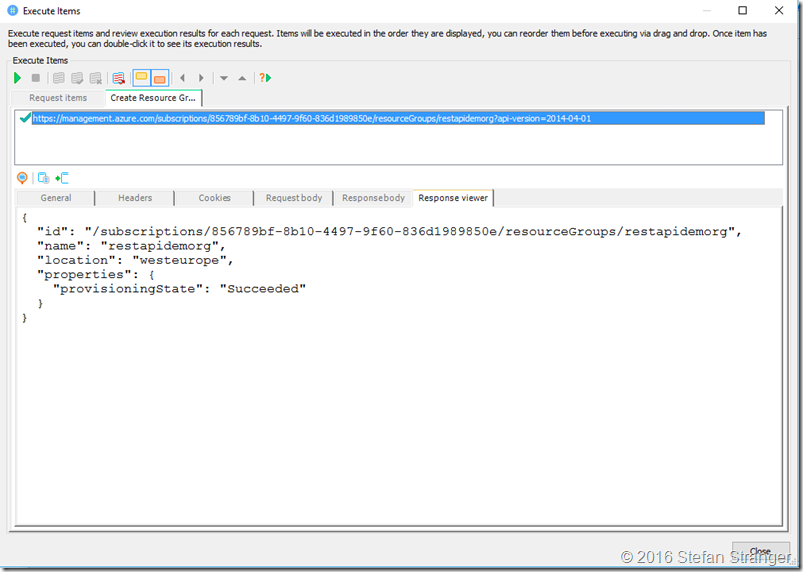
When the result is returned we see that the Resource Group is created.
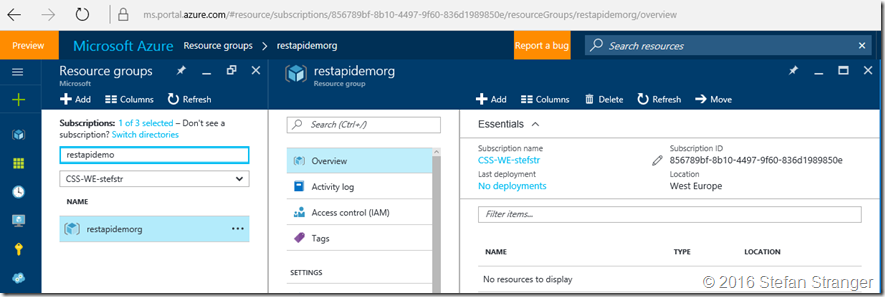
Let’s also check in the Azure Portal.
Success ![]()
You can download the HttpMaster project from my Github Account and use that as a starting point.
Watch my blog for the next blog post about this topic.
References:
