Get Rolling with Raspberry Pi and Windows 10 in 5 Minutes
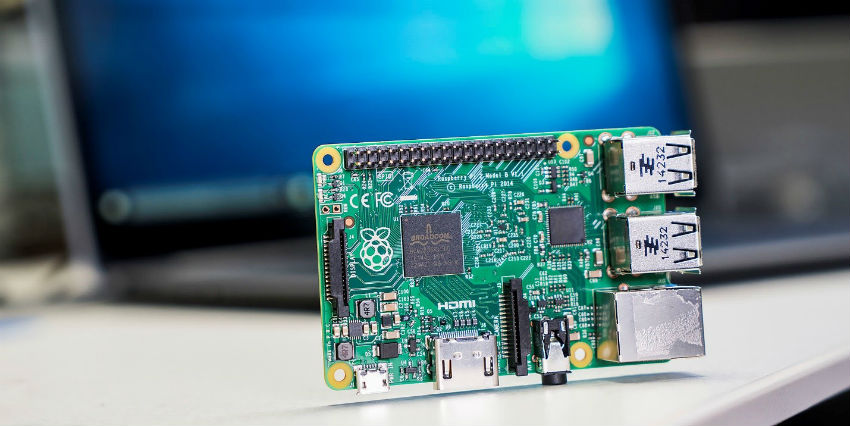
If you’ve got an upcoming hackathon to attend, or just want to build something cool, you’ll want to check out the latest in maker hardware. Regardless of whether you’re building a robot, drone, quadcopter, connected media device, smart thermostat or other related gadget, you’ll want to check out Windows 10 IoT Core. This is the base version of Windows 10 that can run on inexpensive maker boards like the Raspberry Pi 2, Minnowboard Max and the Snapdragon 410c.
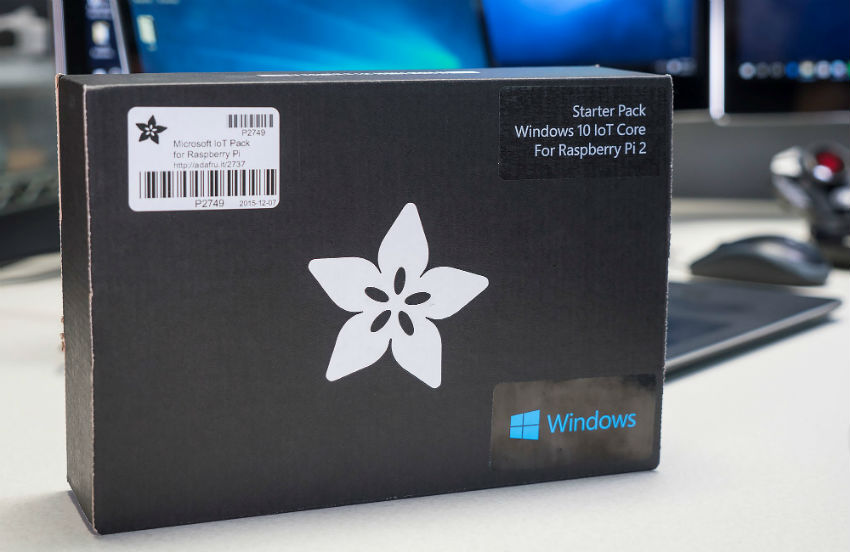
In this post, I want to highlight the Adafruit Microsoft IoT Pack for Raspberry Pi 2, and take you through the process of setting up a Raspberry Pi 2 with Windows 10 IoT Core. I’ve already gone through a high-level overview of Windows 10 IoT Core and unboxed the Adafruit Microsoft IoT Pack for Raspberry Pi 2 (See this episode of the Internet of Things Show on Channel 9) so I won’t cover all of that here in this post.
To recap, here’s what you’ll get with the Adafruit Microsoft IoT Pack for Raspberry Pi 2:
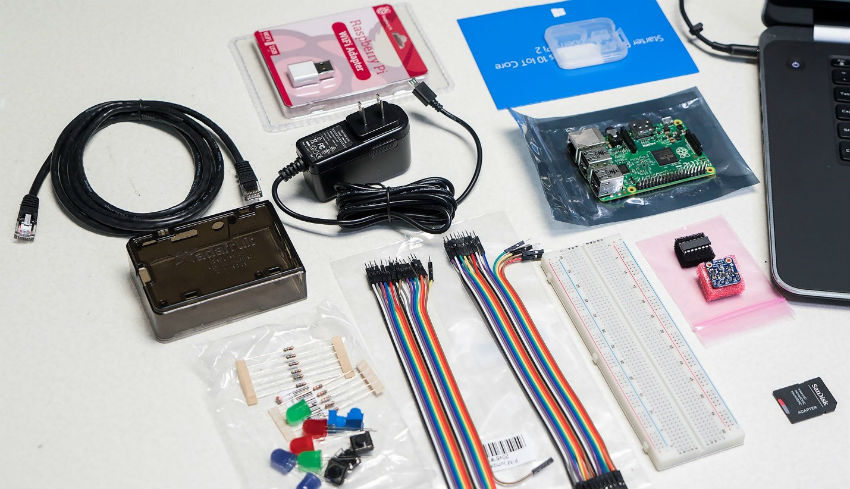
Inside the box is everything you need to get rolling with Windows 10 IoT Core and Raspberry Pi 2, including bits and pieces for a wide range of experiments and quick starts you’ll find on https://windowsondevices.com.
Here’s the contents of this kit (full contents list HERE):
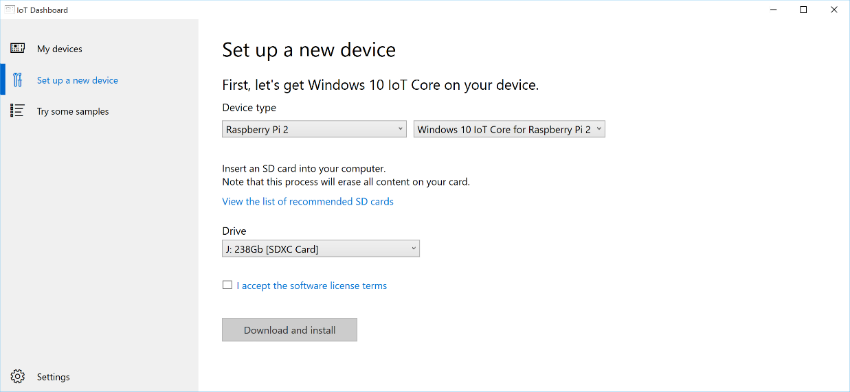
If you’ve setup maker boards before, you’re probably used to using multiple tools and expecting to download image files manually. For Windows 10 IoT Core, there’s a new Windows app that makes this process about as easy as it can get: it’s called the “Windows IoT Core Dashboard” (available HERE).
Once you’ve installed and run the app, all you need to do is insert an SD card into a reader attached to your PC, click through a couple of options, and in just a couple minutes you’ll have an SD card that’s ready to boot your Raspberry Pi 2!
Here’s what the Windows IoT Core Dashboard app looks like:
That was easy, almost too easy! I promise there’s no catch…
So what’s next? I’m going to follow up with a post that shows the process of writing a Universal Windows App in C#, and how to deploy that app to the Raspberry Pi 2 we configured in this article. Until then, happy hacking!
Thanks,
Gavin


