Git and Visual Studio 2017 part 13 : Compare your items in VS
In previous article, I used ‘diff’ command in Git to compare items. In this article, I do the same but using Visual Studio 2017.
Compare two commits
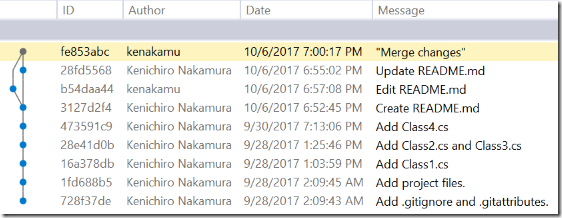
1. Check the current situation first. Go to Team Explorer | Changes | Actions and View History.
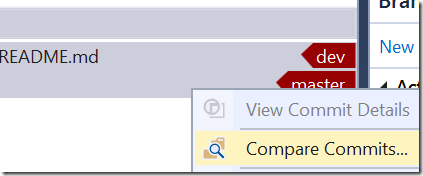
2. Select first and third commits and right click. Select “Compare Commits”.
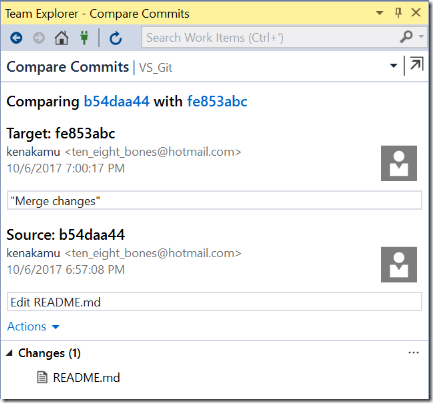
3. “Compare Commits” windows opens and you see what changes are done.
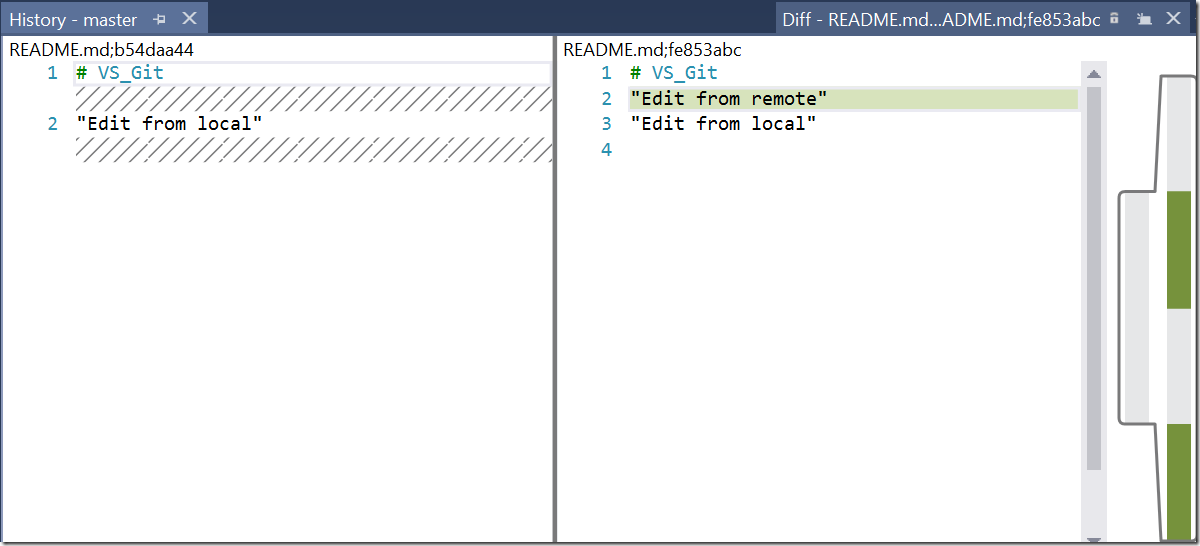
4. Double click README.md in Changes and it opens up diff tool. As Visual Studio is set to difftool in git, you can open the same window by running ‘git difftool HEAD~1 HEAD README.md’
5. It is easier to use VS to compare two commits are you can simply select from GUI and select compare from context menu. But Git provides more options to compare commits.
Compare specific items
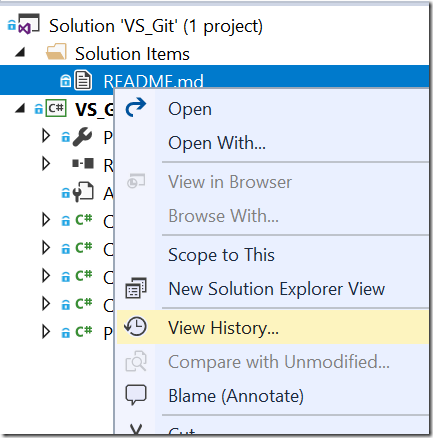
1. Visual Studio has capability to show history per items. Go to Solution Explorer, right click README.md and click “View History”.
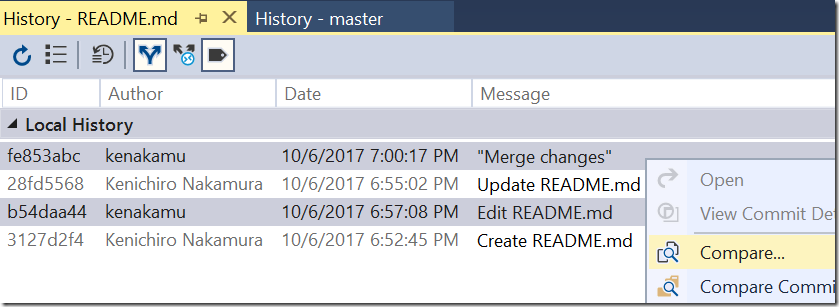
2. In history view, select two commits, right click and click “Compare”.
3. When I click “Compare Commits”, then VS compares commits rather than item level.
4. Same applies when I select folder level.
Compare items between working directory, staged area and commit
What if I need to compare items between working directory and staged area or even a commit? (Yeah, same sentence from previous article.)
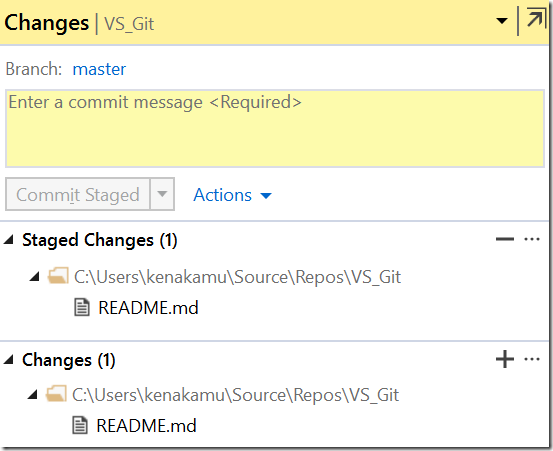
1. Edit README.md by adding a line and stage it. Then further modify the README.md to see the file is appears in both Staged Changes and Changes area.
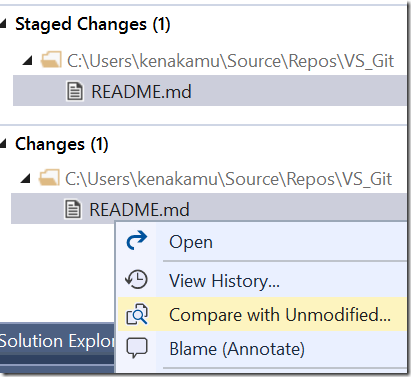
2. Right click README.md in Changes and click “Compare with Unmodified”. This compares README.md file in staged area and working directory.
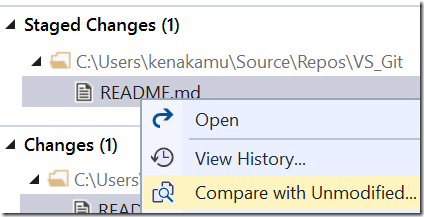
3. Right click READM.md in Staged Changes and click “Compare with Unmodified”. This compares README.md file in the latest commit and staging area.
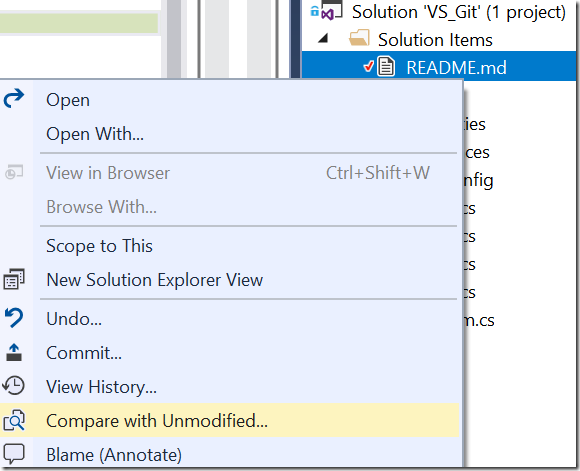
4. Go to Solution Explore and right README.md, then click “Compares with Unmodified”. This compares the latest commit and working directory.
Compare branches
Compare items in branches is same as compare items in commits, as branch is just a pointer to a commit.
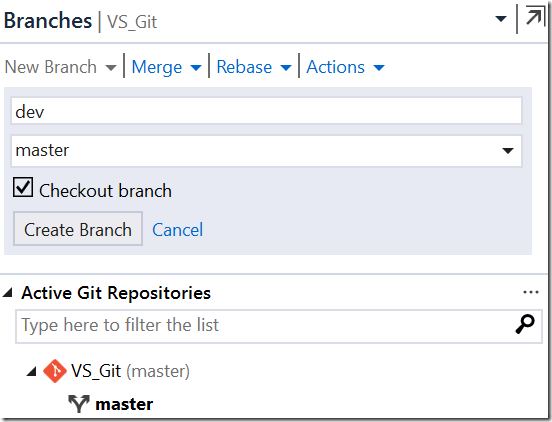
1. Create “dev” branch and checkout.
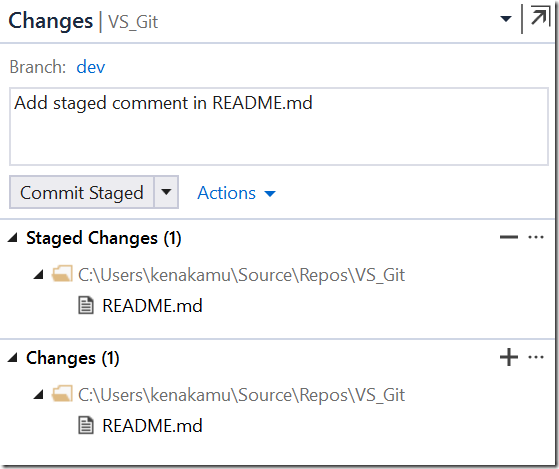
2. Go to Team Explorer and Changes. Staged Changes and Changes are now coming to dev branch. Commit only staged item by adding “Add staged comment in README.md” as commit comment.
3. Though there is no compare changes from Branch menus, you can still do so from history menu. VS only shows history for particular branch, so open history for dev branch, and compare with master.
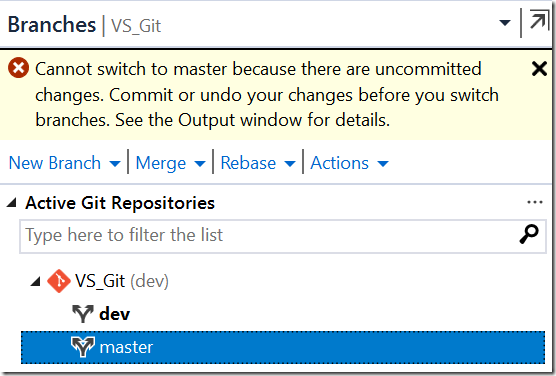
4. Now try to checkout master. You see error saying you cannot checkout due to uncommitted changes. Though error says checkout Output windows, but it doesn’t have much information. However, we already know what to do!. Run ‘git checkout -f master’ this time as we are okay to lose the change.
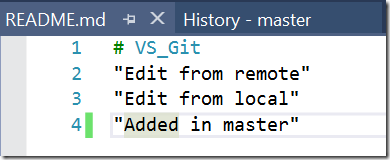
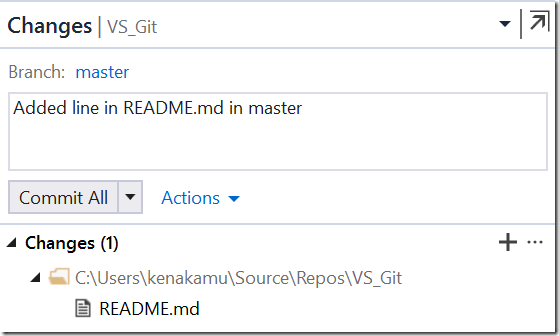
5. Add change to README.md and commit the change.
6. Now I cannot find master branch in dev history nor, dev branch in master history via Visual Studio. If I want to compare branches at this time, run ‘git diff’.
Inline Change history in Visual Studio
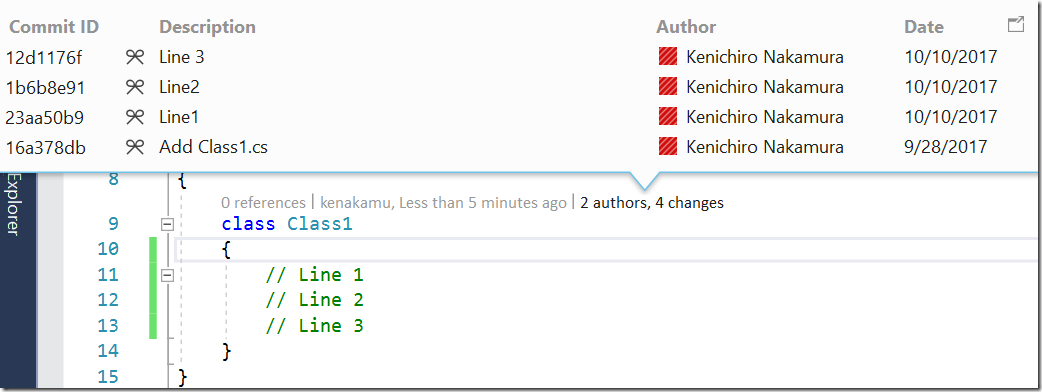
Visual Studio has feature called “Code Lens”, which is very powerful one.
1. Add changes to Class1.cs file and commits several time.
2. When I open Class1.cs file, I see several information for Class1. Click “2 authors, 4 changes” which popup the detail of changes.
3. Double click any commit will open “Commit Details”. This is very quick way to go to commit I am interested in!
See here for more info about CodeLens.
Summary
Compare features in Visual Studio is not as rich as git commands, but VS provides unique features as well. I personally notices that I didn’t use staging area as much as I should, and that is why I didn’t confuse too much when I use diff feature in VS. However when I start using staging area more granular level, then I had to understand how VS gives diff result depending on where I click the menu.
From next article, I will investigate how to identify or troubleshoot issues while using Git.
Oh, I just realized that I totally forgot about "revert". I will explain how to reset your work after you share you code next. Go to next article.
Ken
