Git and Visual Studio 2017 part 10 : Share your work with remote with VS
In previous article, I played with remote in Git. In this article, I do the same but using Visual Studio 2017.
Delete GitHub repository and reset some status
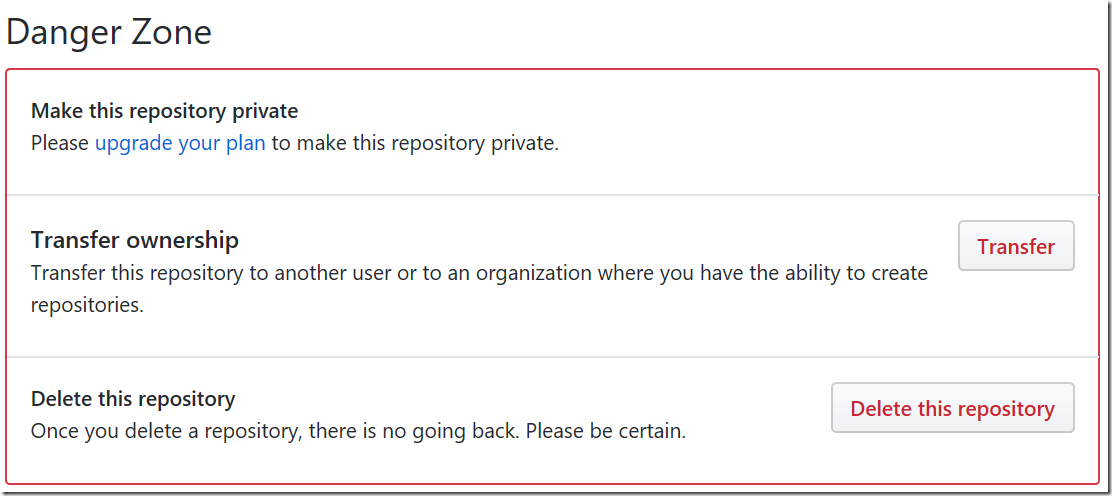
1. Go to GitHub and delete the repository you created. You can do so from “Settings” | “Danger Zone”.
2. Make sure you don’t have remote. If you do, run ‘git remote remove origin’.
3. Also delete a dev branch. Run ‘git branch –D dev’. Oh why I do delete the branch? To tell you the truth, when I clone in previous article, I forget to “checkout” the remotes dev branch thus I already lost it! My bad..
4. Run ‘git branch –a’ and ‘git log –oneline –graph –all’ to see current status.
Setup Visual Studio for GitHub integration
Visual Studio does not natively support GitHub, but there is an extension.
1. Click Tools | Extensions and Updates…
2. Click Online and search for “GitHub”. Click “Download” for “GitHub Extensions for Visual Studio”.
3. Close VS and the installation starts. Complete the installation by following the wizard.
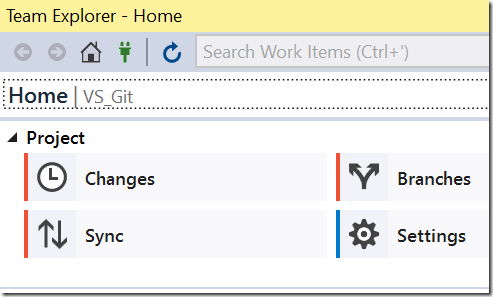
4. Next, set the account. Open the solution again and go to Team Explorer. Click Settings menu.
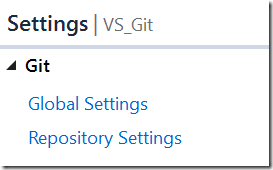
5. Click “Repository Settings”. Git has several settings scope, and I only apply the setting for this repository at this moment.
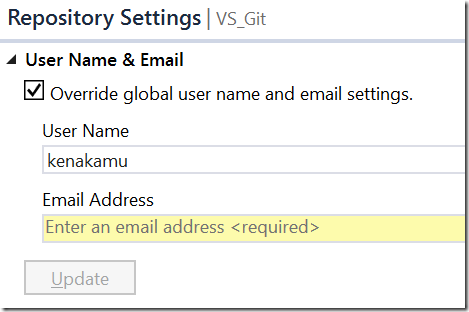
6. Enter the username and email which match with your GitHub account. By doing this, GitHub will recognize me as the user I specified here.
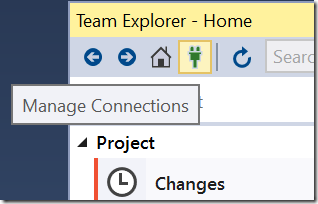
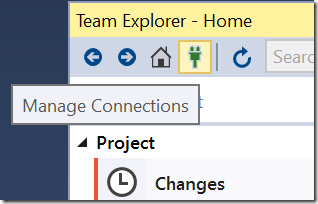
7. Go back to home and click manage connection icon.
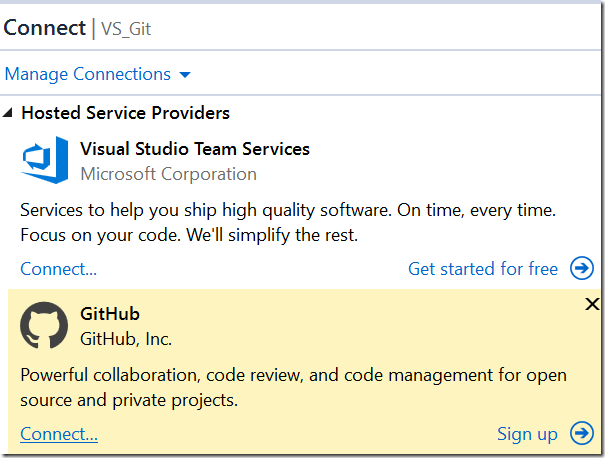
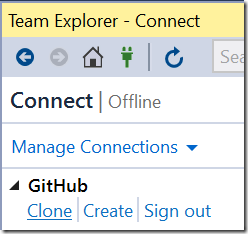
8. Click “Connect” link in GitHub section.
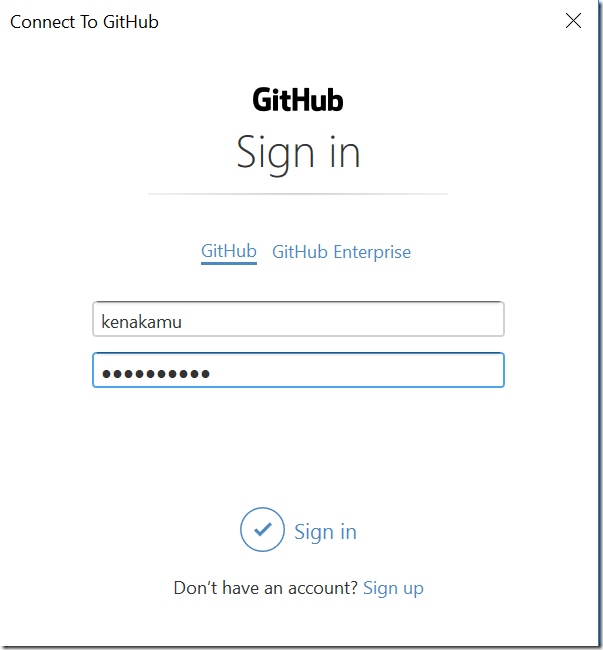
9. Enter account name and password, then click “Sign in”. Now VS has your credential to GitHub.
Add Remote and Push the changes
Now, let’s create GitHub repository and synchronize the items.
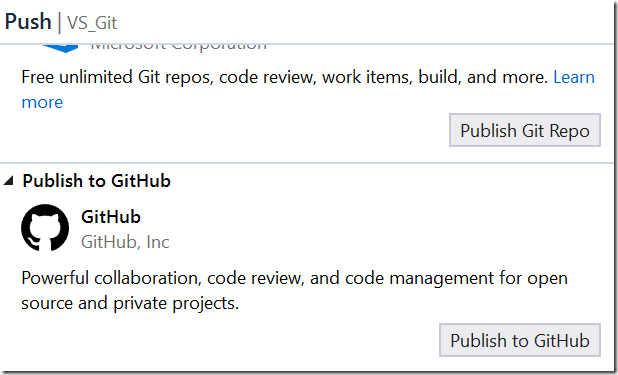
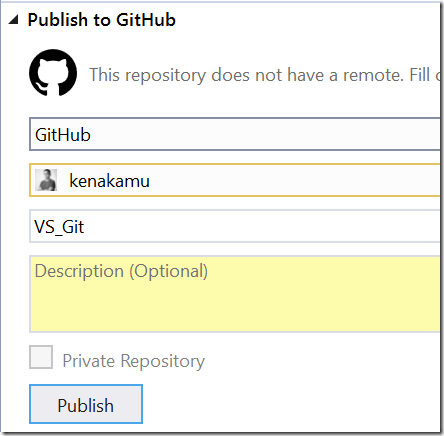
1. Go back to home and click “Sync”. Click “Publish to GitHub”.
2. I use default settings but you can change if you want. Click “Publish” button, which creates repository in GitHub, add remote to local repository and push.
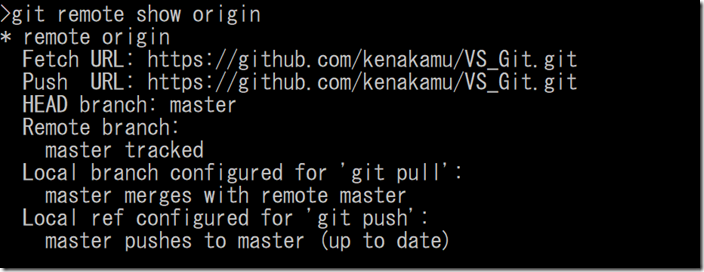
3. Confirm the repository is added in GitHub, and run ‘git remote show’ to see remote is added locally.
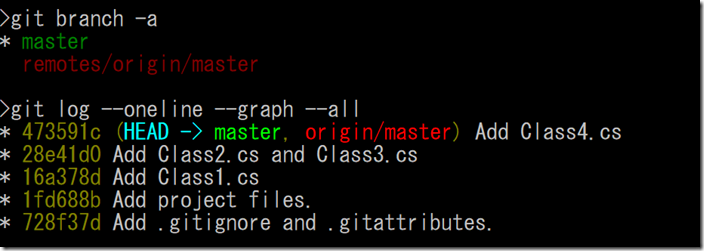
4. Run ‘git branch –a’ and ‘git log –oneline –graph –all’. VS already issue ‘git push –u origin master’.
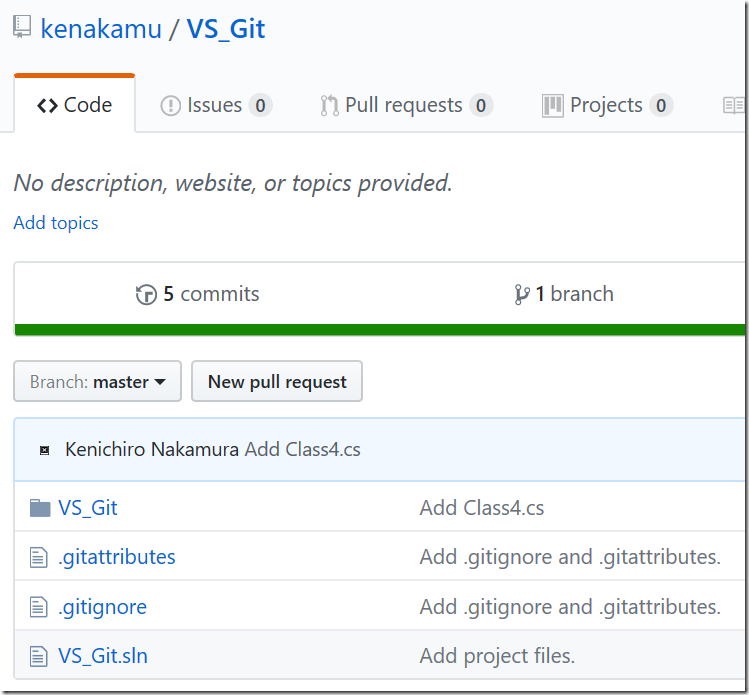
5. If I check the GitHub, it has items and commits.
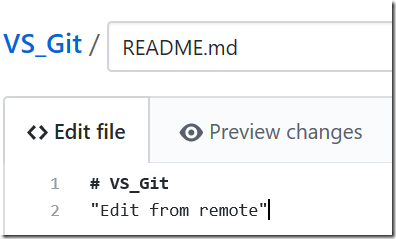
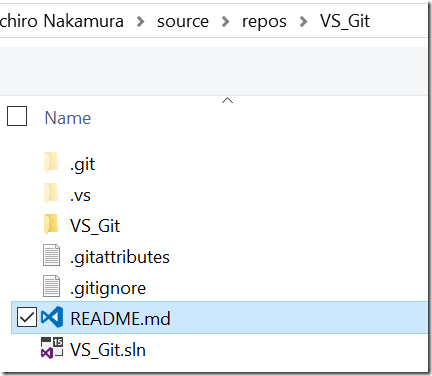
6. Add README.md like previous article so that GitHub has newer commit than local.
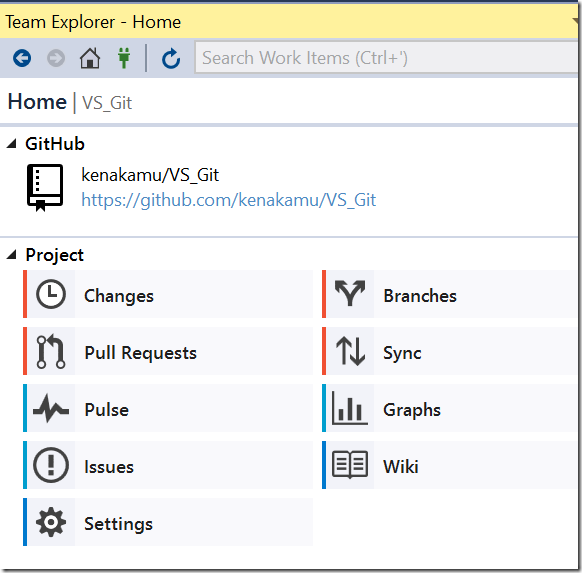
7. When I go to Team Explorer again, I see GitHub menus are there, too!
Receive Changes from Remote
GitHub repository contains README.md which I don’t have locally. So, you know what to do.
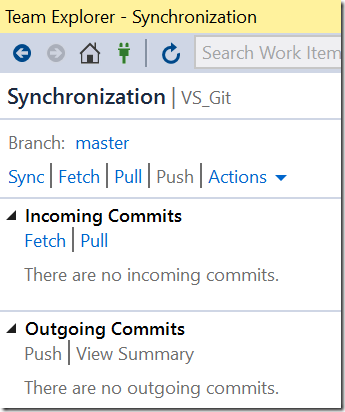
1. Go to Team Explorer and click “Sync” menu.
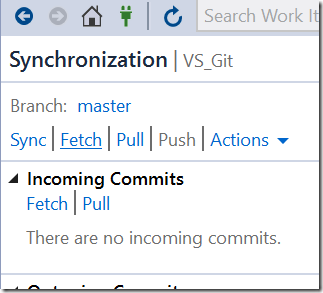
2. Click “Fetch” in the top menu first to try fetch.
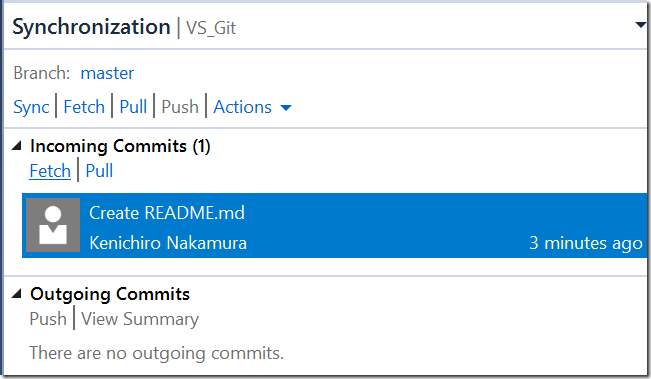
3. VS shows you the item to fetch. Click “Fetch” under Incoming Commits. The item won’t be disappeared even fetch completed.
4. Run ‘git log –oneline –graph –all’. Fetch succeeded as expected, and remote tracking branch points to newer commits to local master.
5. Click “Pull” now. The item is disappeared, and local master points to the latest commit.
Resolve Conflicts
I do the same thing as previous article for conflict resolution test.
1. Edit README.md in GitHub.
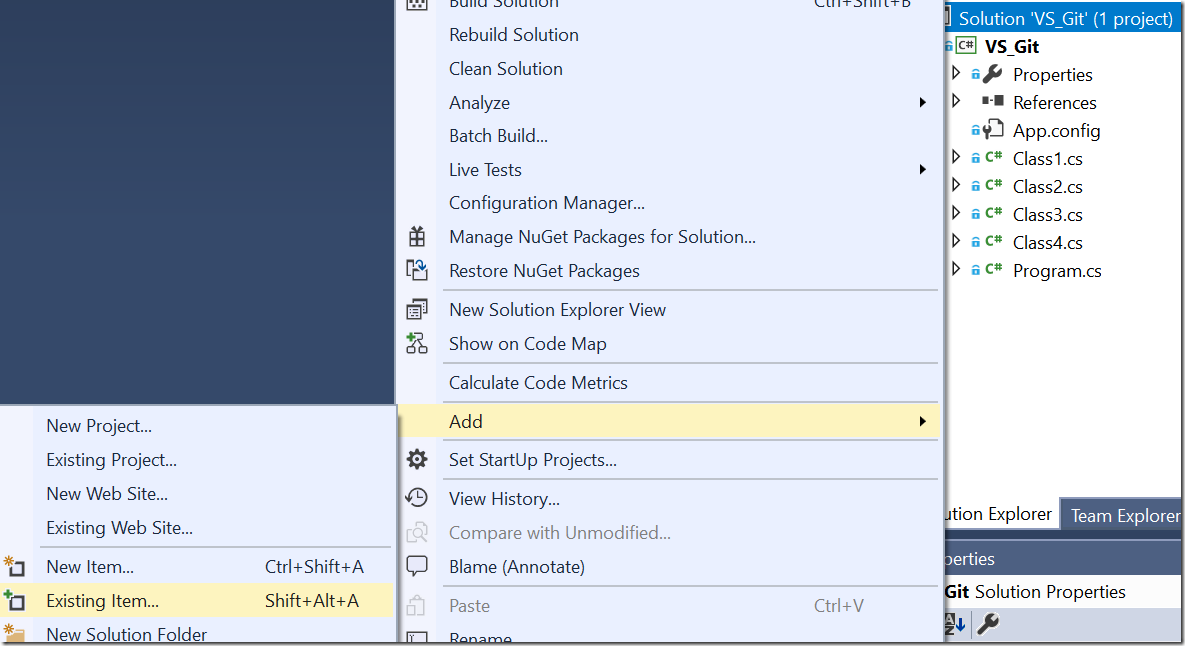
2. Edit README.md locally in Visual Studio. To do so, first I need to let my projects add the file. Right click the solution and add existing item.
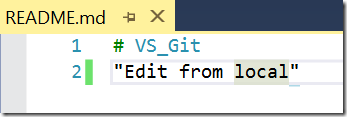
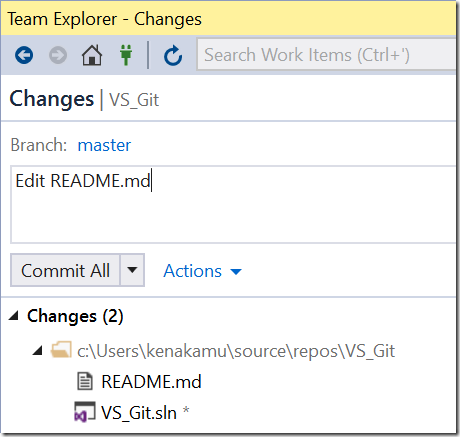
3. Edit the file and commit the change. The sln file is also part of commit.
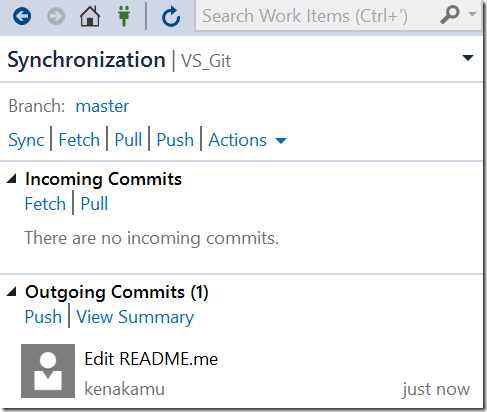
4. Once you commit locally, VS gives the hint to “sync” the change. Click “Sync” link. It doesn’t actually sync but navigate to Synchronization page.
5. Click “Sync”. Sync is VS feature that simply does “pull” and “push”. This is useful as we should “pull” first anyway to get local up-to-date. It also shows which commits will be pushed.
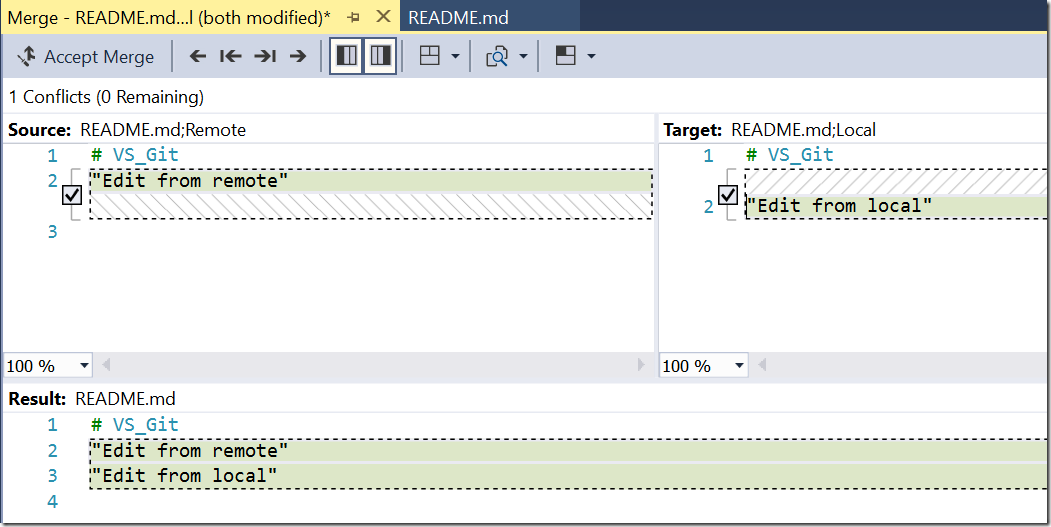
6. Now conflict message appears as expected.
7. We already know how to merge them. I took both changes.
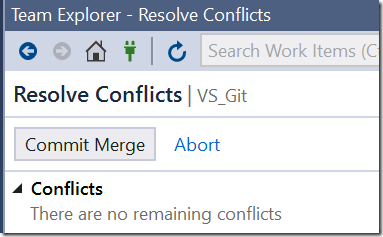
8. Once you resolve the conflicts, click “Commit Merge”.
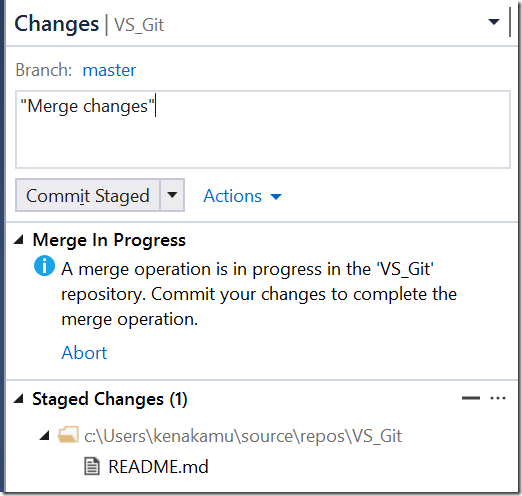
9. Enter the commit message and commit it. This creates new commit for merge.
10. As I added new commit, again, click “sync” link in help message.
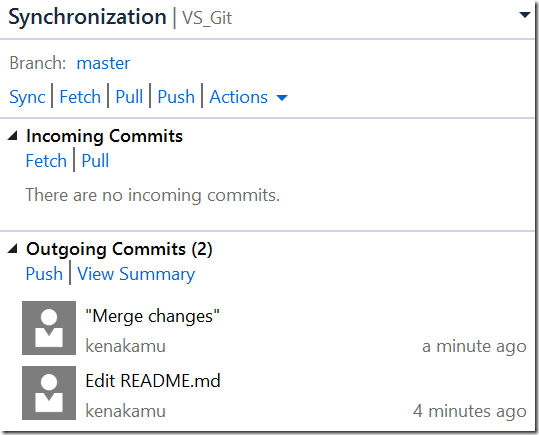
11. I see two commits now. Click “Sync” again. As I already did pull as part of sync, I can simply do push, but as a best practice, I usually do “Sync”.
12. View history from Action menu. VS did great job to merge the changes by resolving the conflict.
Sync branches
How branch synchronizing works in VS?
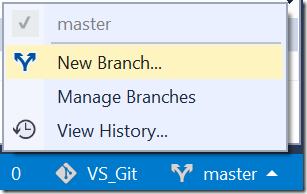
1. As I deleted dev branch at the beginning, I will recreate it now. From status bar, click new branch and add dev branch.
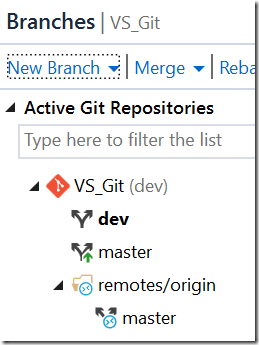
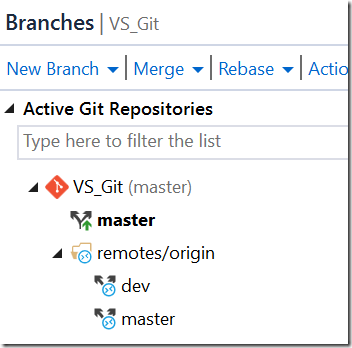
2. Expand remotes/origin to see which remote tracking branches. This is same as ‘git branch –a’ result and I don’t see dev branch there yet. Of course no dev branch in GitHub, either.
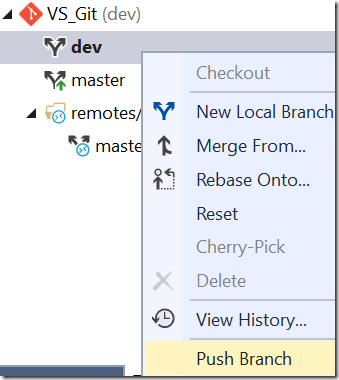
3. Let’s push dev branch. Right click the dev branch and click “Push Branch”, which does ‘git push –u origin dev’.
4. Now remotes/origin has dev branch, and GitHub also has dev branch.
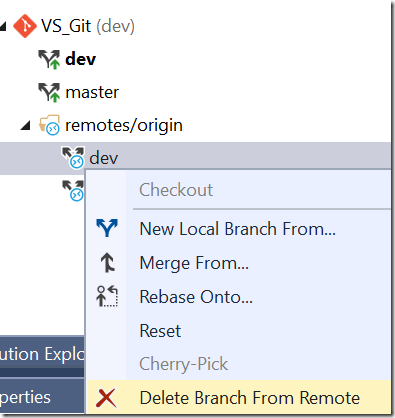
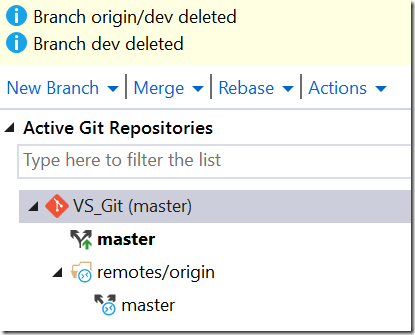
5. Right click the dev branch in remotes/origin and click “Delete Branch From Remote”. This deletes both remote tracking branch and the branch from GitHub.
7. Let’s see other workflow. Checkout to master branch and delete local dev branch. Now I don’t have no dev branches locally.
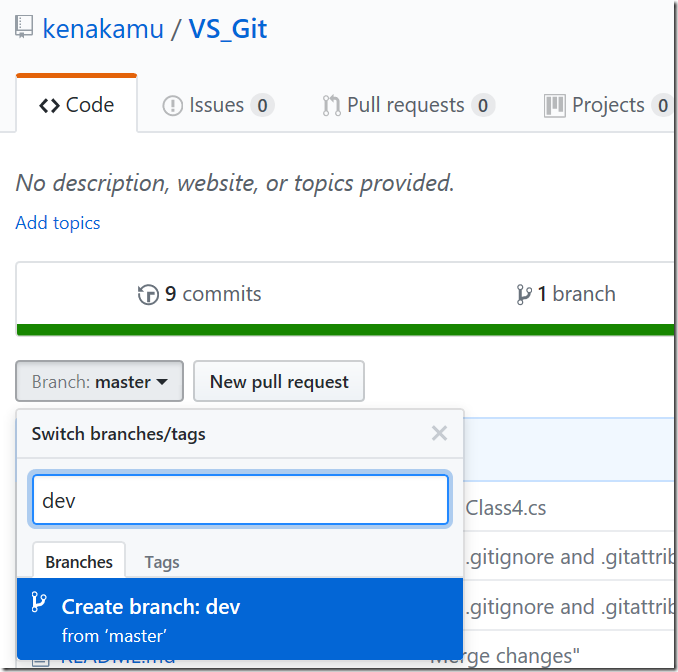
8. Create dev branch in GitHub. Go to Code tab and click “Branch master” dropdown. Enter dev as its name and hit Enter.
9. From Visual Studio, go to Team Explorer | Sync, then do “Fetch”. I know you don’t see any change here.
10. Go back to home and move to Branches menu. You see dev remote tracking branch.
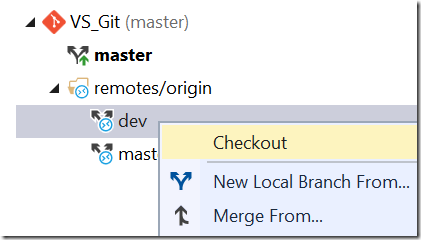
11. Right click the dev branch and click “Checkout”. This will create local dev branch and related these branches, then checkout to it. If you need more granular control, use “New Local Branch From…” menu, which gives you more options.
12. Now I have all branches setup and synchronized.
13. Next, delete the branch from GitHub, then how can I do “prune” from VS because I want to clean local. Unfortunately again, I couldn’t find it. Run ‘git remote prune origin’ from command prompt instead. Of course you can use “Delete Branch From Remote” menu but prune is easier if there are many orphaned branches.
14. Push the dev branch again so that GitHub has two branches, master and dev for next experiment.
Clone from Remote
What if you start from existing remote? Yes, we “clone” it. Let’s see how VS does it.
1. Close Visual Studio 2017 and delete the project folder so that you can start from scratch.
2. Open Visual Studio and go to Team Explorer.
3. Click “Manage Connection” icon.
4. Click “Clone” in GitHub menu.
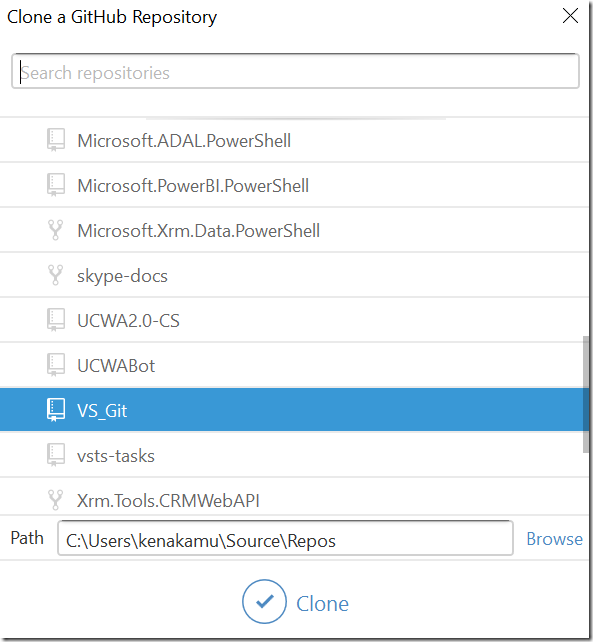
5. Select the repository you want to clone and click “Clone”. You can specify path here, too.
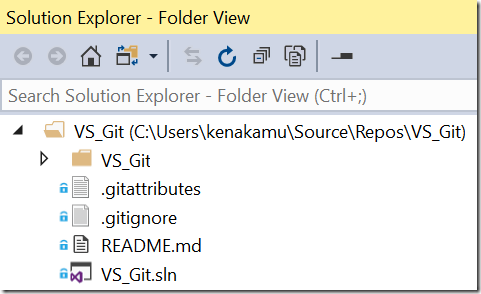
6. Once cloned, it navigates you to cloned folder view.
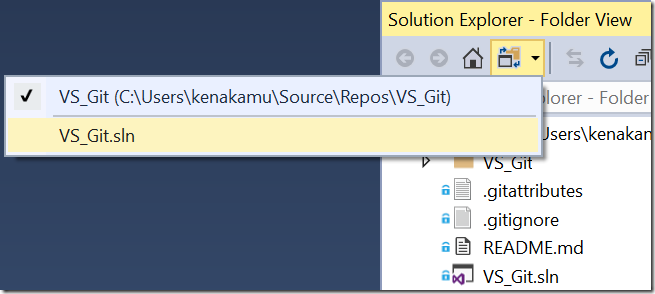
7. To open the solution, click “Solutions and Folders” and select the sln.
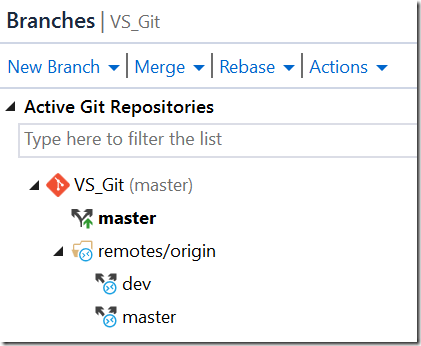
8. Go to Team Explorer | Branches. I have all remote tracking branches but only master local branch. This is where I lost my local dev branch last time.
Delete Remote
Finally, delete the remote. I don’t mean delete GitHub repository, but delete remote information like ‘git remote remove origin’.
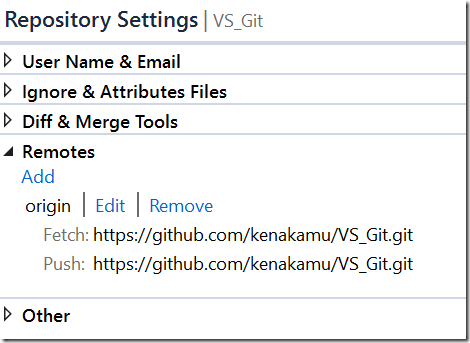
1. Go to Team Explorer | Settings | Repository Settings, and expand Remotes.
2. Click “Remove” link. That’s it.
Summary
Even though I needed to install GitHub extension to Visual Studio, it supports many features for remote, except prune. If I just missed it, please let me know.
I explain configuration feature in the next article. Go to next article.
Ken

