Walkthrough–Add Azure Web App to Visual Studio Team Services
Overview
In this walkthrough I will show you how to use Visual Studio Team Services with an existing Azure App Service project (specifically an Azure Web App). We will add a task to update/create the project database from a DACPAC file and enable CI (Continuous Integration).
Sign up for Visual Studio Team Services
Go to: https://www.visualstudio.com/team-services/ There is a link at the bottom to use the cloud services for free! Sign up to start using Visual Studio Team Services with your development projects.
Use the same login you use for logging into Visual Studio and the integration will allow you to easily sync your projects to Visual Studio Team Services.
Add your project to the Visual Studio Team Services from Visual Studio 2017
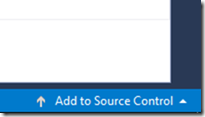
Open Visual Studio and your existing project. The bottom right of the IDE you will see the ‘Add to Source Control’ menu:
NOTE: In Visual Studio 2015 the menu item is ‘Publish’. This will publish a Git Repo with the name of your project for you.
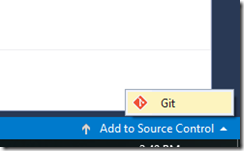
Choose ‘Git’:
Once you have done this, a Repo is created on your local machine that will allow you to develop and track your changes. You can save your changes often to this local Repo so that if you make a mistake, you can easily back out your changes and revert to an older version. Once you are ready to publish these changes for others to use you can Publish the Git Repo to Visual Studio Team Services. This will allow others to work on the same project at the same time, and then use the tools to merge the work you are all doing into a single master branch, ready to publish.
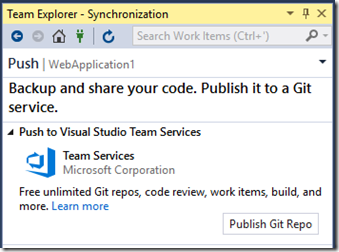
Initial Publish Git Repo to Visual Studio Team Services (select the Publish Git Repo button):
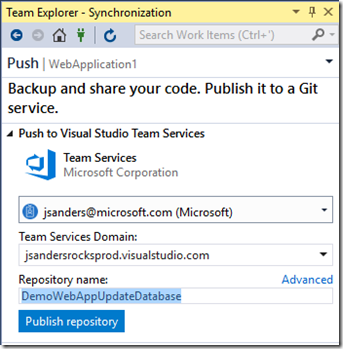
Give your Repo a name or use the default which will be the project name and push ‘Publish repository’:
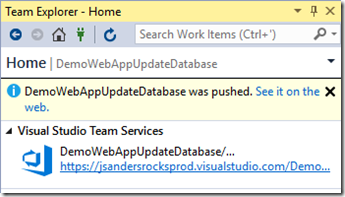
You can click on the hyperlink to see the files up in Visual Studio Team Services:
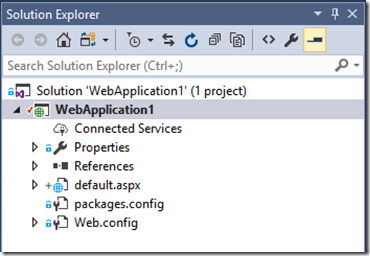
When you are developing and you hit a milestone you should Sync your changes to the local Git repo. In this case I added a default.aspx page and you can see it is marked with a ‘+’ to indicate it is a new item added and the solution has a red check indicating it has changed:
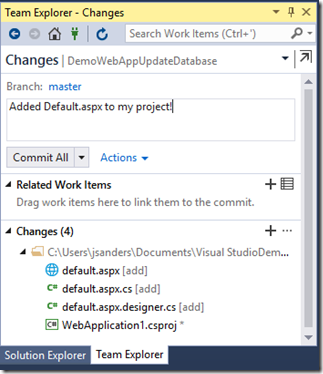
Another indicator is the pencil icon in the lower right side if the IDE. It indicates there are 4 changes. Click on that icon, and you will see the Changes panel of Team Explorer. Enter a commit message and click the ‘Commit All’ button:
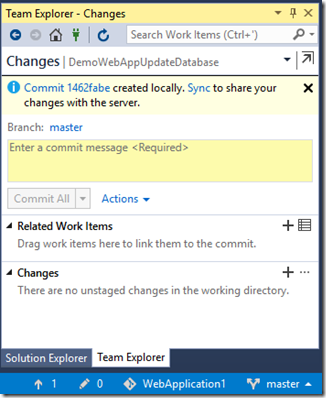
You will see the Commit is created local, and it gives you an option to Sync up to VSTS (Visual Studio Team Services). You can also see the up arrow icon at the bottom of the IDE indicates there is ‘1’ Commit local that has not been pushed up to VSTS as of yet.
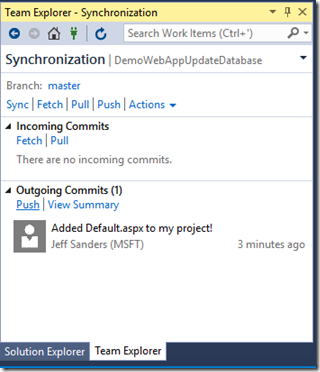
When you are ready to share your changes up on VSTS you can hit the commit icon (up arrow at bottom) or choose the Sync link and push your changes to VSTS. Choose the ‘Push’ link to push the Commit:
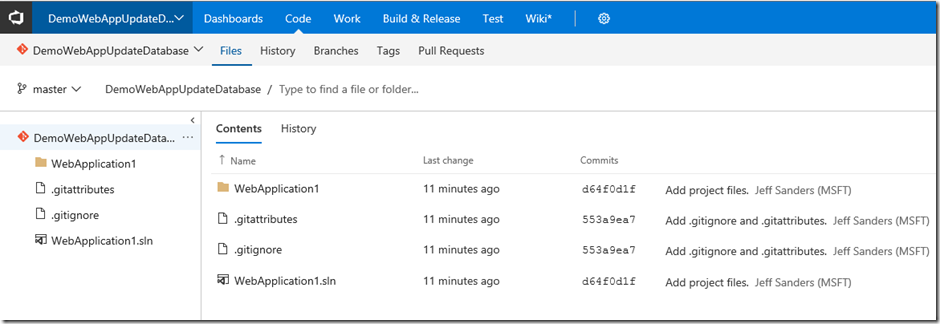
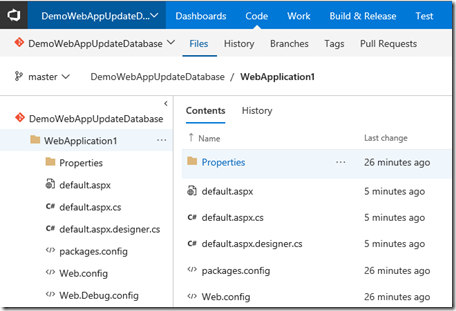
And again you can go to VSTS and see the added files:
Publish from Visual Studio Team Services
Once you are ready to deploy your changes, ensure you have an Azure Web App Resource already defined to in the Azure Portal to deploy to. Then you can build and deploy your code from VSTS to your Azure Web App.
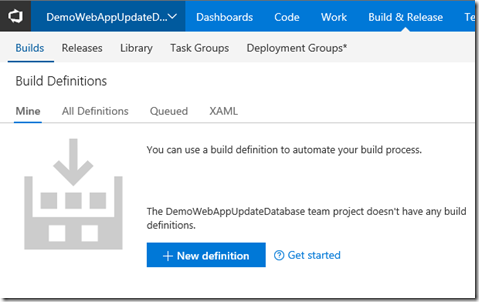
Click on the ‘Build & Release’ tab in VSTS and since you have no build definitions create a ‘New definition’:
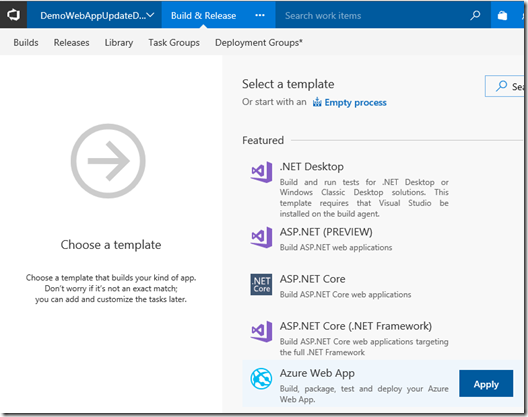
Select and Apply the Azure Web App template:
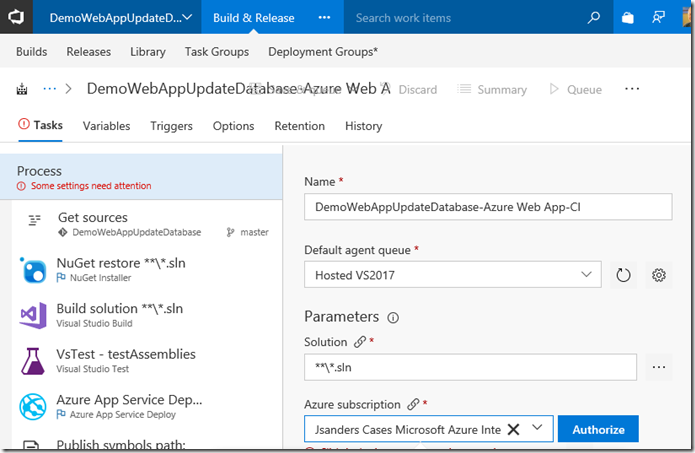
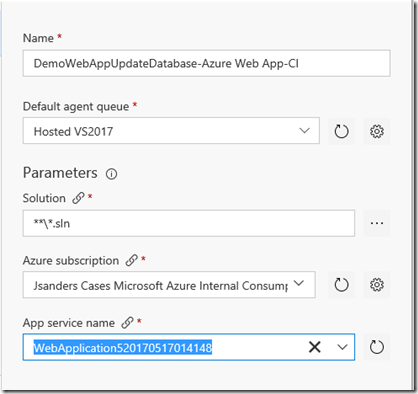
Fill in all the required information. Note that you must Authorize and add your credentials to be able to access the subscription and App Service:
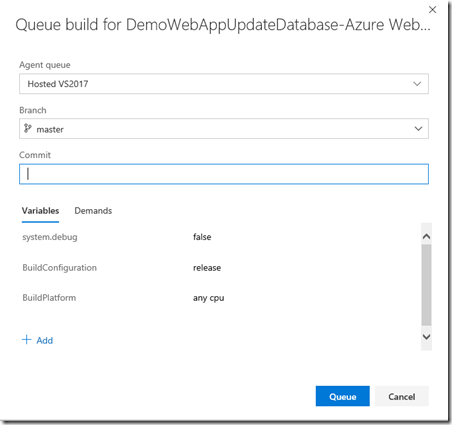
Note the Default agent queue should be Hosted, or Hosted VS2017. I chose the latter because my project is a VS2017 solution:
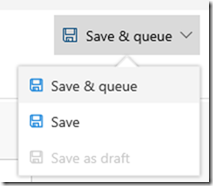
Choose ‘Save & queue’ and optionally add some text to the ‘Commit’ field and press the ‘Queue’ button:
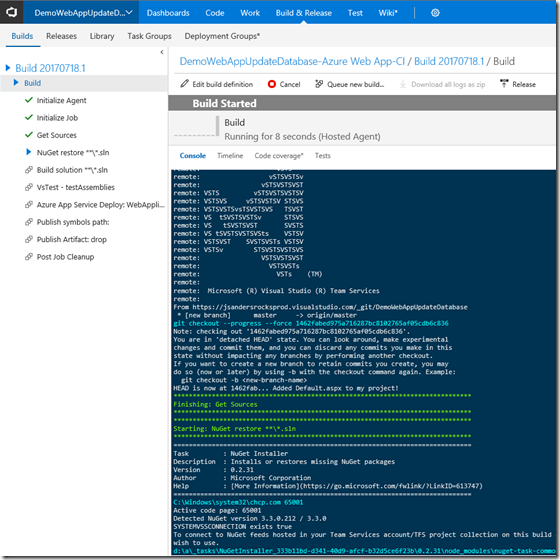
This will queue the build and release for you. Clicking on the link for the build (or going to history) will allow you to monitor the progress on the console view:
Update a Database from your Project
Now that we know the build and release cycle is working properly, we will add a DACPAC file to update the database during the build and release Task. I will leave it to you to ‘Bing’ how to create a DACPAC file.
Once you have the DACPAC, you want to add it to your solution:
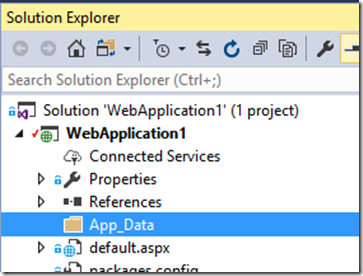
Create a folder in the root of your solution called ‘App_Data’. The name of this folder is very important as we will use this to exclude this folder in the Build process from being pushed out to the application:
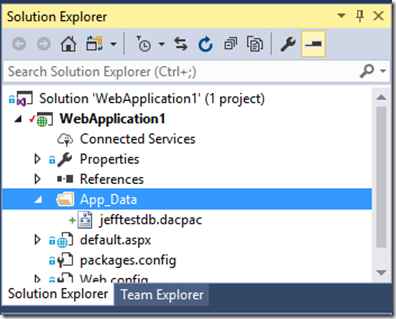
Locate the DACPAC file and add it to the App_Data folder choosing ‘Add, Existing item…’:
Then commit these changes and push it to VSTS as you did above for Default.aspx.
Modify the Build in VSTS to exclude the DACPAC file from the release to the App Service
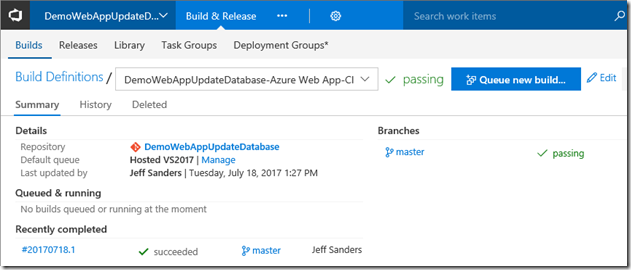
In VSTS click on the ‘Build & Release’ tab and select the Build Definition we created. Then click the ‘Edit’ icon on the top right of the view:
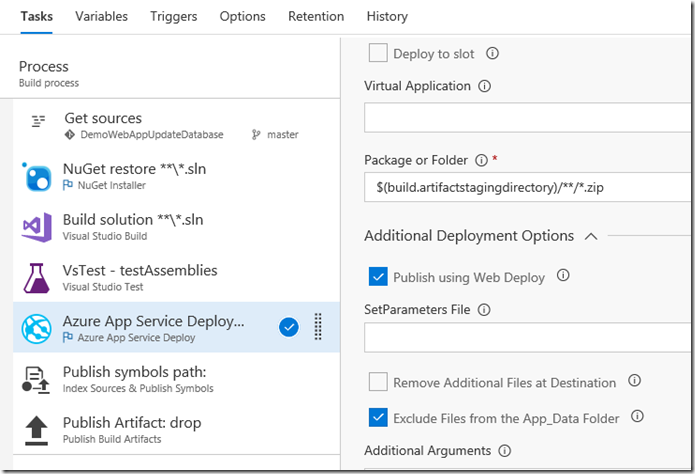
Click on the ‘Azure App Service Deploy…” step of the process and open the ‘Additional Deployment Options’ and select the option to ‘Exclude Files from the App_Data Folder’. Remember that is the folder we put the DACPAC file. There is no need to deploy that file to the Azure Web App because we are going to add a step to update the Database from the Build/Release again in VSTS.
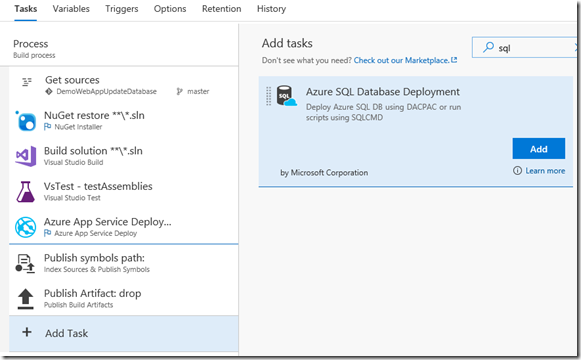
Add a Task to the Build Definition to Update the Database from the DACPAC file
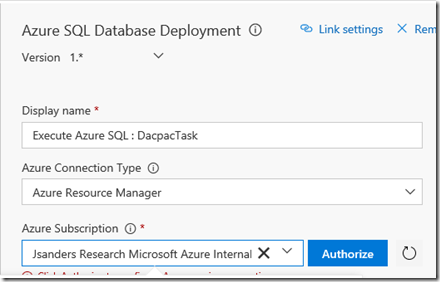
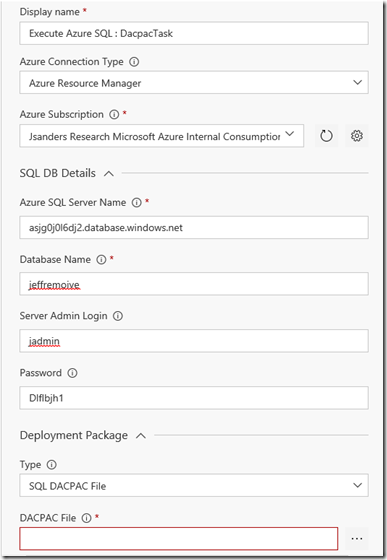
Fill in the required fields and change the Azure Connection Type to ‘Azure Resource Manager’ and then Authorize using your subscription (as you did before)
You can get the server name from the Azure Portal by looking up you database the (it is in the Overview):
And fill in the rest of the information:
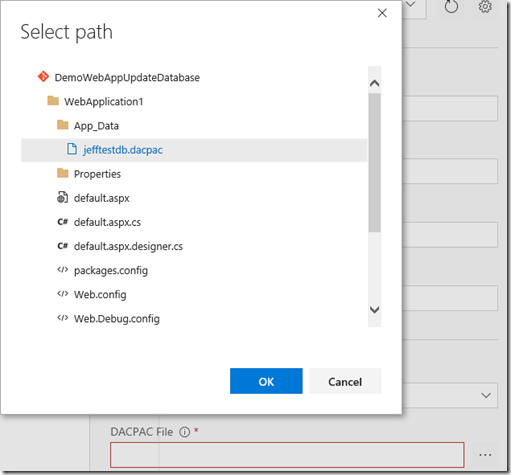
Finally select the DACPAC file from the path of you repository by hitting the ‘…’
Hit ‘Save and Queue’ again and Queue this build
At this point I got an error!
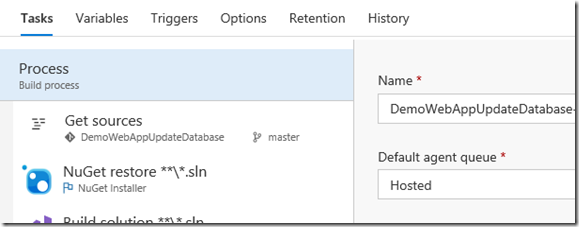
This is complaining that the Hosted VS 2017 agent does not support sqlpackage (that is all I added). The fix is to edit the build again, click on the top Process tab on the left side and set the ‘Default agent queue to ‘Hosted’.
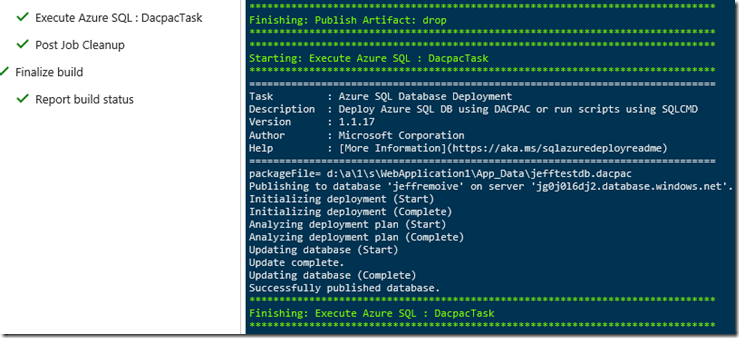
Save and queue, and click on the build link as before to see the results and you will see the SQL Task:
Enable CI
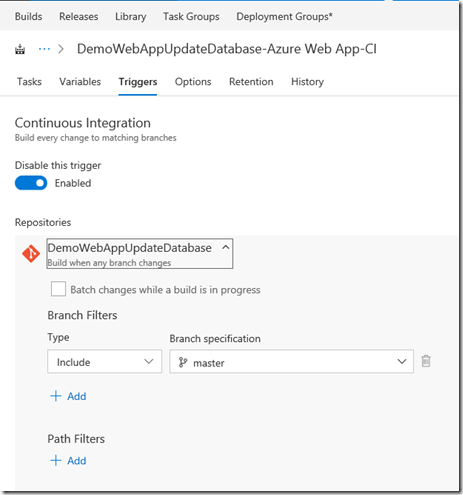
For my example I want to have VSTS build and release to my Azure Web App whenever someone pushes changes in the Master branch. See the VSTS site for more options and examples.
This is as simple as Editing the Build definition again and navigating to the Triggers section. Here you simply choose to Enable the trigger, use the defaults and Save the Definition:
Conclusion
I hope this Walkthrough helps you set up your first Azure Web App using Visual Studio Team Services. Of course there are other ways to do what I showed you here, but this will get you started.
