Using SampleData in Windows Phone 8 using Blend.
It is really important to have an ability to design the UI of your windows Phone application, and for that we require data to be there on the app Pages, and it’s not always necessary to have the data available for UI developers.
To cater this, blend comes in for a rescue and provides easy to use tools for us to use and have sample Data for your Application. In this Post I am going to be discussing and implementing Sample Data in windows Phone 8 Application.
Let’s start by creating a blank windows Phone Application in Blend.
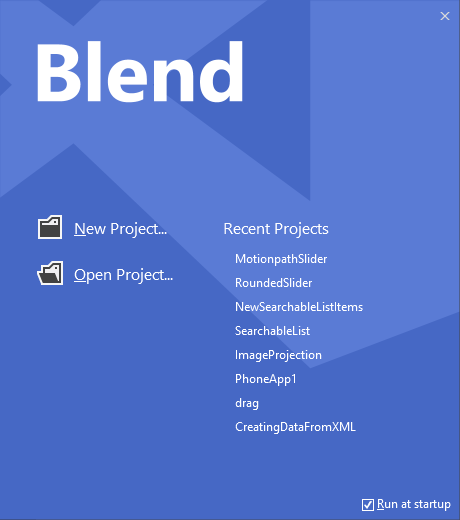
Open Blend > click on New Project
From the project window, select windows Phone and then Windows Phone App and click OK
Once the Project is built, you can see Data Tab on the rite side of the screen
Click on the Data tab and you will see two Buttons on the Top rite side of the Tab, Create Sample Data and Create Data Source.
Click on Create Sample Data, and click new Sample Data
Give the Data Source a name and Click OK
Now, have a look at the Data Tab, there is now a SampleDataSource Added there.
Expand SampleDataSource and you will see a Collection, Expand that as well, and you will see two properties added there. Property1 and Property2.
Double Click on the Property1 Give it a proper name, do the same with Property2.
On the rite corner of the Property names, there is a button called Change Property Type, since we need to change the property type of the Email from Boolean to a string, we need to click on that button, go ahead and click on it
In the popup windows, click the dropdown that has Boolean written and select string from it.
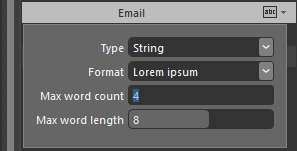
From the Format dropdown, select Email Address
Now starts the fun part, you can drag and drop entire collection onto the stage or any property from it, and Blend will take care of the rest by itself.
As Soon as you drag the Collection onto the stage, a listbox is created and its itemSource property is bounded to the collection, and Sample Data is displayed on to the stage.
You can Edit the Sample Data as well and replace it with your own.
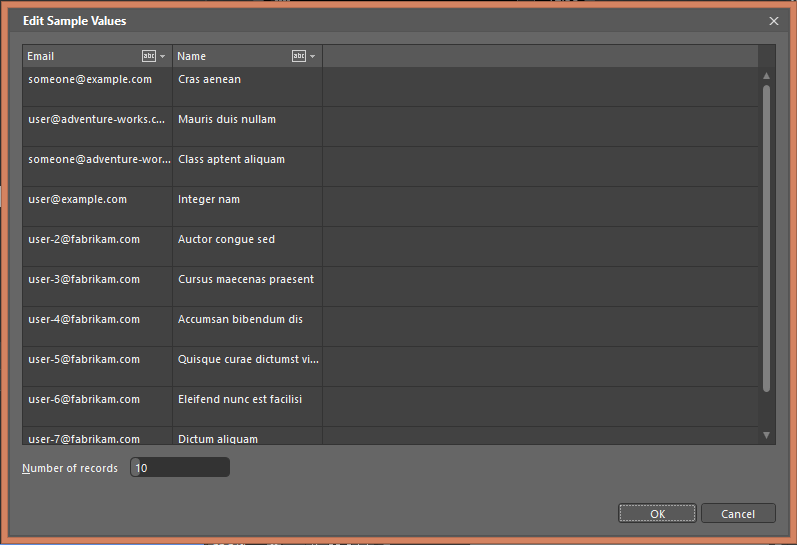
Click on the Edit Sample Values next to the Collection and, you will see a windows that has the sampleData in it.
Double click on any of the value and start editing it.
You can also increase the number of records from this window. Press OK when ready and return to the Main Window.
CHANGING THE UI OF THE SAMPLEDATA
To change the UI of the sampleData generated, click on the listbox that has the data in it,
Click the breadcrumb navigation on the top, click Edit Additional Templates > Edit Generated Items > Edit Current
You will notice that now you are on the ItemTemplate of the ListBox that has a StackPlanel and two TextBlocks in it,
Select any textblock from the Objects and Timeline and open the properties tab,
Scroll down to the text property and start increasing the text, or change the color to your needs.
As soon as you change the color or the text property, the Sample Data displayed will be updated immediately.
You can also add Images, to the sample Data by introducing additional properties in the collection as well,
Happy Developing and Designing.
Comments
Anonymous
August 28, 2013
Keep it up, I love these kind of tutorialsAnonymous
August 28, 2013
wow,, keep it up bro :)Anonymous
August 28, 2013
Very good tutorial !Anonymous
August 28, 2013
Its a Great Tutorial..Anonymous
August 29, 2013
niceAnonymous
August 29, 2013
itx really great....


