Open EMR in Azure PaaS (Commercial and Government)
Open EMR is a popular open source electronic health records and medical practice management solution. There are a number of available distributions based on Docker containers, Windows, or Linux installations. In this blog post, I will show that it is easy to install it in an Azure Web App. Open EMR is written in PHP and uses a MySQL backend database. I will show how to set it up in Azure Government using the in-app MySQL functionality in Azure Web Apps. You could of course choose to use the managed MySQL service in Azure (Commercial), the instructions would be very similar. I have previously described a similar procedure for setting up iTop (ITSM) in Azure Web Apps. If you read that blog post, this will seem very familiar.
1. Create a new Web App
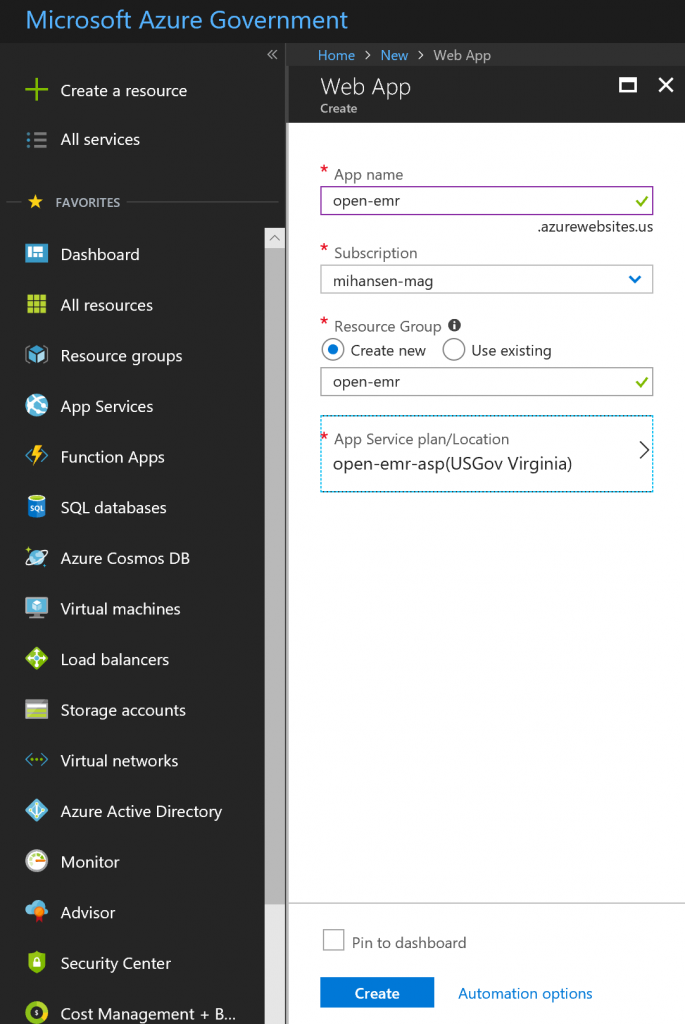
First create a new Azure Web App and an App Service Plan. Consider that the app service plan will be supporting both the MySQL database and the web app itself, so I would recommend going with at least an S1 plan.
2. Enable in-app MySQL
Azure Web Apps support "in-app" MySQL, which runs the database using the app service plan resources. I would not recommend this for production use due to the resource restrictions, but there is a good chance that you are setting up Open EMR for testing purposes or a demo, in which case it is perfectly fine.

After enabling the database, I recommend validating that you can access the web app site itself and also the Kudu console (the *.scm.azurewebsites.* site).
3. Set the PHP version in the Web App
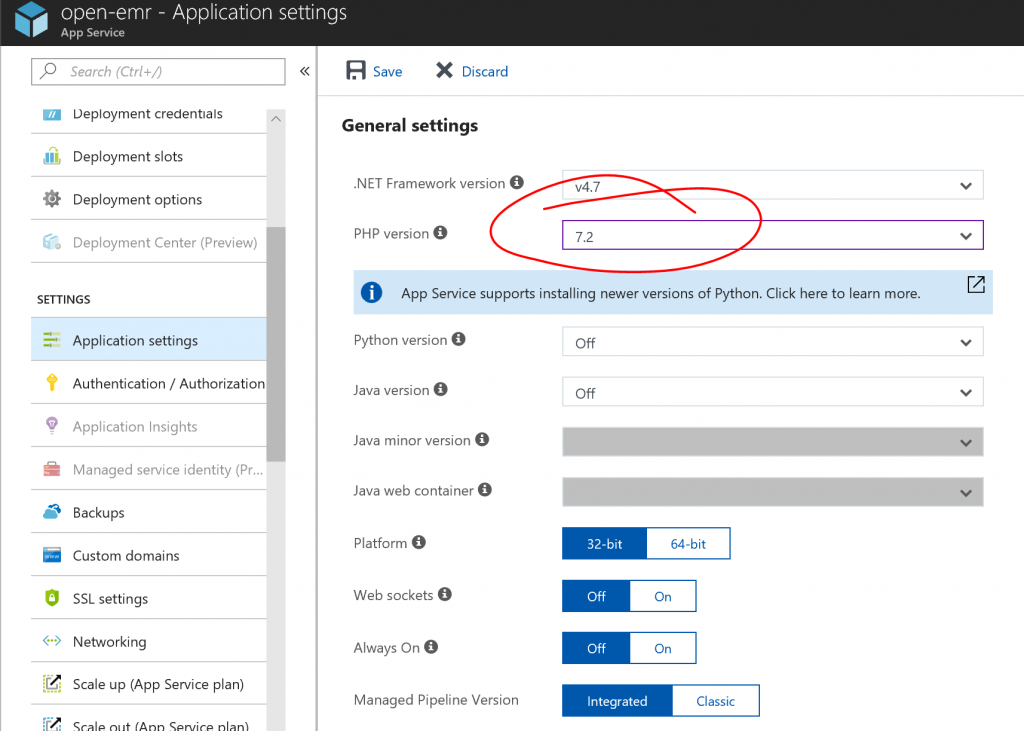
I recommend using PHP version 7.2, which you can pick in the application settings:
4. Locate the connection details for the MySQL database
Using the Kudu console, navigate to D:\home\data\mysql, where you will find a TXT file with the username and password for the MySQL database:

This file should contain a string that looks something like this:
[plain]
Database=localdb;Data Source=127.0.0.1:XXXXX;User Id=azure;Password=XXXXX
[/plain]
Make a note of the port number and the password.
5. Create a database for Open EMR
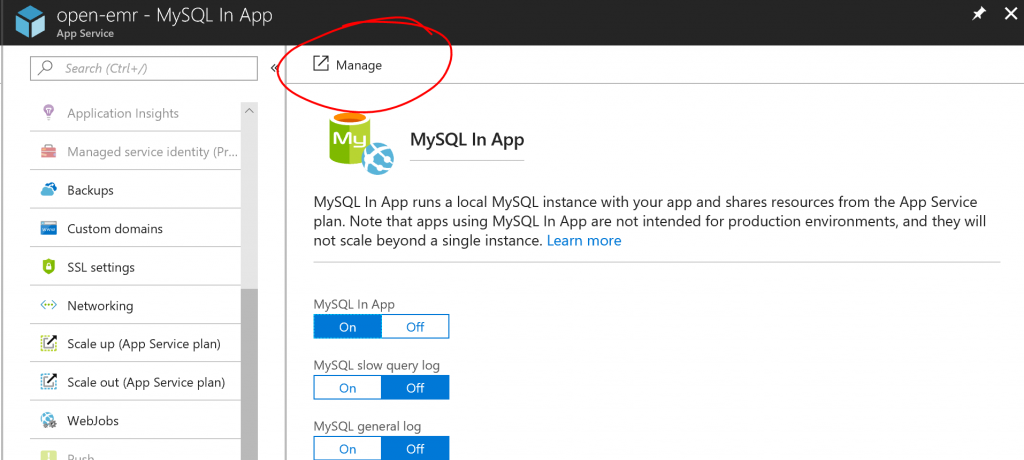
The Open EMR installation actually has a feature for creating the database for you, but it requires a root user with GRANT privileges and the azure user in the file above does not have such privileges, so I recommend creating a new database manually. You can use the phpMyAdmin interface by clicking "Manage" on your in-app MySQL database:
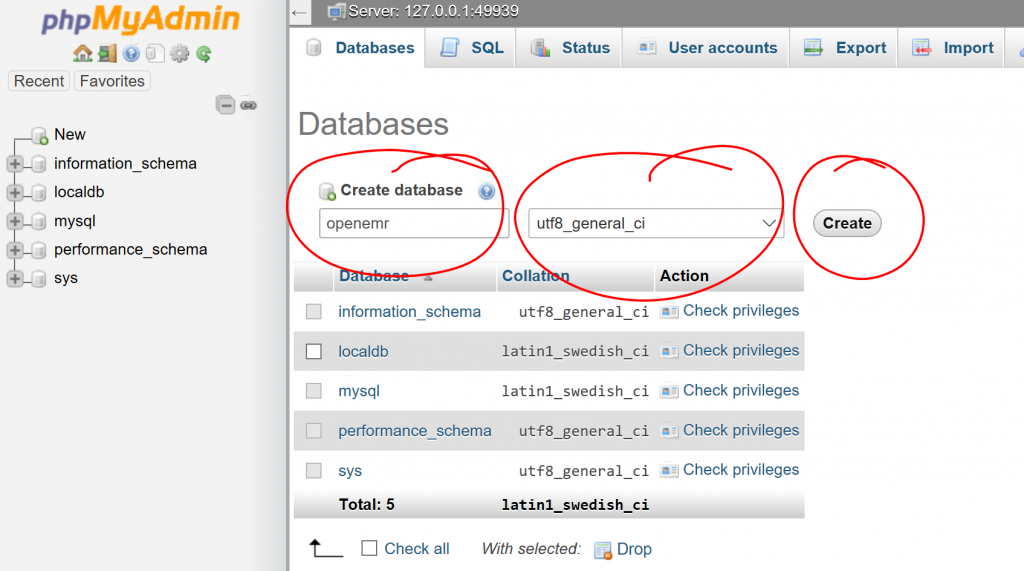
Then create a new database, e.g. called "openemr":
6. Connect to Open EMR GitHub respository
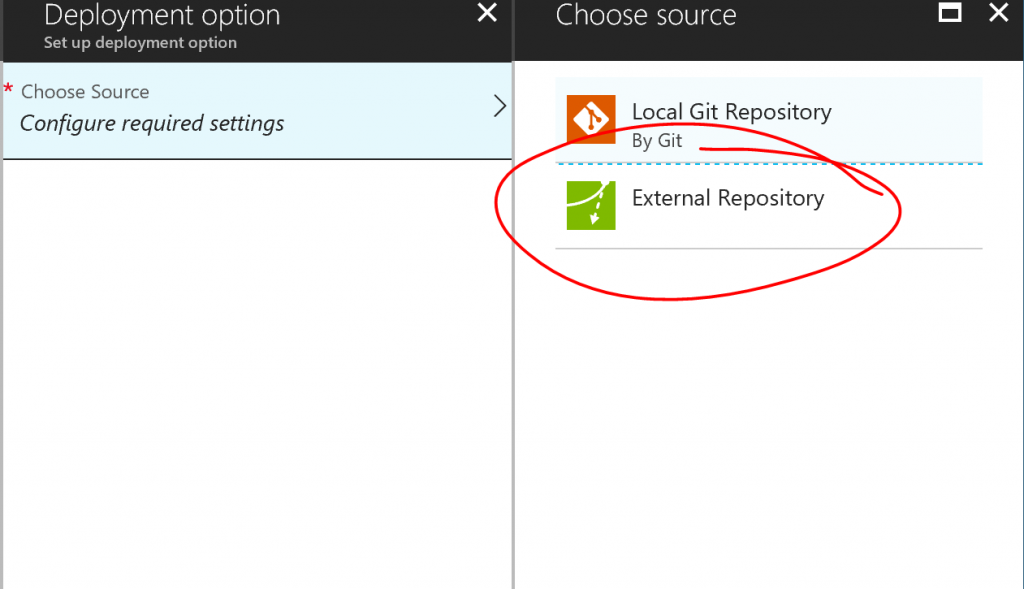
There are several ways to deploy the source code into the Web App. You can download the latest release of Open EMR, and drag and drop the zip file into D:\home\site\wwwroot. Alternatively, you can connect directly to the Open EMR GitHub repository. Click "Deployment Options" on web app and select and external repository as source:
Then enter the appropriate settings for the Open EMR GitHub repo:
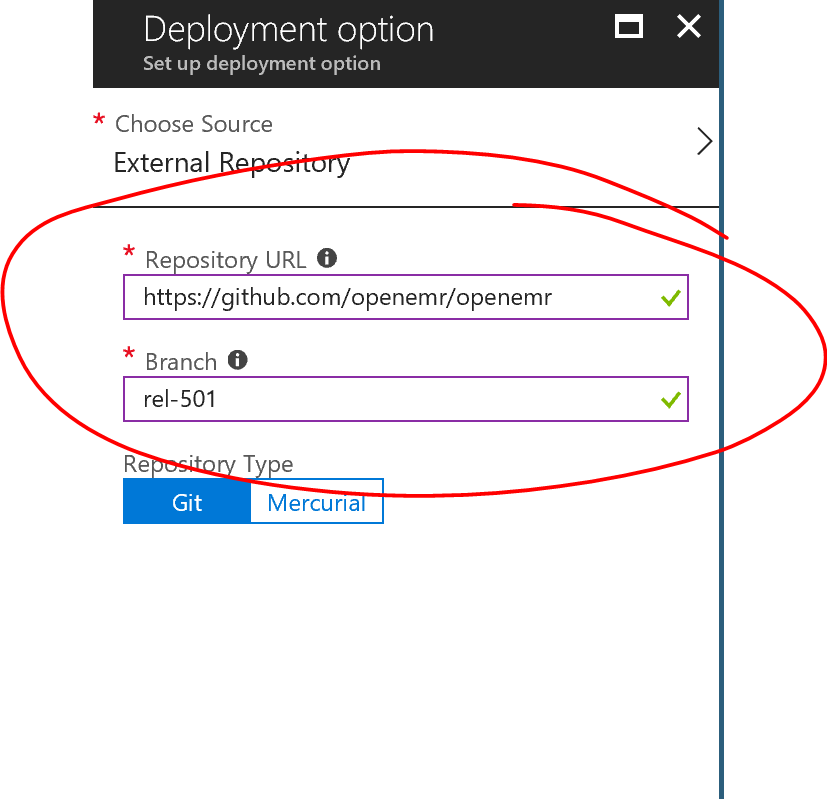
Here the branch called "rel-501" was chosen, but you can select the version you want or go with the master branch if you want the latest snapshot. After selecting the repository, you will have to do a sync and it will take a little while before the code is downloaded and deployed.
7. Configure Open EMR
After the code has deployed, navigate to the URL of web app and the setup wizard should be initiated:
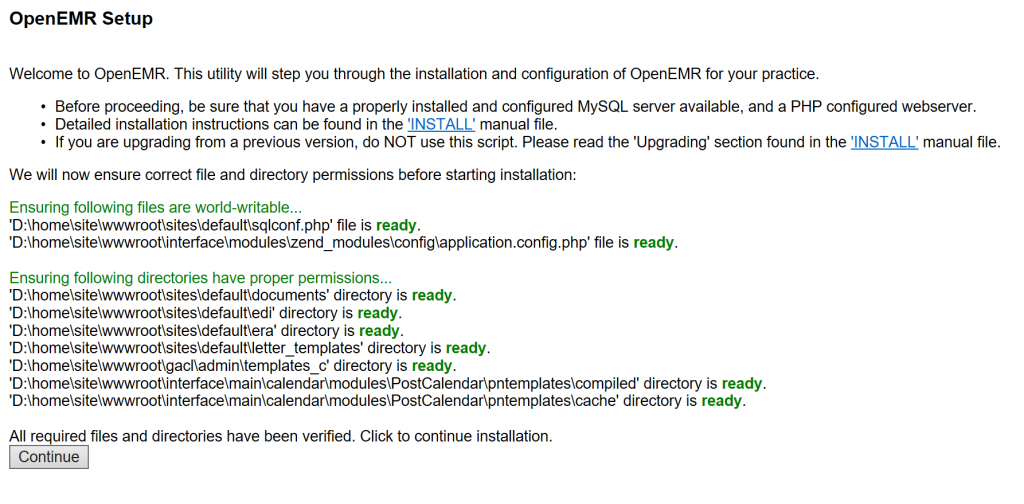
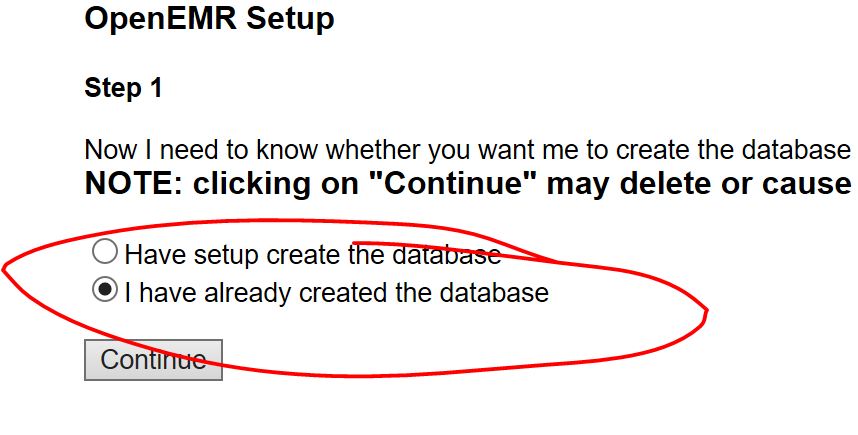
Click continue and select the option where you have already created the database:
Then enter the database details. Remember to set the port. The default will not be correct:
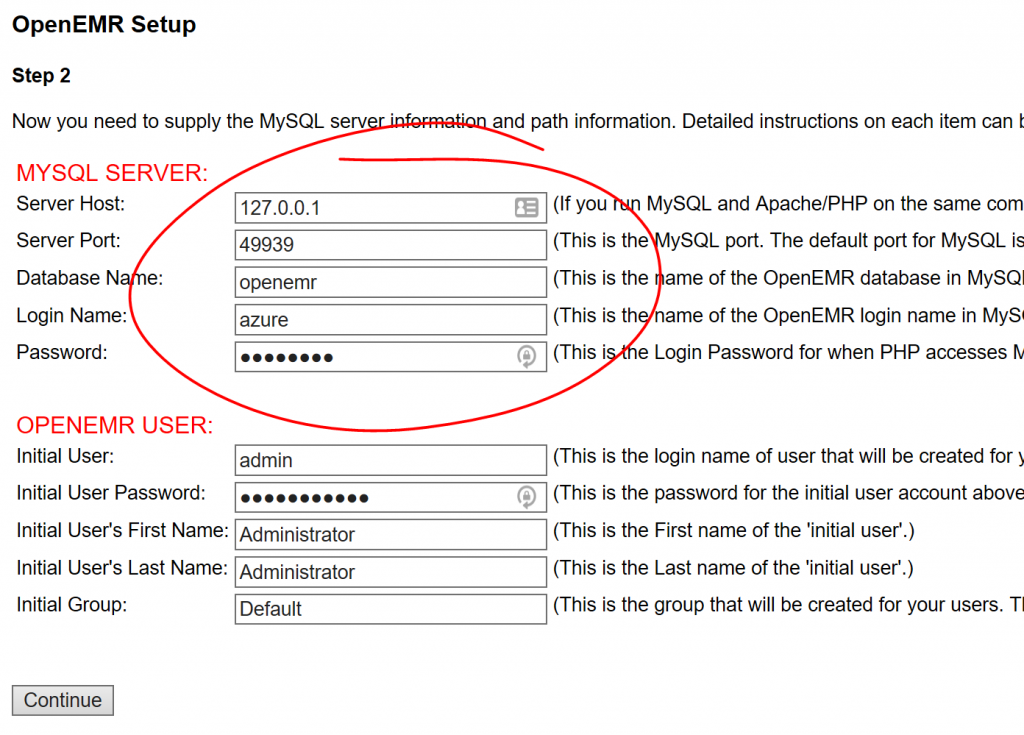
The database setup may take a few minutes and there will be a few screens to click through after that, but eventually you should reach the end and be able to login to the Open EMR system:
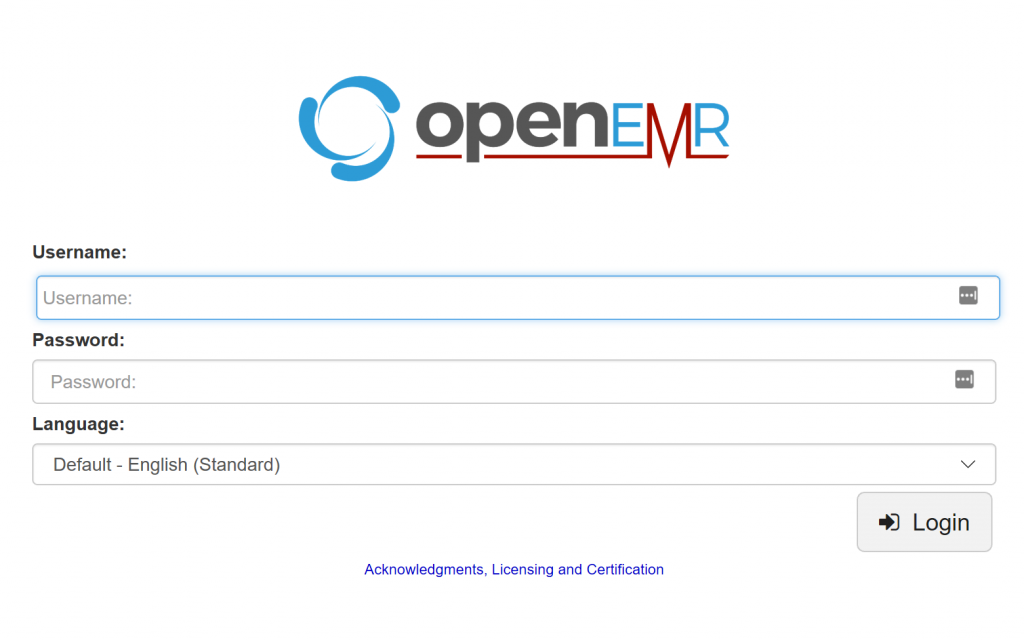
After signing in, you can start adding patients, provider, etc.

And that's it. You now have your very own Open EMR system running in Azure PaaS services. Let me know if you have questions/comments/suggestions.
Comments
- Anonymous
July 07, 2018
very informative, thanks for sharing Michael!