How to patch SQL Server 2012 Setup with an updated setup package (using UpdateSource to get a smart setup)
In SQL Server 2012, there is a new setup feature introduced which can apply a patch to SQL Server bits before the server is even set up for the first time. You download a cumulative update patch from the hotfix link in the Kb articles, then point setup to the right folder and it will patch itself. This means you can do two cool things…
A> Patch the setup process itself against any known issues which have been fixed, to help prevent failed setup attempts. Avoid the previously fixed setup bugs by getting the latest greatest setup.
B> Patch the SQL Server binaries without having to install the Cumulative Update patch as a separate step. You’ll save time and effort.
Later on, once a service pack becomes available for SQL Server 2012, the RTM setup will search for the latest service pack on Microsoft Update and give the option to install the service pack with no manual download or switches required.
Its also important to note that Master Data Services (MDS) and Data Quality Services (DQS) were not cluster-ready at RTM time, so the only way to make them install cleanly on a cluster is to use this method and patch at least to RTM CU1 or later.
- FIX: Master Data Services is not supported on a clustered installation of SQL Server 2012https://support.microsoft.com/kb/2683467
- FIX: The Data Quality Services feature is not supported on a SQL Server 2012 AlwaysOn failover cluster instance
https://support.microsoft.com/kb/2674817
The gist is you use the action switch and the updatesource switches to tell Setup to patch the setup smartly….
For a cluster that is…
First Node: setup.exe /action=installfailovercluster /updatesource=c:\sql2012cu2
Additional Nodes: setup.exe /action=addnode /updatesource=T:\sql2012cu2
For a standalone you can do a similar thing:
setup.exe /action=install /updatesource=c:\sql2012cu2
setup.exe /action=install /updatesource=\\sharedcomputers\share\sql2012cufolder\
There are lots of other command line switches listed in this article, so you could install SQL without showing the GUI if needed. https://msdn.microsoft.com/en-us/library/ms144259.aspx
Other smart setup update source scenarios are described in Peter’s blog here
1. Download the desired cumulative update or service pack hotfix package
For example, I visit the KB article for Cumulative Update 2
https://support.microsoft.com/kb/2703275
Click the button to ask for the download
Accept the terms.
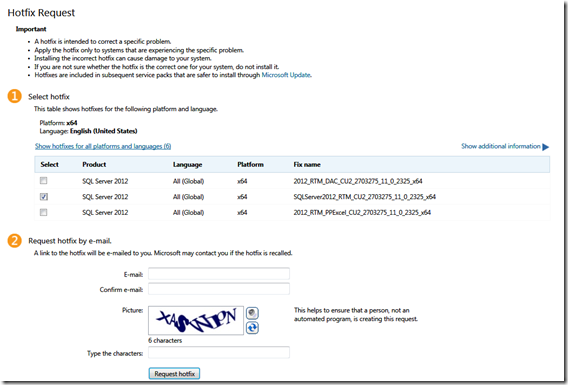
Fill in the form to provide your email address, where you will get a link. On my computer it recognized it was x64 bit, so it only shows the 3 x64 bit downloads, but if your server differs then click the link to Show hotfixes for all platforms and languages.
I need the file SQLServer2012_RTM_CU2_2703275_11_0_2325_x64 for the download for the main SQL Server setup.
Check your email, and click the link to start the download.
Save the download into a local folder, or on your desktop somewhere.
2. Extract the hotfix package download
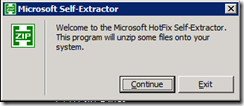
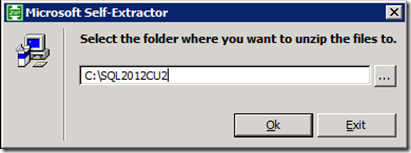
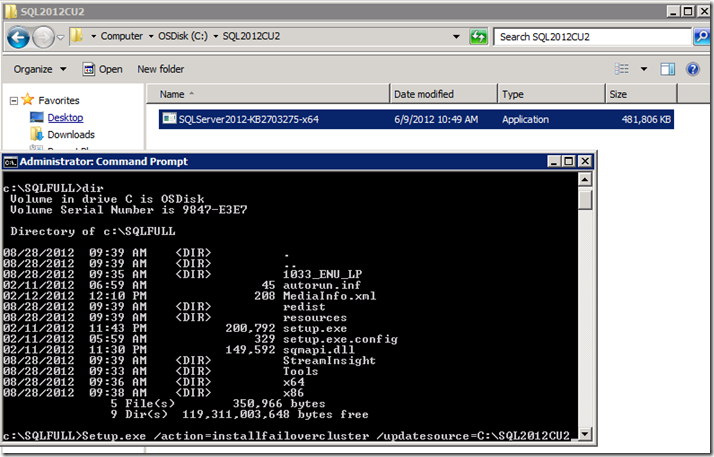
Then run the executable it to extract it to a folder. I used the folder name C:\SQL2012CU2
Doubleclick the icon.
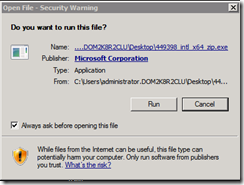
Approve Security Warning
Provide a folder name, where the files will be extracted…
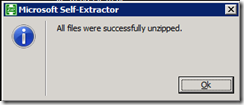
Wait for it to finish
Make sure it succeeded
3. Run the Setup from the command prompt to install the first Cluster node
To install SQL Server 2012 on the primary cluster node, follow these steps:
Open a command prompt as an administrator. Change into the folder or path where your SQL DVD setup.exe is located.
cd C:\SQLFULL
That’s the folder where setup.exe lives from the SQL 2012 DVD, or maybe the location where you extracted it locally.
Then run the following command to patch the setup with the hotfix package update files and install the product.
Setup.exe /action=installfailovercluster /updatesource=<Folder path of update EXE>
To build the command line syntax, grab the path of the extracted hotfix package for the CU update. In this case C:\SQL2012CU2 is the folder name you need to remember or copy.
Then type in your command line syntax… in this case it’s a clustered install I’m doing.
setup.exe /action=installfailovercluster /updatesource=c:\SQL2012CU2
4. Complete the setup wizard choices
Run the support rules, pick the features, choose the network configuration, default folders, accounts to add, etc.
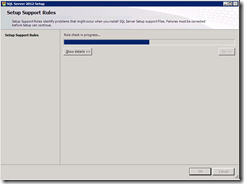
Click OK to set up support rules.
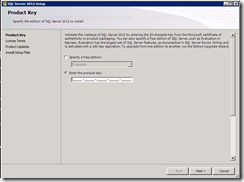
Enter Product Keys if prompted
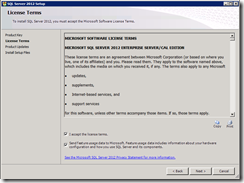
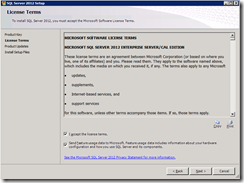
Agree to EULA Product
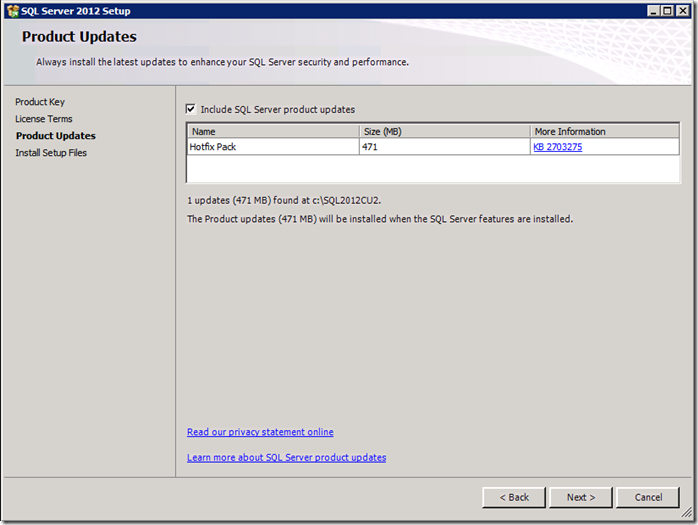
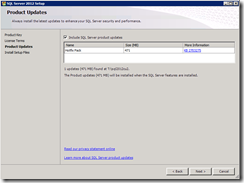
On the Product Updates page, verify that the correct hotfix pack is listed. It shows the KB number, and the folder where the update was found. Then click Next.
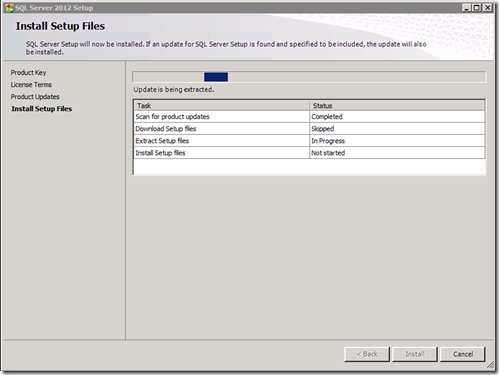
Now it will extract the hotfix package further
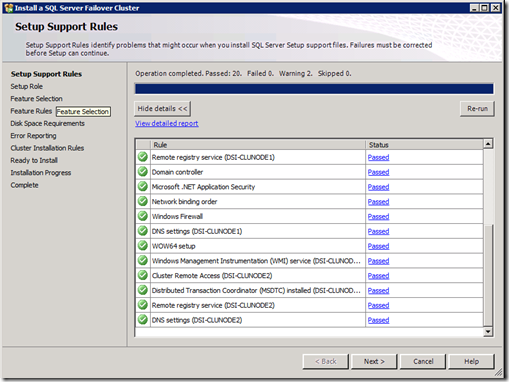
Verify that the Setup Support Rules passed.
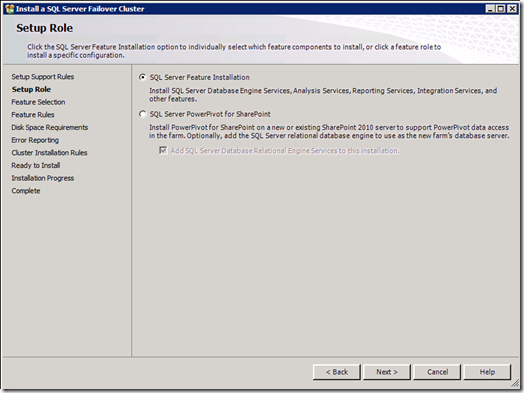
Setup Role – choose SQL Server Feature Installation
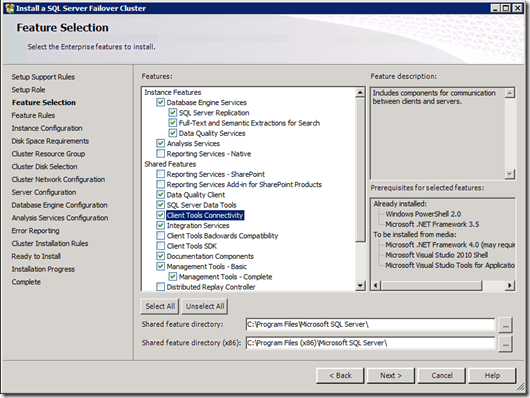
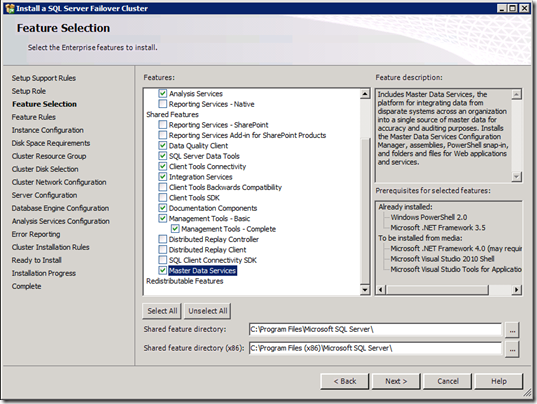
Select the checkboxes for the features you wish to install. For example, Database Engine Services and Master Data Services, and then click Next.
On the Feature Rules page, click Next.
On the Instance Configuration page, type the SQL Server network name for the failover cluster, and then click Next.
Click Next on the Disk Space Requirement page.
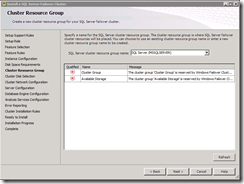
On the Cluster Resource Group page, type the name of the SQL Server cluster resource group to which the failover cluster resources will be added, or keep the default choice, and then click Next.
On the Cluster Disk Selection page, select a disk, and then click Next.
On the Cluster Network Configuration page, check the correct network settings, and then click Next.
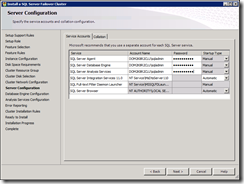
On the Service Configuration page, enter domain service accounts information, and then click Next.
Tip – you have to use domain accounts for the boxes where an account is required. You could use a regular domain account, a new thing called a Managed Service account (Domain admin has to set that up for you). But you cannot use a virtual service account or a local account for the cluster aware services.
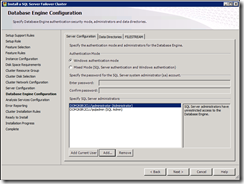
Database Engine Configuration – add any accounts you wish to be sysadmin in the SQL Engine
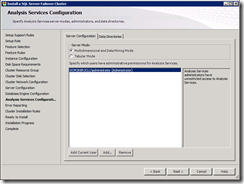
Analysis Services Configuration – Add any accounts which need sysadmin permissions to the Analysis Services instance
On the following pages, click Next:
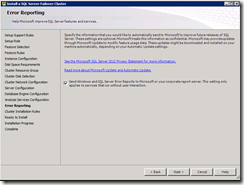
Error Reporting – Click Next
Cluster Installation Rules – Click Next
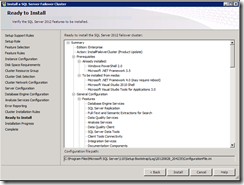
5. Ready to Install on Node 1 – Click Install button and wait
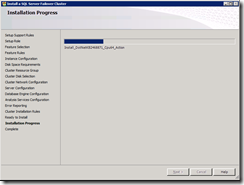
Monitor progress…
Confirm success… if you had a failure, review the details in the log to troubleshoot.
Reboot if needed
6. Run the Setup from the command prompt on the other nodes to install the additional cluster nodes
I mapped a drive from my second node to my first node as drive letter T (could be any unused letter), so that I didn’t have to copy the setup and CU2 hotfix to the node.
net use T: \\node1servername\c$
cd sqlfull
setup.exe /ACTION=Addnode /UpdateSource=T:\sql2012cu2
Setup will launch after a few minutes.
Setup support rules need to pass, and click OK.
Enter the product key again…
Agree to EULA and uploads for product feedback.
Make sure that the hotfix patch was picked up as an update to apply.
Wait for the downloads to finish (if any), extract to finish, and begin the installation.
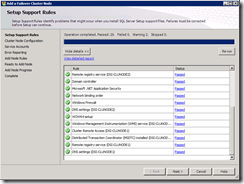
Make sure the Set Support Rules pass
Pick which instance to join the cluster node to. The list shows other nodes in the Windows cluster, and the cluster network name. Note the list of features is prepopulated and you cannot change the list of features when adding a cluster node. This is by design and you can’t change the list.
Hover to see the list of features. Note that only the server-side instance specific features are listed. The client side shared features are installed as a duplicate of the first cluster node too, even though it doesn’t list that here.
Double check the network configuration
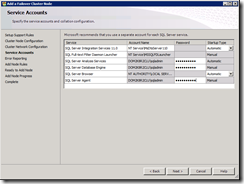
Provide the passwords for any domain service accounts.
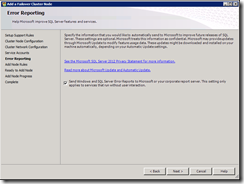
Opt in or out of the Error Reporting
Pass the Add Node Rules – click Next
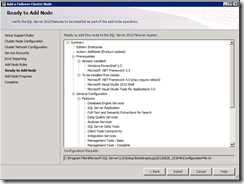
Ready to Add Node- click Install
Wait for it to finish. Staring at the Progress bar will make it go faster right ![]()
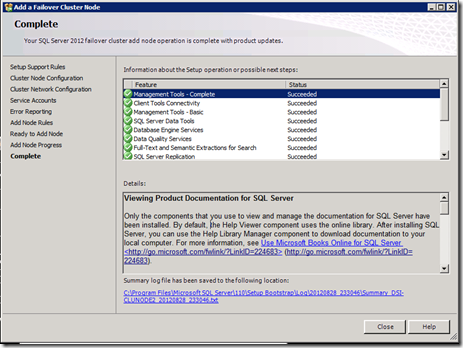
Voila… it finishes and you have a second node in the cluster.
7. Connect, verify the version number, test moving nodes
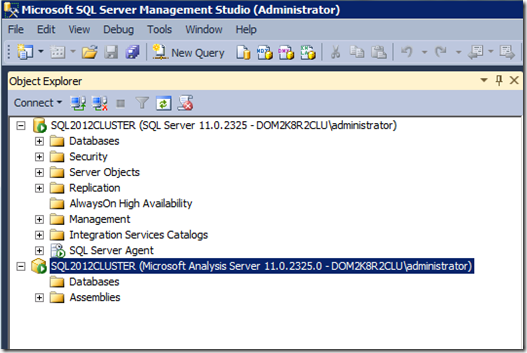
I use management studio to connect to the SQL Server virtual name and make sure the version is right. It shows 11.0.2325 which is what I expected for the CU2 hotfix that I used to update the setup.
I test simple failover capability, to make sure that the instance can move between nodes without problem. Manually move the service to the available nodes and make the services come online, and make sure you can connect with management studio.
That’s it. Now you have a clustered SQL Server 2012 with the cumulative update patch installed.
Comments
- Anonymous
April 01, 2015
Me manda un mensaje en blanco, perdí mi tiempo los odio

