SCCM 1610 in the Lab: In-Place OS Upgrade
"To Lab, or not to Lab.....that is the question." - Mr. Best Practice
A customer recently asked if I would assist them with their in-place OS upgrade on their SCCM Primary Site server. The caveat was, they did not have a lab environment and the statement "test in prod" was thrown around frequently. I'm not cavalier enough to attempt such a feat, so I offered up my Azure lab. It was similarly configured to the customer environment so it made a viable/wise option. Here is the configuration of the lab environment:
-Flat Primary - all roles co-located on the server
-OS=Server 2012 R2
-SCCM version= 1610
-SQL version= 2012 sp3 (latest cu)
In-Place Upgrade Walkthrough:
1.Obtain the Server 2016 .iso and license keys from your VLSC site (or MSDN if testing).
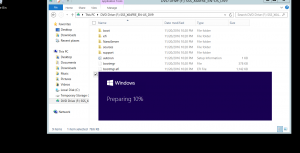
2.Mount the .iso and run setup.exe.
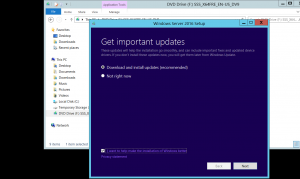
3.Choose an option: Download and install updates or Not right now.
4.Enter your product key. Note: Double check the license key and make sure if matches the version of your server (Standard/Datacenter). If you enter the wrong key, you will not have the option to keep your files and apps and will have to go back and enter the correct key. 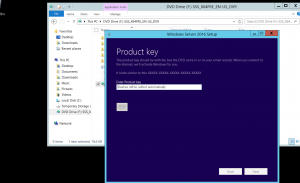
5.Select an image: Standard (No GUI) or Standard w/Desktop Experience (GUI) Note: If you are not familiar with the GUI-less option, use the Desktop Experience version 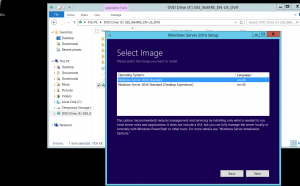
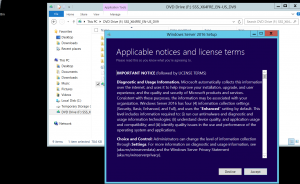
6.Accept the License Terms
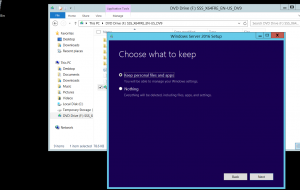
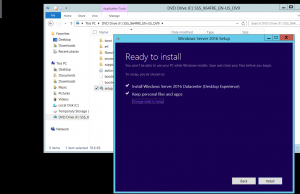
7.Choose what to keep: Keep personal files and apps or Nothing (wipe and load). Since I am testing the in-place upgrade, I am choosing to keep files and apps.
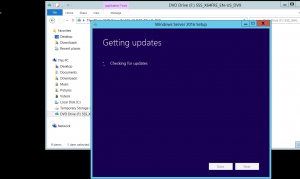
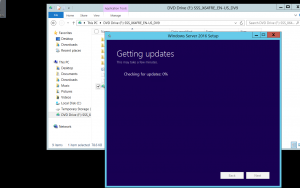
8.Checking for updates again and making sure we are ready to install
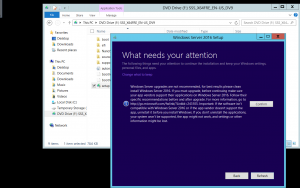
9.Confirm your actions. (In a perfect world, we would always perform a wipe and load. That being said, the warning here is that there may be other apps installed on the server that may not be compatible and/or not supported on Server 2016)
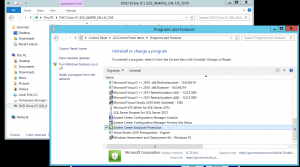
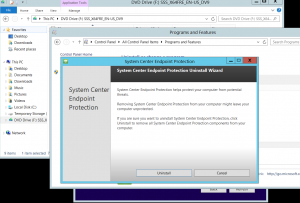
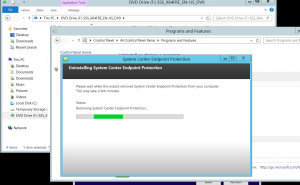
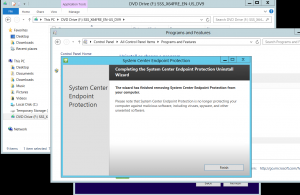
10.Setup now performs a check against all of the installed applications. I received a warning regarding System Center Endpoint Protection not being compatible with Server 2016 and had to uninstall it before moving on.
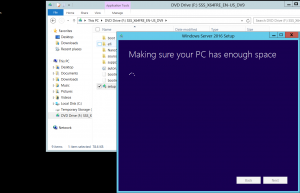
11.Once that was completed, setup moved on and performed a check for disk space.
12.Lastly, review what version you selected and what to keep and install.
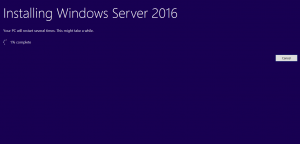
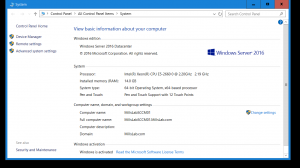
13. Once the upgrade was finished a quick sanity check to verify the version.
That was too easy, right? Nothing ever goes as planned. Sure enough, I did find that the SMS Exec service did not auto start nor did SSRS. I started those manually and opened the SCCM Console. I noticed that the Software Update Point was reporting errors. A quick check of WSUS revealed that I had to re-run the initial configuration. I then removed the SUP and re-added it and it began syncing and working correctly. Lastly, the Reporting Point was not working correctly. To remedy that issue, I had to remove the RP and re-add. In all, the in-place upgrade went smoothly with a few bumps but in the end I have a healthy SCCM site running on Server 2016.
Moral of the story, always attempt such an upgrade in a lab environment first. If your organization does not have a lab, (insert shameless plug here) Hyper V and Azure are great options. Maybe 2017 will be the year of the lab.
Happy upgrading!
Evan Mills – MSFT
Disclaimer: This posting is provided “AS IS” with no warranties and confers no rights.

