Leverage Azure Automation for SPO Administration Tasks - Part 1
Today, I worked on a quick demo for one of my customer on how to use Azure Automation for SharePoint Online administration tasks. In this demo, I will run a sample PowerShell Script (available in the Gallery) to list all SPO sites that I will customize. I will also upload the SharePoint Online Module required to execute the PowerShell script in Azure Automation.
In the "Part 2" of the script, I will use PnP Module to go further in task.
First create a Azure Automation account :
[caption id="attachment_105" align="aligncenter" width="451"]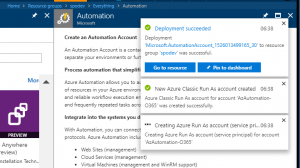 Create Azure Automation Account[/caption]
Then browse the gallery to find an existing scripts:


Once the sample script is imported, Edit & Publish it:

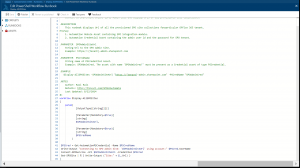
As you may have noticed, this script required some parameters but also used SPO cmdlets available in the SPO official PowerShell module. So we will upload the required module and create a the credential variable for the script execution in the next steps.
First zip your SharePoint PowerShell Module on your local machine. To identify your SPO module location, use the following command :
Get-Module -ListAvailable
Then zip your module folder :

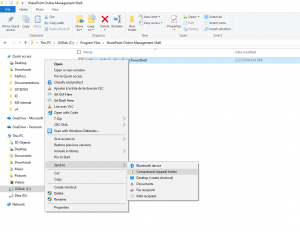
Go to your Azure Automation Account, then go into the module menu:
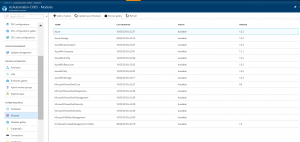
Add the Zip Module.
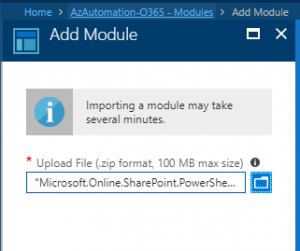
Click Ok twice. You should see your module imported after few minutes.
Now the SPO Module is imported and available, let's focus on the PSCredName script parameter. This parameter actually refer the a PSCredential object stored in the specific menu of the Azure Automation.
To define this parameter, go into the "Credentials" Menu of your Automation account and click on "Add Credential".
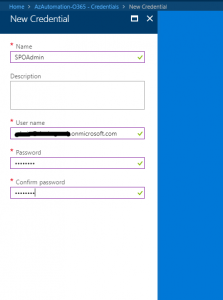
Note the Credential Name "SPOAdmin" as it will be required in the next steps.
It's time to play with our sample script. In the "Run Book" menu, click on your "Display-AllSites", then select "Edit" and click on "Test Pane" in the horizontal menu. You should land on the following screen :
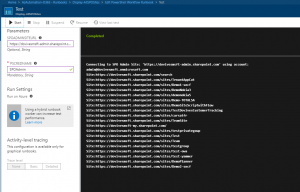
Now, specify your SPO Admin URL (https://yourtenant-admin.sharepoint.com) and specify the credential name created above ("SPOAdmin") in the "PSCredName" parameter. You should see as above, all your existing sites.
Now that the script run correctly, you may schedule this script to run on a regular basis. To do so, just go into your Run Book "Display-AllSites" and select "Schedules" to define a new schedule with the parameter above.

Define your frequency :
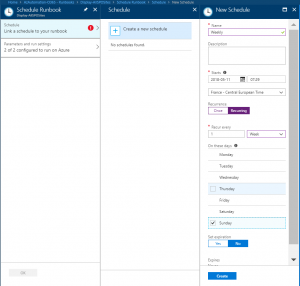
Specify the parameter as tested above :
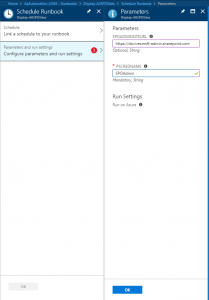
Then click OK.
Now your SPO PowerShell script should run automatically on your scheduled frequency thanks to Azure Automation.