New install or Upgrade to Microsoft Identity Manager 2016 SP1– Service and Portal
In this post we will walk through an upgrade / Install scenario of MIM 2016 to MIM 2016 SP1, note this is not an in place upgrade and it requires the current version to either be uninstalled first if installing on the same server that your current version of MIM 2016 is installed on or installing in a “side by side” scenario. In a “side by side” install scenario you would perform the install of Microsoft Identity Manager 2016 SP1 components on “new” servers but you would point to the existing Synchronization Service Database and FIMService Database.
Before you Begin
- Be sure to have Fresh backups of the FIMService Database ( See your SQL Administrator for assistance )
- If running a VM I would also do a snapshot ( Although this is not necessary it may be good to have in case of emergency break glass kind of thing )
- Verify that any current synchs have completed and stop and disable any Scheduled task for your synchronization Service
- This will protect the FIMService Database if being reused.
- Verify that the Synchronization Service has already been Successfully upgraded.
- Verify local SQL Agent is running
- Verify SharePoint Administration Service is started
- Verify that all necessary updates have been applied to your server that the Install of MIM 2016 SP1 will be performed on.
- Verify you have all necessary Accounts / Passwords that will be needed to install MIM 2016 SP1 SP1.
- Stop Forefront Identity Manager Service service if it is running
- When you believe you are ready take a breath get a fresh cup of coffee and lets begin….
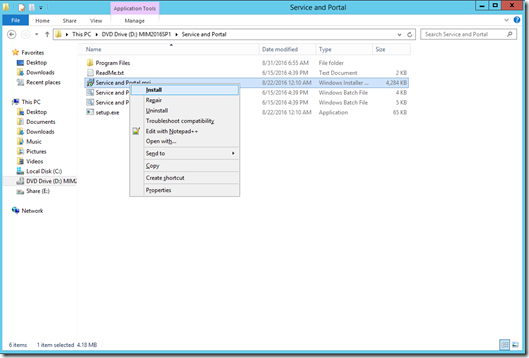
Navigate to the location of the Installation files for MIM 2016 SP1 Synchronization Service (Synchronization Service.msi)
Right click on Service and Portal.msi and click on Install.
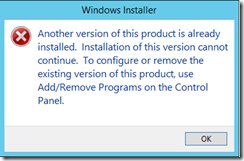
If you receive the following error, then you are attempting to install the MIM 2016 SP1 Service and Portal on a server that has a previous version of the Service and Portal still installed.
Click on OK, uninstall the Service and Portal, if it has been previously uninstalled you may need to reboot the server before installing MIM 2016 SP1
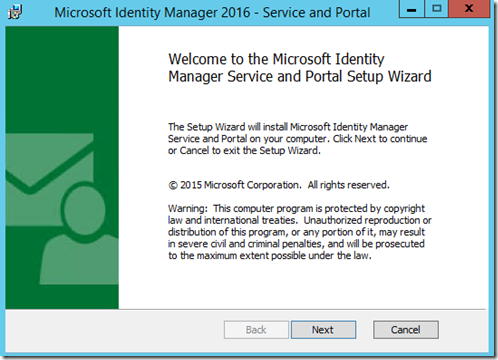
If you don’t get the above error, you should be presented with the following welcome screen.
Click on Next
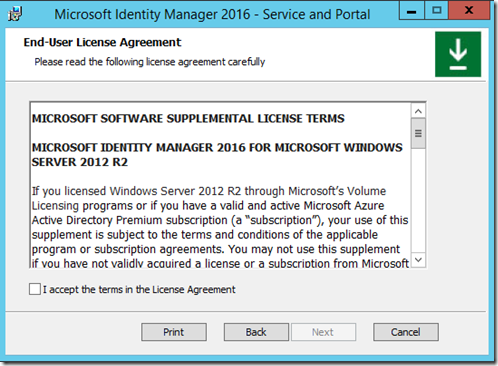
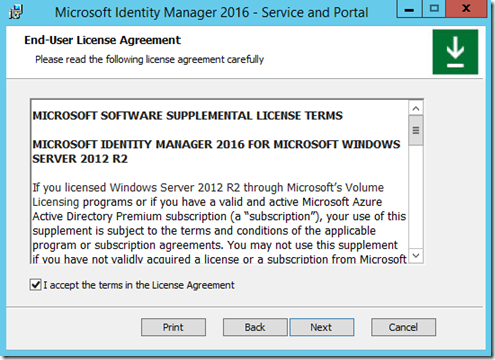
The next window is the End User License Agreement
If you accept click on the check box next to “I accept the terms in the License Agreement”
Click on Next
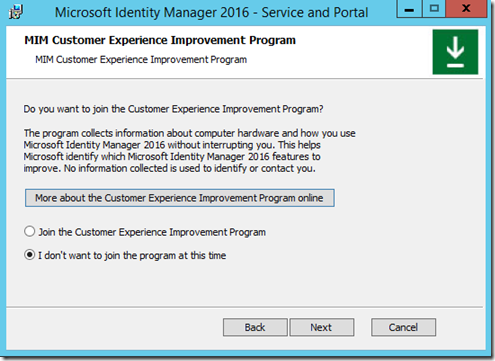
The next window is ab option that you can check that allows the program to collect information about the hardware and how you use Microsoft Identity Manager 2016.
If you wish to participate in the program click on “Join the Customer Experience Improvement Program”, if you do not wish to participate verify that “I don’t want to join the program at this time” is selected and select Next.
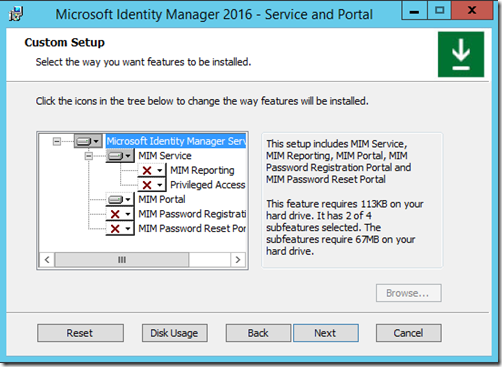
On the next Screen you will be presented with options of which features you wish to install.
Select all the feature you wish to install at this time, you may wish to install some features separately.
NOTE: In this Blog Post we are only selecting MIM Service and MIM Portal. Additional features will be added later in an additional post.
When ready click on Next
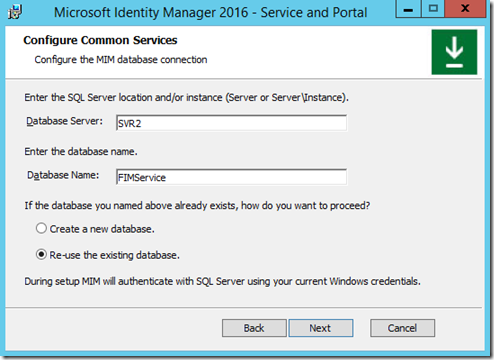
In the next window you need to enter the information on how to connect to the SQL Server.
Verify that you select the “Re-use the existing database” option if you are installing against an existing FIMService Database.
Click on Next
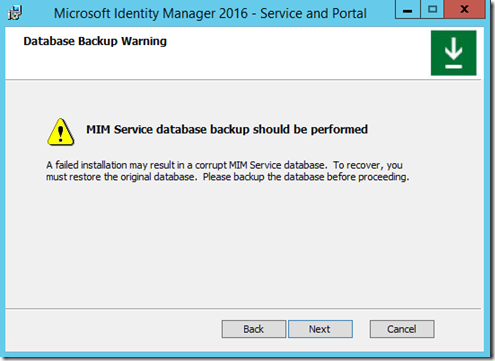
You will now be presented with a Database Backup Warning
This warning is just informational and a suggestion to be sure you have a good backup of the FIMService.
Once you accept and acknowledge the warning click on Next.
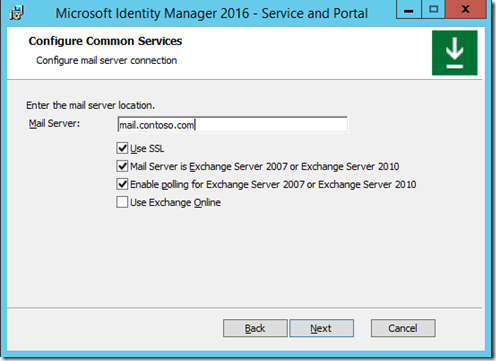
You will now be presented with the Mail Server Configuration Screen
Enter in the requested information
NOTE: Notice the new option for Exchange Online
After you verified that the information is correct click on Next
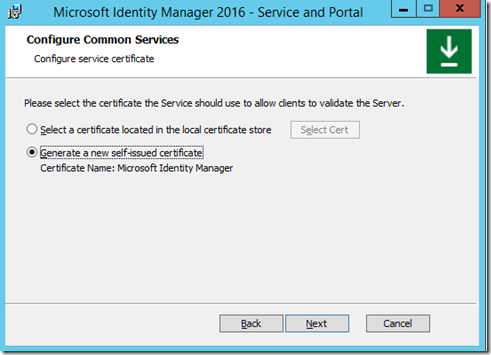
The next window lets you select a specific certificate or let the tool generate a new one for you.
If you have a specific Certificate you wish to use, you can select it by clicking on select cert and browse to locate and attach the cert.
Click on Next
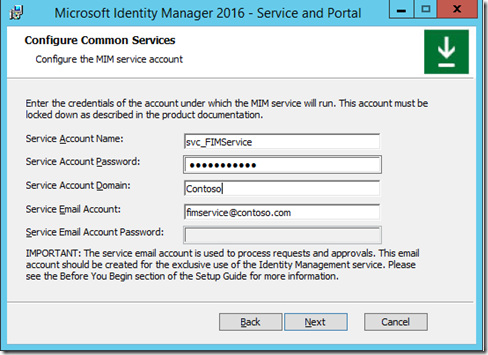
This next window you will need to enter the Service account information that will be used for the MIMService , if you are installing this against a preexisting FIMService Database use the Service account used previously.
Verify the information and select Next.
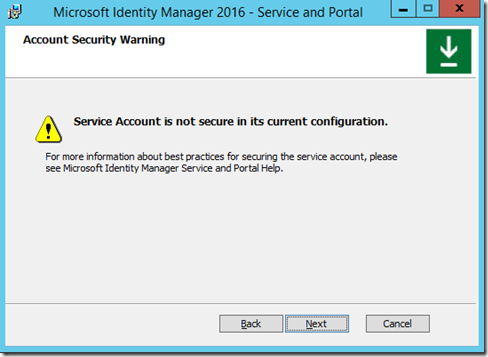
You may be presented with the following warning
This warning states that the Service Account is not secure in its current configuration, ( See additional configuration guide)
Acknowledge and accept the warning by clicking on Next to continue
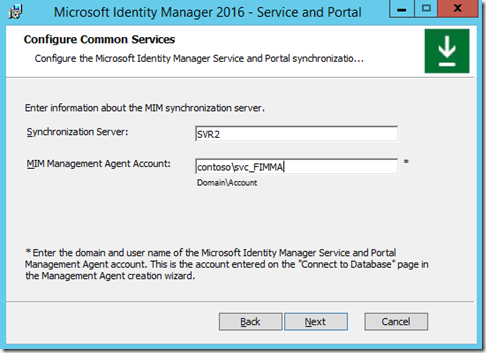
You now need to enter the Synchronization Server info including the name of the service account of the FIM / MIM MA
Click on Next,
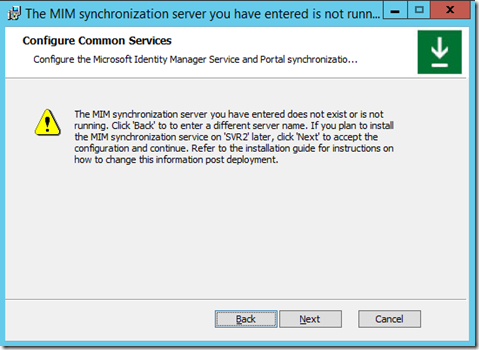
If you receive the following Message
Verify that the Synchronization Server information is correct and the Synchronization Service is running.
Click on Back, you could click on Next but I recommend resolving this first before proceeding.
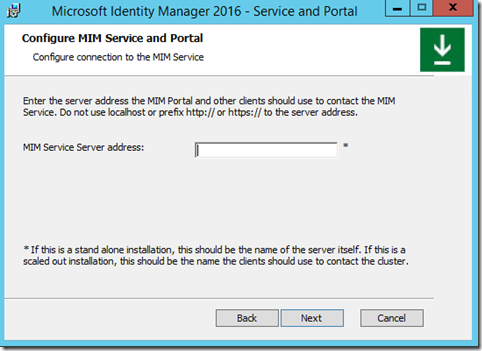
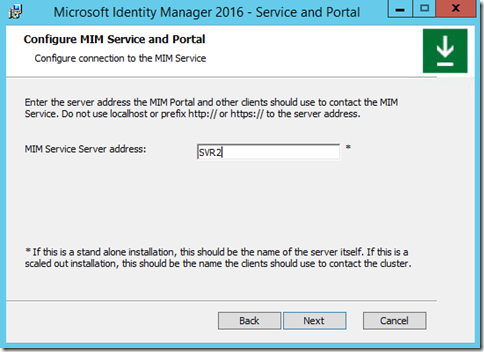
The next window you should see if the Synchronization Server was correct is the MIM Service and Portal configuration window.
Enter the name of the server where the MIMPortal will be installed.
Verify information and click on Next.
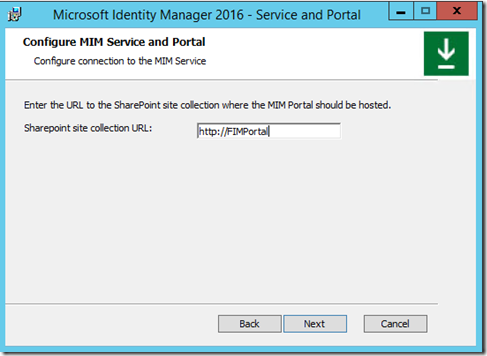
The next window you will need to enter the SharePoint site url to be used for the MIM Portal
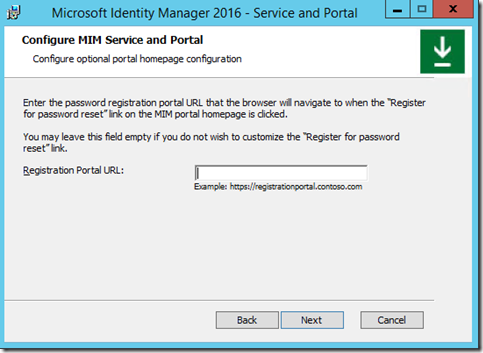
The next window you need to enter the Registration Portal information, this window is presented regardless of you selecting the option the Password Registration features.
You can enter the information or skip until you are ready to install these features.
When ready click on Next
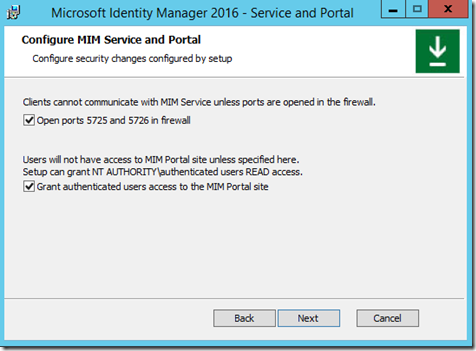
The next window is the Firewall Configuration window
Unless there is a reason not to select the options select both options and click on Next.
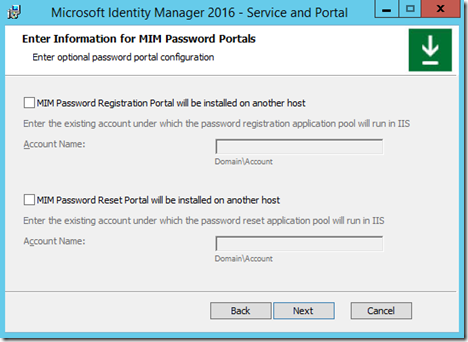
MIM Password Portals information
Enter the correct information, if you know it but in this post we will skip this step, we will post a follow-up Blog which includes Self Service Password Reset Features and PAM
Click on Next
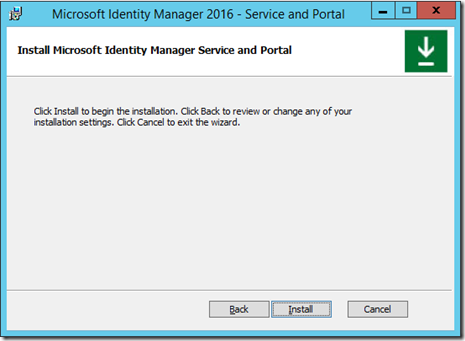
Click on Install
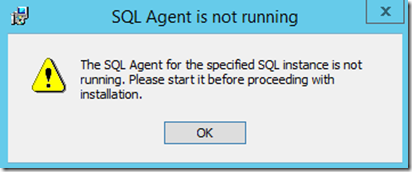
If the following message appears, start the SQL Agent and click on OK.
After SQL Agent is running click on OK
The install will continue
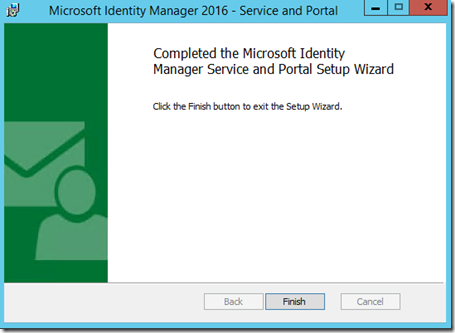
when complete you will see the following
Questions? Comments? Love FIM so much you can’t even stand it?
EMAIL US!
>WE WANT TO HEAR FROM YOU<
## https://blogs.msdn.microsoft.com/connector_space# #
Comments
- Anonymous
October 09, 2016
The comment has been removed- Anonymous
October 10, 2016
I was assuming that the Reader would know this, but yes you are correct you would have to have a copy of the DB on a NEW SQL Environment or instance and point to that. I also do not mention that the server needs to be powered on there are some things that i expect our readers to just know. The information on this blog is provided FREE of charge and is written on what little free time i have so on occasion i may pull back on some of the details that i would expect a seasoned IT ADMIN to know. Additionally this post was in reference to the Service and portal "NOT" the Synchronization Service.
- Anonymous
