Why I Love Microsoft Teams
One of the great (and most challenging) things about working at Microsoft is the fact that we get to work on the latest, bleeding-edge stuff the company makes. In fact, we are encouraged to put each piece of software through its paces, using it in our daily life in what everyone at Microsoft refers to as “eating our own dogfood”. It’s fun to see the newest stuff first, but it can also be challenging to work with software that you have to “figure out” – products that seem to duplicate the capabilities of other products or overlap with other feature sets.
It was through that set of glasses that I started working with Microsoft Teams in my Office 365 test tenant. (For a brief overview of Microsoft Teams, check out the blog posts by Michael Panciroli or Mike Bosse.)
To begin with, Teams is activated at the tenant level of Office 365. The tenant admin just goes to the Office 365 Admin center, selects Settings --> Services & add-ins, and then clicks on Microsoft Teams in the main window.
Figure 1: Adding Microsoft Teams in Office365
From there, toggle the slider to On, and your users are ready to go.
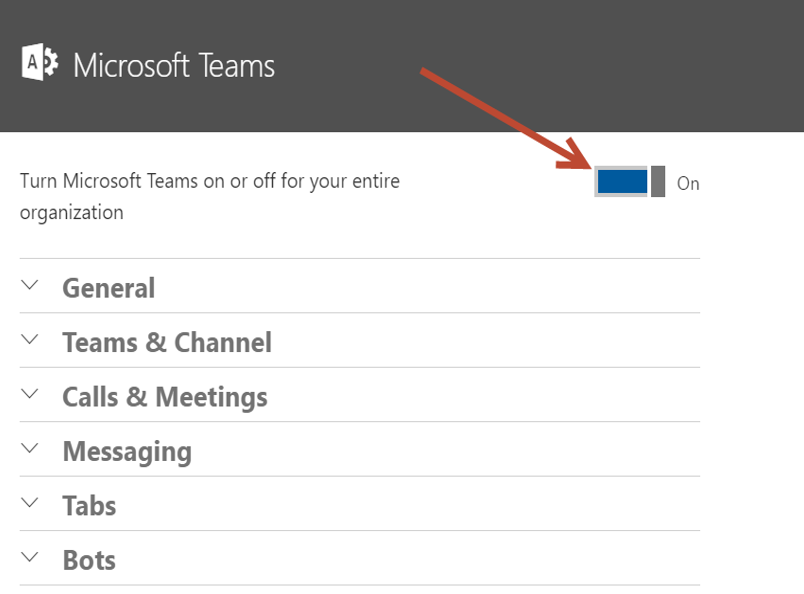
Figure 2: Turning on Microsoft Teams
At this point, you can go to the web application at https://teams.microsoft.com and you’ll be prompted to create a new Team. Let’s walk through that process together:
First, I’ll give a name (Gizmo Gadgets Team) and a description to my Team and click “Create a team”.

Figure 3: Name your Team
Next, I can add people to my team. Note that I can add people individually, or I can add them as part of security groups or distribution lists.

Figure 4: Add Team members
Here’s where it started to get really cool for me….
Remember how I said there are sometimes areas where one piece of software overlaps another and you have to dig around and figure that out? Well, I just created a Microsoft Team named “Gizmo Gadgets Team”. Let’s now take a look at the Groups page in the Office 365 admin portal. What do we see?

Figure 5: Groups page
Okay, that’s nice. By creating a Microsoft Team, I’ve also created an Office 365 Group…
But now I’m left wondering “is this just a security group, a distribution group, or what?” I decided to check the admin mailbox and see if there is an actual Office 365 Group available. And there it is!

Figure 6: Gizmo Gadgets Office365 Group
Just like that, an Office365 Group named Gizmo Gadget Teams is created and available for me to use.
(It’s worth noting here that if I already had an Office365 Group of the same name, it would have offered to create a Team based on that existing group. That helps avoid duplication of names and creating confusion about where the team’s data is being stored.)
What does this mean for me?
Well, I know Office365 Groups have several capabilities associated with them – chat conversations, a shared calendar, file storage location, One Note and some other capabilities, as you can see from the Gizmo Gadgets Office365 Group page below.

Figure 7: Gizmo Gadgets Groups page
Okay, interesting enough…. but all the pieces still feel somewhat disconnected.
How is this Office365 Group linked back to my Microsoft Team of the same name?
In the same browser session, I go to https://teams.microsoft.com. I’m automatically logged in with my current browser credentials, and there I see my Gizmo Gadgets Team location as well. (I can also download the Microsoft Teams app from this location if I don’t want to use the web application.)

Figure 8: Gizmo Gadgets Microsoft Team
I’ll upload a couple documents to the Team site:

Figure 9: Upload Documents to Teams
Now, if I flip back over to the Office365 Gizmo Gadgets Group location, what do I see? Yep, the same documents are visible in my Office365 group location.
The Team and the Group are using the same back-end SharePoint location for document storage. 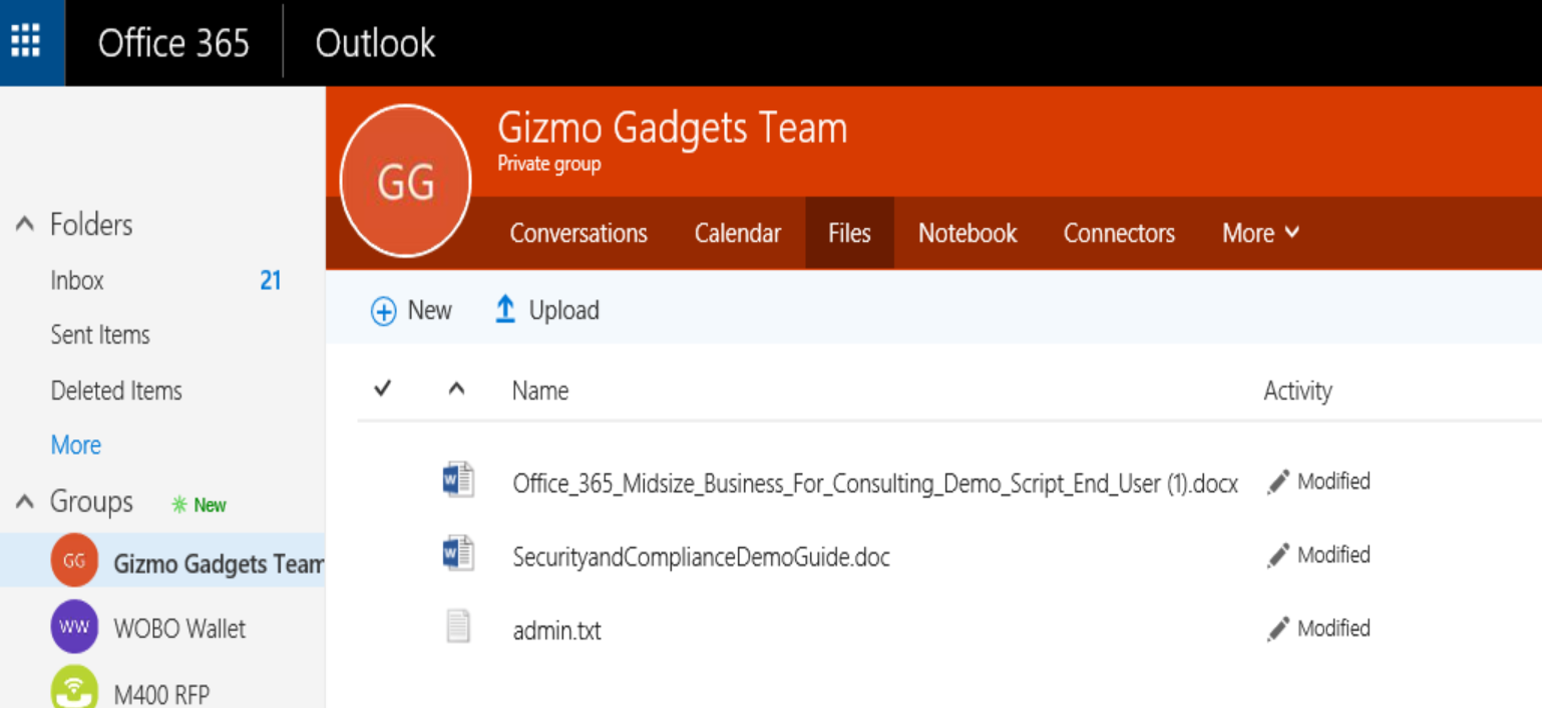
Figure 10: Documents Uploaded to Groups Location
Okay, so now I’m able to access the same set of documents from (1.) an Office365 Group named “Gizmo Gadgets Team”, (2.) the Microsoft Team named “Gizmo Gadgets Team” or (3.) directly from the common SharePoint location.
So now we have a common location for document storage. What else can we do?
Well, in Office365 Groups, you can create a Planner that can be used for managing resources, assigning tasks, tracking progress and so forth on a project.
Let’s connect the Gizmo Gadgets Planner in Office365 to the Gizmo Gadgets Team location.
In the Gizmo Gadgets Teams location, click on the “+” sign.

Figure 11: Adding Planner to Team
Now, select the Planner icon to add it as a tab in Teams. Notice I could also connect to my Office365 Group’s shared OneNote or an external website from here. I could also create an entire tab with just an Excel spreadsheet or a Word document, or maybe a really nice PowerBI dashboard.
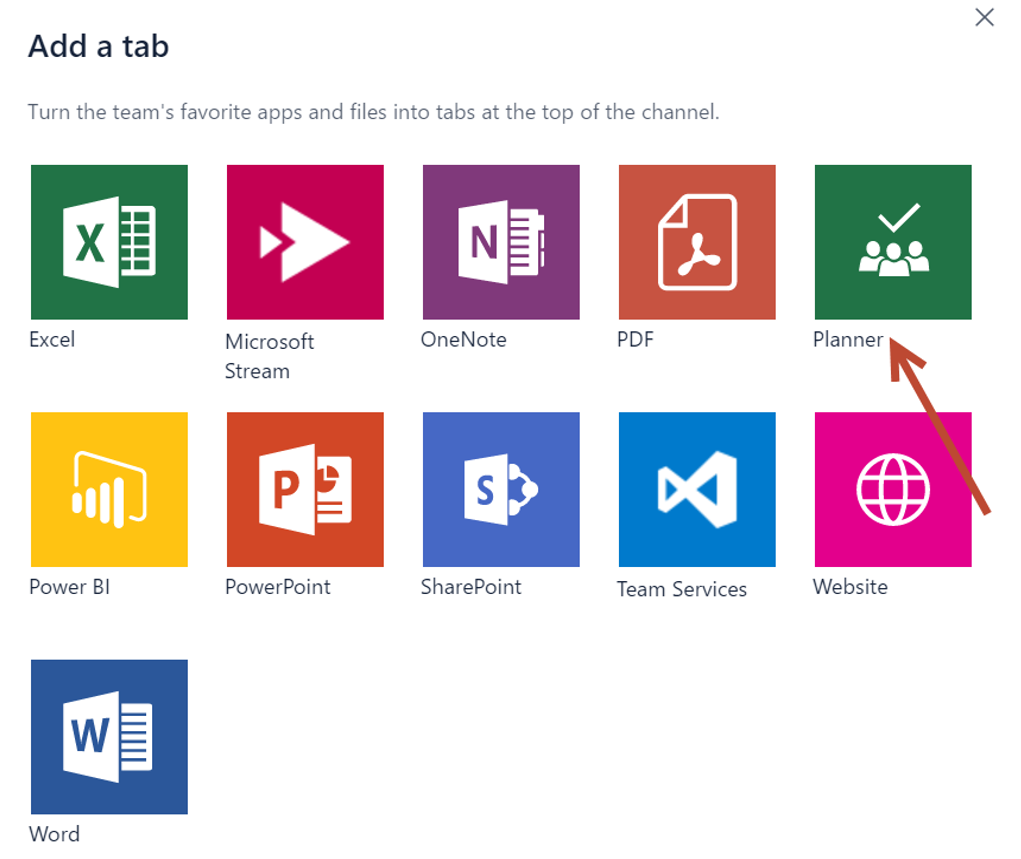
Figure 12: Connecting the Planner to Teams
And just like that – I’ve added a tab for the Gizmo Gadgets Planner in Microsoft Teams – the same one that I can see in the Office365 Group!
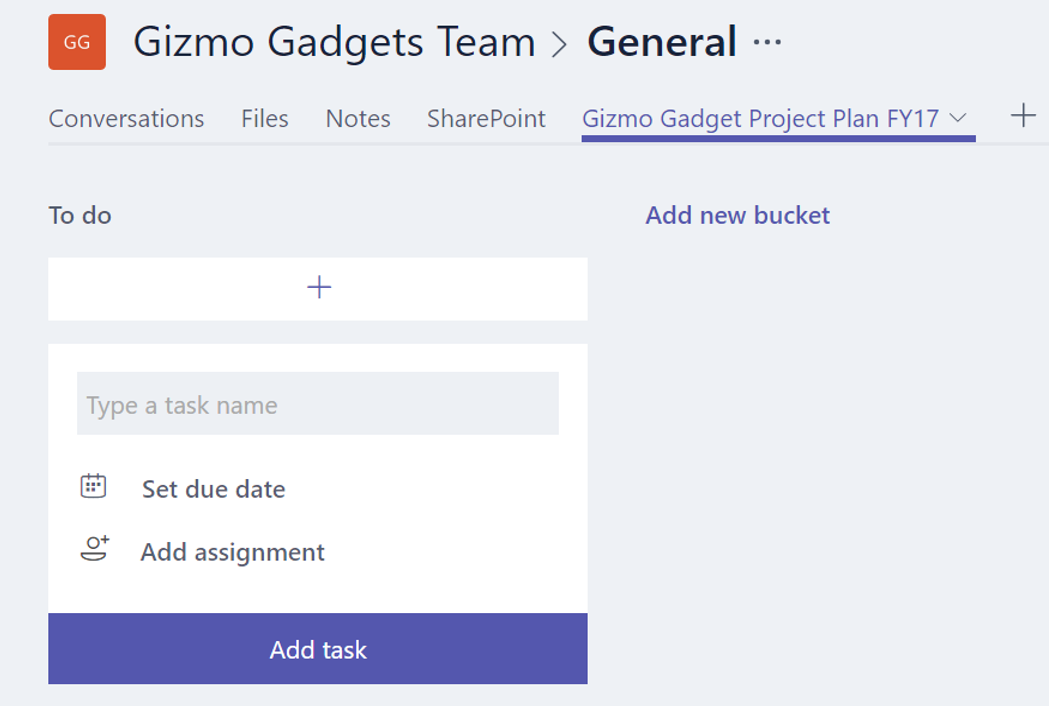
Figure 13: Planner in Office365 Groups
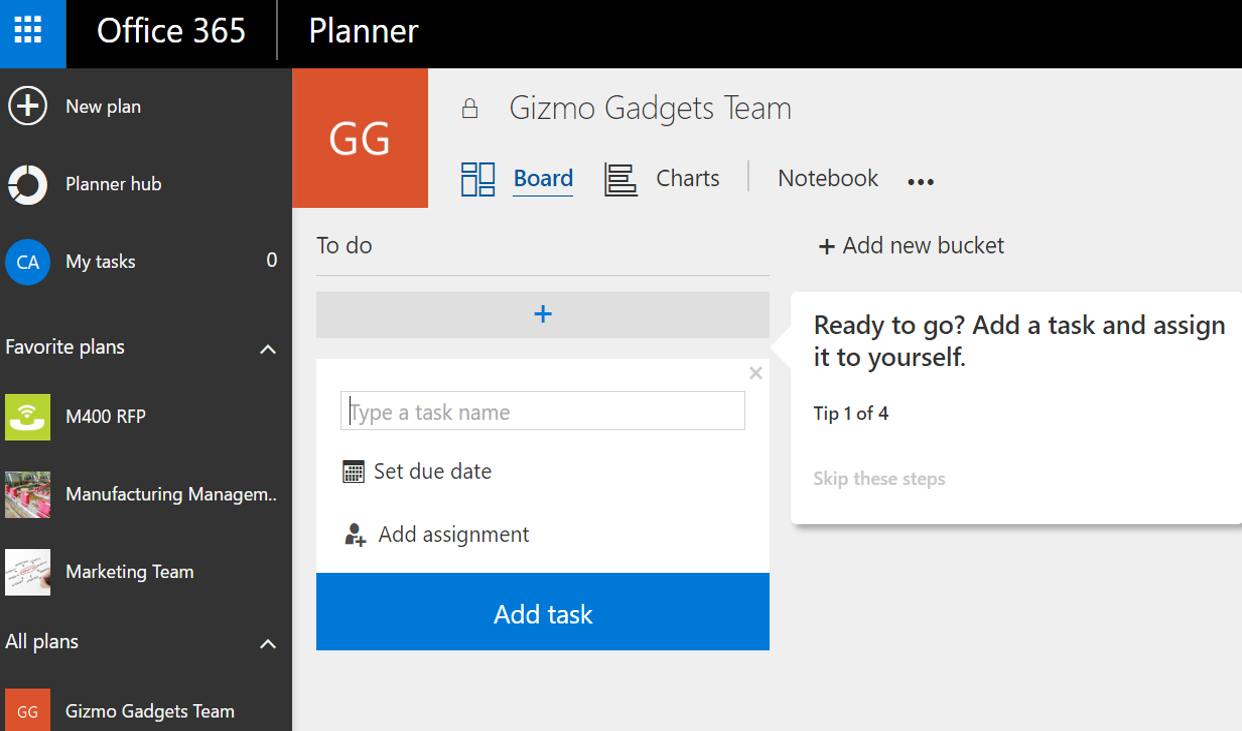
Figure 14: Planner in Microsoft Teams
Now let’s look at the shared calendar in the Office365 Group. I created a Team Meeting in the Calendar tab.
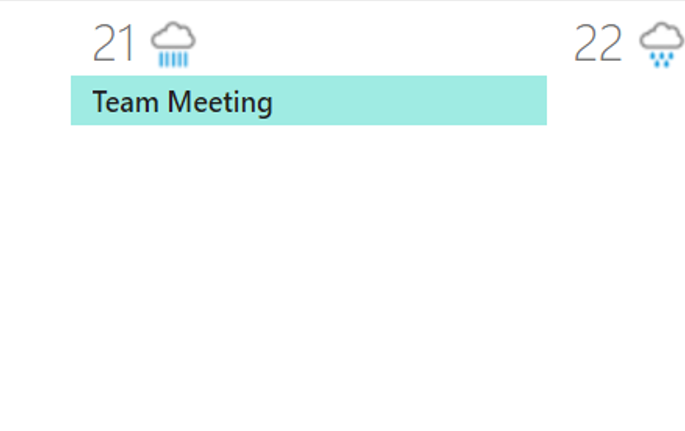
Figure 15: Shared Calendar item in Office365 Groups
As you’d expect, it shows up in the Conversations tab of the Office365 Group so that all members of the Group are aware of the meeting. But it’s also showing up in Teams in the Meetings tab.
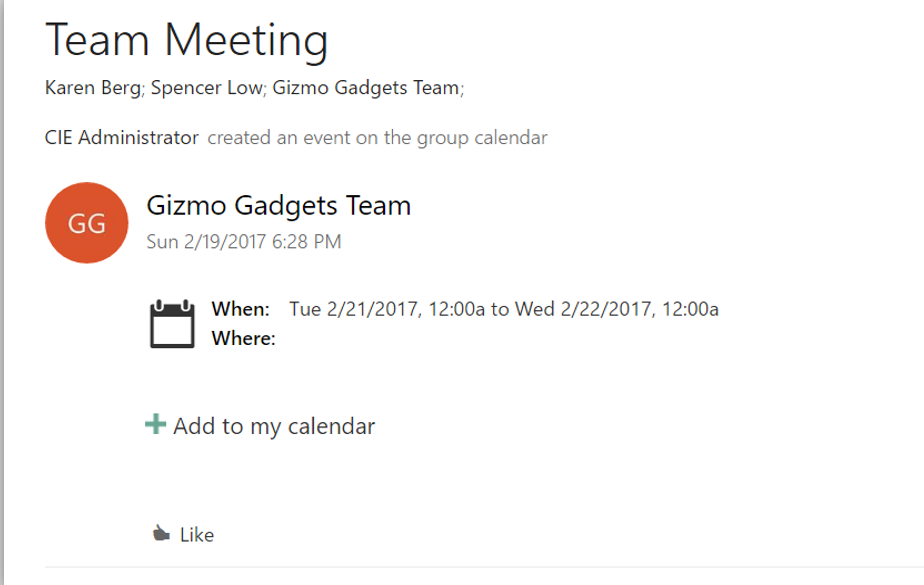
Figure 16: Office 365 Groups view
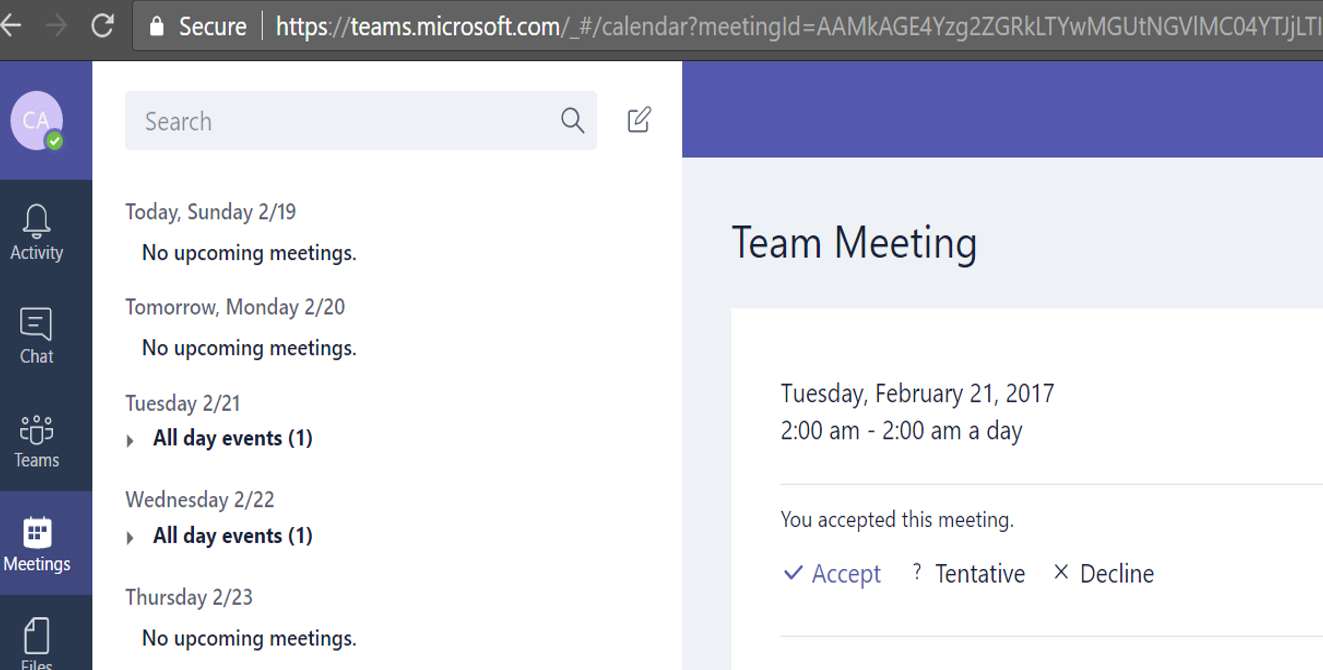
Figure 17: Microsoft Teams Meetings tab view
Let’s have some more fun. Let’s have some conversations.
In Teams, right click on the Chat icon and select “New Chat”. Choose the person you want to chat with, and you’re all set.
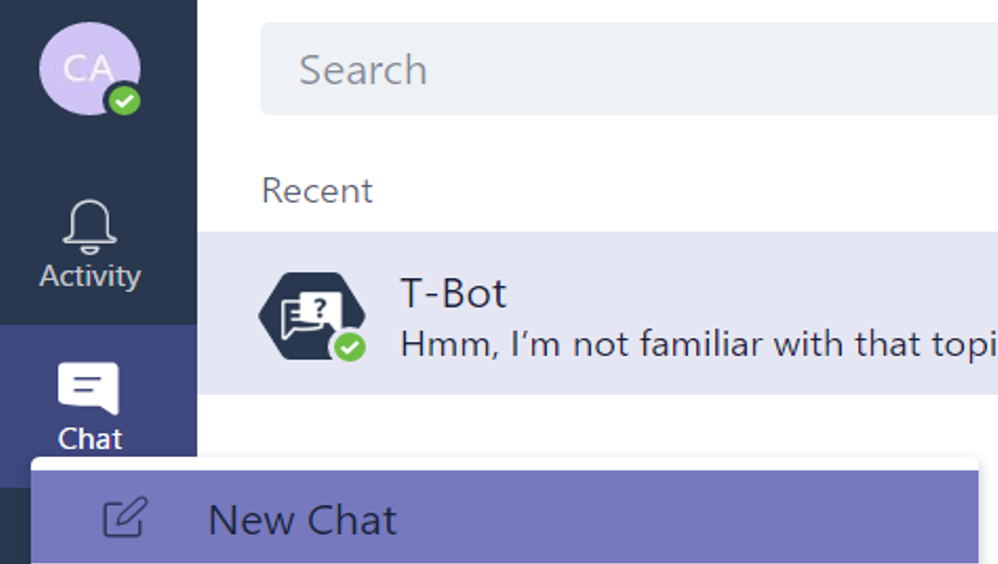
Figure 18: New Chat
But wait…. what’s this? 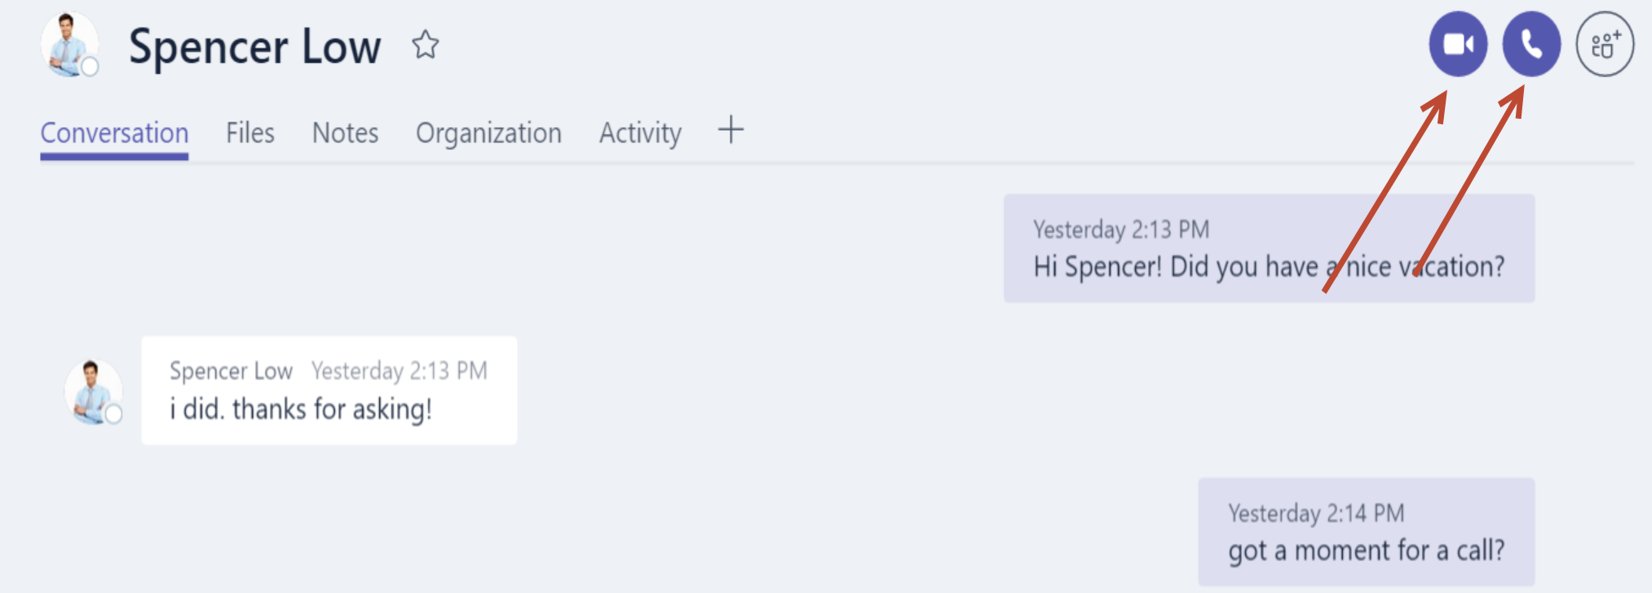
Figure 19: Video and phone call icons
I can do a video call or regular phone call from inside Microsoft Teams? This feels a lot like……Skype for Business!! This is getting fun!
To be fair, you can’t do a video or PSTN call from inside the web app yet. You’ll have to download the Teams app to place calls, but that feature is coming. For now, I’ll download the app and try out the video call capability.
If someone initiates a phone call to me from within the Microsoft Teams app, this is what I see. (Obviously, I’m using the pre-built personas in my Office365 tenant.😊 )
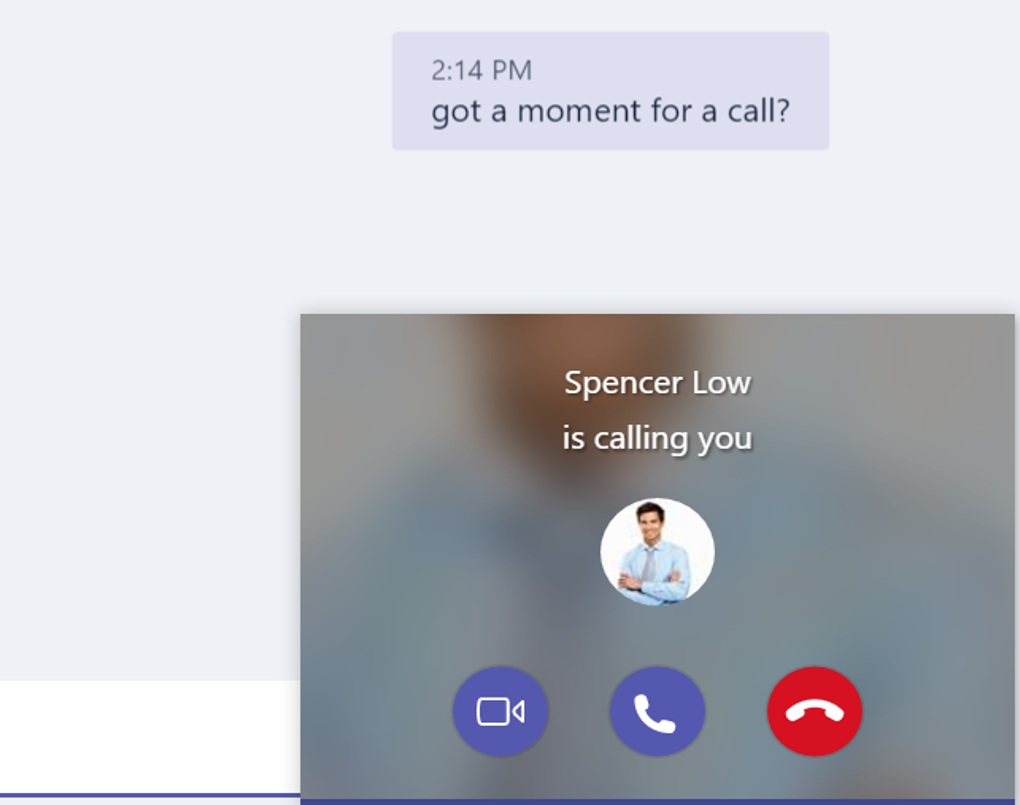
Figure 20: Meeting phone call
If we do a video call, I can share my desktop from within Microsoft Teams, just like in a regular Skype for Business meeting!
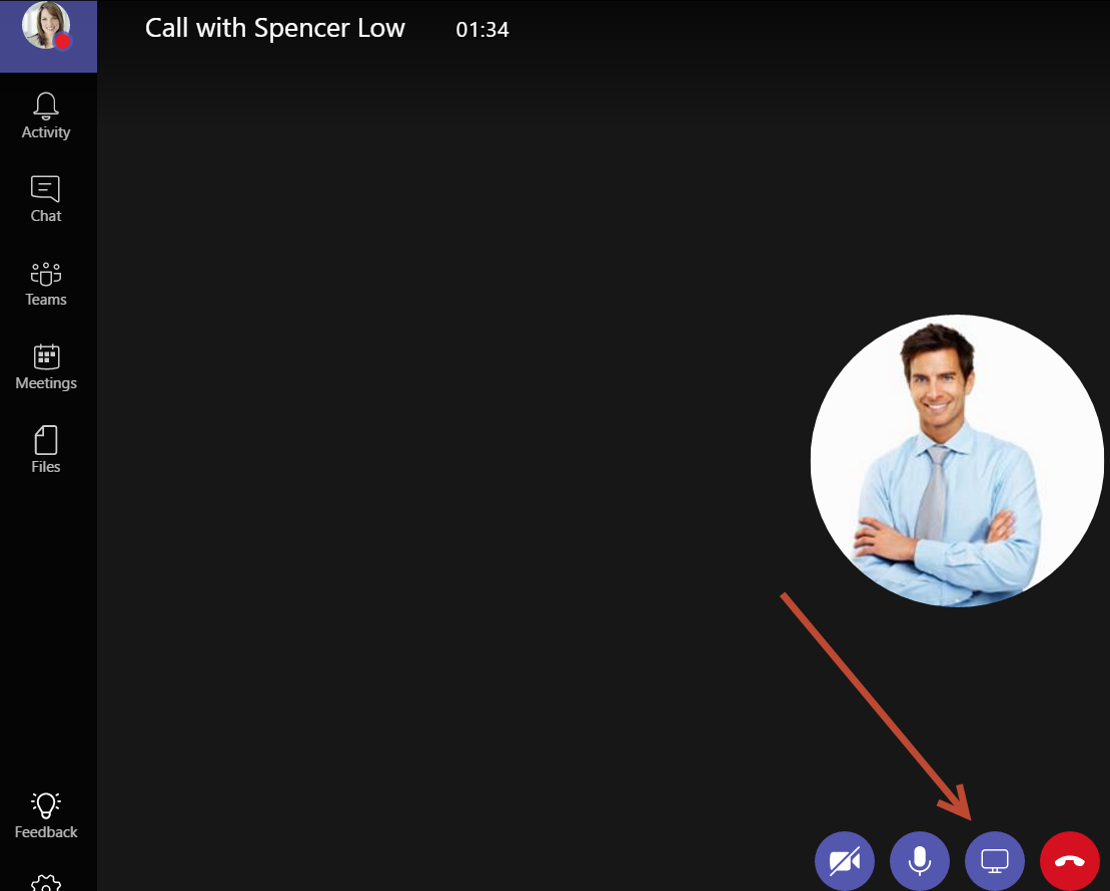
Figure 21: Share desktop from Teams
This is interesting to me for a couple of reasons:
- Most of my meetings and 1:1 interactions during the day are via Skype for Business, which means that most of my daily team collaboration can get done here within Teams.
- Most of the stuff I produce (documents, presentations, etc…) are stored in either OneDrive or SharePoint, so I can easily access them all from within Teams, and I don’t have to save URL’s all over the place. In fact, I don’t even have to KNOW the URL’s.
- I can save my favorite websites in a Team and avoid having to bookmark them in a browser.
So really, the only time I actually need to leave the Teams application is to check my email. But let’s think about this for a moment: if I could get all my coworkers to chat, conduct meetings and share documents with me via Teams…the only reason I would need to check email is for external communications.
Now, there are studies that indicate that you may actually get LESS done if you’re checking email continually throughout the day. So if I work within Teams most of the day, and check my email once in the morning and once at the end of the day, it’s possible I could actually be more productive using Teams!
Give Microsoft Teams a try. I’m sure you’ll love it.
Watch for another blog post where I’ll discuss the integration with Yammer, Twitter and other forms of social media, as well as how you can use Bots in Teams to automate some tasks in Teams.
Microsoft Teams is going to be awesome!
