Create a lakehouse for Direct Lake
This article describes how to create a lakehouse, create a Delta table in the lakehouse, and then create a basic semantic model for the lakehouse in a Microsoft Fabric workspace.
Before getting started creating a lakehouse for Direct Lake, be sure to read Direct Lake overview.
Create a lakehouse
In your Microsoft Fabric workspace, select New > More options, and then in Data Engineering, select the Lakehouse tile.
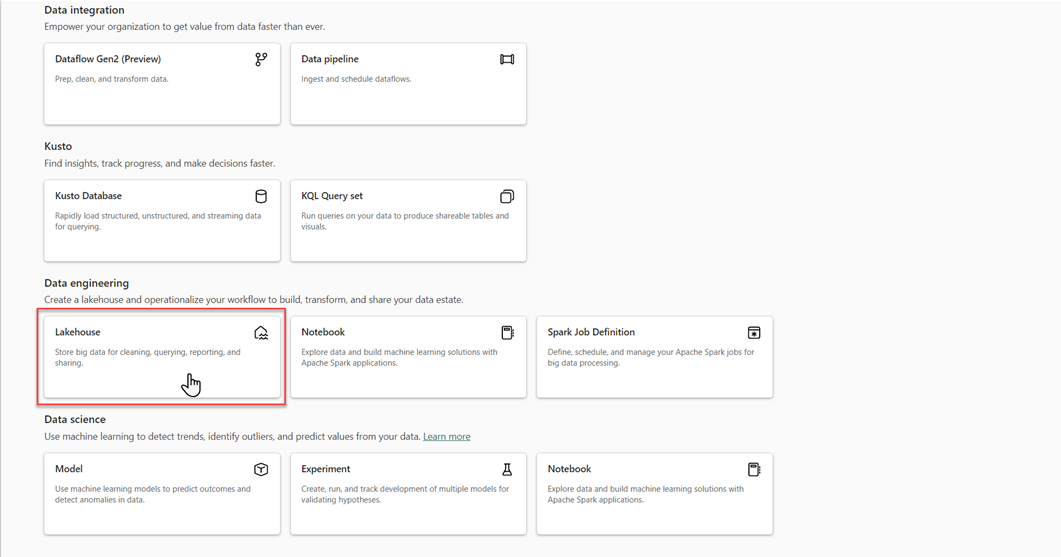
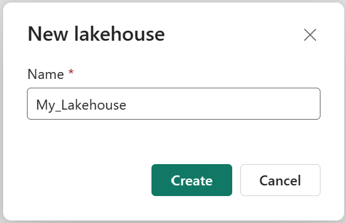
In the New lakehouse dialog box, enter a name, and then select Create. The name can only contain alphanumeric characters and underscores.
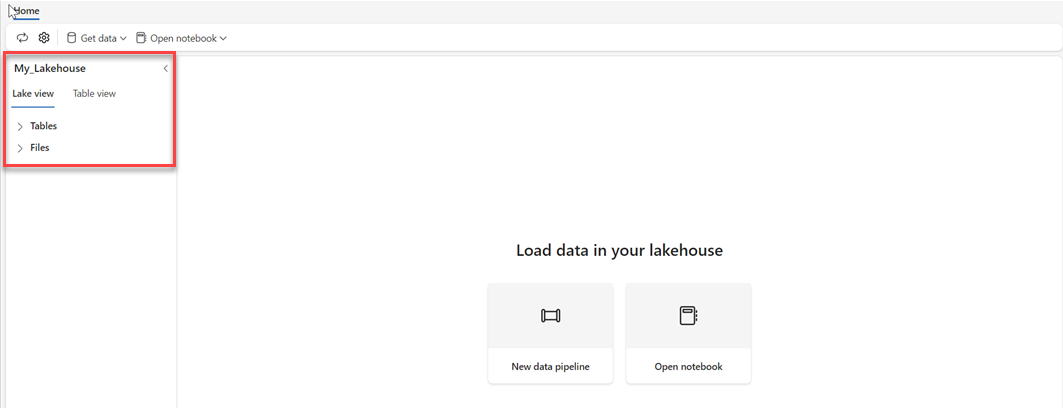
Verify the new lakehouse is created and opens successfully.
Create a Delta table in the lakehouse
After creating a new lakehouse, you must then create at least one Delta table so Direct Lake can access some data. Direct Lake can read parquet-formatted files, but for the best performance, it's best to compress the data by using the VORDER compression method. VORDER compresses the data using the Power BI engine’s native compression algorithm. This way the engine can load the data into memory as quickly as possible.
There are multiple options to load data into a lakehouse, including data pipelines and scripts. The following steps use PySpark to add a Delta table to a lakehouse based on an Azure Open Dataset:
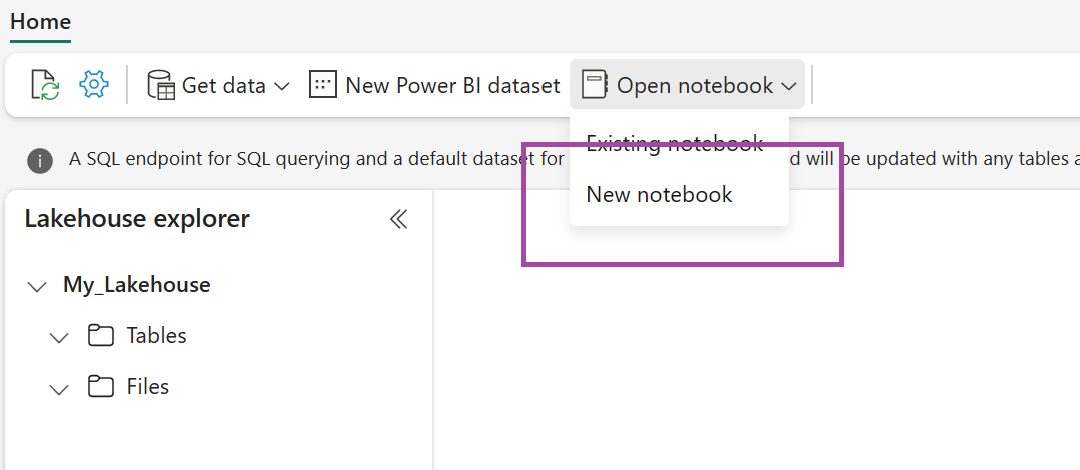
In the newly created lakehouse, select Open notebook, and then select New notebook.
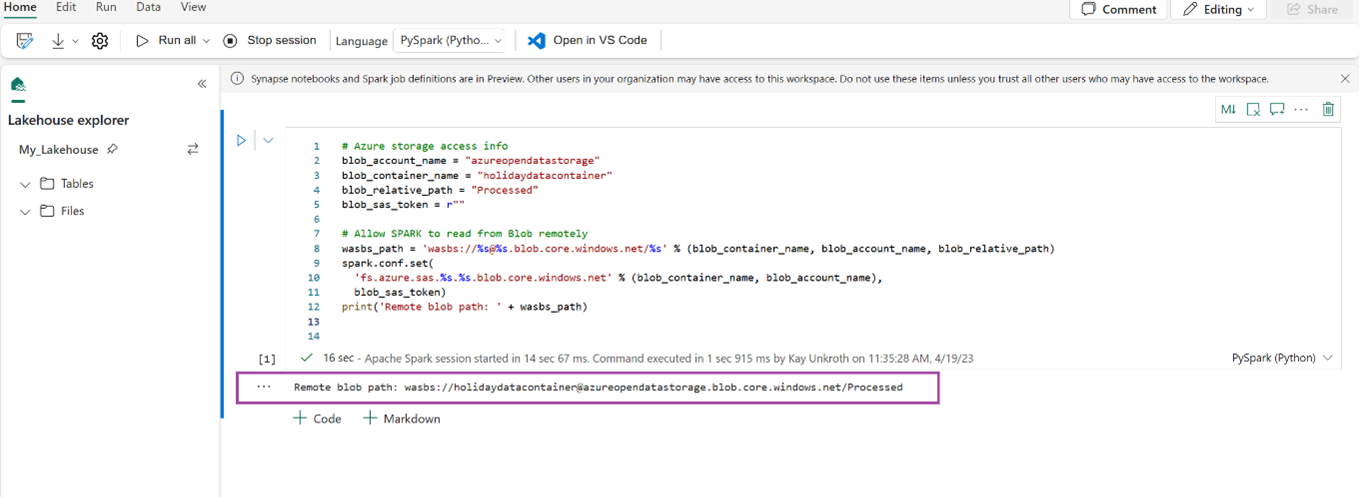
Copy and paste the following code snippet into the first code cell to let SPARK access the open model, and then press Shift + Enter to run the code.
# Azure storage access info
blob_account_name = "azureopendatastorage"
blob_container_name = "holidaydatacontainer"
blob_relative_path = "Processed"
blob_sas_token = r""

# Allow SPARK to read from Blob remotely
wasbs_path = 'wasbs://%s@%s.blob.core.windows.net/%s' % (blob_container_name, blob_account_name, blob_relative_path)
spark.conf.set(
  'fs.azure.sas.%s.%s.blob.core.windows.net' % (blob_container_name, blob_account_name),
  blob_sas_token)
print('Remote blob path: ' + wasbs_path)
Verify the code successfully outputs a remote blob path.
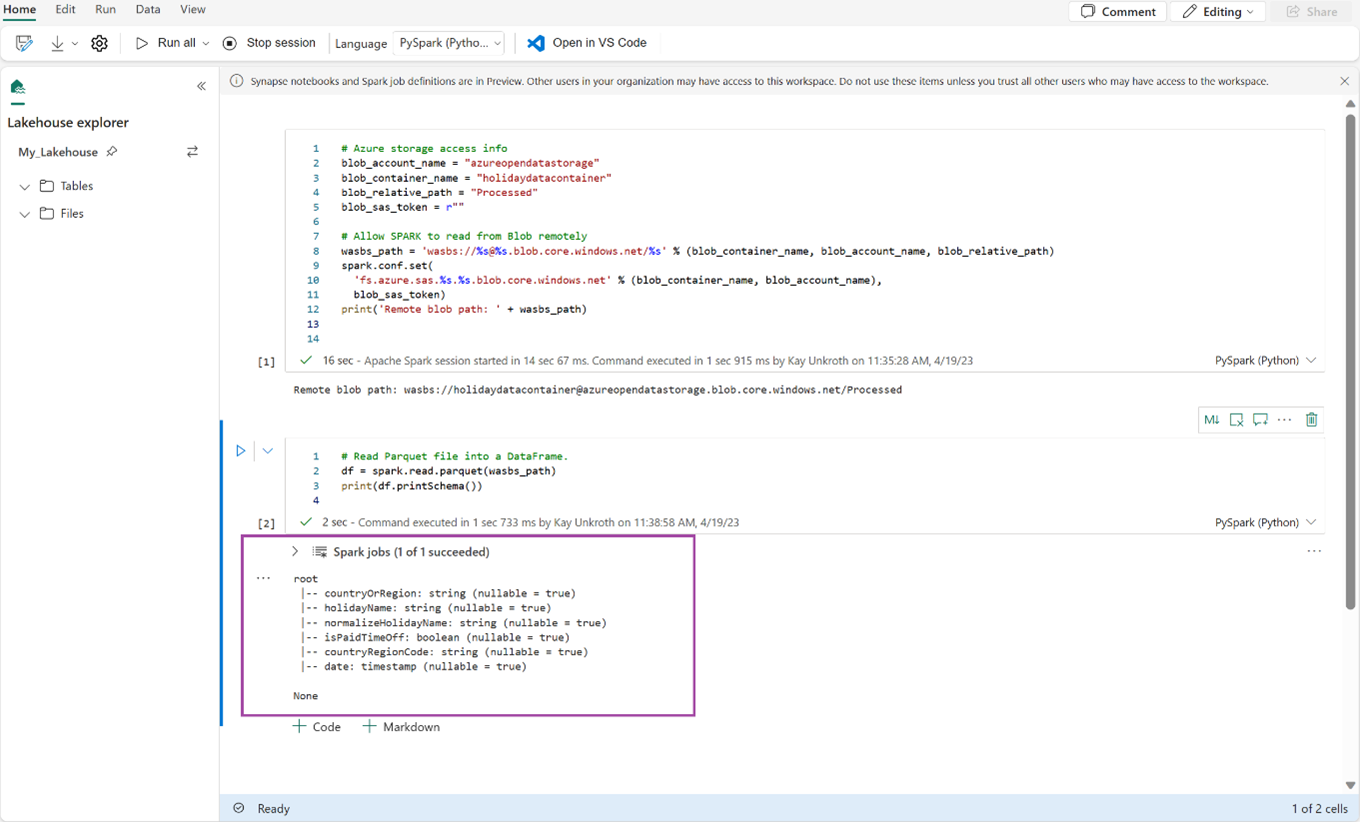
Copy and paste the following code into the next cell, and then press Shift + Enter.
# Read Parquet file into a DataFrame.
df = spark.read.parquet(wasbs_path)
print(df.printSchema())
Verify the code successfully outputs the DataFrame schema.
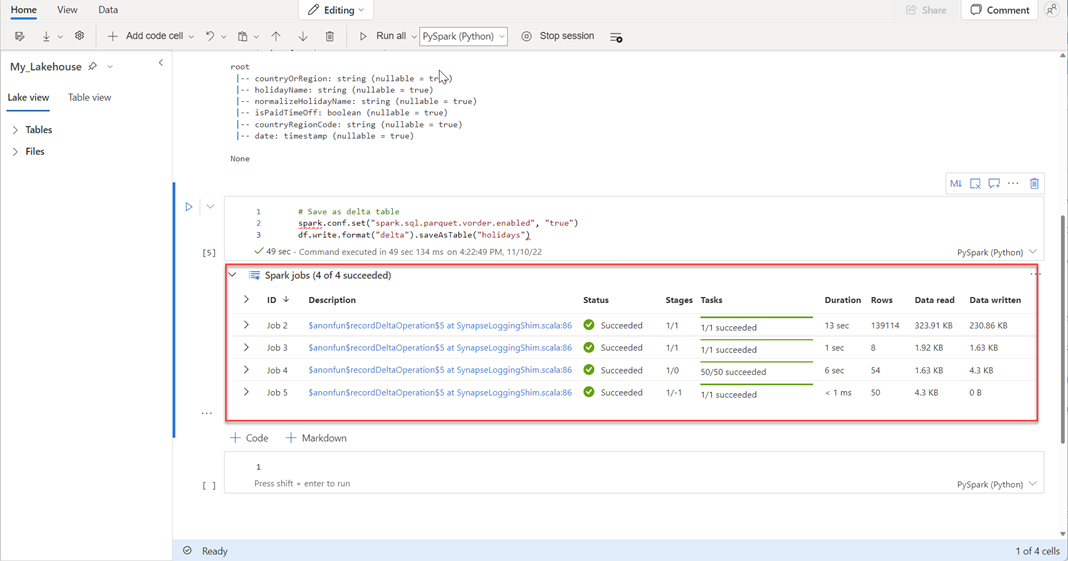
Copy and paste the following lines into the next cell, and then press Shift + Enter. The first instruction enables the VORDER compression method, and the next instruction saves the DataFrame as a Delta table in the lakehouse.
# Save as delta table
spark.conf.set("spark.sql.parquet.vorder.enabled", "true")
df.write.format("delta").saveAsTable("holidays")
Verify all SPARK jobs complete successfully. Expand the SPARK jobs list to view more details.
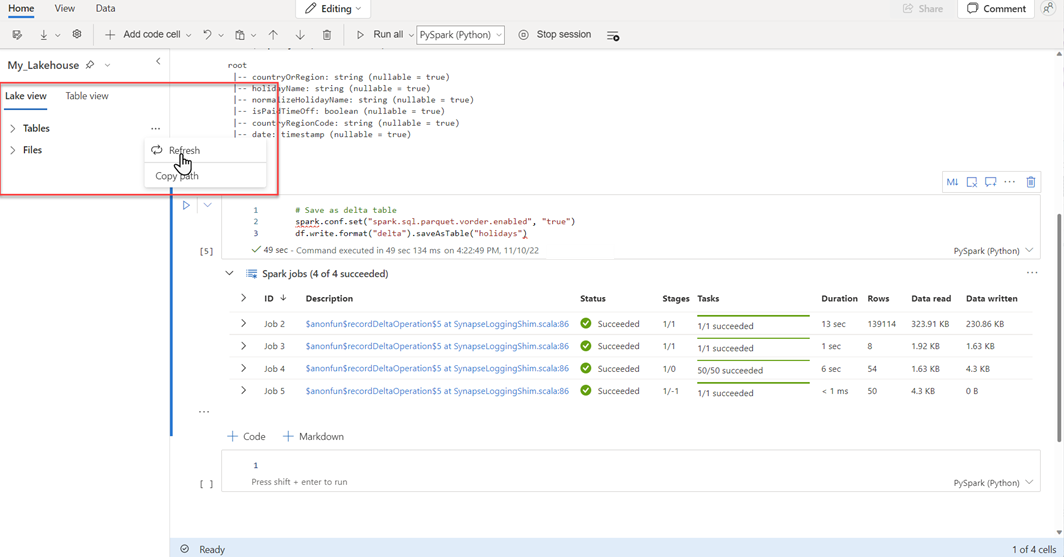
To verify a table has been created successfully, in the upper left area, next to Tables, select the ellipsis (…), then select Refresh, and then expand the Tables node.
Using either the same method as above or other supported methods, add more Delta tables for the data you want to analyze.
Create a basic Direct Lake model for your lakehouse
In your lakehouse, select New semantic model, and then in the dialog, select tables to be included.
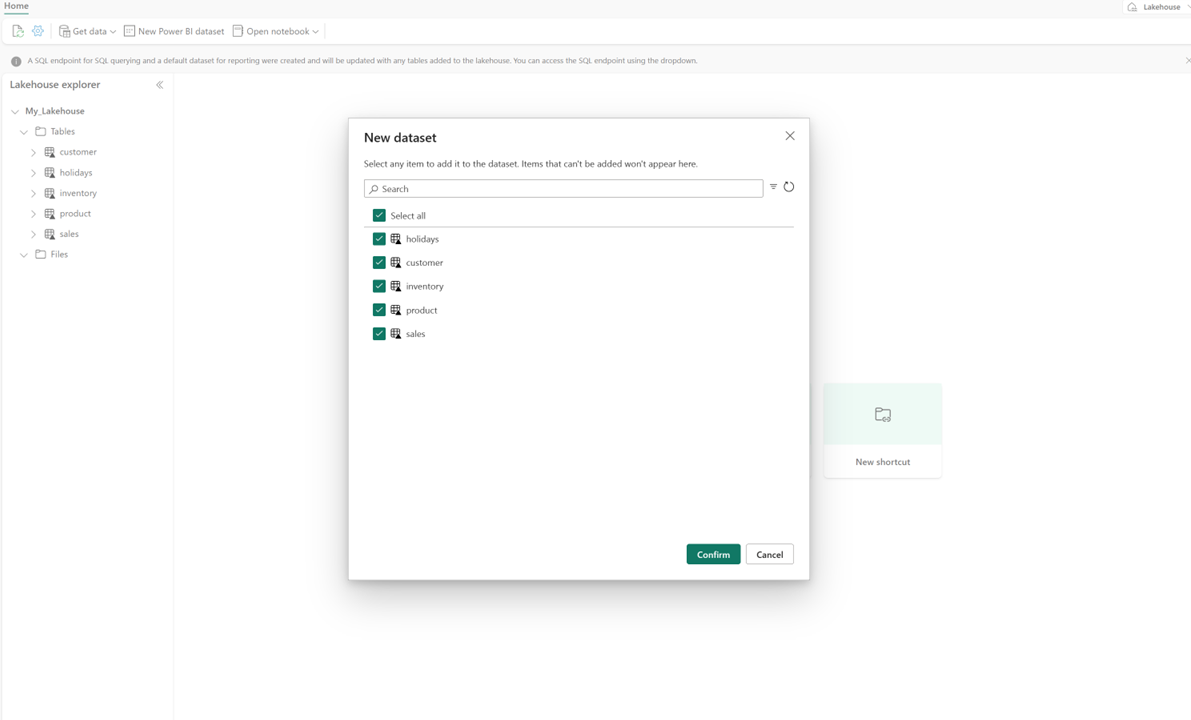
Select Confirm to generate the Direct Lake model. The model is automatically saved in the workspace based on the name of your lakehouse, and then opens the model.

Select Open data model to open the Web modeling experience where you can add table relationships and DAX measures.
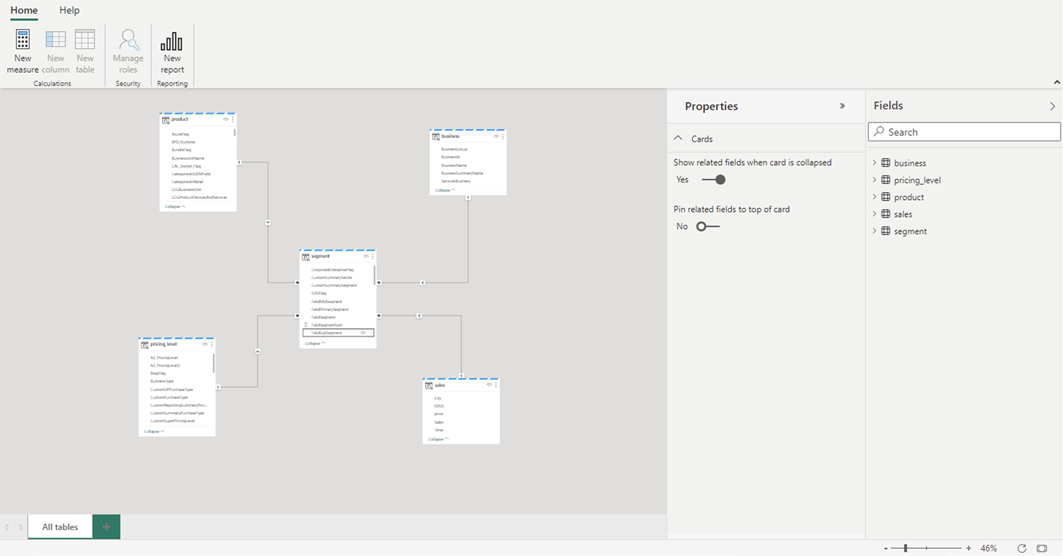
When you're finished adding relationships and DAX measures, you can then create reports, build a composite model, and query the model through XMLA endpoints in much the same way as any other model.