Create an Access Policy
You can use this topic to create an access policy in the IPAM client console.
Membership in Administrators, or equivalent, is the minimum required to perform this procedure.
Note
You can create an access policy for a specific user or for a user group in Active Directory. When you create an access policy, you must select either a built-in IPAM role or a custom role that you have created. For more information on custom roles, see Create a User Role for Access Control.
To create an access policy
In Server Manager, click IPAM. The IPAM client console appears.
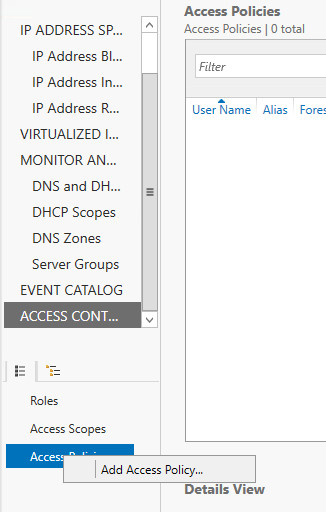
In the navigation pane, click ACCESS CONTROL. In the lower navigation pane, right-click Access Policies, and then click Add Access Policy.
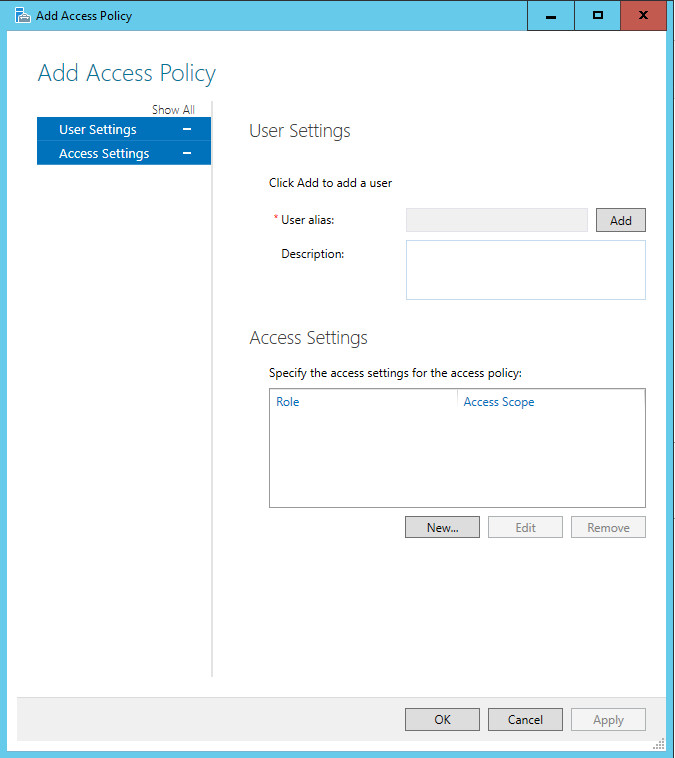
The Add Access Policy dialog box opens. In User Settings, click Add.
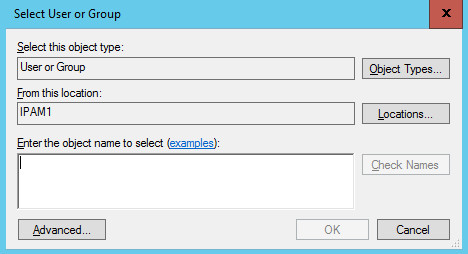
The Select User or Group dialog box opens. Click Locations.
The Locations dialog box opens. Browse to the location that contains the user account, select the location, and then click OK. The Locations dialog box closes.
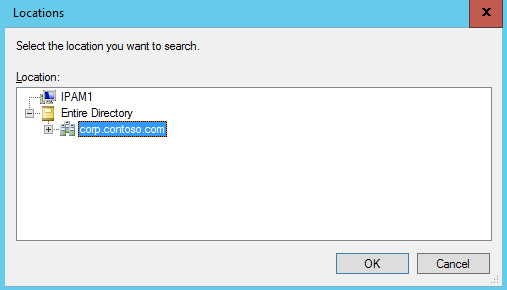
In the Select User or Group dialog box, in Enter the object name to select, type the user account name for which you want to create an access policy. Click OK.
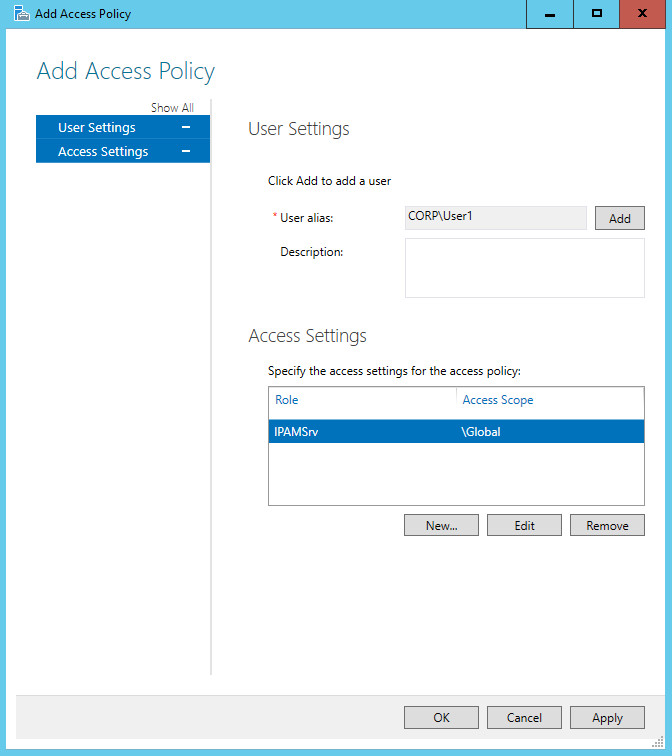
In Add Access Policy, in User Settings, User alias now contains the user account to which the policy applies. In Access Settings, click New.
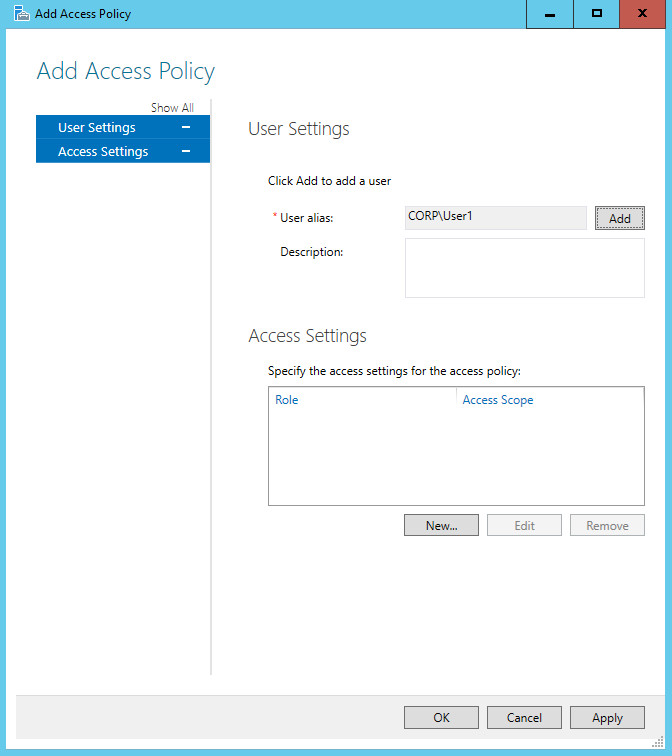
In Add Access Policy, Access Settings changes to New Setting.
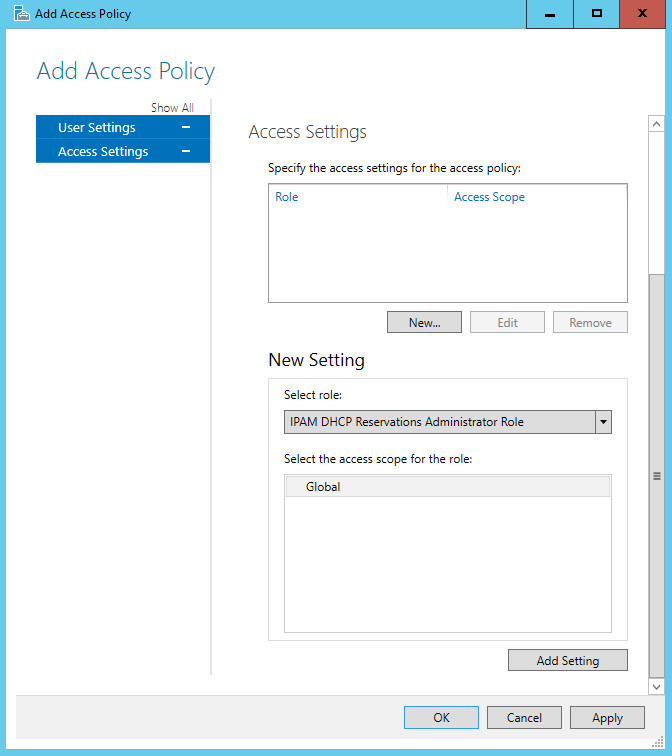
Click Select role to expand the list of roles. Select one of the built-in roles or, if you have created new roles, select one of the roles that you created. For example, if you created the IPAMSrv role to apply to the user, click IPAMSrv.
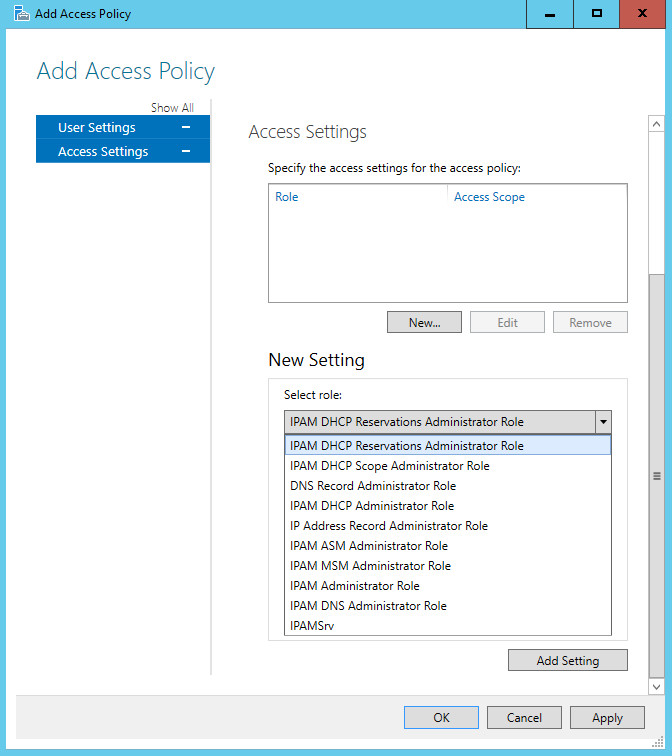
Click Add Setting.
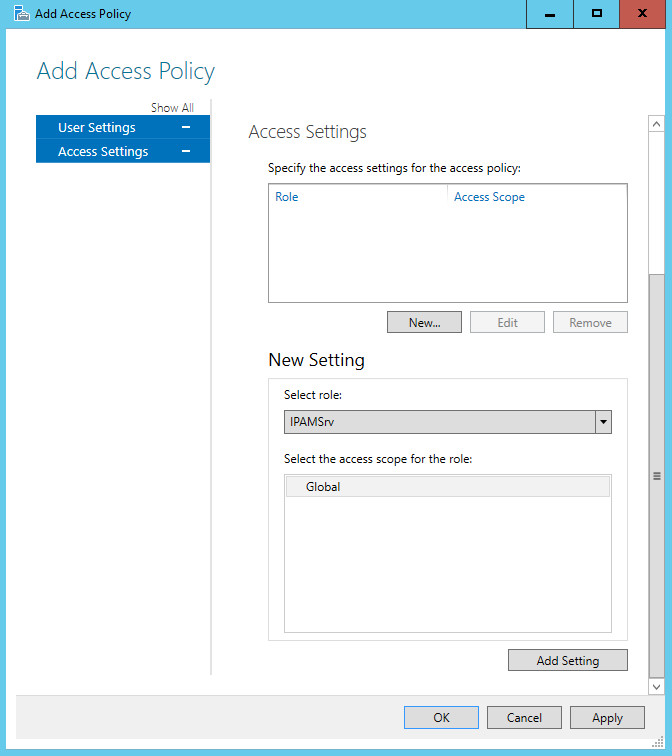
The role is added to the access policy. To create additional access policies, click Apply, and then repeat these steps for each policy that you want to create. If you do not want to create additional policies, click OK.
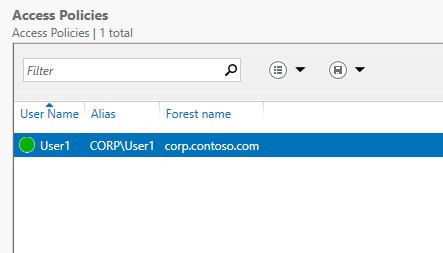
In the IPAM client console display pane, verify that the new access policy is created.
