Launch Screens for Xamarin.iOS Apps
This article explains how to create an app Launch Screen for all iOS devices, at any resolution and orientation, using a single Unified Storyboard.
Warning
The iOS Designer was deprecated in Visual Studio 2019 version 16.8 and Visual Studio 2019 for Mac version 8.8, and removed in Visual Studio 2019 version 16.9 and Visual Studio for Mac version 8.9. The recommended way to build iOS user interfaces is directly on a Mac running Xcode. For more information, see Designing user interfaces with Xcode.
Before iOS 8, creating a Launch Screen for an iOS app required the developer to provide an image asset for each of the various device form factors and resolutions in which the app could run. Since the release of iOS 8, however, it has been possible to use a single Unified Storyboard to create a Launch Screen that looks correct in all cases.
This brief walkthrough describes how to create a Launch Screen with either a Storyboard provided by default in a new Project or with a Storyboard added manually to an existing Project. It then demonstrates how to use the iOS Designer to add an Image View and a Label to the Storyboard, to set constraints on those views, and to verify that the Storyboard looks correct for various devices and orientations.
Managing Launch Screens with Storyboards
In iOS 8 (and later), the developer can create a special Unified Storyboard to provide the Launch Screen instead of using one or more static launch images. When creating a launch Storyboard in the iOS Designer, use Size Classes and Auto Layout to define different layouts for different display environments. By using Size Classes and Auto Layout, the developer can create a single launch screen that looks good on all devices and display environments.
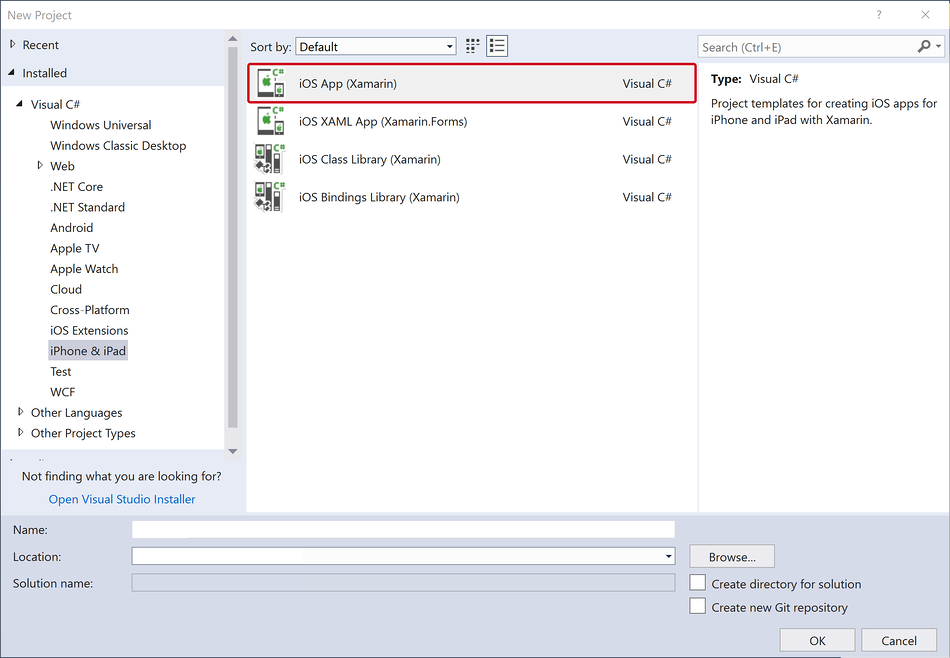
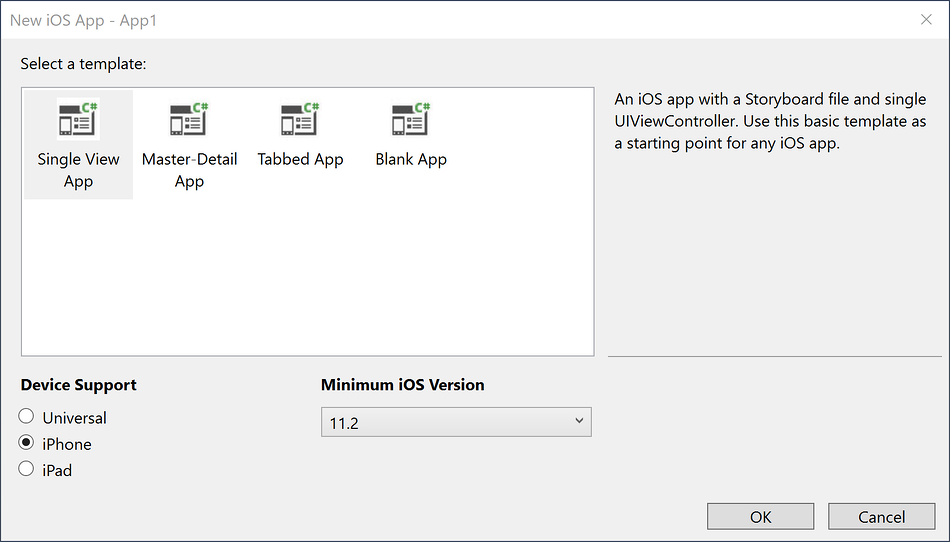
In Visual Studio for Mac, create a new project by selecting File > New Solution and then choosing Single View App:
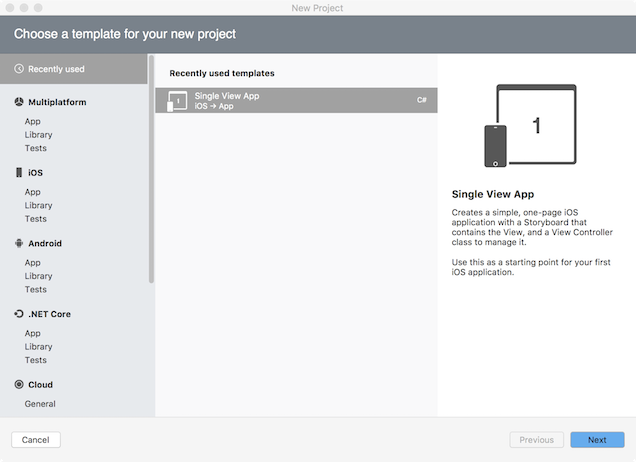
- By default, a new Project includes a LaunchScreen.storyboard file that defines the Launch Screen interface.
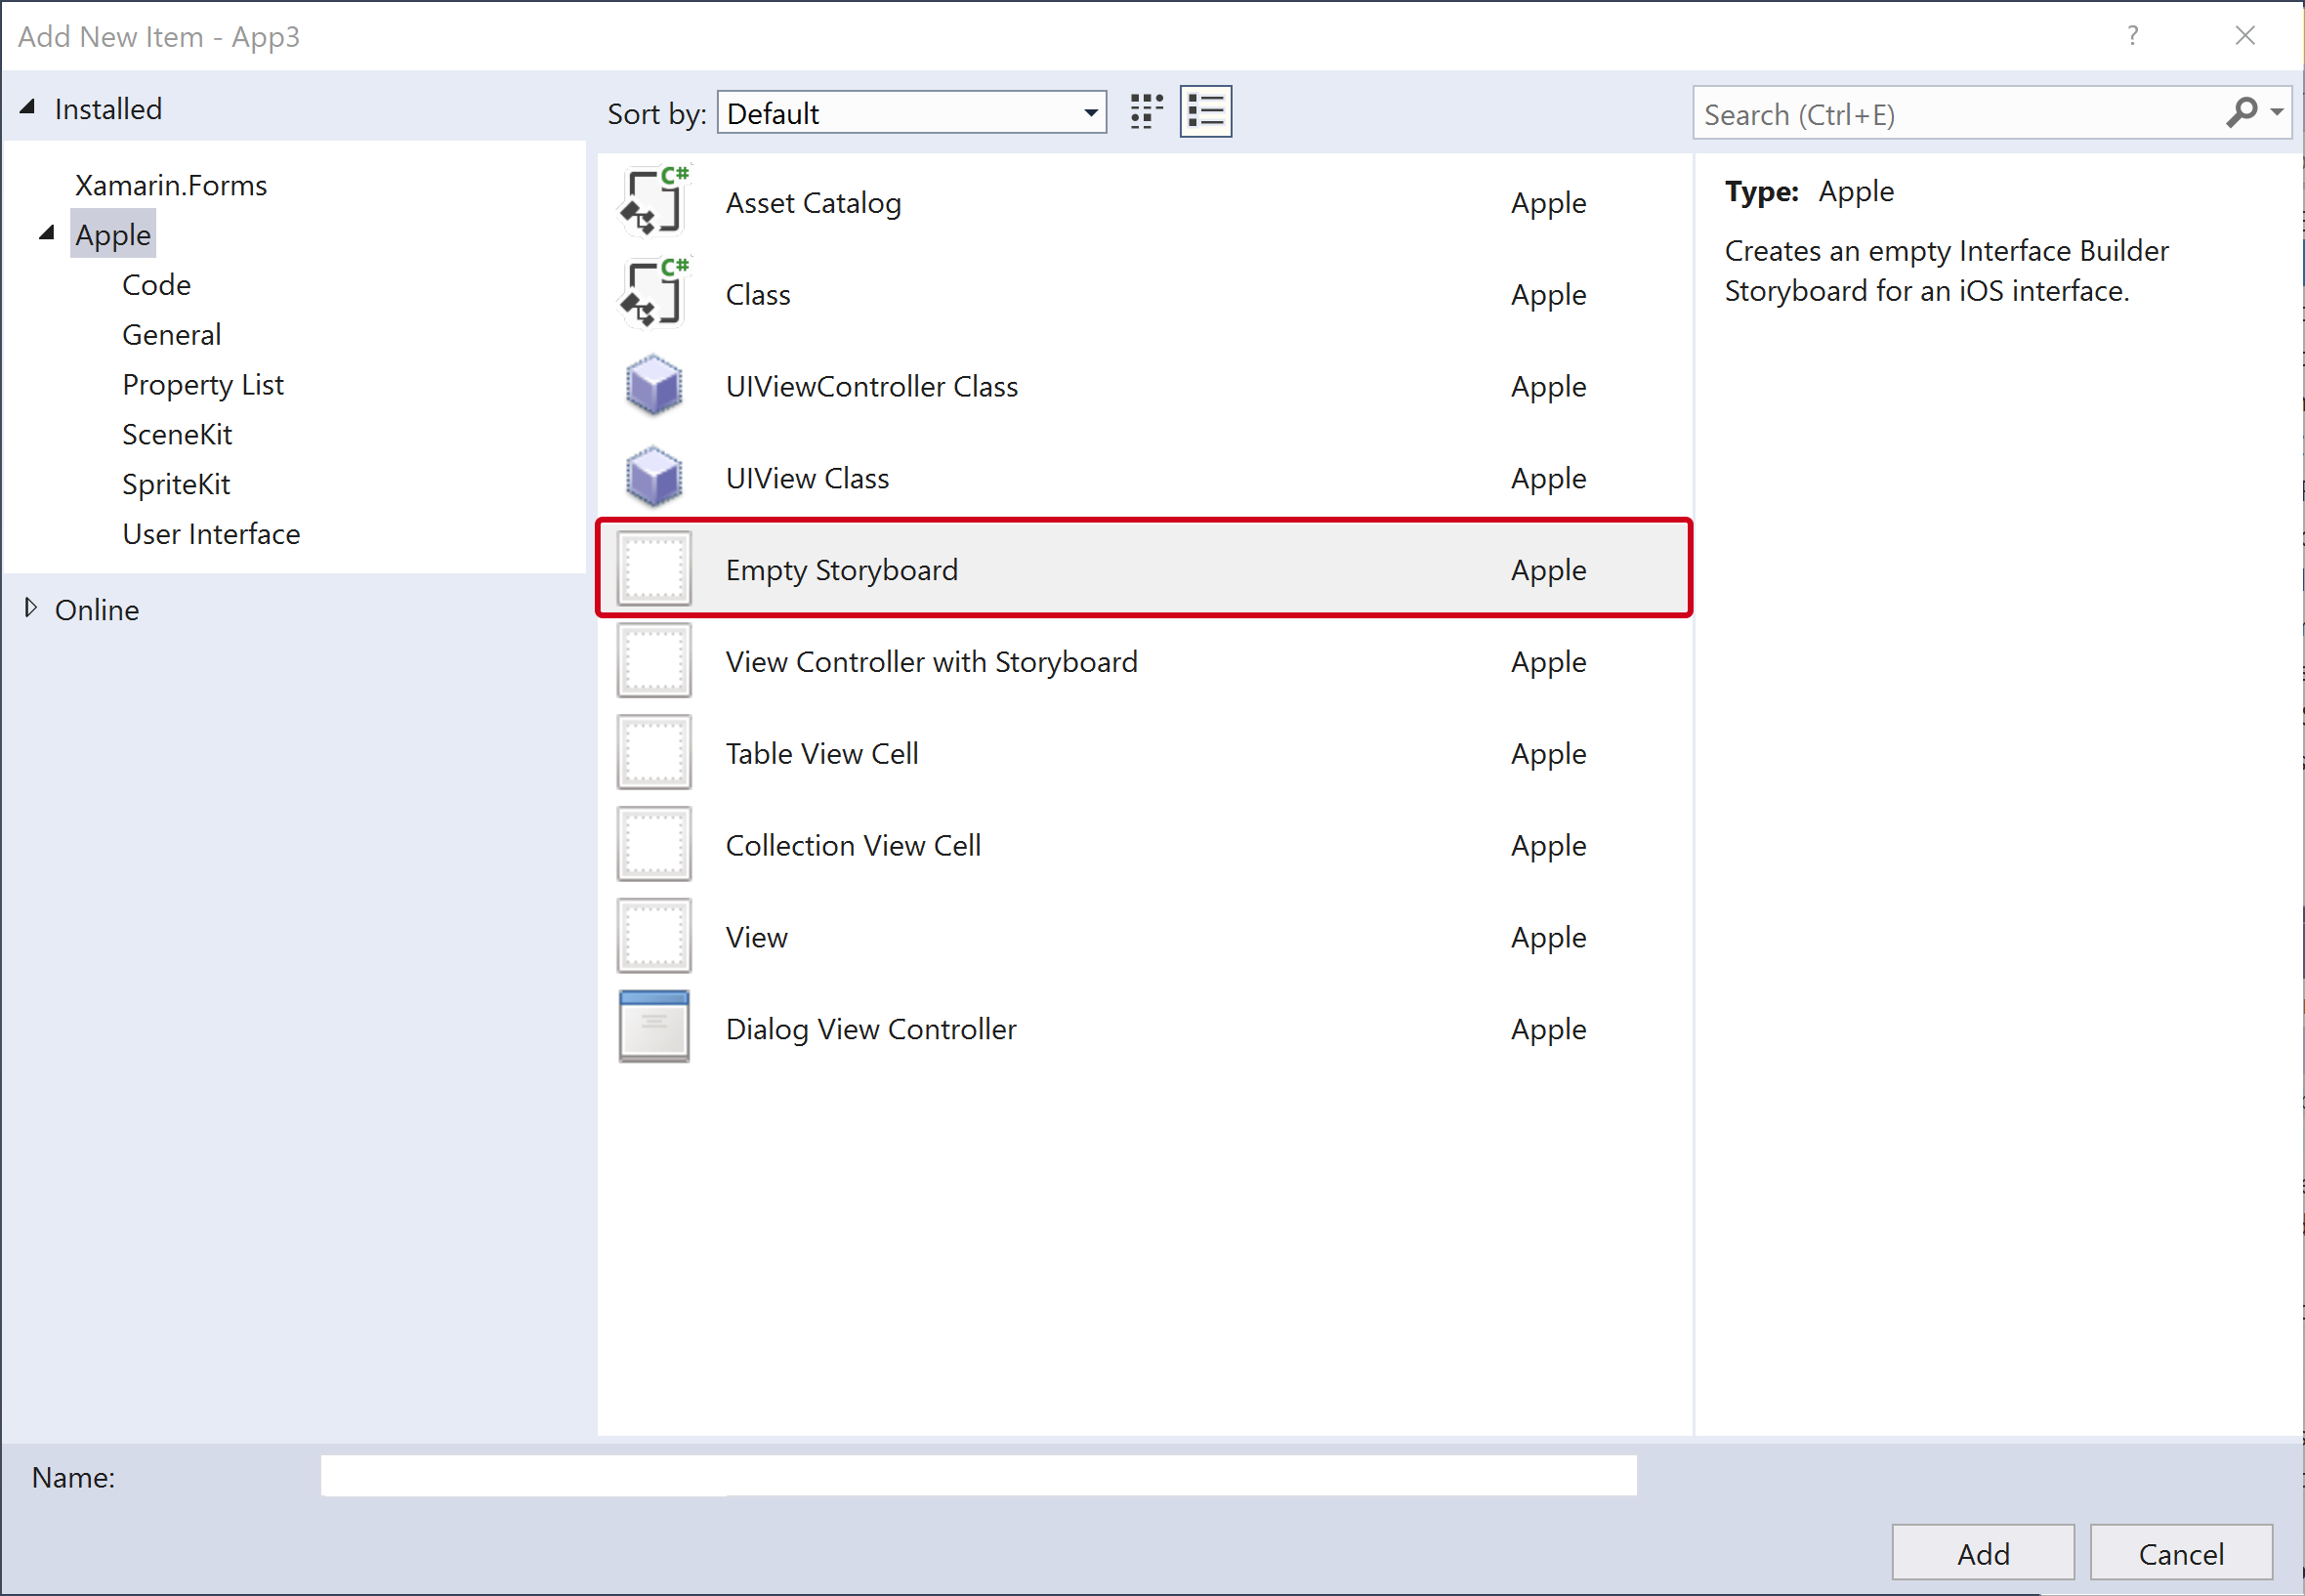
- To instead add a Launch Screen Storyboard to an existing project, right-click on the project name in the Solution Pad and choose Add > New File... and then select Launch Screen:
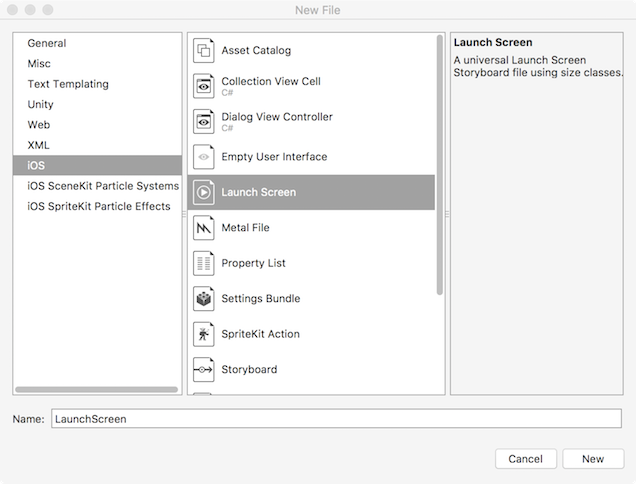
- Name the file LaunchScreen or another name of your choosing.
Configure the Project to use the appropriate Storyboard for its Launch Screen:
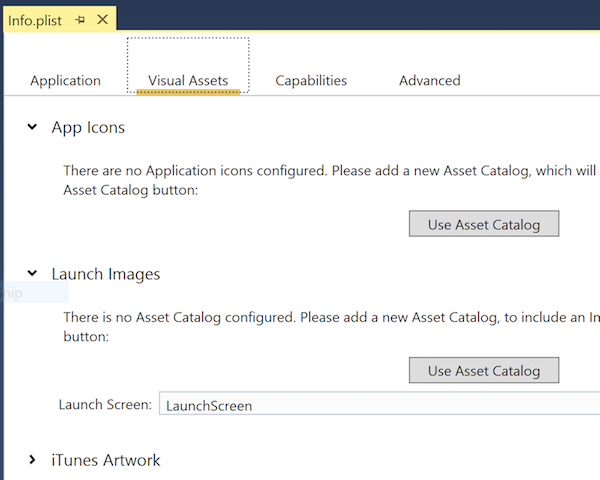
- Double-click the Info.plist file in the Solution Pad to open it for editing.
- In the Launch Images section, make sure that Launch Screen is set to the name of the appropriate Storyboard:

- By default, a new Project is configured to use LaunchScreen.storyboard as its Launch Screen.
Add an image to the Assets.xcassets Asset Catalog so that it is available for use on the Launch Screen. For more information, see the Adding Images to an Asset Catalog Image Set section of the Displaying an Image guide.
Open LaunchScreen.storyboard for editing by double-clicking it in the Solution Pad.
Choose a device and orientation on which to preview the Launch Screen Storyboard in the iOS Designer. Open the device selection panel on the bottom toolbar and select iPhone 4S and Portrait.

- Note that selecting a device and orientation only changes how the iOS Designer previews the design. Regardless of the selection made here, newly added constraints are applied across all devices and orientations unless the Edit Traits button has been used to specify otherwise.
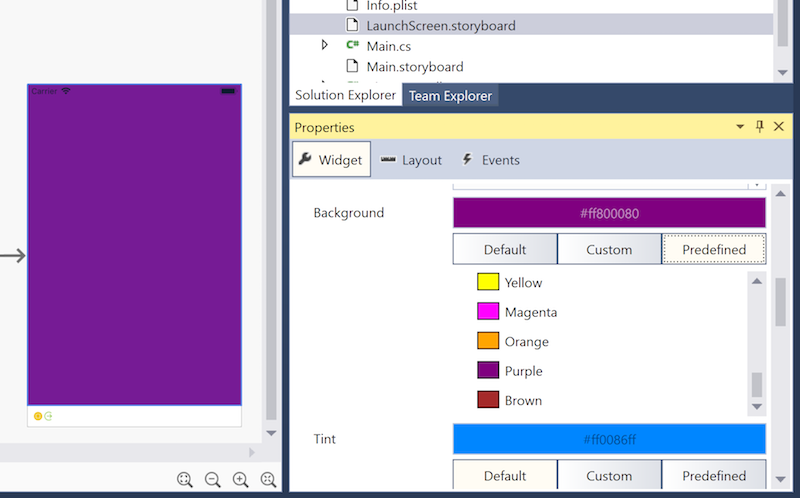
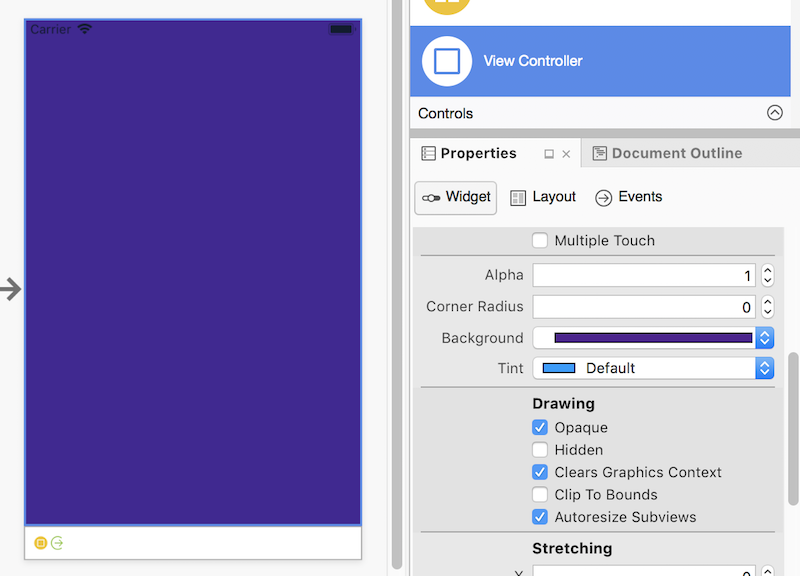
Set the Background color of the View Controller's main View. Select the View by clicking in the middle of the View Controller and adjust the background color using the Properties Pad:
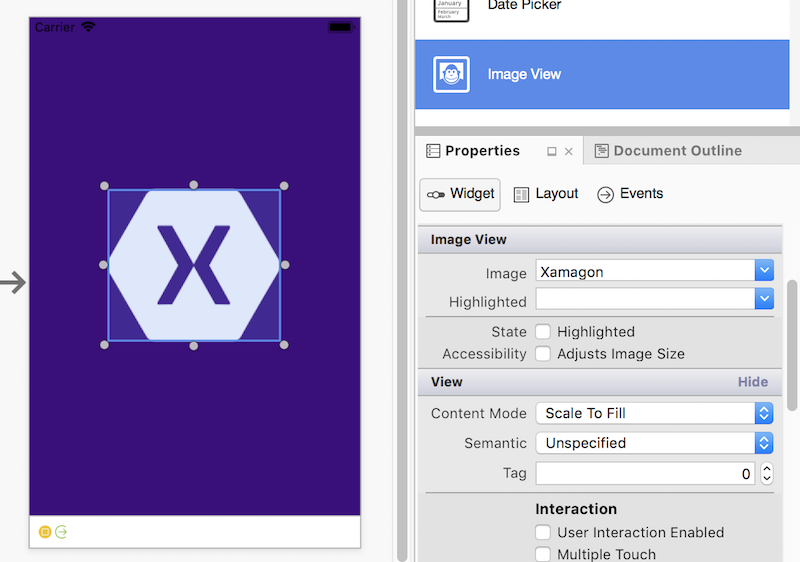
Add an Image View to the Launch Screen and set its source Image:
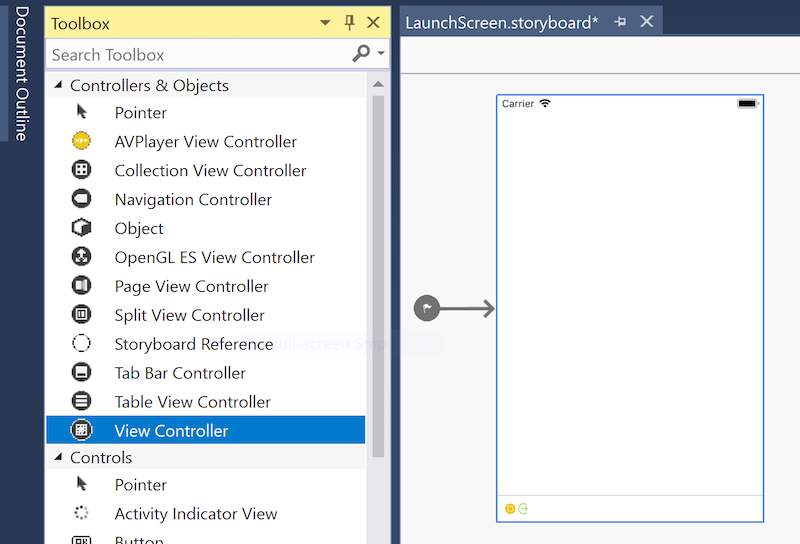
- Drag an Image View from the Toolbox Pad to the center of the View.
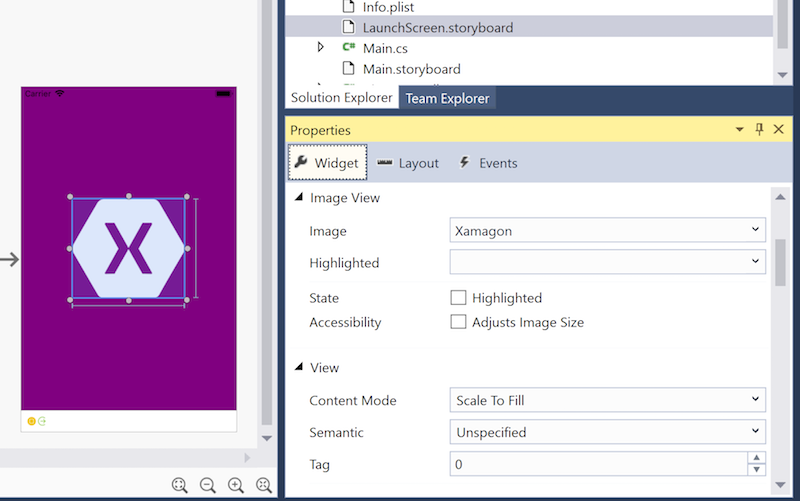
- With the Image View selected, in the Widget section of the Properties Pad set the Image property to the Image Set already added to the Assets.xcassets Asset Catalog. Reposition and size the Image View as required:
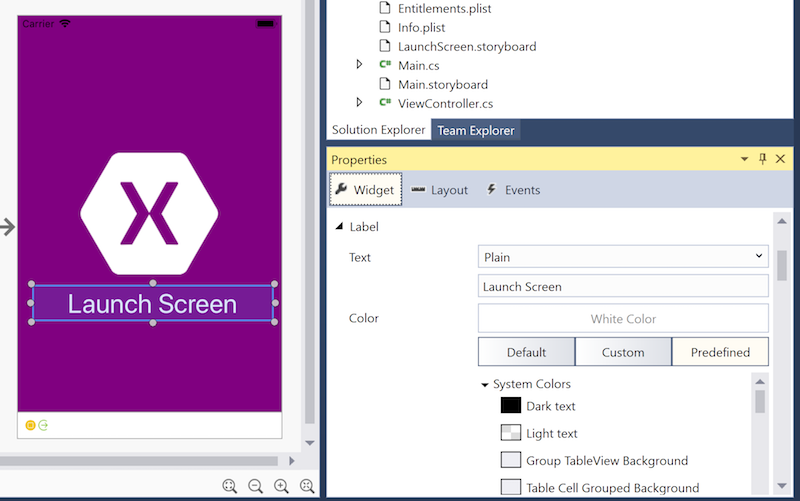
Add a Label below the Image View and use the Properties Pad to set its attributes:
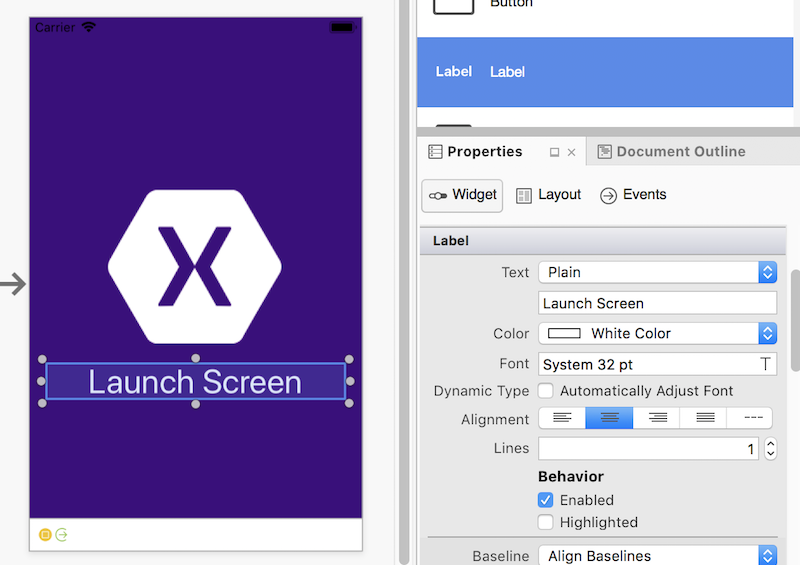
Switch to Constraint Editing Mode by using the right-hand button in the Constraints Toolbar:

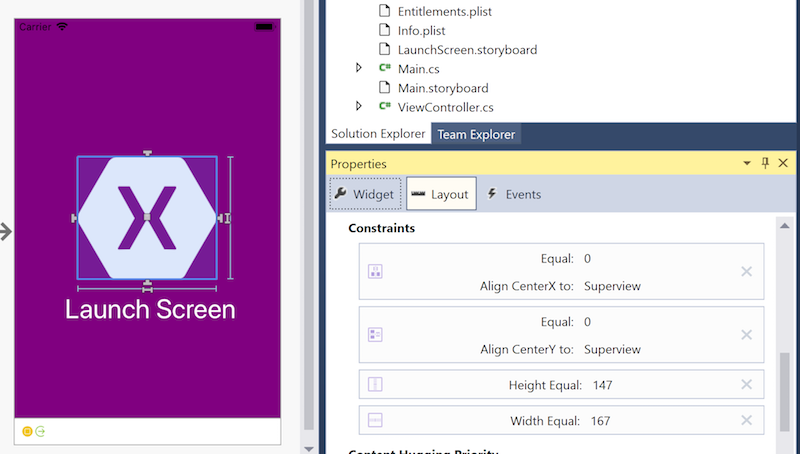
Add constraints to the Image View, setting its height and width and centering it horizontally and vertically:
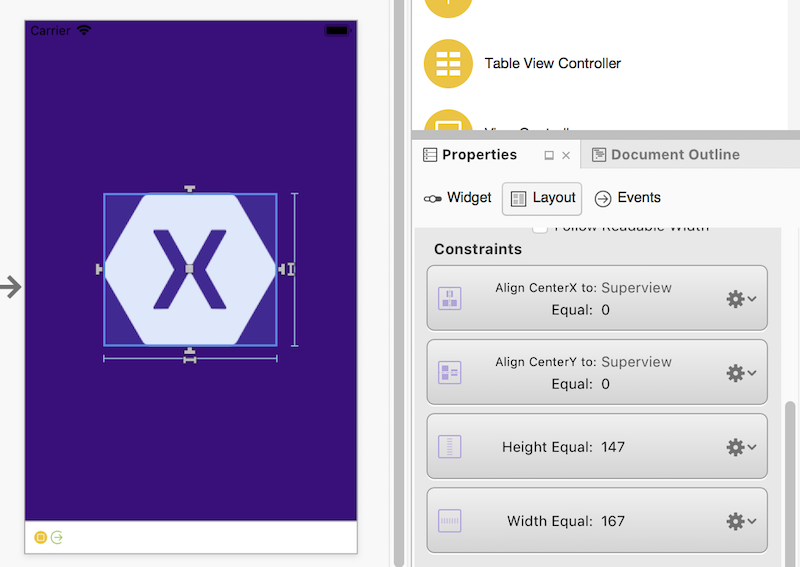
- For more details on how to add constraints, see Auto Layout with the Xamarin Designer for iOS.
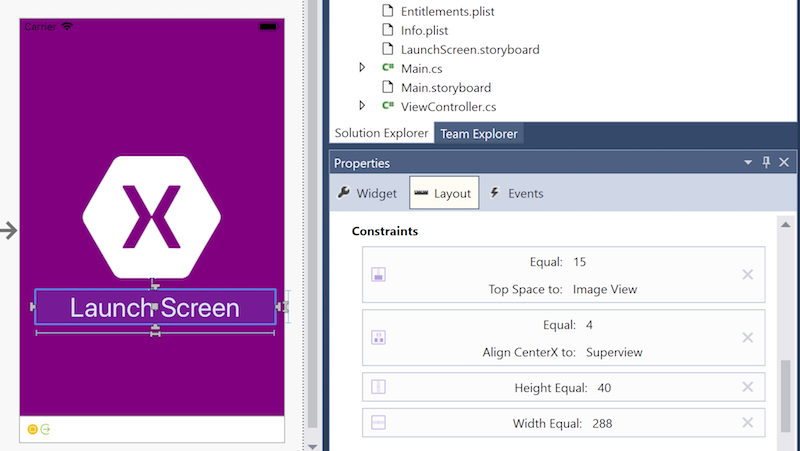
Add constraints to the Label, centering it horizontally, giving it a height and width, and positioning it a fixed distance vertically from the Image View:
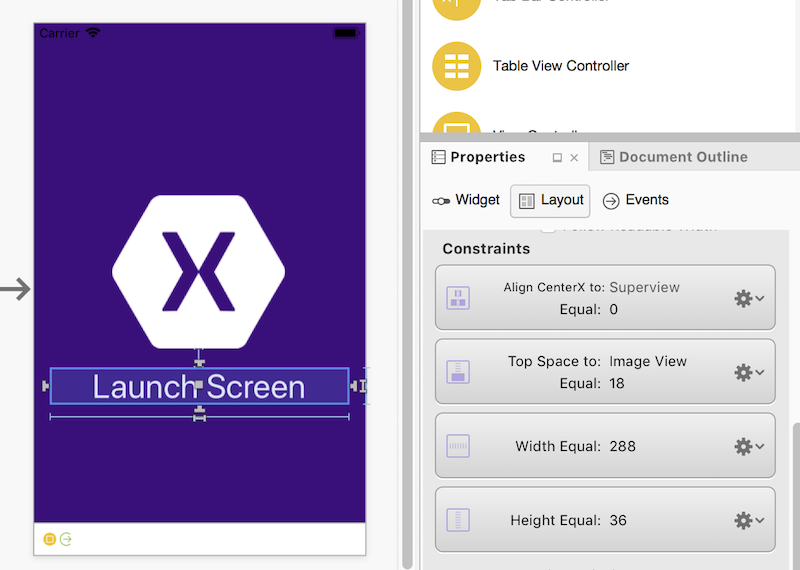
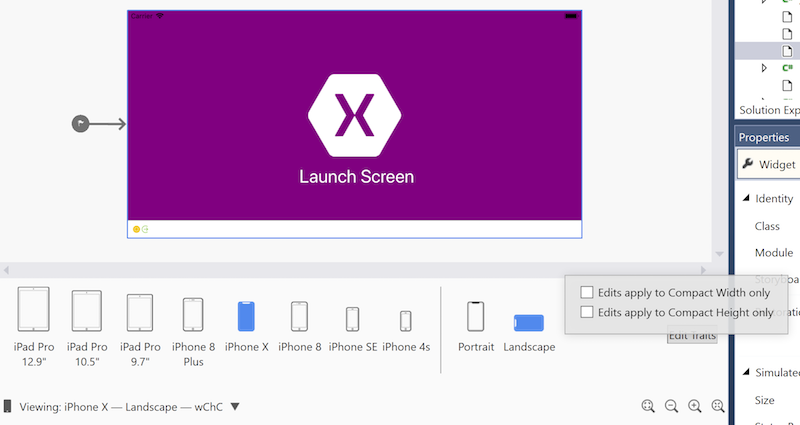
Test other devices and orientations to verify that the design looks as intended in all scenarios. In cases where adjustments need to be made for a specific device or orientation, use the Edit Traits button to add constraints for specific size classes:
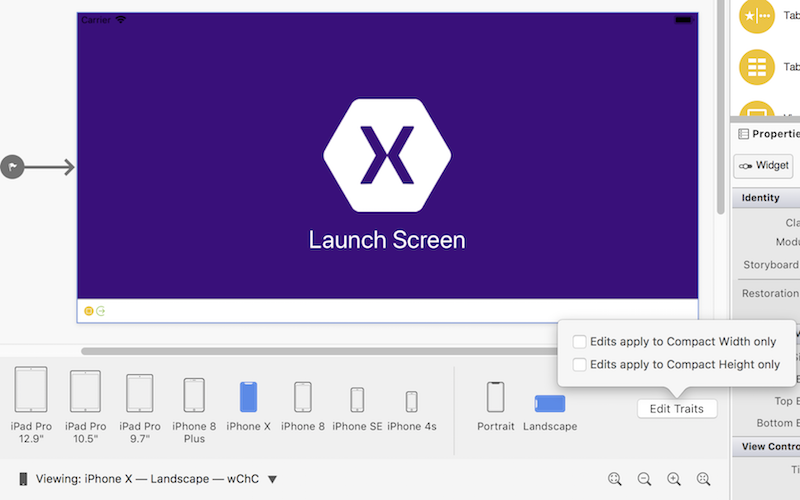
Save the changes to the Storyboard. Run the app on a simulator or device, and the Launch Screen will be visible as the app is launching.
Note
A Storyboard used as a Launch Screen must include only simple, built-in UI elements and cannot do any calculations or derive from a custom class.
For more information about creating a Launch Screen with a Unified Storyboard, please see the Dynamic Launch Screens section of the Unified Storyboards guide.
Migrating to Launch Screen Storyboards
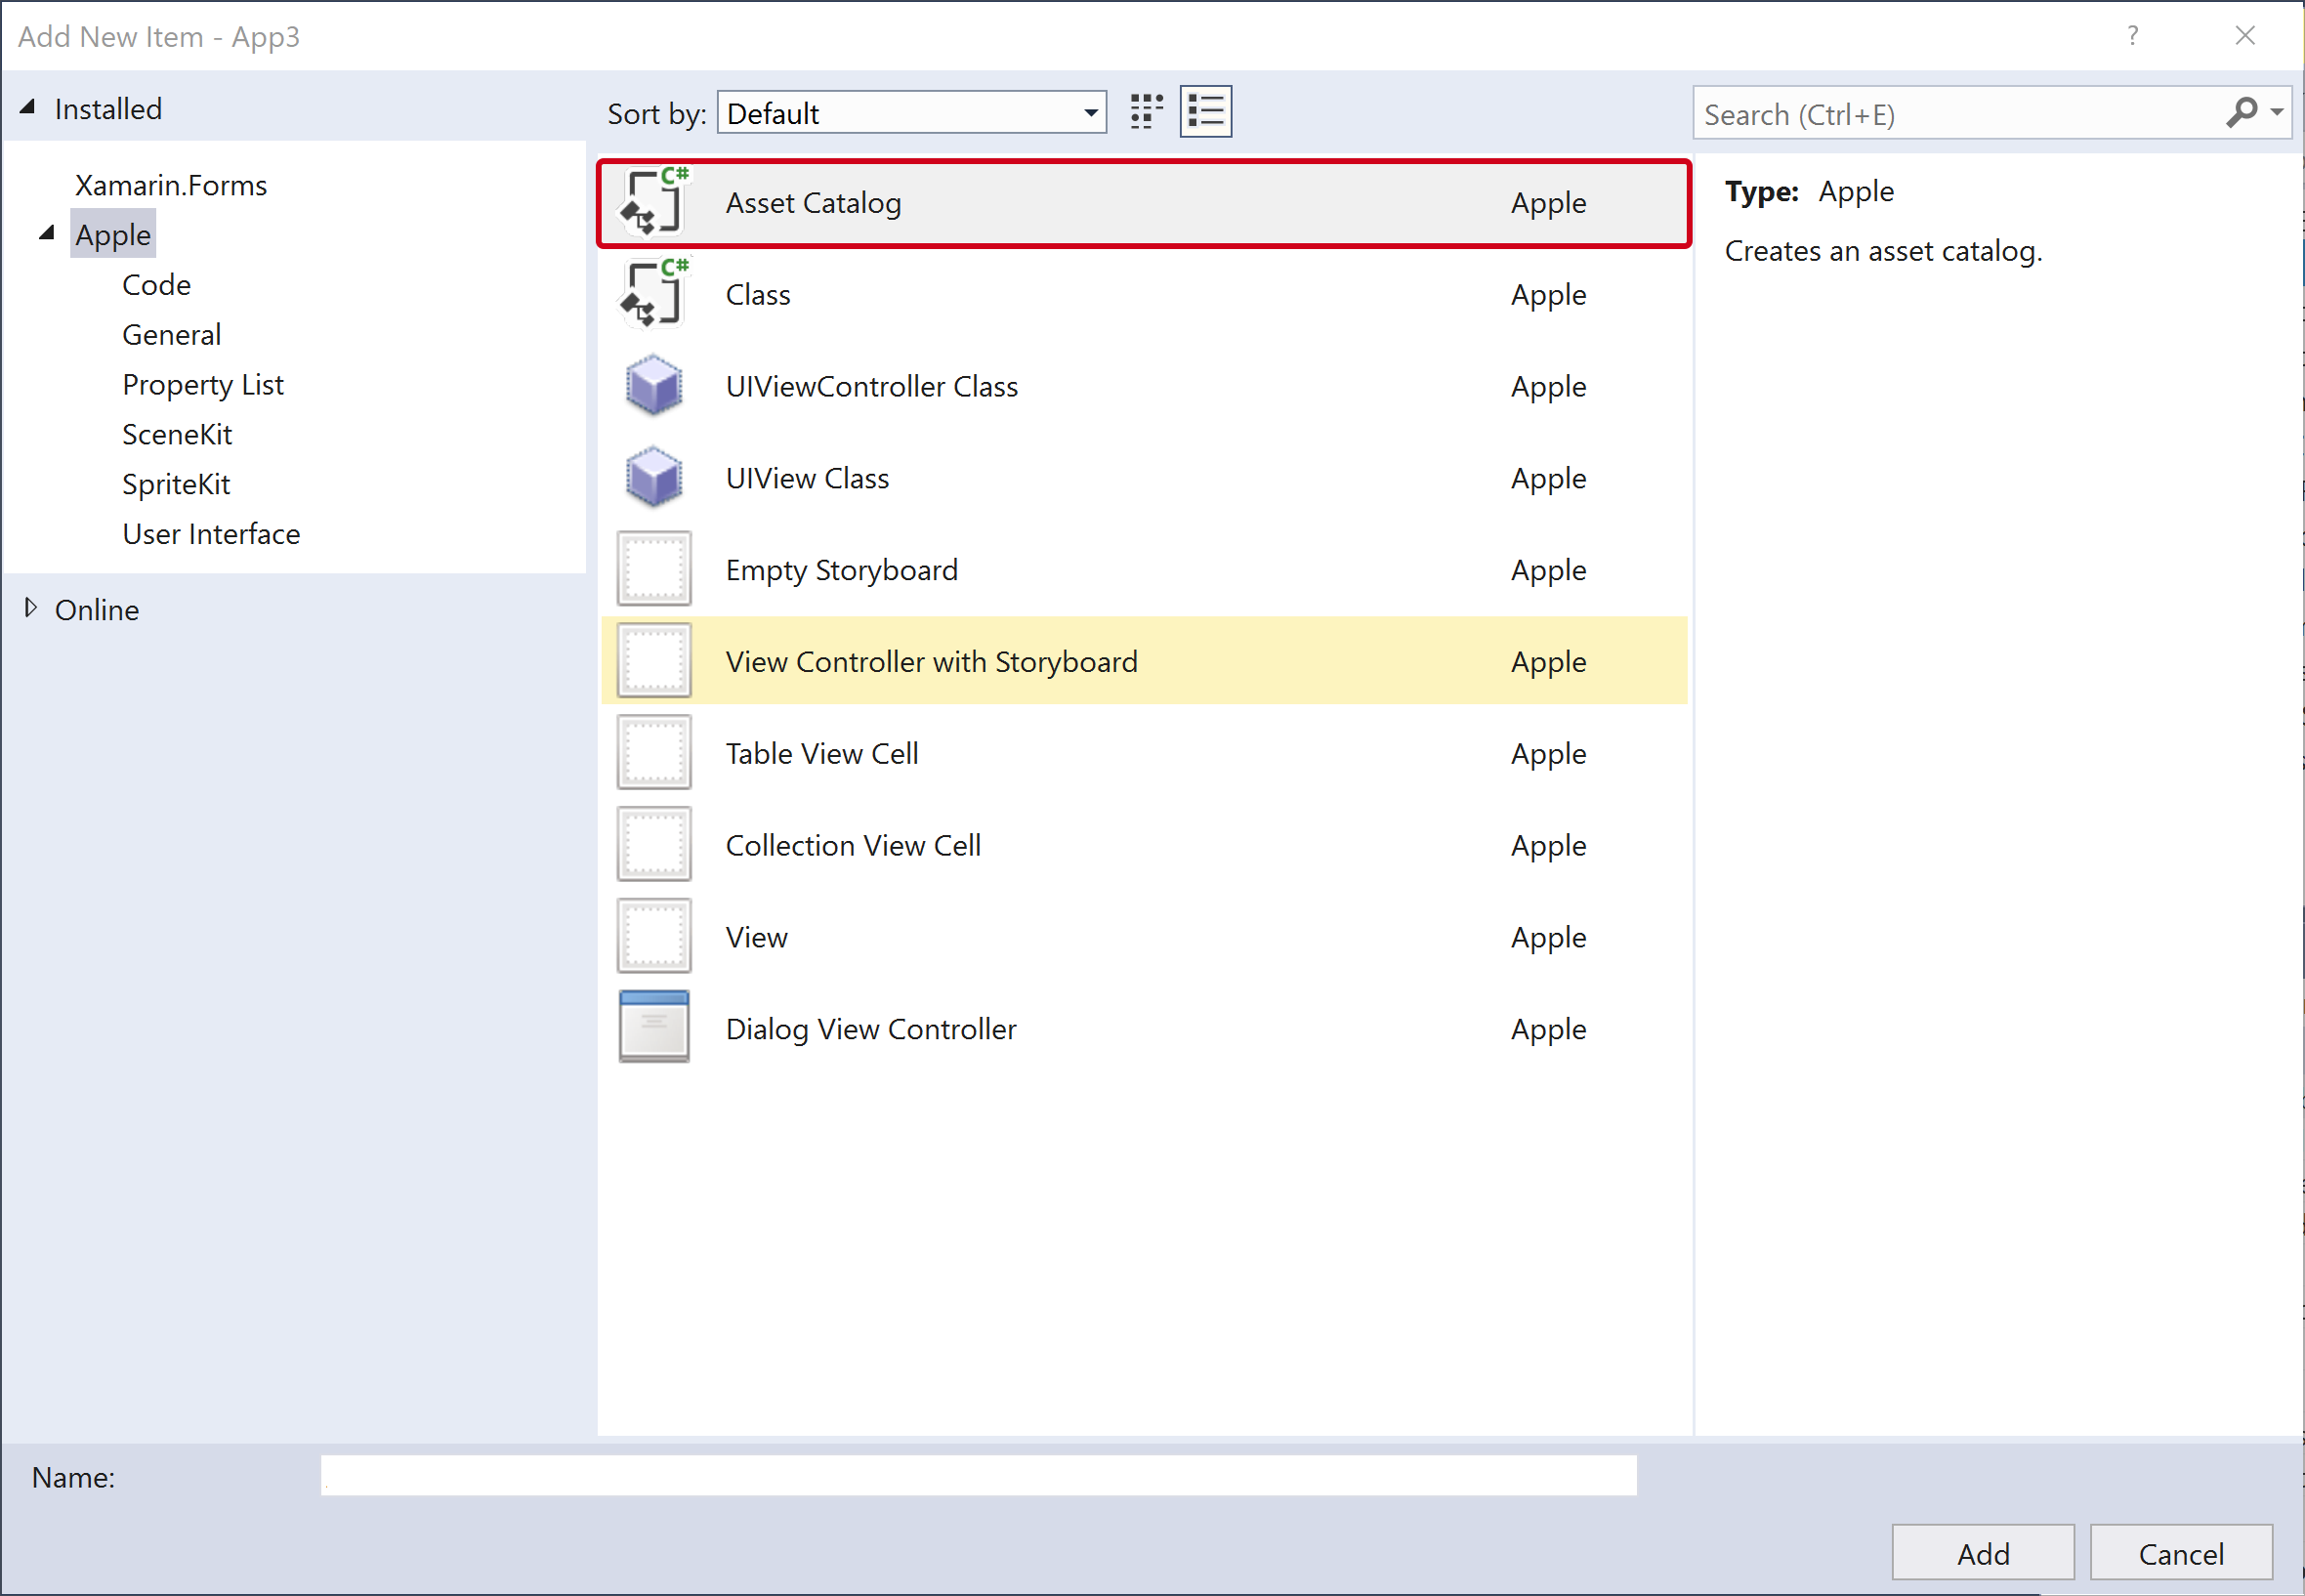
When updating an existing app to use Storyboards for its Launch Screens, right click the Project Name in the Solution Explorer and select Add > New File.... Select iOS > Launch Screen and click the New button:
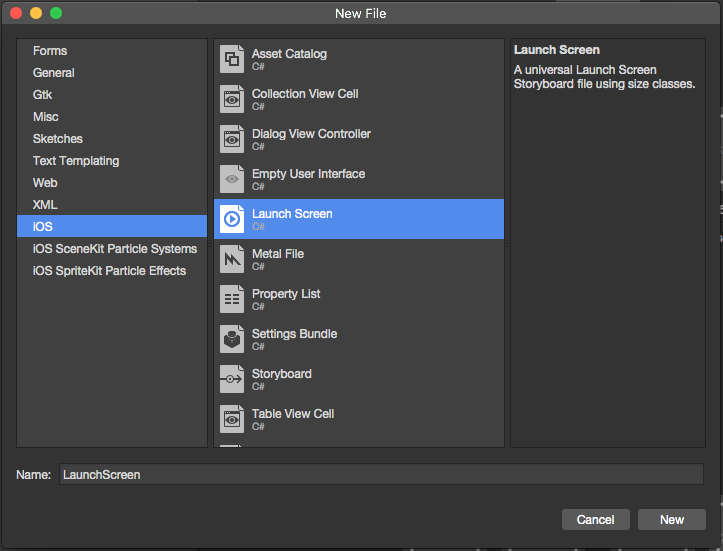
Next, double-click the Info.plist file in the Solution Explorer to open it for editing. Under Launch Screen, select the new Storyboard file created above.

To use the new Storyboard as a launch screen, do the following:
Double-click the
Info.plistfile in the Solution Explorer to open it for editing.Scroll to the Universal Launch Images section of the editor, open the Launch Screen dropdown and select the name of the storyboard created above:

