Xamarin.Android GridLayout
The GridLayout is a new ViewGroup subclass that
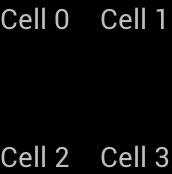
supports laying out views in a 2D grid, similar to an HTML table, as shown
below:
GridLayout works with a flat-view hierarchy, where child views
set their locations in the grid by specifying the rows and columns they should
be in. This way, the GridLayout is able to position views in the grid
without requiring that any intermediate views provide a table structure, such as
seen in the table rows used in the TableLayout. By maintaining a flat hierarchy, GridLayout is able to more swiftly layout its child views. Let’s take
a look at an example to illustrate what this concept actually means in code.
Creating a Grid Layout
The following XML adds several TextView controls to a GridLayout.
<?xml version="1.0" encoding="utf-8"?>
<GridLayout xmlns:android="http://schemas.android.com/apk/res/android"
        android:layout_width="match_parent"
        android:layout_height="match_parent"
        android:rowCount="2"
        android:columnCount="2">
     <TextView
            android:text="Cell 0"
            android:textSize="14dip" />
     <TextView
            android:text="Cell 1"
            android:textSize="14dip" />
     <TextView
            android:text="Cell 2"
            android:textSize="14dip" />
     <TextView
            android:text="Cell 3"
            android:textSize="14dip" />
</GridLayout>
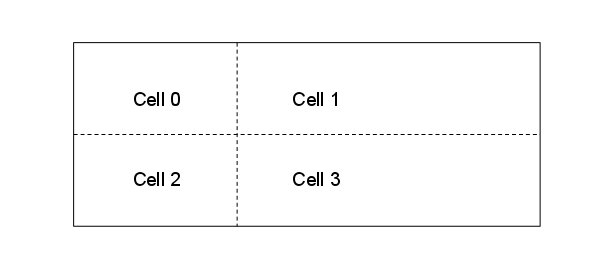
The layout will adjust the row and column sizes so that the cells can fit their content, as illustrated by the following diagram:
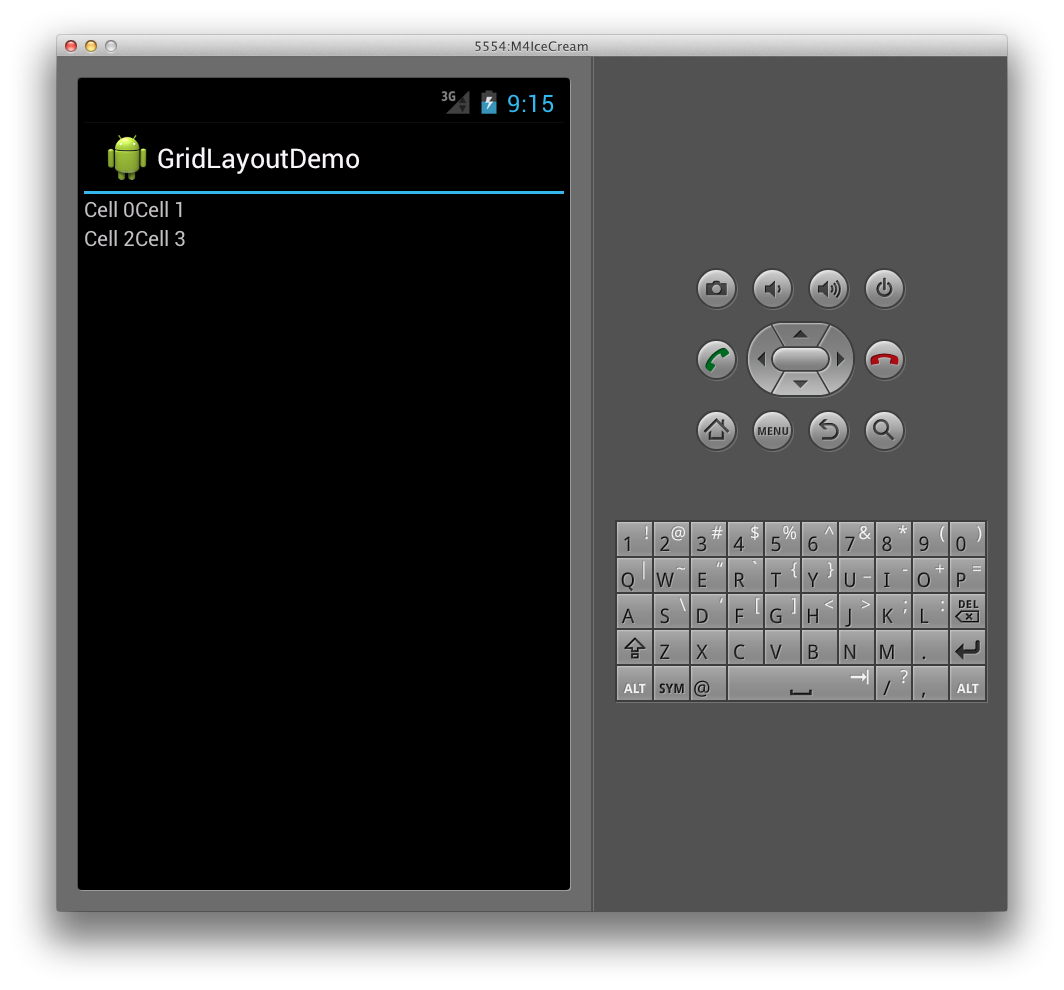
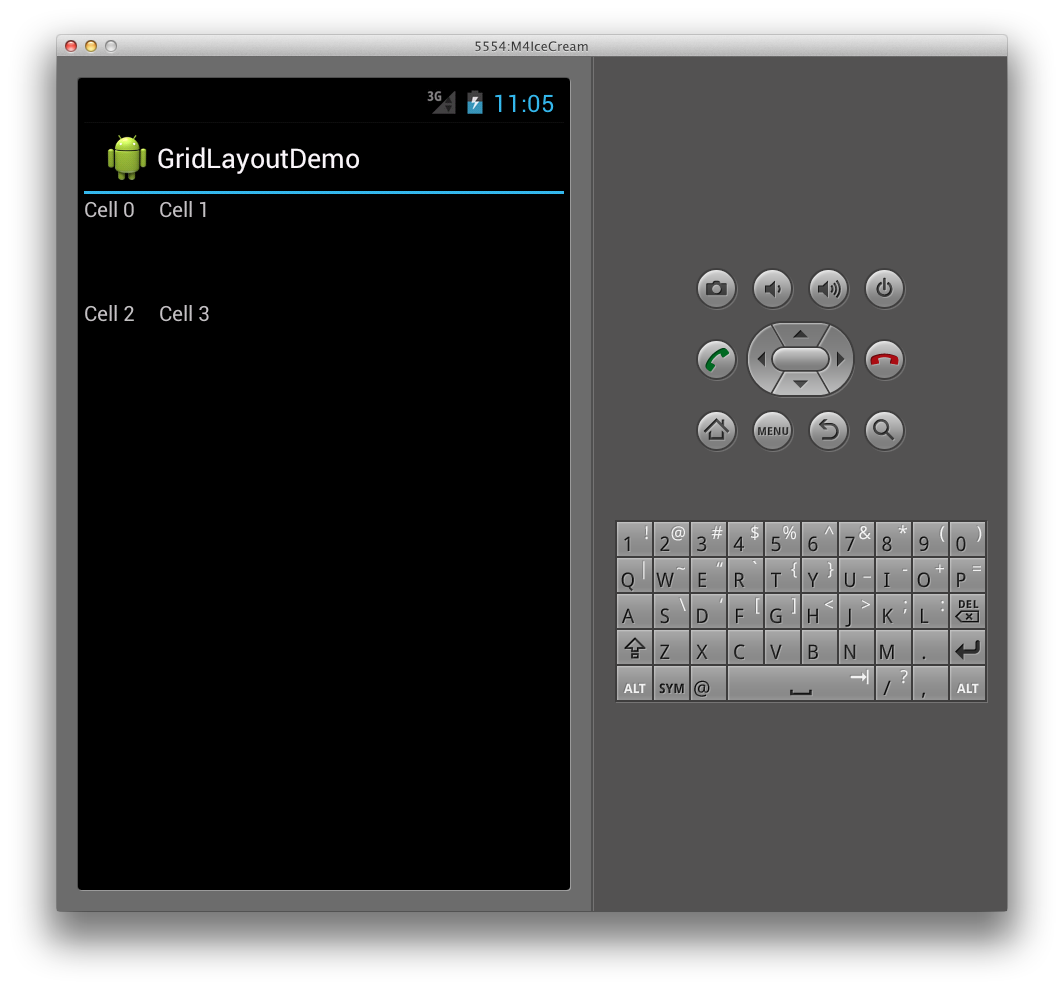
This results in the following user interface when run in an application:
Specifying Orientation
Notice in the XML above, each TextView does not specify a row or
column. When these are not specified, the GridLayout assigns each
child view in order, based upon the orientation. For example, let’s change the
GridLayout’s orientation from the default, which is horizontal, to vertical
like this:
<GridLayout xmlns:android="http://schemas.android.com/apk/res/android"
        android:layout_width="match_parent"
        android:layout_height="match_parent"
        android:rowCount="2"
        android:columnCount="2"
        android:orientation="vertical">
</GridLayout>
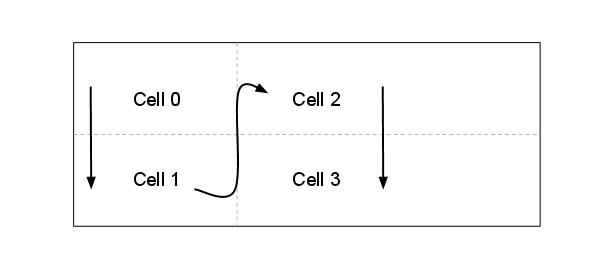
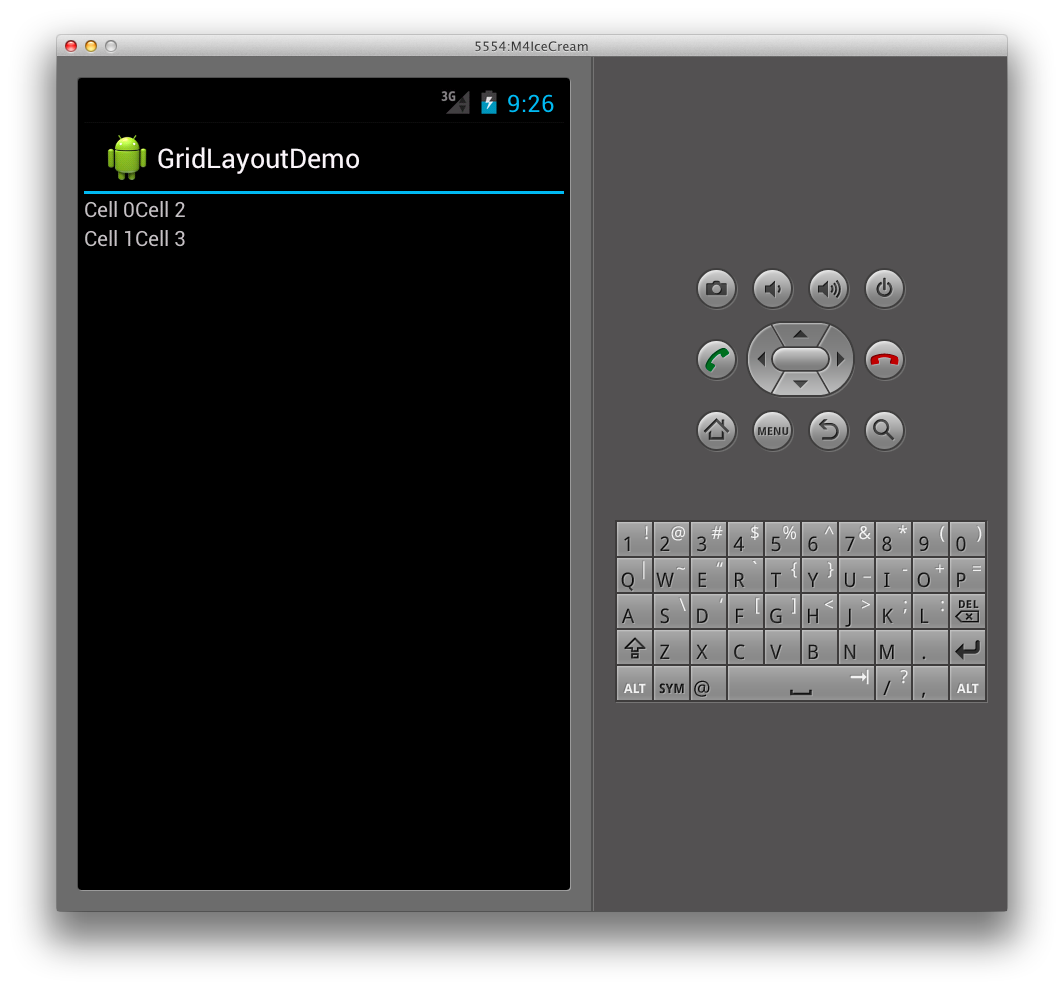
Now, the GridLayout will position the cells from top to bottom
in each column, instead of left to right, as shown below:
This results in the following user interface at runtime:
Specifying Explicit Position
If we want to explicitly control the positions of the child views in the GridLayout, we can set their layout_row and layout_column attributes. For example, the following XML will
result in the layout shown in the first screenshot (shown above), regardless of
the orientation.
<?xml version="1.0" encoding="utf-8"?>
<GridLayout xmlns:android="http://schemas.android.com/apk/res/android"
        android:layout_width="match_parent"
        android:layout_height="match_parent"
        android:rowCount="2"
        android:columnCount="2">
     <TextView
            android:text="Cell 0"
            android:textSize="14dip"
            android:layout_row="0"
            android:layout_column="0" />
     <TextView
            android:text="Cell 1"
            android:textSize="14dip"
            android:layout_row="0"
            android:layout_column="1" />
     <TextView
            android:text="Cell 2"
            android:textSize="14dip"
            android:layout_row="1"
            android:layout_column="0" />
     <TextView
            android:text="Cell 3"
            android:textSize="14dip"
            android:layout_row="1"
            android:layout_column="1"  />
</GridLayout>
Specifying spacing
We have a couple of options that will provide spacing between the child views
of the GridLayout. We can use the layout_margin
attribute to set the margin on each child view directly, as shown below
<TextView
            android:text="Cell 0"
            android:textSize="14dip"
            android:layout_row="0"
            android:layout_column="0"
            android:layout_margin="10dp" />
Additionally, in Android 4, a new general-purpose spacing view called Space is now available. To use it, simply add it as a child view.
For example, the XML below adds an additional row to the GridLayout
by setting its rowcount to 3, and adds a Space view
that provides spacing between the TextViews.
<?xml version="1.0" encoding="utf-8"?>
<GridLayout xmlns:android="http://schemas.android.com/apk/res/android"
        android:layout_width="match_parent"
        android:layout_height="match_parent"
        android:rowCount="3"
        android:columnCount="2"
        android:orientation="vertical">
     <TextView
            android:text="Cell 0"
            android:textSize="14dip"
            android:layout_row="0"
            android:layout_column="0" />
     <TextView
            android:text="Cell 1"
            android:textSize="14dip"
            android:layout_row="0"
            android:layout_column="1" />
     <Space
            android:layout_row="1"
            android:layout_column="0"
            android:layout_width="50dp"
            android:layout_height="50dp" />
     <TextView
            android:text="Cell 2"
            android:textSize="14dip"
            android:layout_row="2"
            android:layout_column="0" />
     <TextView
            android:text="Cell 3"
            android:textSize="14dip"
            android:layout_row="2"
            android:layout_column="1" />
</GridLayout>
This XML creates spacing in the GridLayout as shown below:
The benefit of using the new Space view is that it allows for
spacing and doesn’t require us to set attributes on every child view.
Spanning Columns and Rows
The GridLayout also supports cells that span multiple columns
and rows. For example, say we add another row containing a button to the GridLayout as shown below:
<?xml version="1.0" encoding="utf-8"?>
<GridLayout xmlns:android="http://schemas.android.com/apk/res/android"
        android:layout_width="match_parent"
        android:layout_height="match_parent"
        android:rowCount="4"
        android:columnCount="2"
        android:orientation="vertical">
     <TextView
            android:text="Cell 0"
            android:textSize="14dip"
            android:layout_row="0"
            android:layout_column="0" />
     <TextView
            android:text="Cell 1"
            android:textSize="14dip"
            android:layout_row="0"
            android:layout_column="1" />
     <Space
            android:layout_row="1"
            android:layout_column="0"
            android:layout_width="50dp"
            android:layout_height="50dp" />
     <TextView
            android:text="Cell 2"
            android:textSize="14dip"
            android:layout_row="2"
            android:layout_column="0" />
     <TextView
            android:text="Cell 3"
            android:textSize="14dip"
            android:layout_row="2"
            android:layout_column="1" />
     <Button
            android:id="@+id/myButton"
            android:text="@string/hello"
            android:layout_row="3"
            android:layout_column="0" />
</GridLayout>
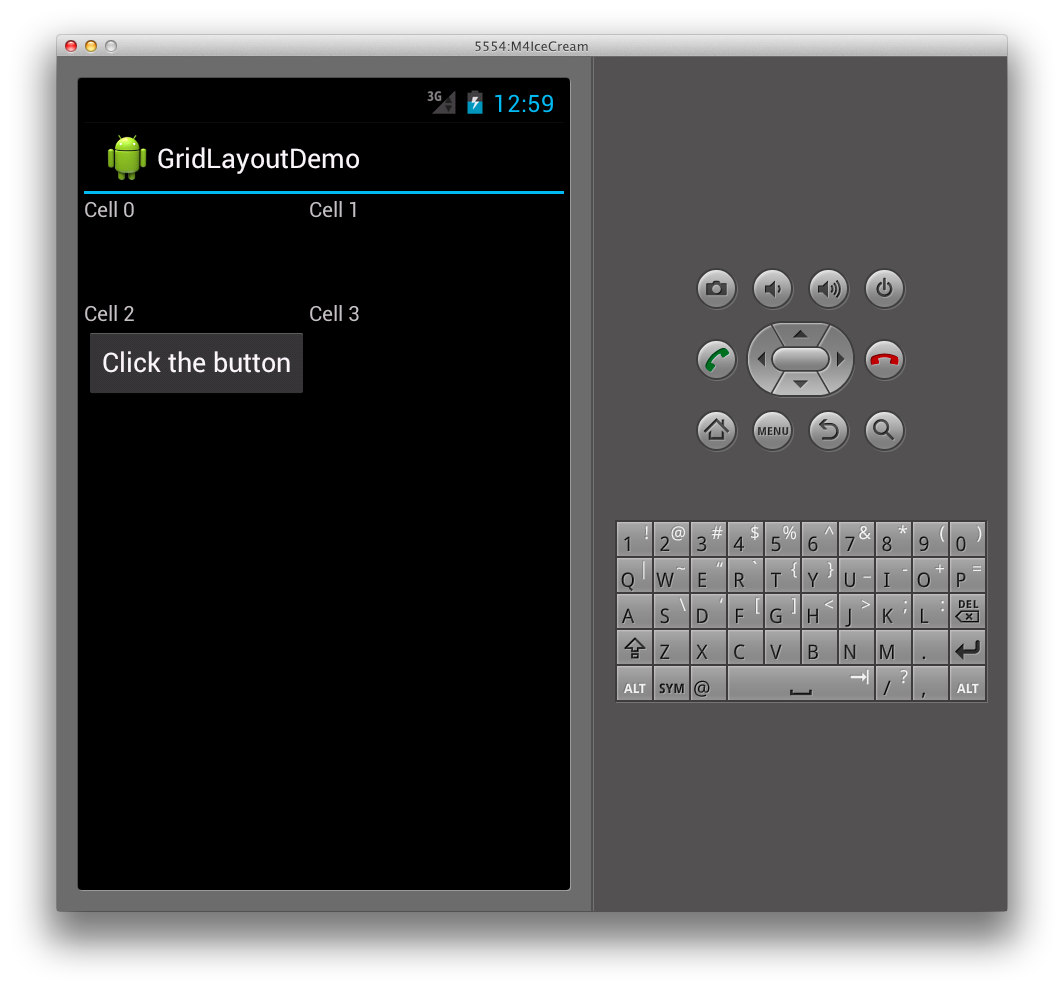
This will result in the first column of the GridLayout being
stretched to accommodate the size of the button, as we see here:
To keep the first column from stretching, we can set the button to span two columns by setting its columnspan like this:
<Button
    android:id="@+id/myButton"
    android:text="@string/hello"
    android:layout_row="3"
    android:layout_column="0"
    android:layout_columnSpan="2" />
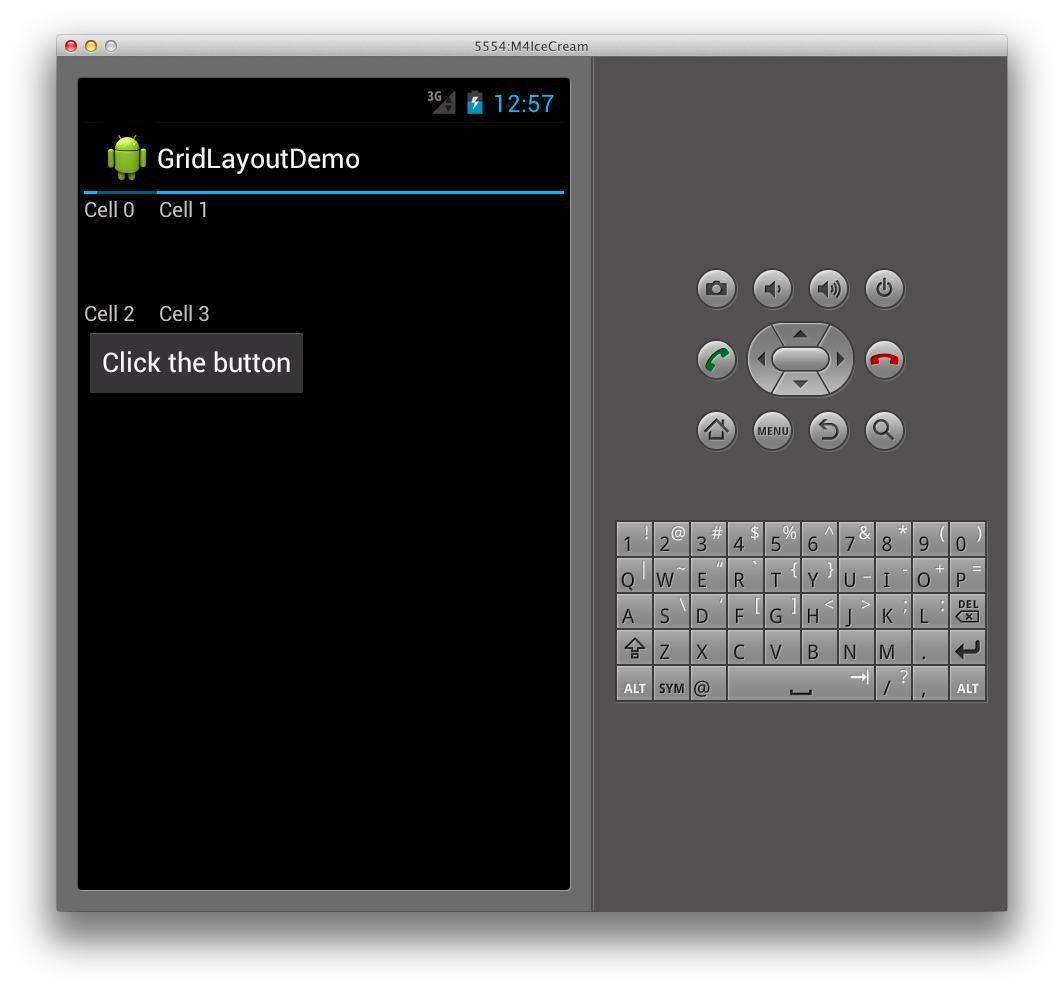
Doing this results in a layout for the TextViews that is similar
to the layout we had earlier, with the button added to the bottom of the GridLayout as shown below:
