How to use the Configuration Manager console
Applies to: Configuration Manager (current branch)
Administrators use the Configuration Manager console to manage the Configuration Manager environment. This article covers the fundamentals of navigating the console.
Open the console
The Configuration Manager console is always installed on every site server. You can also install it on other computers. For more information, see Install the Configuration Manager console.
The simplest method to open the console on a Windows computer is to go to Start and start typing Configuration Manager console. You may not need to type the entire string for Windows to find the best match.
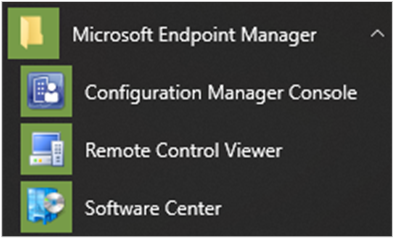
If you browse the Start menu, look for the Configuration Manager console icon in the Microsoft Endpoint Manager group.
Connect to a site server
The console connects to your central administration site server or to your primary site servers. You can't connect a Configuration Manager console to a secondary site. During installation, you specified the fully qualified domain name (FQDN) of the site server to which the console connects.
To connect to a different site server, use the following steps:
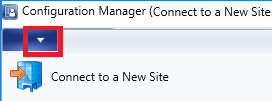
Select the arrow at the top of the ribbon, and choose Connect to a New Site.
Type in the FQDN of the site server. If you've previous session to site server, select the server from the drop-down list.
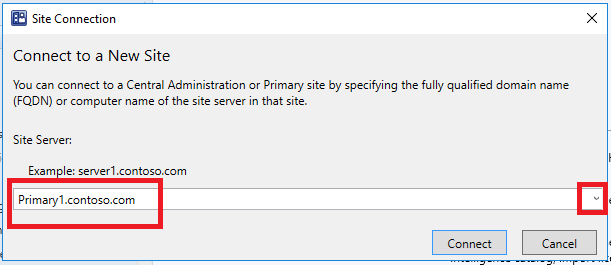
Select Connect.
Tip
You can specify the minimum authentication level for administrators to access Configuration Manager sites. This feature enforces administrators to sign in to Windows with the required level. For more information, see Plan for the SMS Provider.
Navigation
Some areas of the console may not be visible depending on your assigned security role. For more information about roles, see Fundamentals of role-based administration.
Workspaces
The Configuration Manager console has four workspaces:
Assets and Compliance
Software Library
Monitoring
Administration
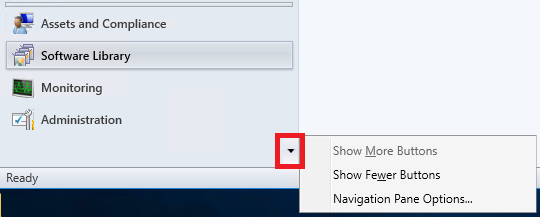
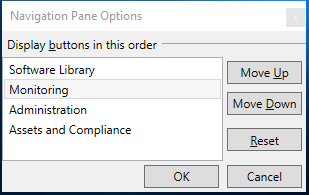
Reorder workspace buttons by selecting the down arrow and choosing Navigation Pane Options. Select an item to Move Up or Move Down. Select Reset to restore the default button order.
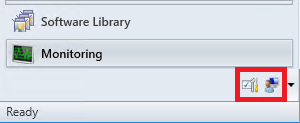
Minimize a workspace button by selecting Show Fewer Buttons. The last workspace in the list is minimized first. Select a minimized button and choose Show More Buttons to restore the button to its original size.
Nodes
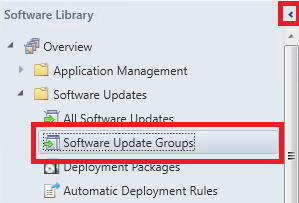
Workspaces are a collection of nodes. One example of a node is the Software Update Groups node in the Software Library workspace.
Once you are in the node, you can select the arrow to minimize the navigation pane.
Use the navigation bar to move around the console when you minimize the navigation pane.
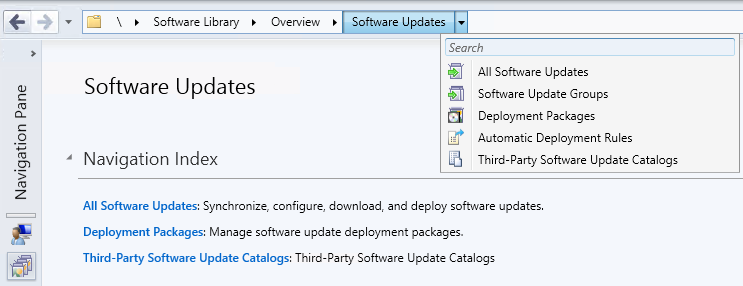
In the console, nodes are sometimes organized into folders. When you select the folder, it usually displays a navigation index or a dashboard.

Note
You can use PowerShell to manage console folders with the following cmdlets:
Ribbon
The ribbon is at the top of the Configuration Manager console. The ribbon can have more than one tab and can be minimized using the arrow on the right. The buttons on the ribbon change based on the node. Most of the buttons in the ribbon are also available on context menus.

Details pane
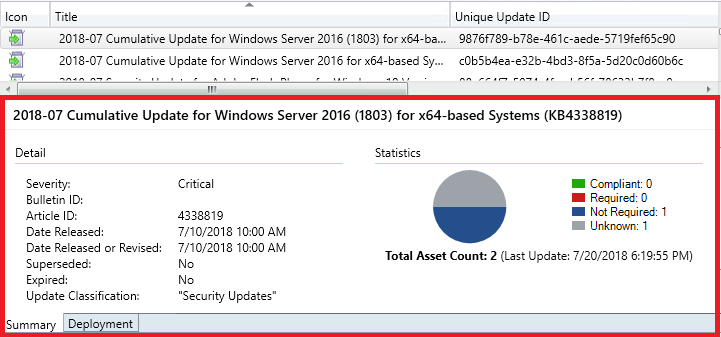
You can get additional information about items by reviewing the details pane. The details pane can have one or more tabs. The tabs vary depending on the node.
Columns
You can add, remove, reorder, and resize columns. These actions allow you to display the data you prefer. Available columns vary depending on the node. To add or remove a column from your view, right-click on an existing column heading and select an item. Reorder columns by dragging the column heading where you would like it to be.
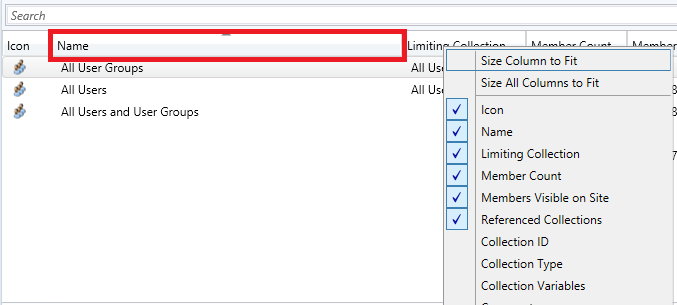
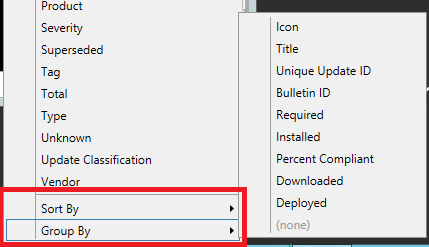
At the bottom of the column context menu, you can sort or group by a column. Additionally, you can sort by a column by selecting its header.
Reclaim lock for editing objects
If the Configuration Manager console stops responding, you can be locked out of making further changes until the lock expires after 30 minutes. This lock is part of the Configuration Manager SEDO (Serialized Editing of Distributed Objects) system. For more information, see Configuration Manager SEDO.
You can clear your lock on any object in the Configuration Manager console. This action only applies to your user account that has the lock, and on the same device from which the site granted the lock. When you attempt to access a locked object, you can now Discard Changes, and continue editing the object. These changes would be lost anyway when the lock expired.
View recently connected consoles
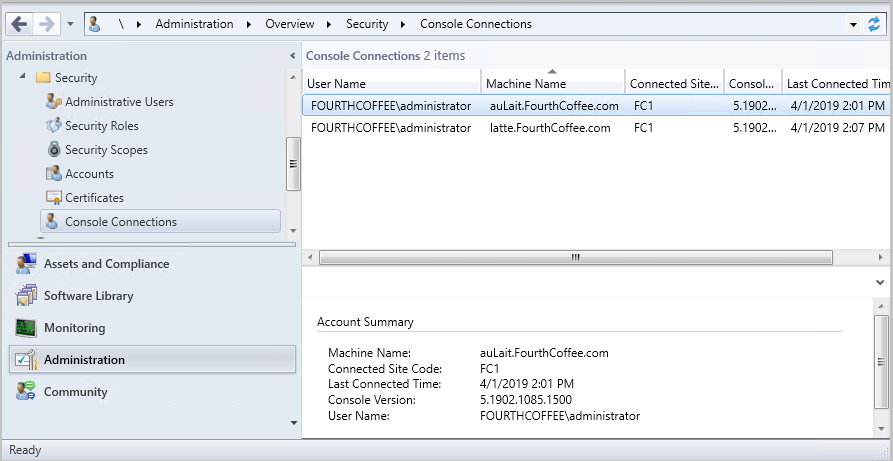
You can view the most recent connections for the Configuration Manager console. The view includes active connections and those connections that recently connected. You'll always see your current console connection in the list and you only see connections from the Configuration Manager console. You won't see PowerShell or other SDK-based connections to the SMS Provider. The site removes instances from the list that are older than 30 days.
Prerequisites to view connected consoles
Your account needs the Read permission on the SMS_Site object.
Configure the administration service REST API. For more information, see What is the administration service?.
View connected consoles
In the Configuration Manager console, go to the Administration workspace.
Expand Security and select the Console Connections node.
View the recent connections, with the following properties:
- User name
- Machine name
- Connected site code
- Console version
- Last connected time: When the user last opened the console
- An open console in the foreground sends a heartbeat every 10 minutes, which shows in the Last Console Heartbeat column.
Start Microsoft Teams Chat from Console Connections
You can message other Configuration Manager administrators from the Console Connections node using Microsoft Teams. When you choose to Start Microsoft Teams Chat with an administrator, Microsoft Teams is launched and a chat is opened with the user.
Prerequisites
- For starting a chat with an administrator, the account you want to chat with needs to have been discovered with Microsoft Entra ID or AD User Discovery.
- Microsoft Teams installed on the device from which you run the console. note
- All prerequisites to view connected consoles
Start Microsoft Teams Chat
- Go to Administration > Security > Console Connections.
- Right-click on a user's console connection and select Start Microsoft Teams Chat.
- If the User Principal Name isn't found for the selected administrator, Start Microsoft Teams Chat is grayed out.
- An error message, including a download link, appears if Microsoft Teams isn't installed on the device from which you run the console.
- If Microsoft Teams is installed on the device from which you run the console, it will open a chat with the user.
Known issues
The error message notifying you that Microsoft Teams isn't installed won't be displayed if the following Registry key doesn't exist:
Computer\HKEY_CURRENT_USER\SOFTWARE\Microsoft\Windows\CurrentVersion\Uninstall
To work around the issue, manually create the Registry key.
In-console documentation dashboard
The Documentation node in the Community workspace includes information about Configuration Manager documentation and support articles. It includes the following sections:
- Recommended: a manually curated list of important articles.
- Troubleshooting articles: guided walkthroughs to assist with troubleshooting Configuration Manager components and features.
- New and updated support articles: articles that are recently new or updated.
Troubleshooting connection errors
The Documentation node has no explicit proxy configuration. It uses any OS-defined proxy in the Internet Options control panel applet. To retry after a connection error, refresh the Documentation node.
Dark theme for the console
(Introduced in version 2203)
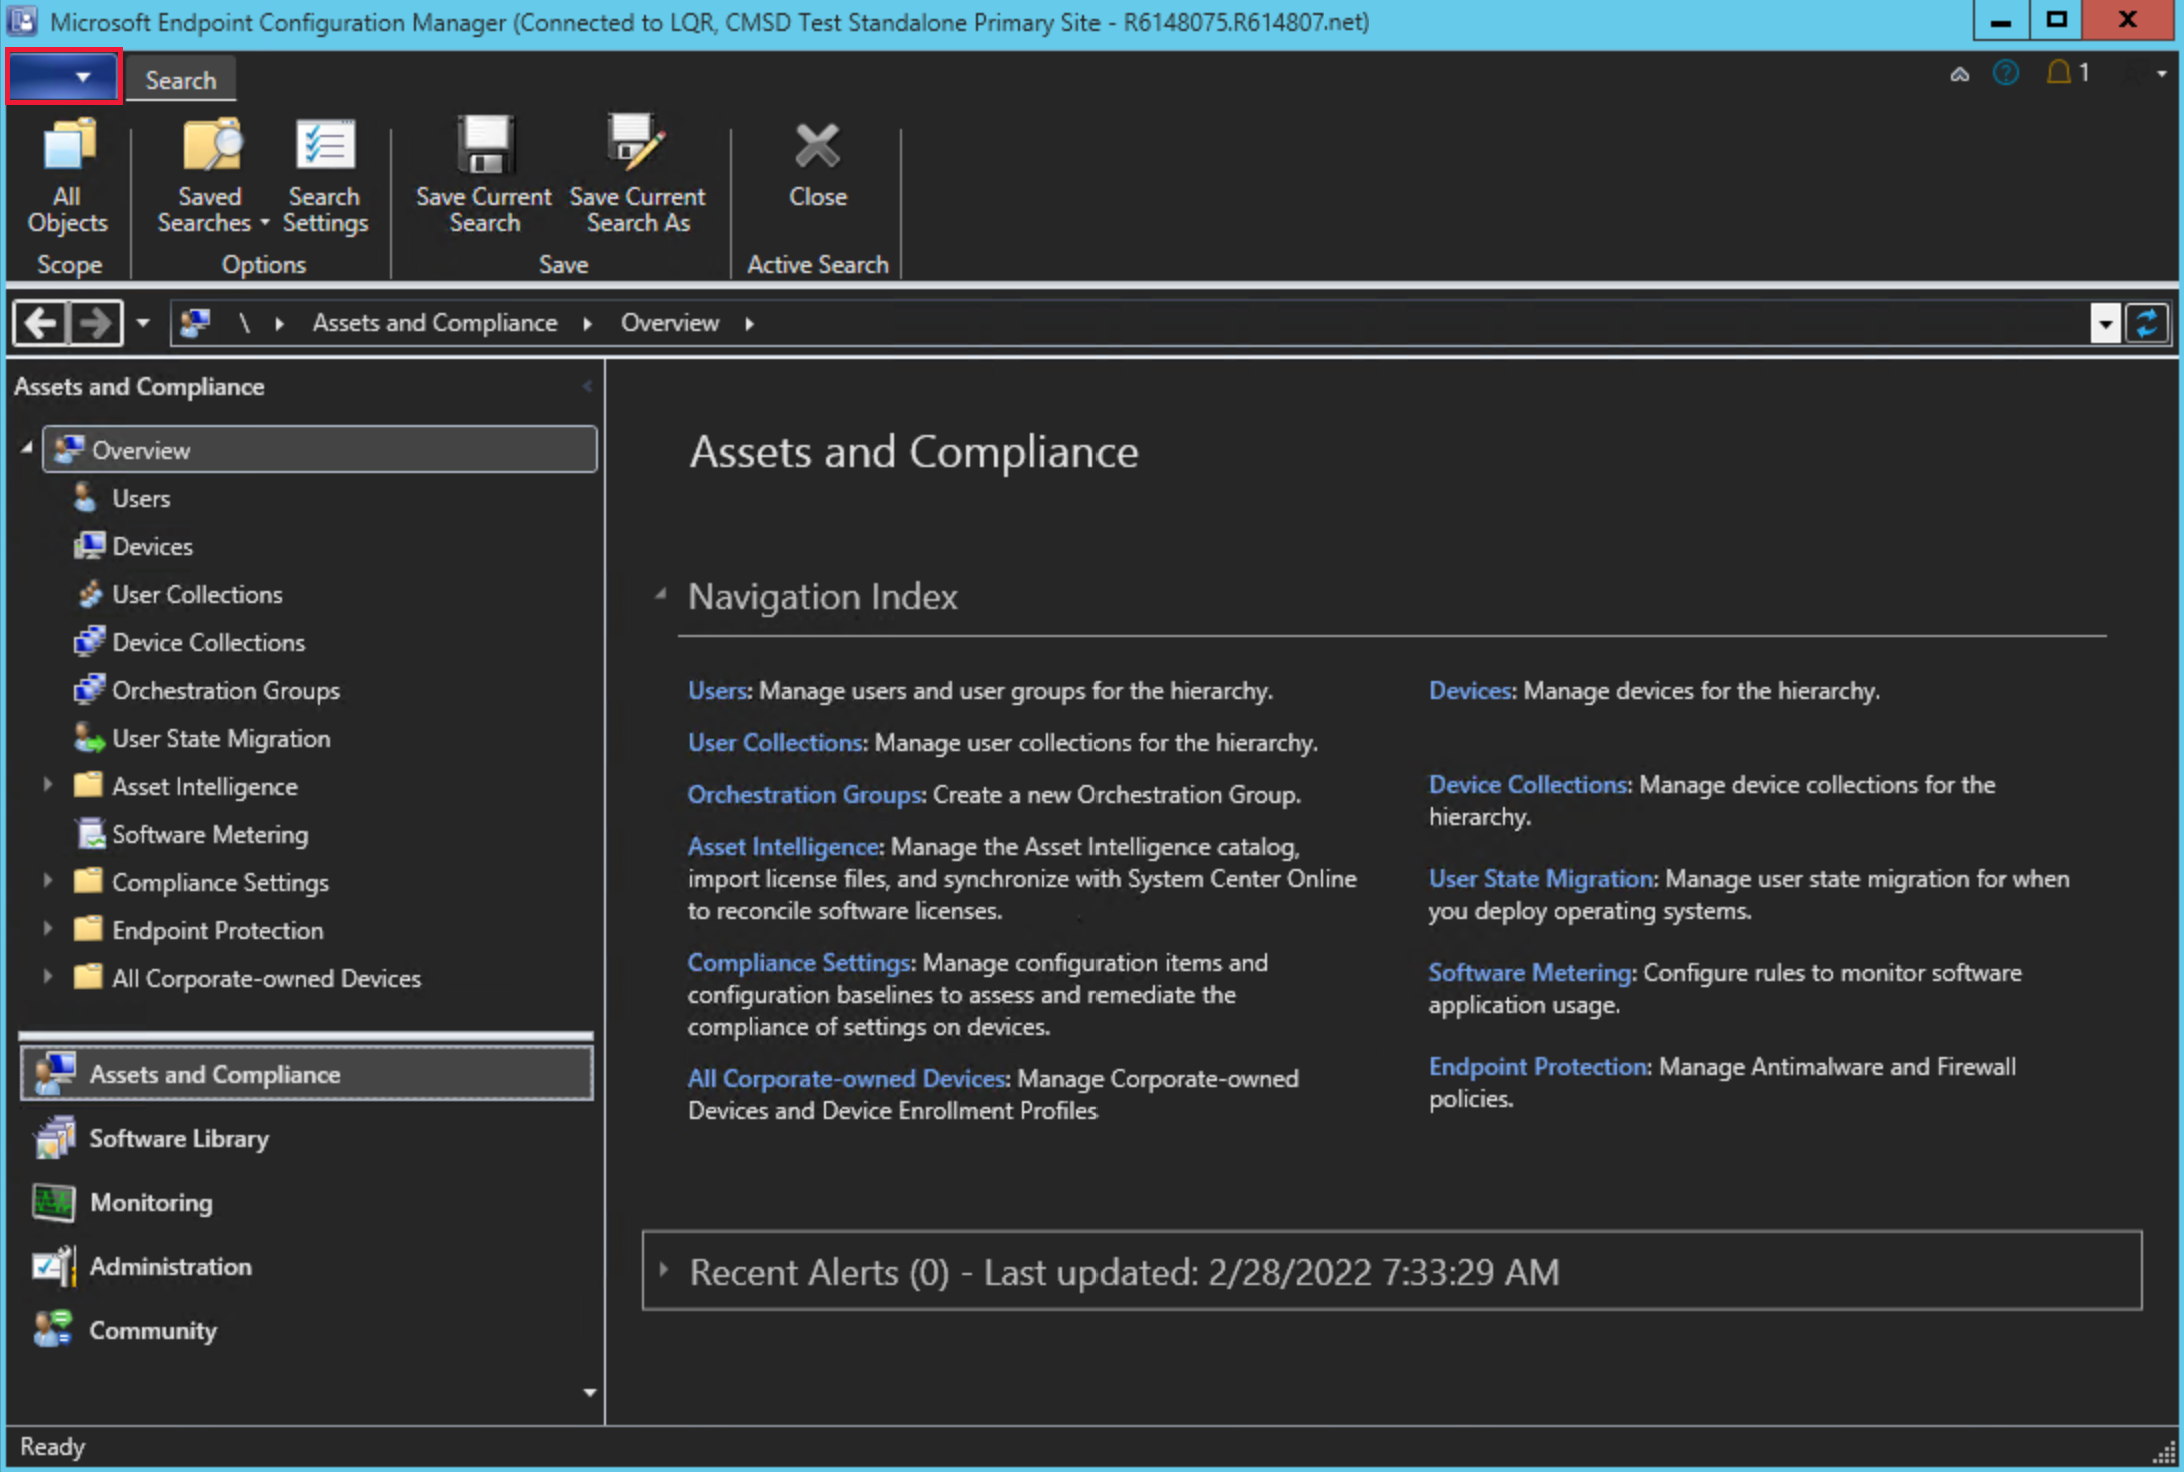
Starting in version 2203, the Configuration Manager console offers a dark theme. To use the theme, select the arrow from the top left of the ribbon, then choose Switch console theme. Select Switch console theme again to return to the light theme. As of version 2303, the main screen of the console and delete secondary site wizards adhere to the dark theme.
Known issue
- Console restart is required on doing the theme switch, as the node navigation pane might not properly render when you move to a new workspace.
- Currently, there are locations in the console that may not display the dark theme correctly. We are continuously working to improve the dark theme.
Connect via Windows PowerShell
The Configuration Manager console includes a PowerShell module with over a thousand cmdlets to interact programmatically from the command line. Select the arrow at the top of the ribbon, and choose Connect via Windows PowerShell.
For more information, see Get started with Configuration Manager cmdlets.
Command-line options
The Configuration Manager console has the following command-line options:
| Option | Description |
|---|---|
/sms:debugview=1 |
A DebugView is included in all ResultViews that specify a view. DebugView shows raw properties (names and values). |
/sms:NamespaceView=1 |
Shows namespace view in the console. |
/sms:ResetSettings |
The console ignores user-persisted connection and view states. The window size isn't reset. |
/sms:IgnoreExtensions |
Disables any Configuration Manager extensions. |
/sms:NoRestore |
The console ignores previous persisted node navigation. |
/server=[ServerName] |
Connect to a CAS or Primary site server by specifying the fully qualified domain name (FQDN) or server name for that site. |