Deploy Volunteer Management
This article shows how to deploy Volunteer Management in Microsoft Cloud for Nonprofit. You should deploy Volunteer Management before Volunteer Engagement. If you deploy them both together, the system deploys in the correct order.
In Microsoft Cloud Solution Center, select Solutions, and then select Nonprofit.
Select Quick view on the Volunteer Management tile.
The screen shows any dependencies required to install the app, an overview of the app, and links to help documentation.
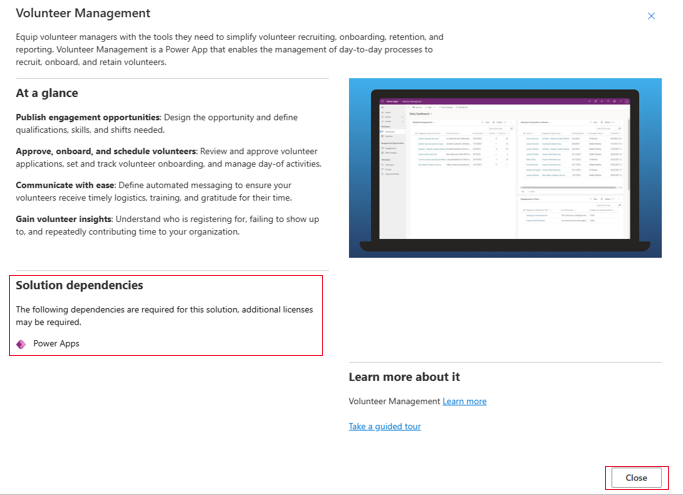
Select Close.
Select Add, and then select Deploy.
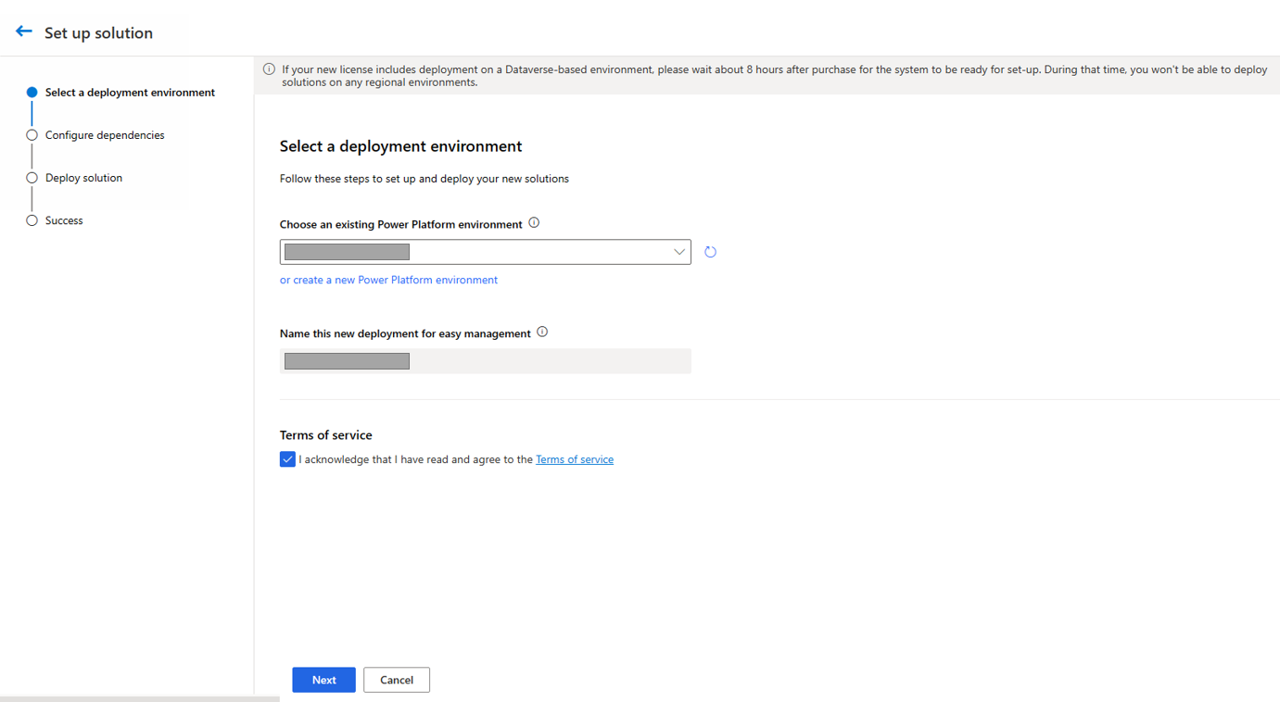
Select your Power Platform environment.
Give the deployment a user-friendly name.
Select the Terms of service box, and then select Next.
The system checks the setup and confirms that the dependencies are set up correctly.
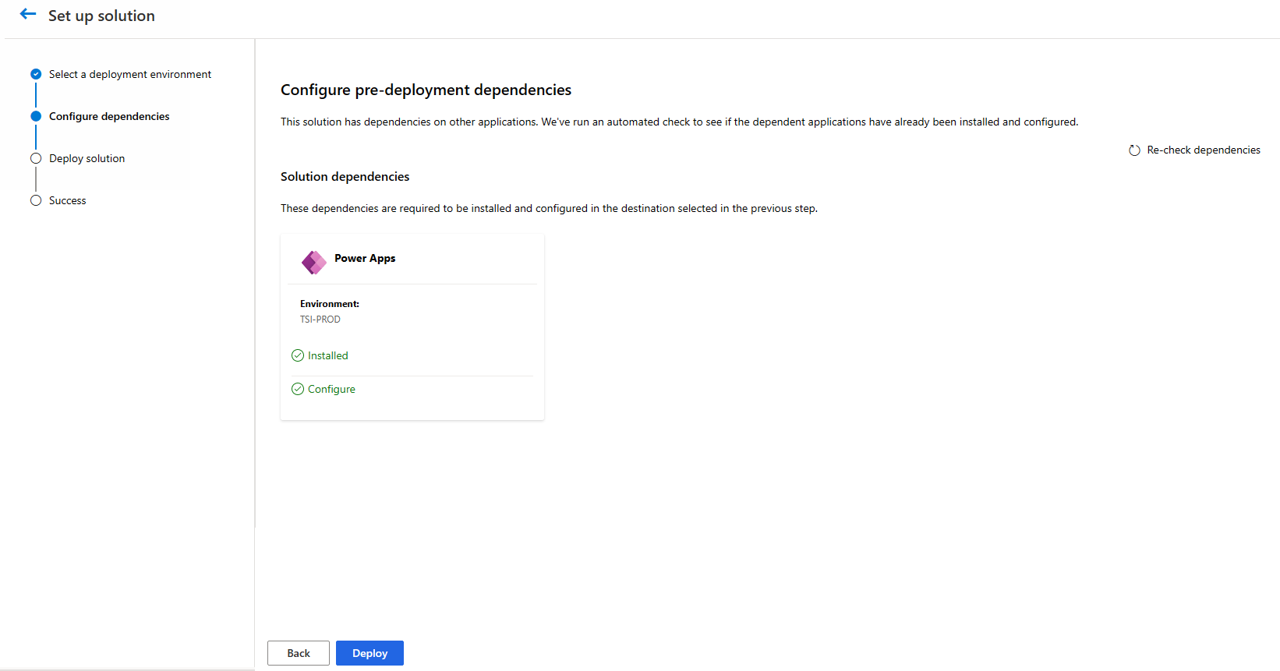
Select Deploy. The system deploys in background.
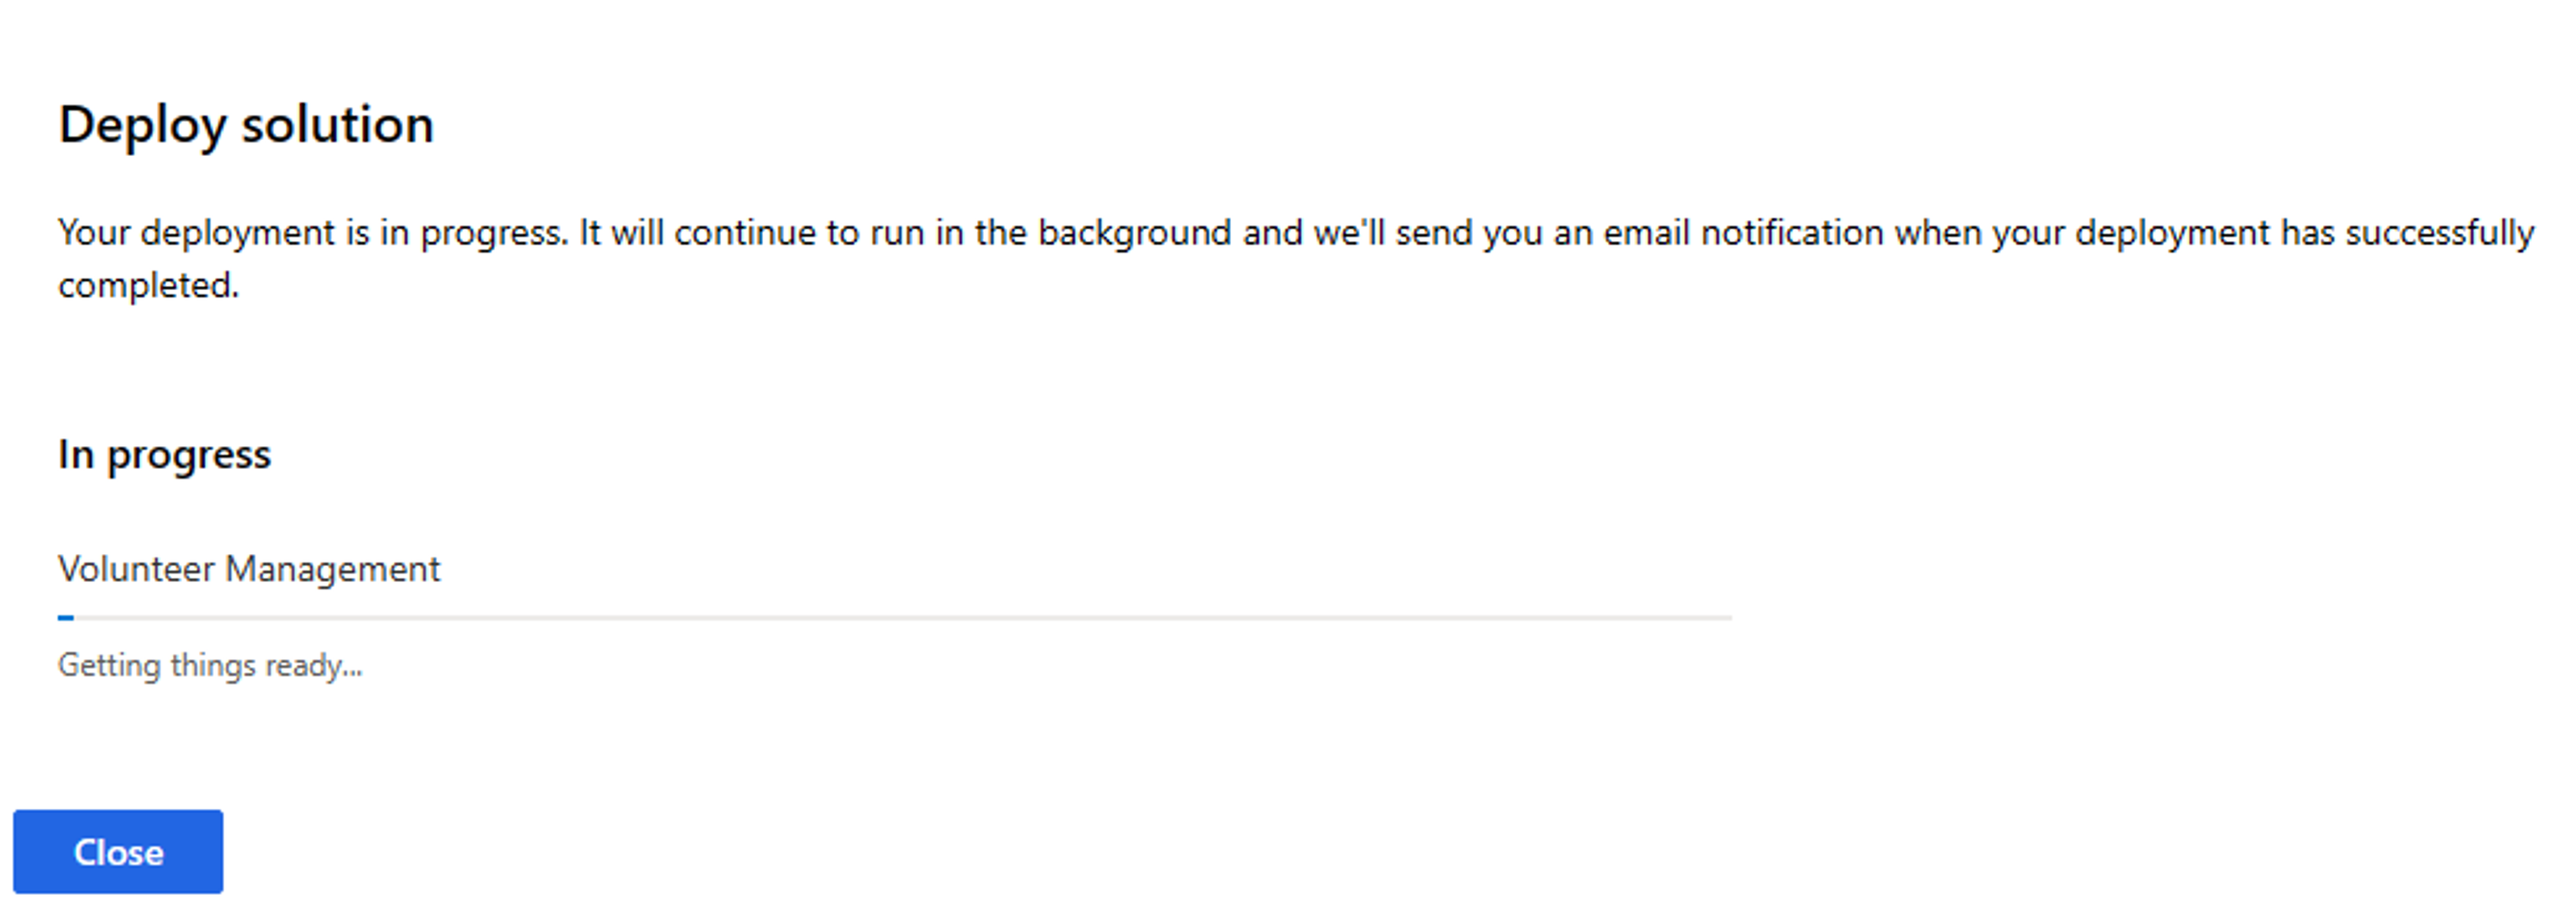
Select Close.
You receive two email notifications. The first email confirms that the deployment has started, and the second confirms that the deployment is complete.
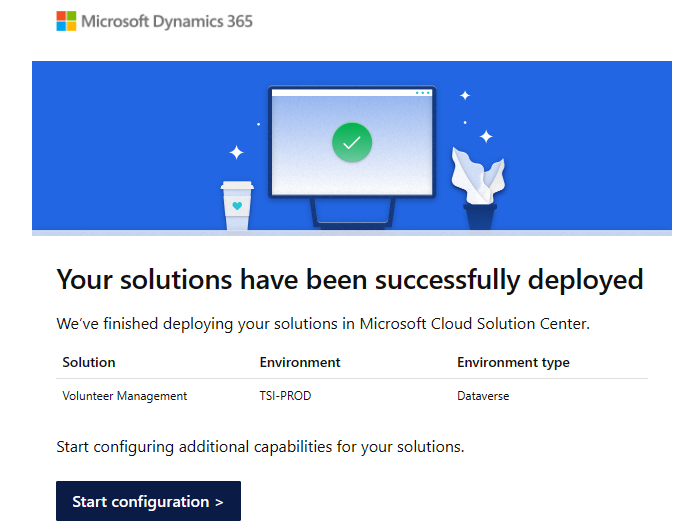
Select Start Configuration to add more capabilities to your solution.