Analyze projects with .NET Upgrade Assistant
This article teaches you how to perform code analysis on your projects with .NET Upgrade Assistant, using Visual Studio or the terminal. The analysis generates a report that you can browse to get more information about the upgrade.
Prerequisites
- For Visual Studio, see Install .NET Upgrade Assistant - Visual Studio extension
- For the .NET Global Tool, see Install .NET Upgrade Assistant - .NET Global Tool
Create a report in Visual Studio
Follow these steps to analyze a project in Visual Studio.
Open Visual Studio.
Open a project or solution.
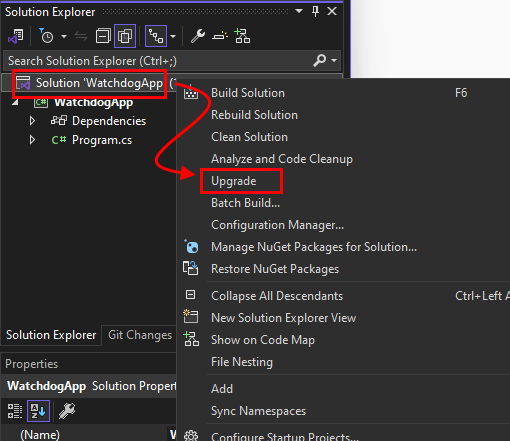
In the Solution Explorer window, right-click on the solution > Upgrade.
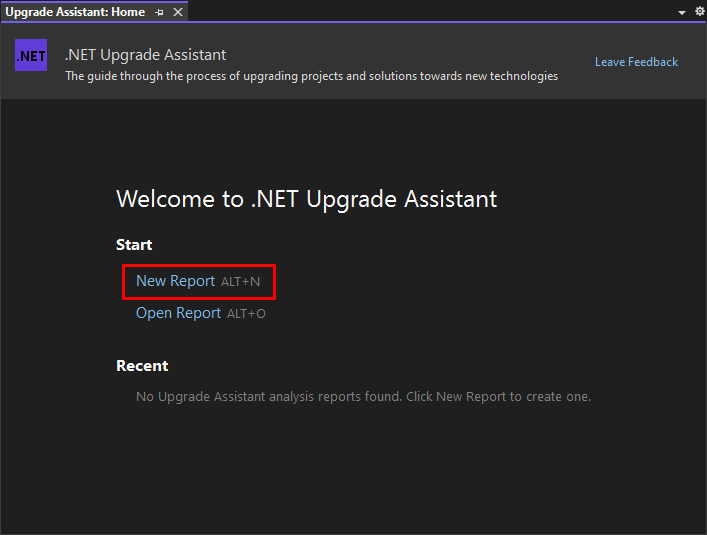
In the Upgrade Assistant: Home tab, select New Report.
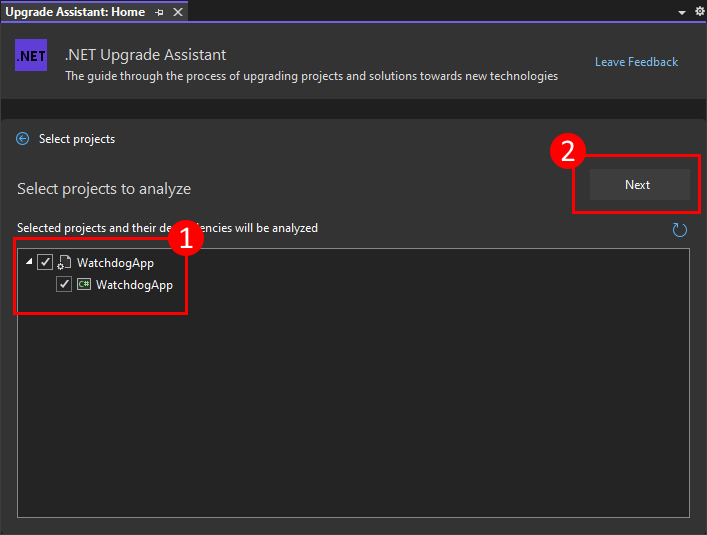
Select one or more projects to analyze, then select Next.
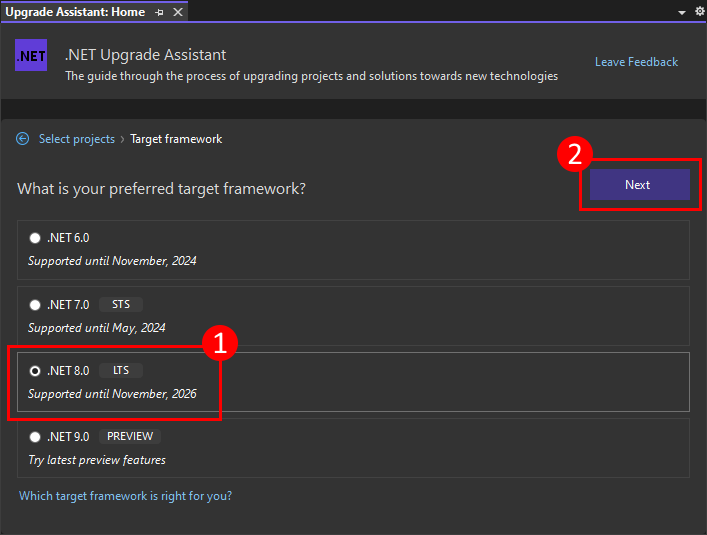
Select the target framework, for example .NET 8.0. Then, select Next.
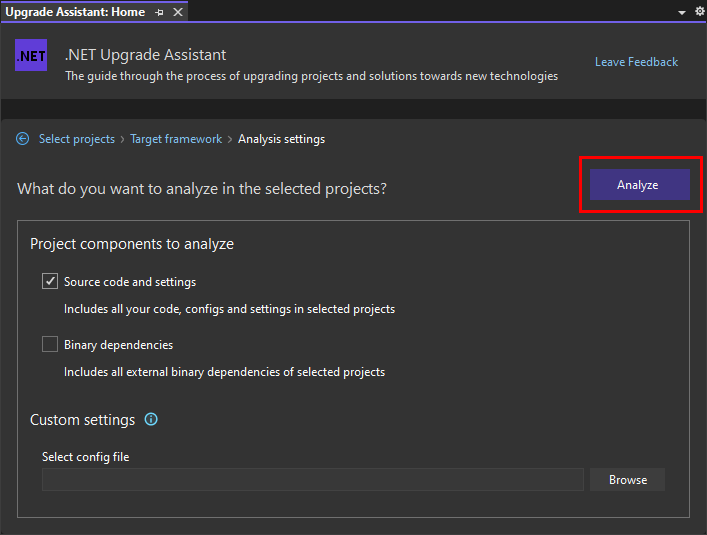
Select the components to analyze and then select Next.
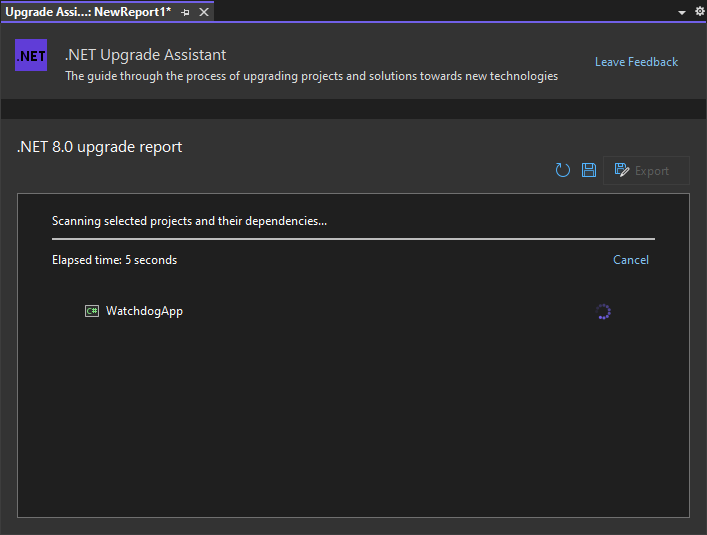
A progress indicator is displayed for each project that's being analyzed.
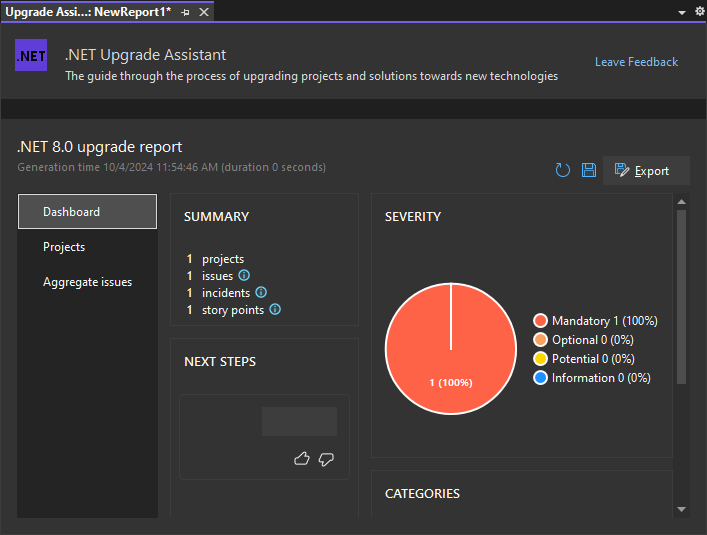
Once the analysis is complete, the report dashboard is shown. For more information about the dashboard, see Reports.
Create a report from the CLI
Follow these steps to analyze a project using the terminal. The .NET Global Tool is an interactive tool that guides you through the analysis options. Use the Up arrow and Down arrow keys to change the highlighted option, and Enter to run the select the option. Each screen presents you options on how you want to configure the report.
Open a terminal and navigate to the folder containing the solution or project you want to analyze.
To start the tool, run the
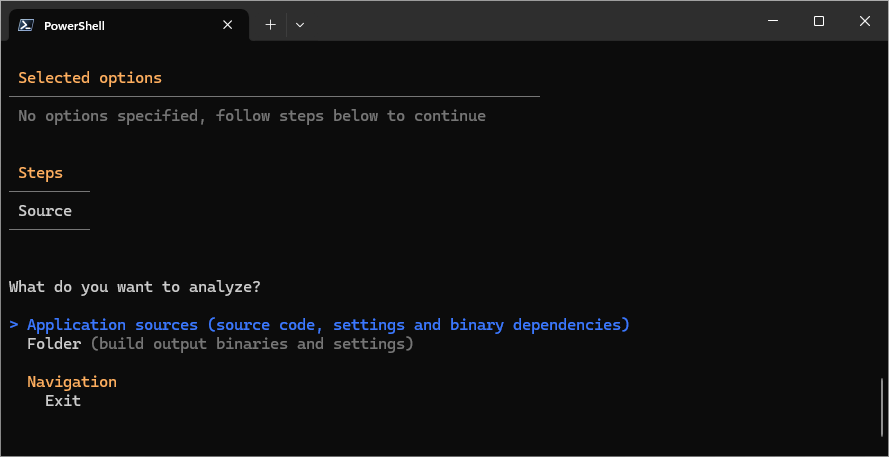
upgrade-assistant analyzecommand.You're asked about what you want to analyze. For this example, choose Application sources and press Enter.
Choose a target framework, such as .NET 8.0, and press Enter.
Select the types of items you want to scan. Use Spacebar to toggle the options, and then press Enter.
On the Config file screen, press n, unless you have a ruleset config file to apply.
Choose the format of the generated report. For the purposes of this example, select Save as HTML.
Enter the name MyReport and press Enter.
Select the appropriate privacy mode, such as Restricted and press Enter.
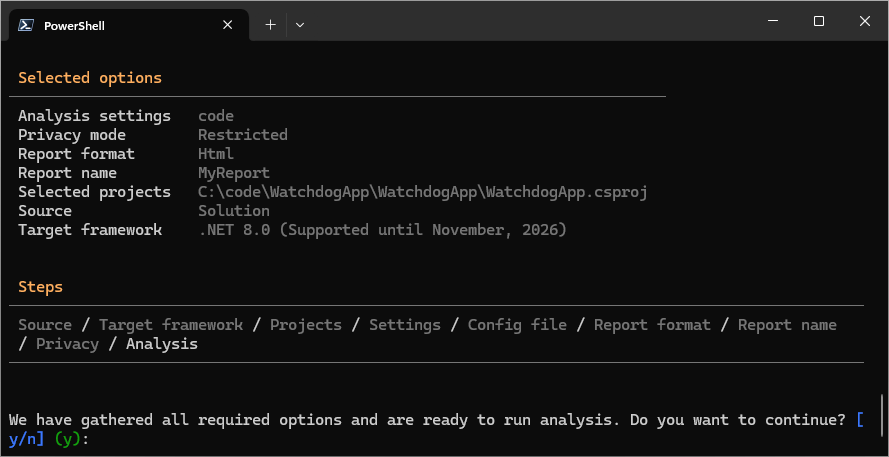
The final prompt is a confirmation, displaying all of the options you selected. Press Enter to run the analysis and generate the report.
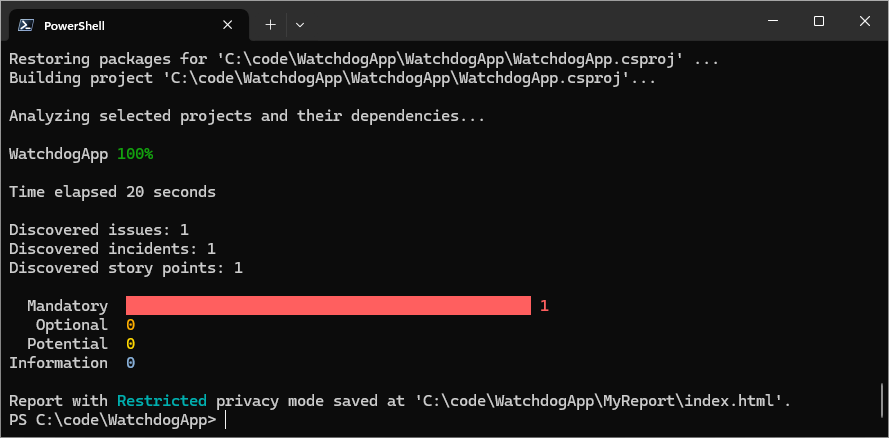
Once the report finishes, a summary of the report is displayed. The results of the report are saved to the folder of the project or solution that was analyzed.
