Install and configure the Microsoft BizTalk ESB Toolkit
Starting with BizTalk Server 2013 and newer versions, Microsoft BizTalk ESB Toolkit is integrated with the BizTalk Server setup. This topic shows you how to install and configure Microsoft BizTalk ESB Toolkit, and also includes a community-written link to upgrade the ESB Toolkit.
Important
BizTalk Server must be installed before you install the BizTalk ESB Toolkit.
Install
Run the BizTalk Server setup.exe file as Administrator. In setup, select Install Microsoft BizTalk ESB Toolkit.
Accept the license agreement, and then select Next.
In Component Installation, select the components you want to install, and then select Next.
In the Summary, review what you chose, and then select Install.
Select Finish to close the installation wizard. An install log file is created, similar to
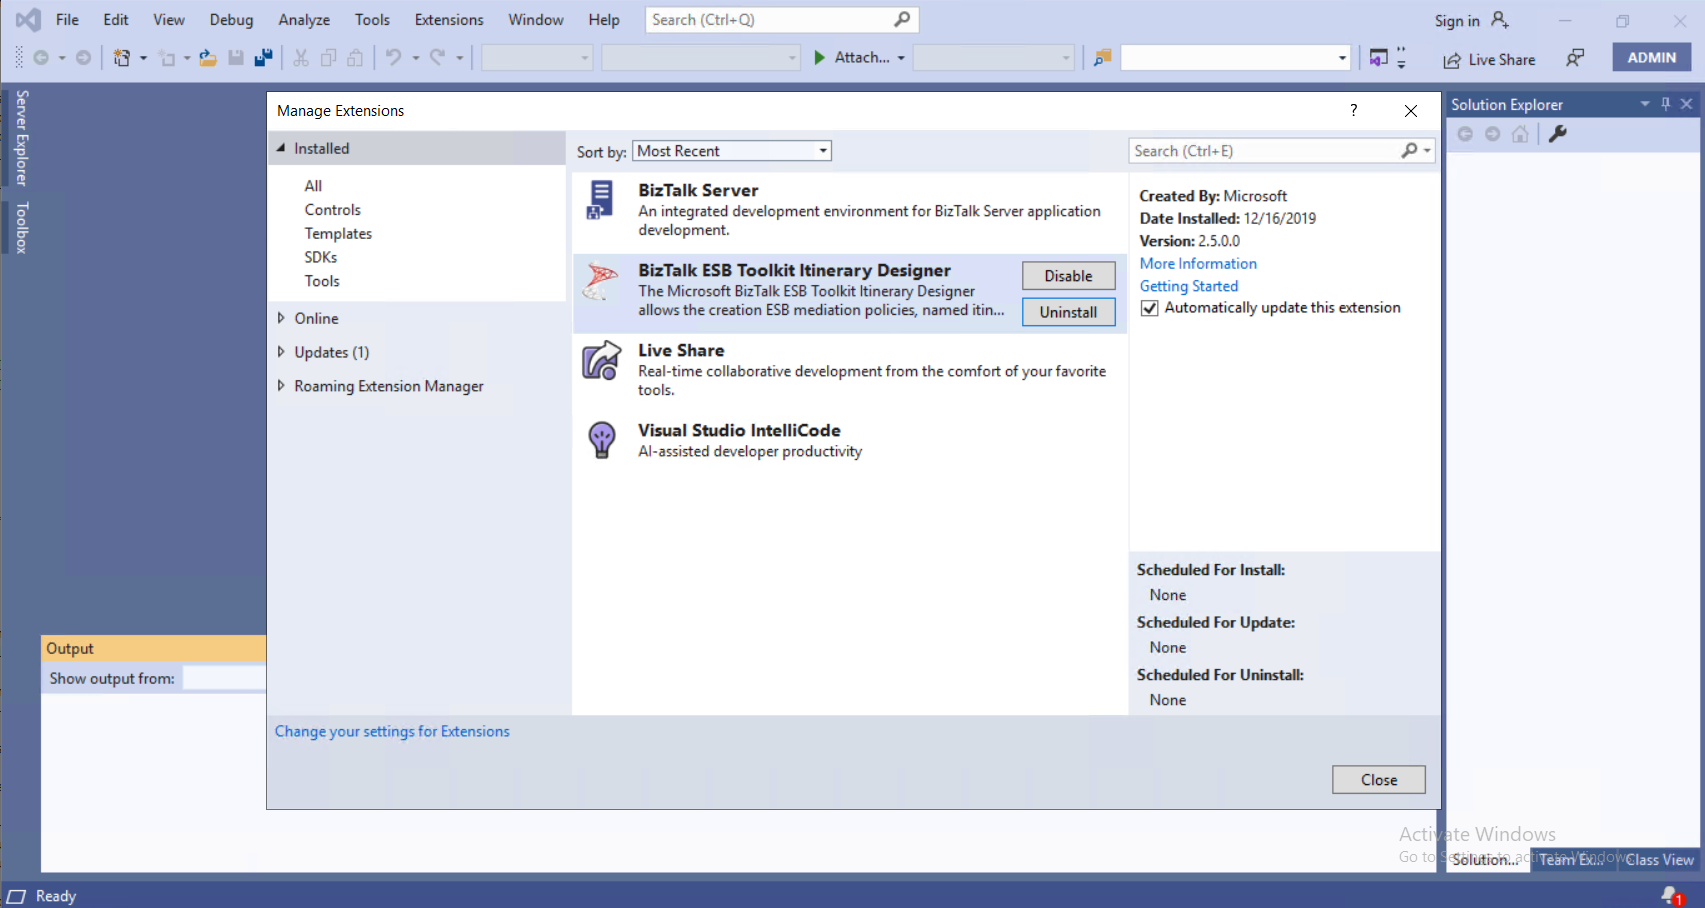
C:\Users\yourUserName\AppData\Local\Temp\Setup(081017 175042).htm.Starting with BizTalk Server 2020, to install Itinerary Designer, also install BizTalk ESB Toolkit Itinerary Designer extension in Visual Studio.

Configure
Important
You must configure BizTalk Server before configuring BizTalk ESB Toolkit.
From the Start menu, select Microsoft Microsoft BizTalk ESB Toolkit, and then select ESB Configuration Tool.
Important
Run the ESB Configuration Tool as an administrator.
In the configuration, select Database Server. Enter the database server name that hosts the BizTalk ESB Toolkit databases.
In IIS Web Services, enter the user account and password that runs the IIS applications created by the BizTalk ESB Toolkit. Next, enter the IIS website that hosts the applications.
The BizTalk User Groups lists the default user groups typically used for ESB configuration.
Important
At this stage, you can select Apply Configuration to configure the BizTalk ESB Toolkit with these default settings. However, if you want to do a custom configuration, complete the remaining steps. Rhe values you enter in the next steps take precedence over the default values.
In the left pane, expand ESB Configuration, expand Exception Management, and then:
If you don't want to configure an exception management database, then select Database, and uncheck the Enable Exception Management Database.
If you want to use an existing database instead of creating a new database, then select Database, and select the Use Existing Database. Enter the database server name and the database name.
If you don't want to configure exception web service, then select Exception Web Services, and uncheck Enable Exception Services. If you want to run these services under a different website, you can enter that here.
In the left pane, expand ESB Core Components, and then:
If you don't want to configure an itinerary database, then select Itinerary Database, and uncheck Itinerary Database .
If you want to use an existing itinerary database, then select Itinerary Database, and select Use Existing Database. Enter the database server name and the database name.
If you don't want to configure these web service, then select Core Web Services, and uncheck Enable Core Services. If you want to run these services under a different website, you can enter that here.
In the left pane, select Configuration.
If you are installing and configuring the BizTalk ESB Toolkit in a single server environment, select File Configuration Source. If you are setting up a multiple-machine deployment, select the SSO Configuration Source, and then enter the following:SSO Server: Enter the name of the SSO server
Configuration file: Select the ellipsis (…), and then browse to the esb.config file (\Program Files (x86)\Microsoft BizTalk ESB Toolkit)
Application Name: Enter a name for the SSO application. For example, enter
ESB Toolkit.Contact Information: Enter a valid email address the appropriate contact information in the following format:
someone@example.com.Administrator Group Name: Select the ellipsis (…), and then browse to the appropriate admin group
User Group Name: Select the ellipsis (…), and then browse to the appropriate group
Select Apply Configuration. Open IIS and notice that the applications required for BizTalk ESB Toolkit are now created under the website you specified while configuring BizTalk ESB Toolkit.
In the ESB Configuration Tool, select ESB BizTalk Applications, and then:
Select Enable ESB Core Components in BizTalk Server to create the application in the BizTalk Server Administration console. Select Use Default Binding to bind this application to the default host. Select Do not use Default Binding if you do not want to bind the application to the default host. In this scenario, you must explicitly bind the application to a host once the application is created.
Select Enable ESB JMS/WMQ Components in BizTalk Server to create the application in the BizTalk Server Administration console. Select Use Default Binding to bind this application to the default host. Select Do not use Default Binding if you do not want to bind the application to the default host. In this scenario, you must explicitly bind the application to a host once the application is created.
Select Apply Configuration to create the applications you selected. Verify that the applications are created in the BizTalk Server Administration console.
See also
Troubleshoot installation issues, and common errors & resolutions