How to Create a WCF Adapter for BizTalk Server
There are three parts to creating a BizTalk Windows Communication Foundation (WCF) adapter.
Create a WCF Web service using the BizTalk WCF Service Publishing Wizard. For information about using the BizTalk WCF Service Publishing Wizard, see Publishing WCF Services.
Configure the BizTalk Server receive and send locations and ports by using the BizTalk Server Administration console. For an example of how to do this, see How to Configure Receive and Send Locations and Ports for BAM WCF Interception.
If you are hosting your solution in IIS, you must configure the WCF Web service by using IIS Manager.
You must grant permissions to the App pool user. To do this, see Security Considerations for IIS Impersonation.
You must set the directory security for your application as described in the following procedure.
Setting the Directory Security
Ensure that the Directory Security Access Control for the WCF service allows for anonymous access; this simplifies the application access.
For example, if your application is named MyBizTalkService3 and you have a MyBizTalkService3 that is in Default Websites, you would follow this procedure to set the access control.
To set the access control in Windows Server 2008
Click Start, click All Programs, expand Administrative Tools, and then click Internet Information Services (IIS) Manager.
In the Internet Information Services (IIS) Manager window, expand your server name, expand Sites, expand Internet Information Services, and then expand Default Web Site.
Right-click MyBizTalkService3, and then click Edit Permissions.
On the Security tab of the MyBizTalkService3 Properties dialog box, click Edit.
In the Permissions for MyBizTalkService3 dialog box, click Add.
In the Select Users, Computers, or Groups dialog box, type
anonymous logonand then click OK.Select ANONYMOUS LOGON in the Group or user names section, select Read & execute in the Permissions for ANONYMOUS LOGON section, and then click OK.
Click OK to close the MyBizTalkService3 Properties dialog box.
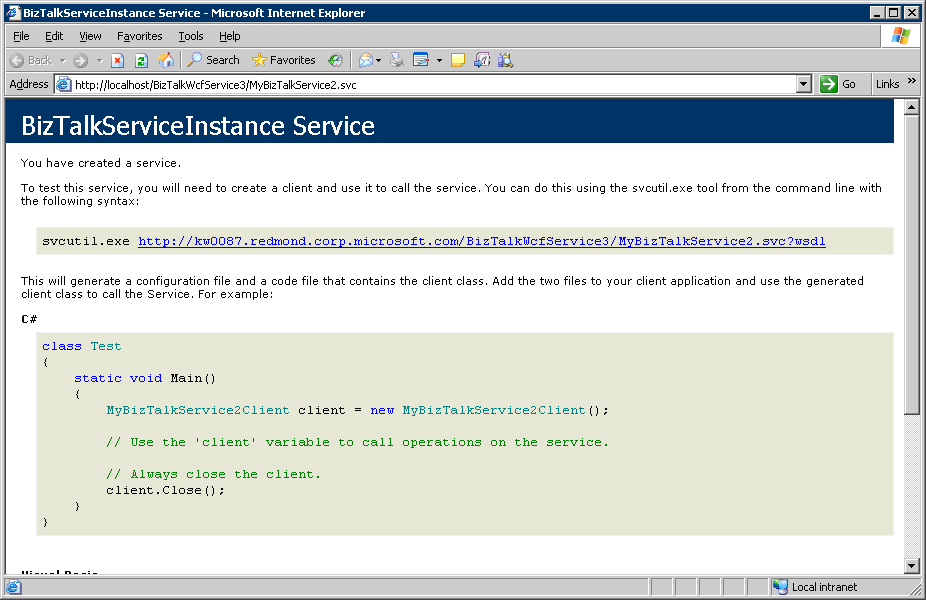
To confirm that the service is configured correctly, right-click the service, and then click Browse.
If the service is configured correctly, you will see a screen similar to the one below.
