Manage compute resources for model training and deployment in studio
In this article, learn how to manage the compute resources you use for model training and deployment in Azure Machine studio.
With Azure Machine Learning, you can train your model on various resources or environments, collectively referred to as compute targets). A compute target can be a local machine or a cloud resource, such as an Azure Machine Learning Compute, Azure HDInsight, or a remote virtual machine.
You can also use serverless compute as a compute target. There's nothing for you to manage when you use serverless compute.
Prerequisites
- If you don't have an Azure subscription, create a free account before you begin. Try the free or paid version of Azure Machine Learning today
- An Azure Machine Learning workspace
View compute targets
To see all compute targets for your workspace, use the following steps:
Navigate to Azure Machine Learning studio.
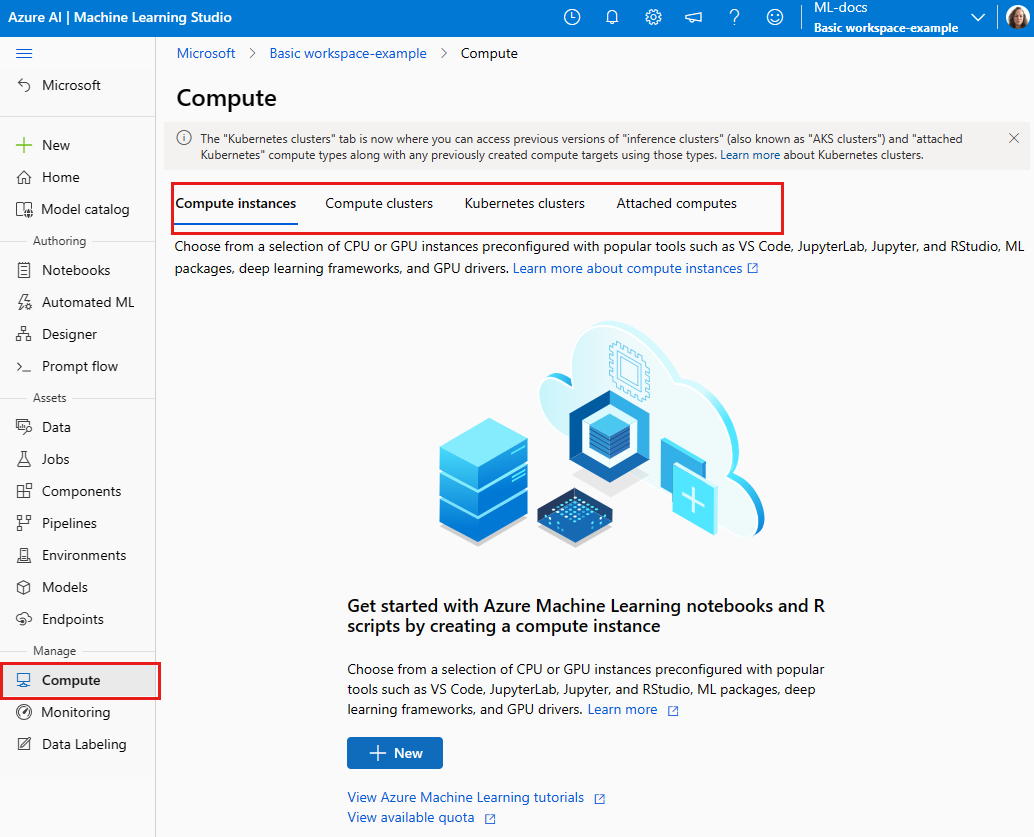
Under Manage, select Compute.
Select tabs at the top to show each type of compute target.
Create compute instance and clusters
You can create compute instances and compute clusters in your workspace, using the Azure Machine Learning SDK, CLI, or studio:
In addition, you can use the VS Code extension to create compute instances and compute clusters in your workspace.
Attach Kubernetes clusters
For information on configuring and attaching a Kubernetes cluster to your workspace, see Configure Kubernetes cluster for Azure Machine Learning.
Attach other compute targets
To use VMs created outside the Azure Machine Learning workspace, you must first attach them to your workspace. Attaching the compute resource makes it available to your workspace.
Navigate to Azure Machine Learning studio.
Under Manage, select Compute.
In the tabs at the top, select Attached compute to attach a compute target for training.
Select +New, then select the type of compute to attach. Not all compute types can be attached from Azure Machine Learning studio.
Fill out the form and provide values for the required properties.
Note
Microsoft recommends that you use SSH keys, which are more secure than passwords. Passwords are vulnerable to brute force attacks. SSH keys rely on cryptographic signatures. For information on how to create SSH keys for use with Azure Virtual Machines, see the following documents:
Select Attach.
Detach your compute with the following steps:
- In Azure Machine Learning studio, select Compute, Attached compute, and the compute you wish to remove.
- Use the Detach link to detach your compute.
Connect with SSH access
After you create a compute with SSH access enabled, use these steps for access.
Find the compute in your workspace resources:
- On the left, select Compute.
- Use the tabs at the top to select Compute instance or Compute cluster to find your machine.
Select the compute name in the list of resources.
Find the connection string:
For a compute instance, select Connect at the top of the Details section.

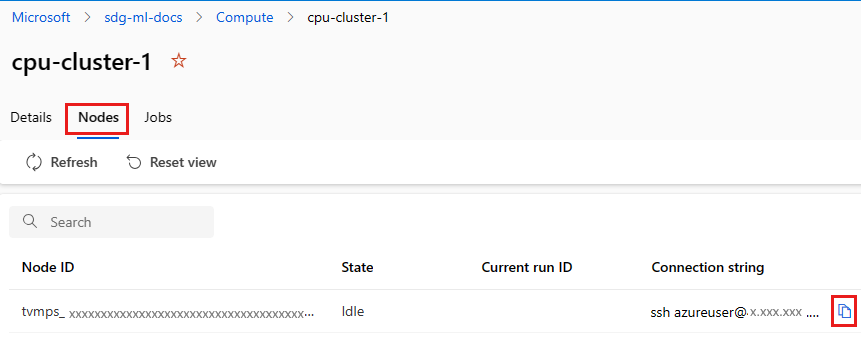
For a compute cluster, select Nodes at the top, then select the Connection string in the table for your node.

Copy the connection string.
For Windows, open PowerShell or a command prompt:
Go into the directory or folder where your key is stored
Add the -i flag to the connection string to locate the private key and point to where it is stored:
ssh -i <keyname.pem> azureuser@... (rest of connection string)
For Linux users, follow the steps from Create and use an SSH key pair for Linux VMs in Azure
For SCP use:
scp -i key.pem -P {port} {fileToCopyFromLocal } azureuser@yourComputeInstancePublicIP:~/{destination}
Related content
- Use the compute resource to submit a training run.
- Once you have a trained model, learn how and where to deploy models.
- Use Azure Machine Learning with Azure Virtual Networks
