How to use Azure Machine Learning Notebook on Spark
Note
We will retire Azure HDInsight on AKS on January 31, 2025. Before January 31, 2025, you will need to migrate your workloads to Microsoft Fabric or an equivalent Azure product to avoid abrupt termination of your workloads. The remaining clusters on your subscription will be stopped and removed from the host.
Only basic support will be available until the retirement date.
Important
This feature is currently in preview. The Supplemental Terms of Use for Microsoft Azure Previews include more legal terms that apply to Azure features that are in beta, in preview, or otherwise not yet released into general availability. For information about this specific preview, see Azure HDInsight on AKS preview information. For questions or feature suggestions, please submit a request on AskHDInsight with the details and follow us for more updates on Azure HDInsight Community.
Machine learning is a growing technology, which enables computers to learn automatically from past data. Machine learning uses various algorithms for building mathematical models and making predictions use historical data or information. We have a model defined up to some parameters, and learning is the execution of a computer program to optimize the parameters of the model using the training data or experience. The model may be predictive to make predictions in the future, or descriptive to gain knowledge from data.
The following tutorial notebook shows an example of training machine learning models on tabular data. You can import this notebook and run it yourself.
Upload the CSV into your storage
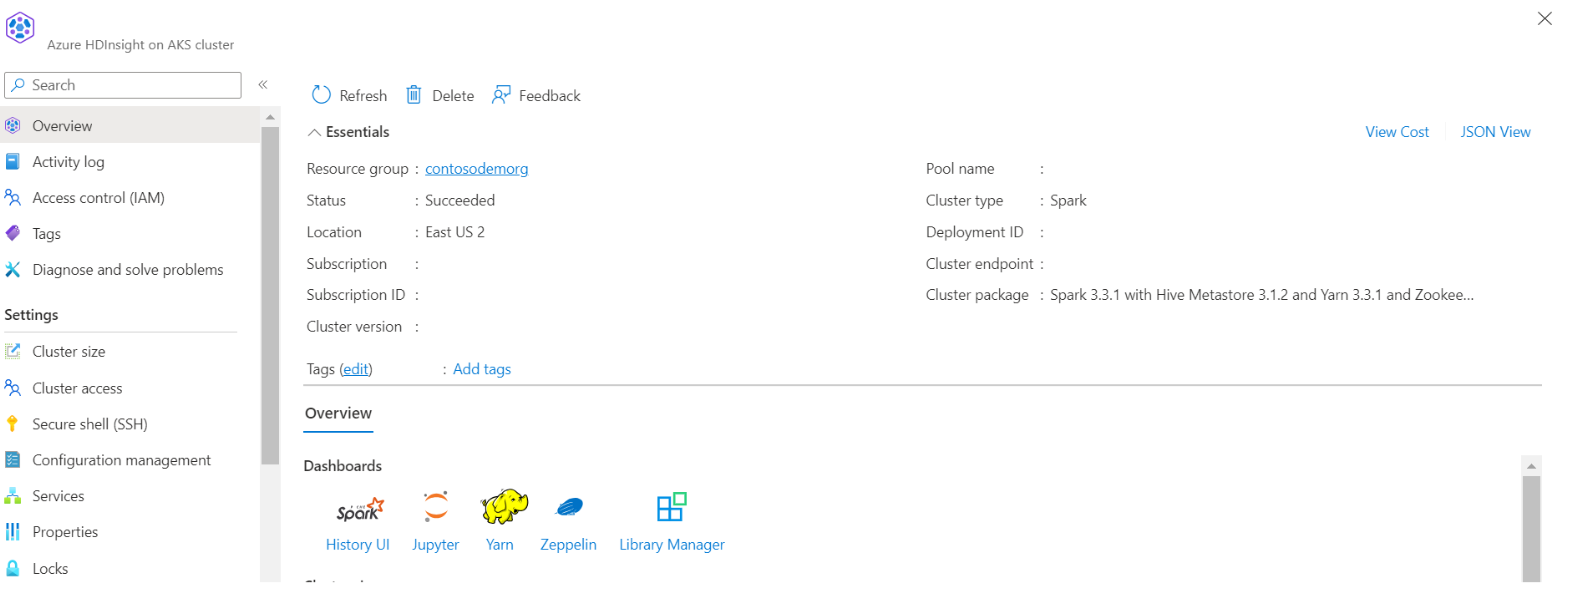
Find your storage and container name in the portal JSON view
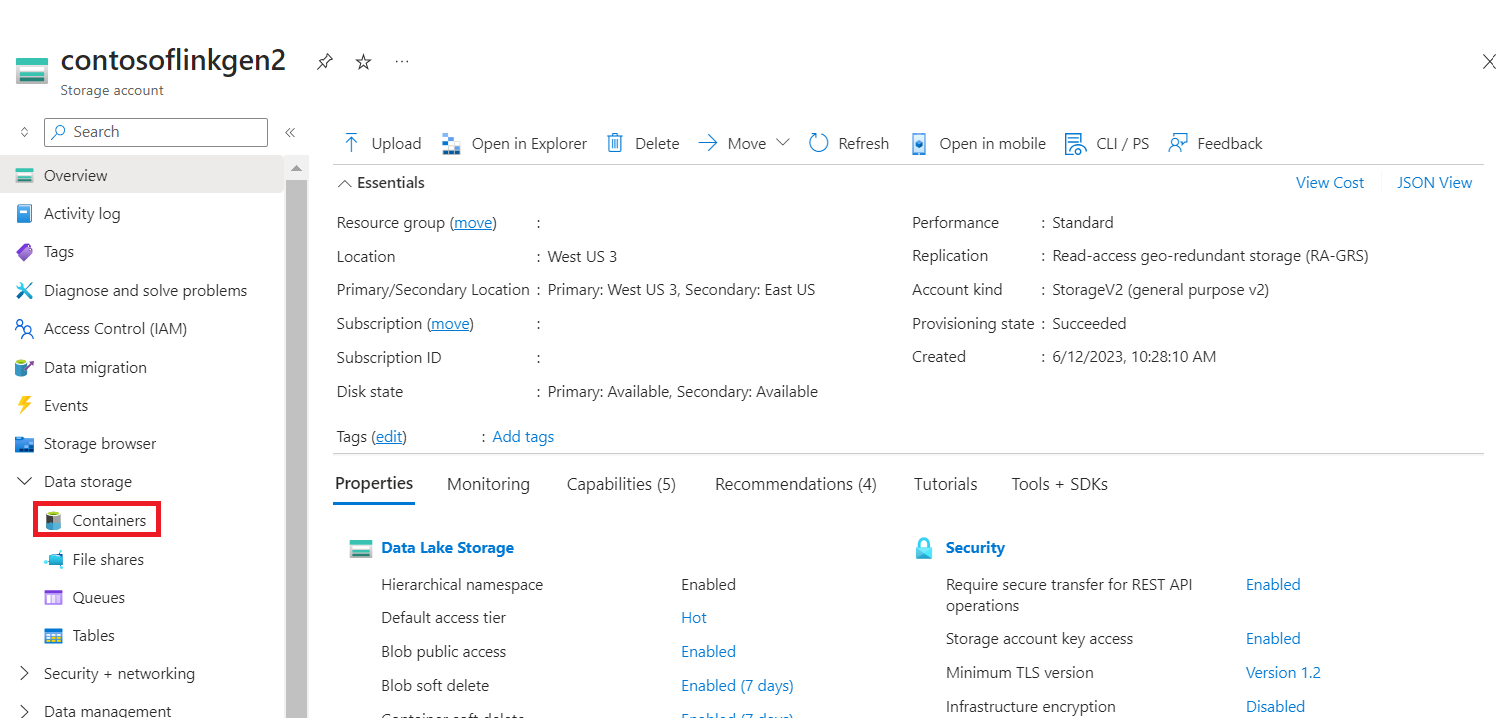
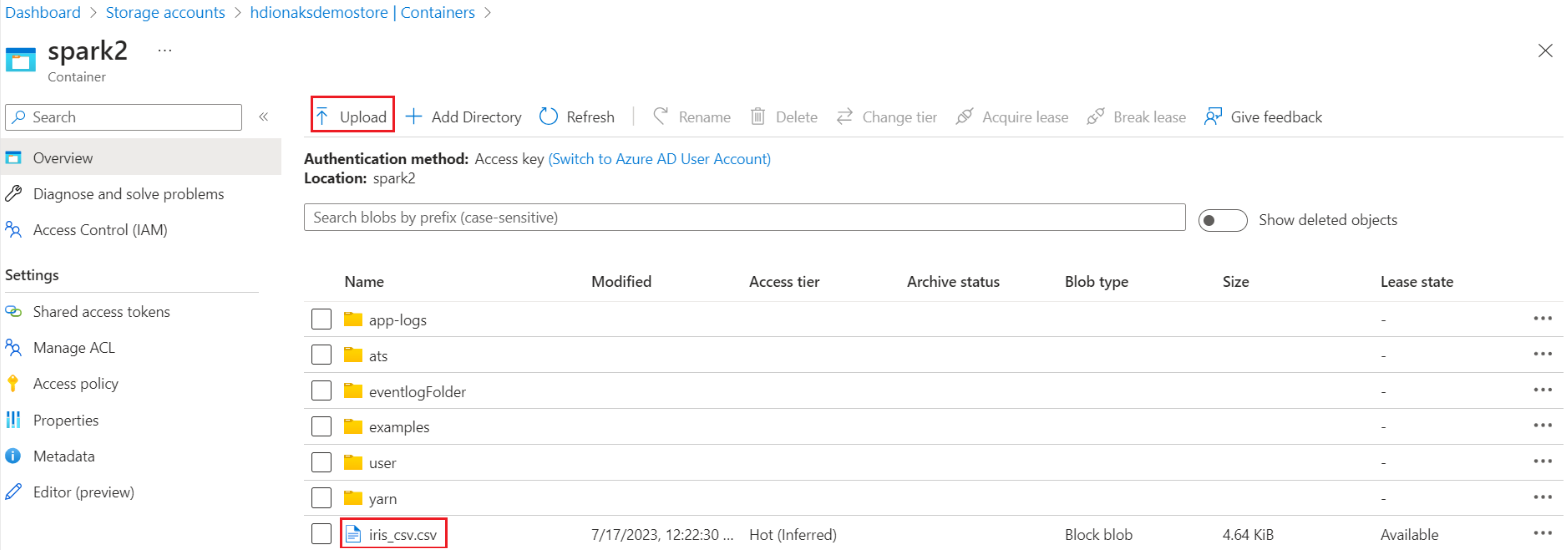
Navigate into your primary HDI storage>container>base folder> upload the CSV
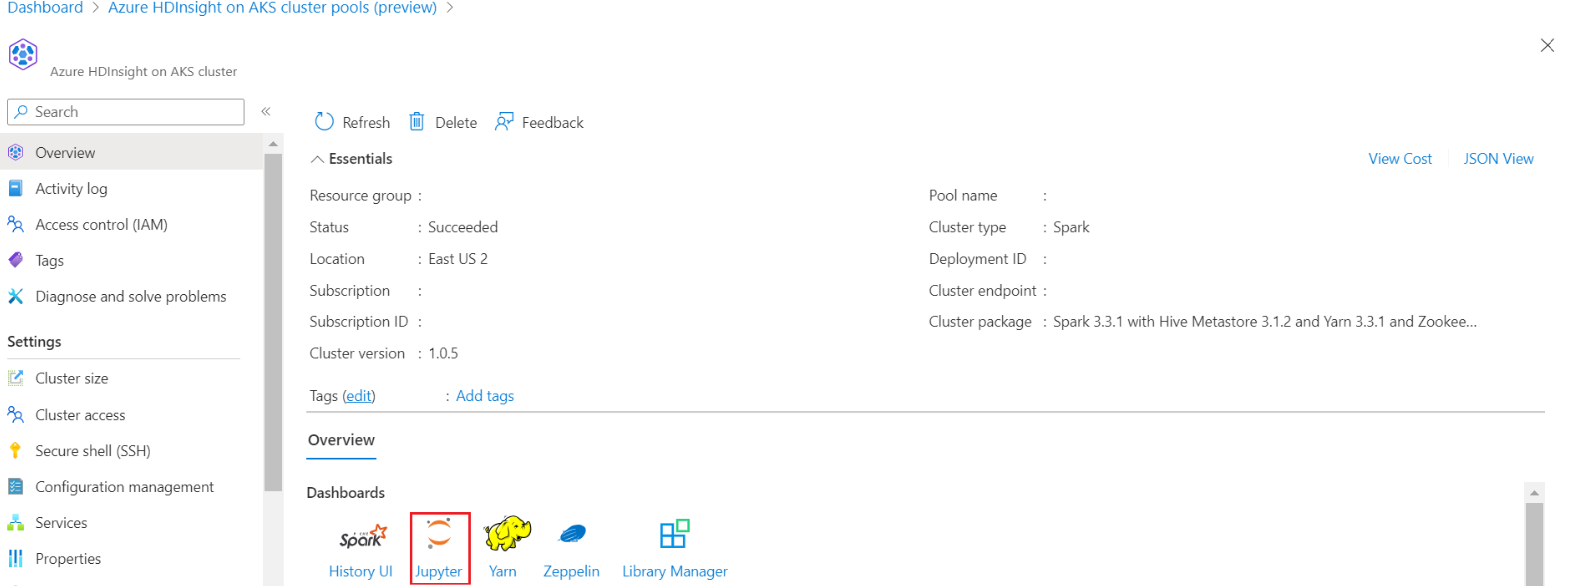
Log in to your cluster and open the Jupyter Notebook
Import Spark MLlib Libraries to create the pipeline
import pyspark
from pyspark.ml import Pipeline, PipelineModel
from pyspark.ml.classification import LogisticRegression
from pyspark.ml.feature import VectorAssembler, StringIndexer, IndexToString
Read the CSV into a Spark dataframe
df = spark.read.("abfss:///iris_csv.csv",inferSchema=True,header=True)Split the data for training and testing
iris_train, iris_test = df.randomSplit([0.7, 0.3], seed=123)Create the pipeline and train the model
assembler = VectorAssembler(inputCols=['sepallength', 'sepalwidth', 'petallength', 'petalwidth'],outputCol="features",handleInvalid="skip")
indexer = StringIndexer(inputCol="class", outputCol="classIndex", handleInvalid="skip")
classifier = LogisticRegression(featuresCol="features",
                                labelCol="classIndex",
                                maxIter=10,
                                regParam=0.01)

pipeline = Pipeline(stages=[assembler,indexer,classifier])
model = pipeline.fit(iris_train)

# Create a test `dataframe` with predictions from the trained model

test_model = model.transform(iris_test)

# Taking an output from the test dataframe with predictions

test_model.take(1)
Evaluate the model accuracy
import pyspark.ml.evaluation as ev
evaluator = ev.MulticlassClassificationEvaluator(labelCol='classIndex')

print(evaluator.evaluate(test_model,{evaluator.metricName: 'accuracy'}))


