Publish Cargo packages with Azure Pipelines
Azure DevOps Services | Azure DevOps Server 2022
Azure Pipelines enables developers to publish Cargo packages to Azure Artifacts feeds and public registries such as Crates.io. In this article, you will learn how to publish your Cargo packages to an Azure Artifacts feed using both YAML and Classic pipelines.
Prerequisites
An Azure DevOps organization and a project. Create an organization or a project if you haven't already.
An Azure Artifacts feed. Create a feed if you don't have one already.
Authenticate with a feed
Sign in to your Azure DevOps organization, and then navigate to your project.
Select Artifacts, and then select your feed.
Select Connect to feed, and then select Cargo from the left pane.
Copy the provided snippet from the Project setup section and add it to your config.toml file in your source repository. You file should look like this:
Project-scoped feed:
[registries]
<FEED_NAME> = { index = "sparse+https://pkgs.dev.azure.com/<ORGANIZATION_NAME>/<PROJECT_NAME>/_packaging/<FEED_NAME>/Cargo/index/" }

[source.crates-io]
replace-with = "<FEED_NAME>"
Organization-scoped feed:
[registries]
<FEED_NAME> = { index = "sparse+https://pkgs.dev.azure.com/<ORGANIZATION_NAME>/_packaging/<FEED_NAME>/Cargo/index/" }

[source.crates-io]
replace-with = "<FEED_NAME>"
Create a Personal access token with Packaging > Read & write scopes to authenticate with your feed.
Sign in to your Azure DevOps organization, and then navigate to your project.
Select Pipelines, and then select your pipeline definition.
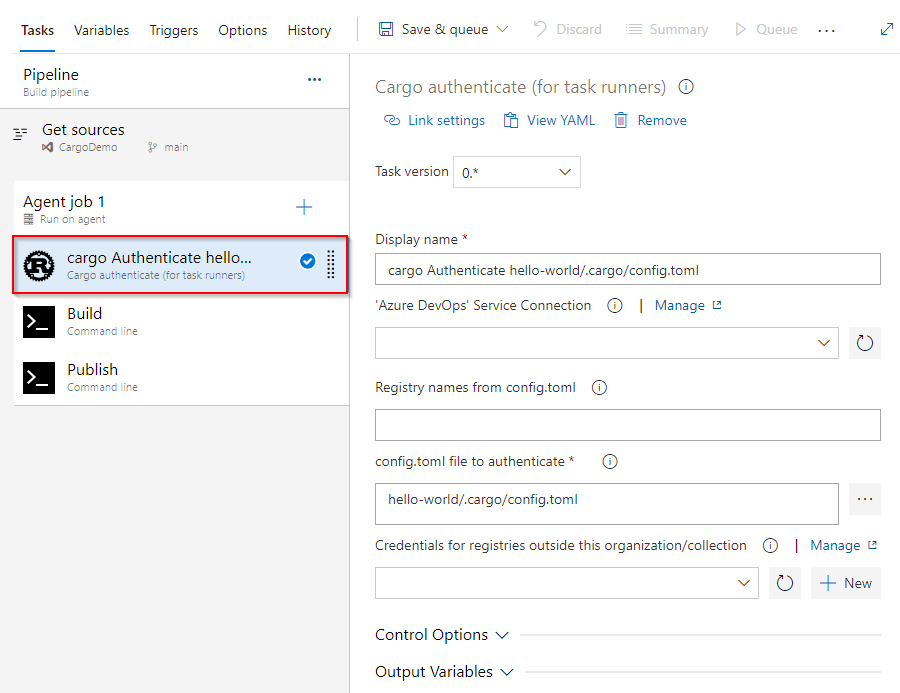
Select Edit, and then add the following snippet to your YAML pipeline.
- task: CargoAuthenticate@0
  displayName: 'Cargo Authenticate'
  inputs:
    configFile: '.cargo/config.toml'    ## Path to the config.toml file that specifies the registries you want to work with. Select the file, not the folder e.g. "/.cargo/config.toml"
Publish crates to a feed
Sign in to your Azure DevOps organization, and then navigate to your project.
Select Pipelines, and then select your pipeline definition.
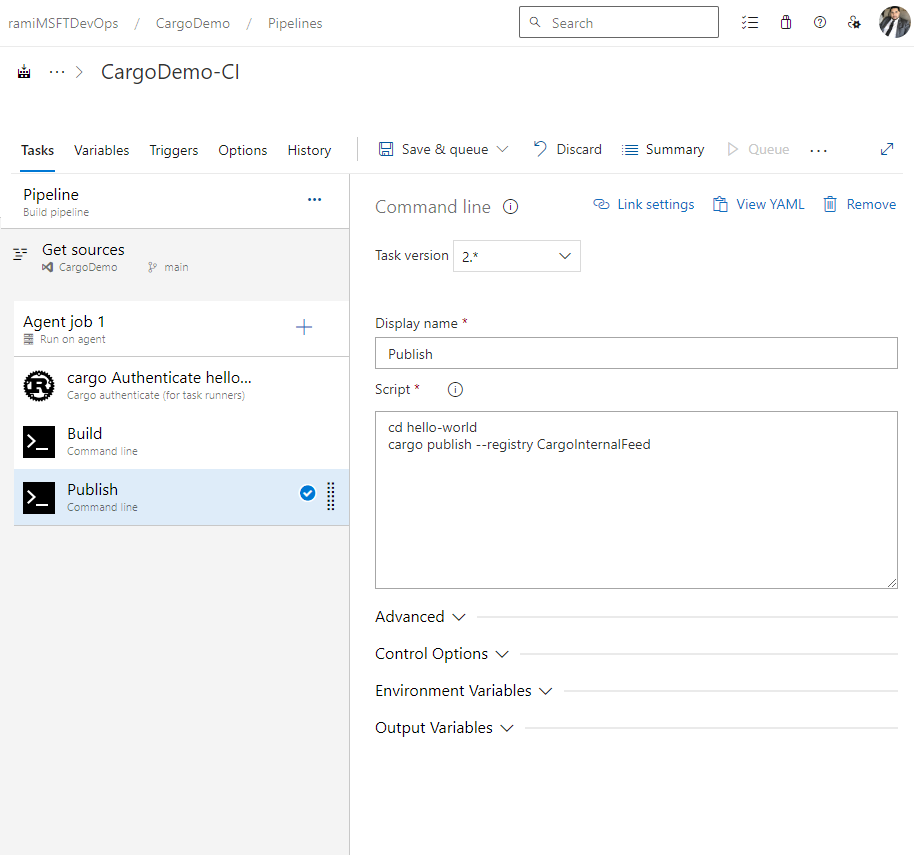
Select Edit, and then add the following snippet to your YAML pipeline.
- powershell: |
   cargo publish --registry <FEED_NAME>        ## Replace the placeholder with your feed name
  env:
    SYSTEM_ACCESSTOKEN: $(system.accesstoken)
Example
The following example shows how to install Rustup on the agent, configure the PATH environment variable, build the project, authenticate with CargoAuthenticate, and publish to an Azure Artifacts feed:
trigger:
- main

pool:
  vmImage: windows-latest

steps:
- powershell: |
   Invoke-WebRequest -Uri https://sh.rustup.rs -OutFile rustup-init.sh
   bash .\rustup-init.sh -y
   echo "##vso[task.prependpath]$env:USERPROFILE\.cargo\bin"
  displayName: Install

- task: CargoAuthenticate@0
  displayName: 'cargo Authenticate'
  inputs:
    configFile: '.cargo/config.toml'

- script: |
   cargo build --all
  displayName: Build

- powershell: |
   cargo publish --registry CargoInternalFeed
  displayName: Publish
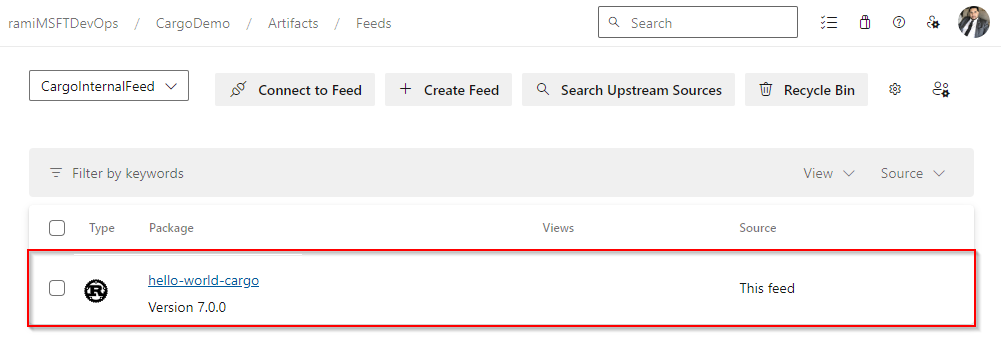
Once your pipeline run completes, your crate should be available in your feed, as shown below:


