Configure environment types for a dev center
In Azure Deployment Environments, you use environment types to define the environments that development teams can deploy. You have the flexibility to name the environment types according to the nomenclature that your enterprise uses: for example, sandbox, dev, test, or production. You can specify deployment settings and the permissions that are available to developers per environment type and per project.
In this article, you'll learn how to:
- Add a new environment type to a dev center.
- Delete an environment type from a dev center.
Add a new dev center environment type
To add a new environment type to the dev center:
- Sign in to the Azure portal and go to Azure Deployment Environments.
- Select your dev center from the list.
- Select Environment types from the left pane.
- Select + Create.
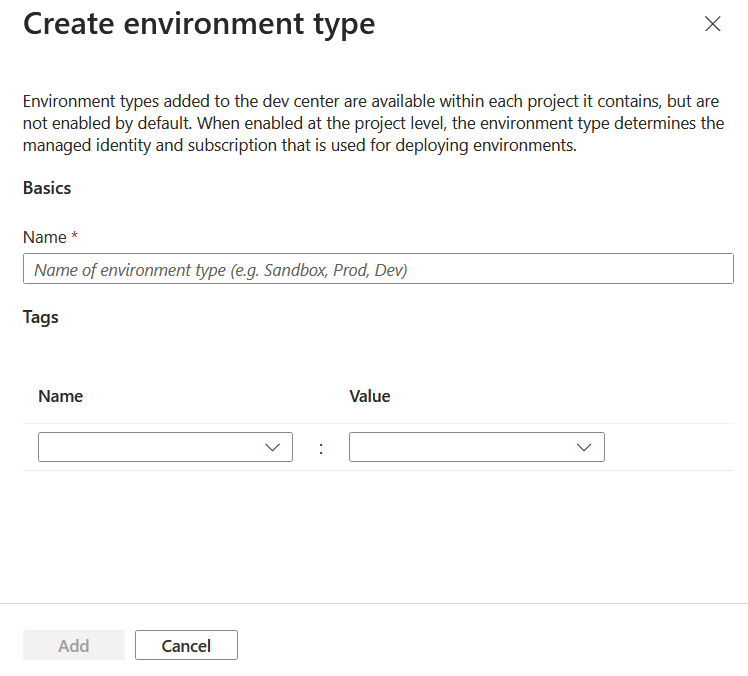
- On the Create environment type page, add the following details:
- For Name, add a name for the environment type.
- For Tags, add tags by adding Name and Value information (optional).
- Select Add.
Note
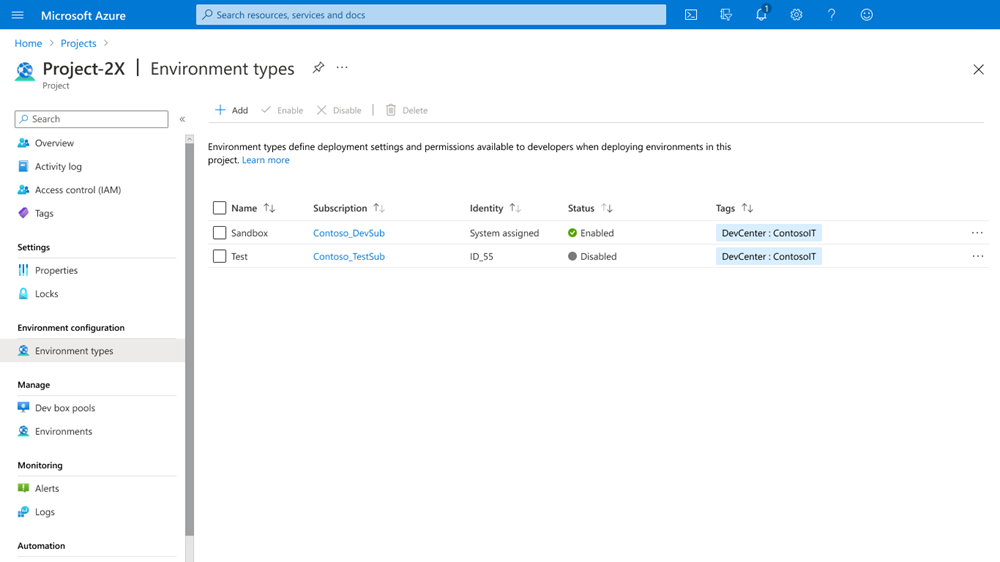
A dev center environment type is available to a specific project only after you add an associated project environment type.
Delete a dev center environment type
Note
You can't delete a dev center environment type if any existing project environment types or deployed environments reference it. Delete all the associated project environment types and deployed environments before you try to delete a dev center environment type.
When you delete an environment type, it's no longer available when you deploy environments or configure new project environment types.
To delete an environment type from a dev center:
- Sign in to the Azure portal and go to Azure Deployment Environments.
- Select your dev center from the list.
- Select Environment types from the left pane.
- Select the environment types that you want to delete.
- Select Delete and then confirm.

