Add a cluster connection in the Azure Data Explorer web UI
This article explains how to add a cluster connection in the Azure Data Explorer web UI.
The Azure Data Explorer web UI allows you to seamlessly manage clusters from various user accounts or Microsoft Entra directories. Follow the optional steps in this article to set up connections with alternative credentials. Once connected, you can switch between clusters associated with different credentials within a unified interface, without a need to repeatedly sign in and sign out or switch directories.
Prerequisites
- A Microsoft account or a Microsoft Entra user identity. An Azure subscription isn't required.
Add a cluster connection
To add a connection to your Azure Data Explorer cluster:
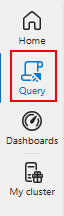
From the main left menu, select Query.
In the upper left corner, select Add. From the dropdown menu, select Connection.
In the Add connection dialog box, enter the cluster Connection URI and Display name. To find the connection URI, go to your cluster resource in the Azure portal. The connection URI is the URI found in the Overview. To add a free sample cluster, specify "help" as the Connection URI.

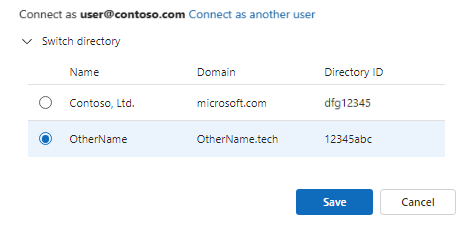
(Optional) If you have multiple user accounts and want to authenticate with a different account, select Connect as another user, and proceed to add or select the appropriate account.
(Optional) If your account is linked to multiple Microsoft Entra directories, select Switch directory and choose the relevant directory for this connection.
Select Add to add the connection. Your cluster and databases should now be visible in the left panel.
For example, the following image shows a cluster connection pane that contains three clusters:
HomeCluster,help, andTestCluster.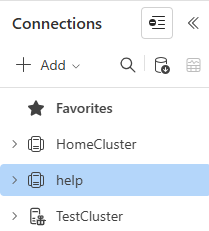
Manage cluster connections
To organize and manage your clusters, you can add clusters to Favorites or to groups.
Manage cluster connections using Favorites
To add your cluster to Favorites:
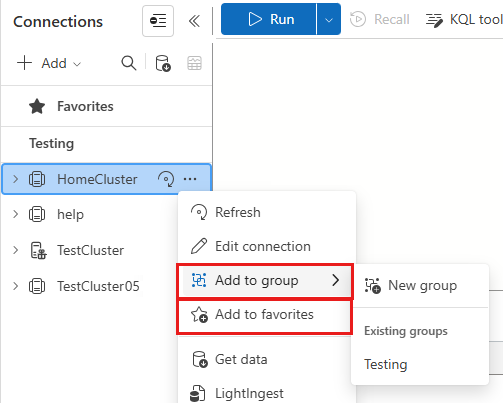
From the More [...] menu next to your cluster, select Add to favorites.
Verify that your cluster appears under Favorites in the Cluster connection pane.
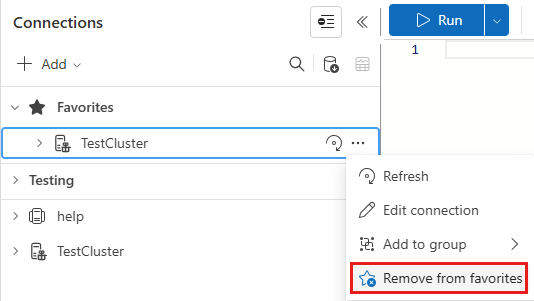
To remove a cluster from Favorites:
Select the More [...] menu next to the cluster and then Remove from favorites.
Verify that your cluster doesn't appear under Favorites in the Cluster connection pane.
Manage cluster connections using groups
Before you start: If the group you wish to assign the cluster to doesn't exist, we recommend you create it first. In the Cluster connection pane, select Add > Group, enter a group name, and then select the check mark.
To add your cluster to a group:
From the More [...] menu next to your cluster, select Add to group, and then select a group name.
Verify that your cluster appears under the selected group in the Cluster connection pane.
To remove a cluster from a group:
Select the More [...] menu next to the cluster, then Add to group. Under the Remove from group heading, select the group name.

Verify that your cluster doesn't appear under the selected group in the Cluster connection pane.
Note
Clusters can be included in groups and Favorites at the same time.