Display feature information in the iOS SDK (Preview)
Note
Azure Maps iOS SDK retirement
The Azure Maps Native SDK for iOS is now deprecated and will be retired on 3/31/25. To avoid service disruptions, migrate to the Azure Maps Web SDK by 3/31/25. For more information, see The Azure Maps iOS SDK migration guide.
Spatial data is often represented using points, lines, and polygons. This data often has metadata information associated with it. For example, a point may represent the location of a restaurant and metadata about that restaurant may be its name, address, and type of food it serves. This metadata can be added as properties of a GeoJSON Feature. The following code creates a simple point feature with a title property that has a value of "Hello World!".
// Create a data source and add it to the map.
let source = DataSource()
map.sources.add(source)

// Create a point feature.
let feature = Feature(Point(CLLocationCoordinate2D(latitude: -122.33, longitude: 47.64)))

// Add a property to the feature.
feature.addProperty("title", value: "Hello World!")

// Create a point feature, pass in the metadata properties, and add it to the data source.
source.add(feature: feature)
For more information on how to create and add data to the map, see Create a data source.
When a user interacts with a feature on the map, events can be used to react to those actions. A common scenario is to display a message made of the metadata properties of a feature the user interacted with. The azureMap(_:didTapOn:) event is the main event used to detect when the user tapped a feature on the map. There's also an azureMap(_:didLongPressOn:) event. When a delegate is added to the map, it can be limited to a single layer by passing in the ID of a layer to limit it to. If no layer ID is passed in, tapping any feature on the map, regardless of which layer it is in, would fire this event. The following code creates a symbol layer to render point data on the map, then adds a delegate, limited to this symbol layer, which handles the azureMap(_:didTapOn:) event.
// Create a symbol and add it to the map.
let layer = SymbolLayer(source: source)
map.layers.addLayer(layer)

// Add the delegate to the map to handle feature tap events on the layer only.
map.events.addDelegate(self, for: [layer.id])
func azureMap(_ map: AzureMap, didTapOn features: [Feature]) {
    // Retrieve the title property of the feature as a string.
    let title = features.first?.properties["title"] as? String

    // Do something with the title.
}
Display an alert
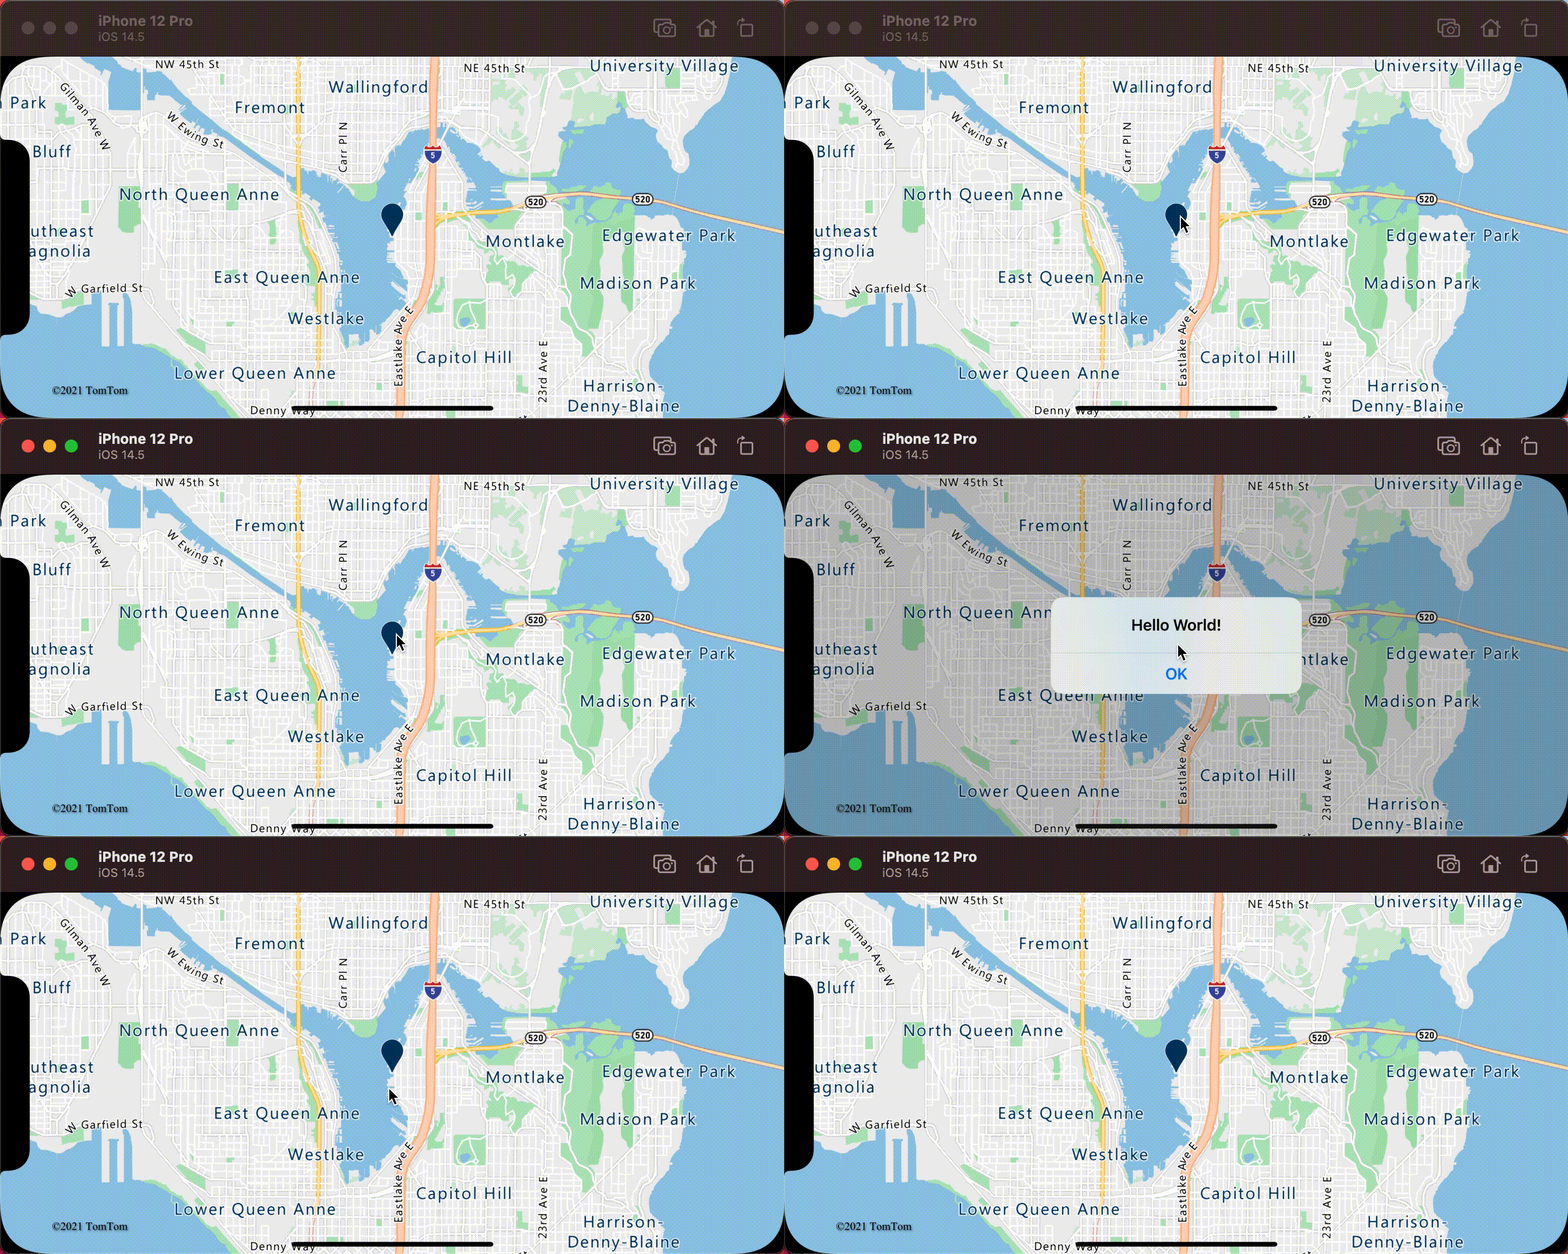
An alert is one of the easiest ways to display information to the user and is available in all typically supported versions of iOS. If you want to quickly let the user know something about what they tapped on, an alert might be a good option. The following code shows how an alert can be used with the azureMap(_:didTapOn:) event.
func azureMap(_ map: AzureMap, didTapOn features: [Feature]) {
    // Retrieve the title property of the feature as a string.
    let title = features.first?.properties["title"] as? String

    // Display an alert with the title information.
    let alert = UIAlertController(title: title, message: nil, preferredStyle: .alert)
    alert.addAction(UIAlertAction(title: "OK", style: .cancel))
    present(alert, animated: true)
}

In addition to alerts, there are many other ways to present the metadata properties of a feature, such as:
- Add a custom view over the map
- Add a child view controller over the map
- Present modally another view controller over the current one.
- Navigate to another view controller.
Display a popup
The Azure Maps iOS SDK provides a Popup class that makes it easy to create UI annotation elements that are anchored to a position on the map. For popups, you have to pass in a self-sizing view into the content option of the popup. Here's a simple view example that displays dark text on top of a white background.
class PopupTextView: UIView {
    private let textLabel: UILabel = {
        let label = UILabel()
        label.translatesAutoresizingMaskIntoConstraints = false
        label.numberOfLines = 0
        label.textColor = UIColor(red: 34 / 255, green: 34 / 255, blue: 34 / 255, alpha: 1)
        label.font = .systemFont(ofSize: 18)
        return label
    }()

    override init(frame: CGRect) {
        super.init(frame: frame)
        setup()
    }

    required init?(coder: NSCoder) {
        super.init(coder: coder)
    }

    override func awakeFromNib() {
        super.awakeFromNib()
        setup()
    }

    private func setup() {
        backgroundColor = .white
        addSubview(textLabel)

        NSLayoutConstraint.activate([
            textLabel.topAnchor.constraint(equalTo: topAnchor, constant: 10),
            textLabel.bottomAnchor.constraint(equalTo: bottomAnchor, constant: -10),
            textLabel.leadingAnchor.constraint(equalTo: leadingAnchor, constant: 10),
            textLabel.trailingAnchor.constraint(equalTo: trailingAnchor, constant: -25)
        ])
    }

    func setText(_ text: String) {
        textLabel.text = text
    }
}
The following code creates a popup, adds it to the map. When a feature is tapped, the title property is displayed using the PopupTextView class, with the bottom center of the layout anchored to the specified position on the map.
// Create a popup and add it to the map.
let popup = Popup()
map.popups.add(popup)

// Set popup to the class property to use in events handling later.
self.popup = popup
func azureMap(_ map: AzureMap, didTapOn features: [Feature]) {
    guard let popup = popup, let feature = features.first else {
        // Popup has been released or no features provided
        return
    }

    // Create the custom view for the popup.
    let customView = PopupTextView()

    // Set the text to the custom view.
    let text = feature.properties["title"] as! String
    customView.setText(text)

    // Get the position of the tapped feature.
    let position = Math.positions(from: feature).first!

    // Set the options on the popup.
    popup.setOptions([
        // Set the popups position.
        .position(position),

        // Set the anchor point of the popup content.
        .anchor(.bottom),

        // Set the content of the popup.
        .content(customView)

        // Optionally, hide the close button of the popup.
        // .closeButton(false)

        // Optionally offset the popup by a specified number of points.
        // .pointOffset(CGPoint(x: 10, y: 10))
    ])

    // Open the popup.
    popup.open()
}
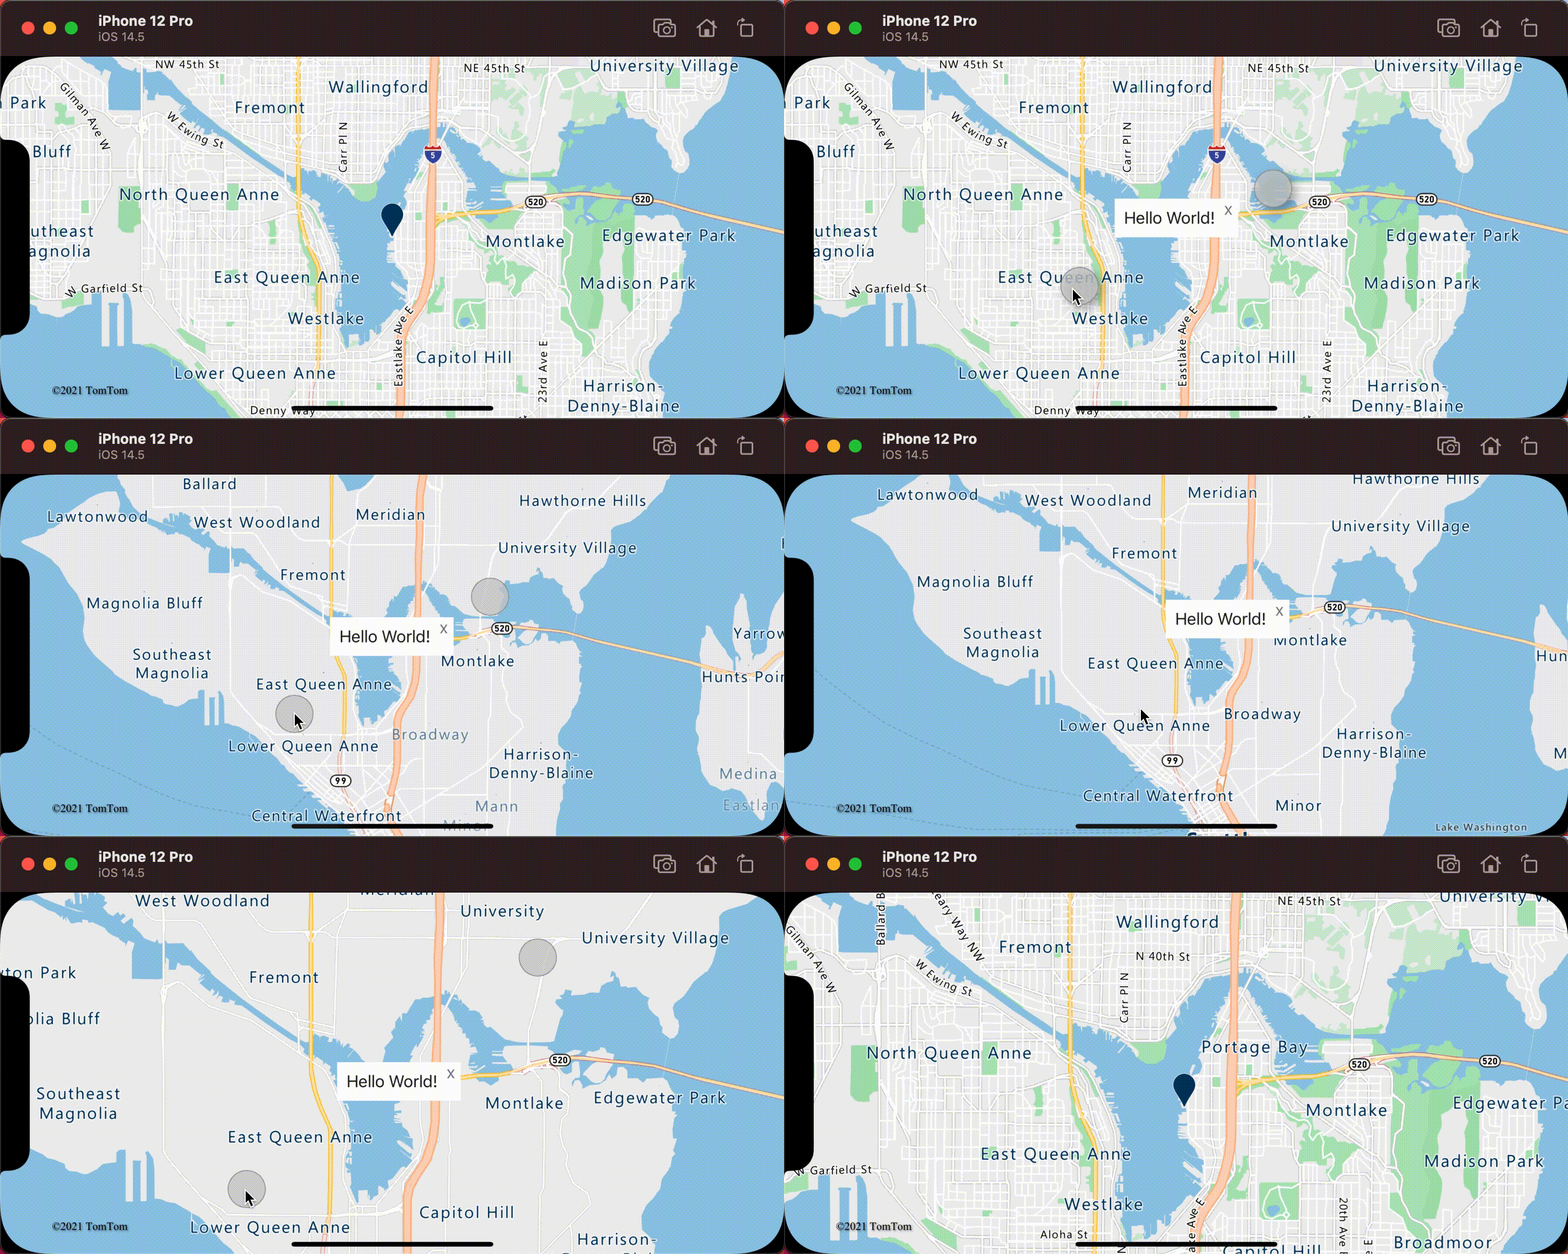
The following screen capture shows popups appearing when features are tapped and staying anchored to their specified location on the map as it moves.

Additional information
To add more data to your map: