Use OpenFaaS on Azure Kubernetes Service (AKS)
OpenFaaS is a framework that uses containers to build serverless functions. As an open source project, it has gained large-scale adoption within the community. This document details installing and using OpenFaas on an Azure Kubernetes Service (AKS) cluster.
Before you begin
- This article assumes a basic understanding of Kubernetes concepts. For more information, see Kubernetes core concepts for Azure Kubernetes Service (AKS).
- You need an active Azure subscription. If you don't have one, create a free account before you begin.
- You need an AKS cluster. If you don't have an existing cluster, you can create one using the Azure CLI, Azure PowerShell, or Azure portal.
- You need to install the OpenFaaS CLI. For installation options, see the OpenFaaS CLI documentation.
Add the OpenFaaS helm chart repo
Navigate to Azure Cloud Shell.
Add the OpenFaaS helm chart repo and update to the latest version using the following
helmcommands.helm repo add openfaas https://openfaas.github.io/faas-netes/ helm repo update
Deploy OpenFaaS
As a good practice, OpenFaaS and OpenFaaS functions should be stored in their own Kubernetes namespace.
Create a namespace for the OpenFaaS system and functions using the
kubectl applycommand.kubectl apply -f https://raw.githubusercontent.com/openfaas/faas-netes/master/namespaces.ymlGenerate a password for the OpenFaaS UI Portal and REST API using the following commands. The helm chart uses this password to enable basic authentication on the OpenFaaS Gateway, which is exposed to the Internet through a cloud LoadBalancer.
# generate a random password
PASSWORD=$(head -c 12 /dev/urandom | shasum| cut -d' ' -f1)

kubectl -n openfaas create secret generic basic-auth \
--from-literal=basic-auth-user=admin \
--from-literal=basic-auth-password="$PASSWORD"
Important
Using a username and password for authentication is an insecure pattern. If you have an OpenFaaS enterprise license, we recommend using Identity and Access Management (IAM) for OpenFaaS instead.
Get the value for your password using the following
echocommand.echo $PASSWORDDeploy OpenFaaS into your AKS cluster using the
helm upgradecommand.helm upgrade openfaas --install openfaas/openfaas \ --namespace openfaas \ --set basic_auth=true \ --set functionNamespace=openfaas-fn \ --set serviceType=LoadBalancerYour output should look similar to the following condensed example output:
NAME: openfaas
LAST DEPLOYED: Tue Aug 29 08:26:11 2023
NAMESPACE: openfaas
STATUS: deployed
...
NOTES:
To verify that openfaas has started, run:

kubectl --namespace=openfaas get deployments -l "release=openfaas, app=openfaas"
...
A public IP address is created for accessing the OpenFaaS gateway. Get the IP address using the
kubectl get servicecommand.kubectl get service -l component=gateway --namespace openfaasYour output should look similar to the following example output:
NAME               TYPE           CLUSTER-IP     EXTERNAL-IP    PORT(S)          AGE
gateway            ClusterIP      10.0.156.194   <none>         8080/TCP         7m
gateway-external   LoadBalancer   10.0.28.18     52.186.64.52   8080:30800/TCP   7m
Test the OpenFaaS system by browsing to the external IP address on port 8080,
http://52.186.64.52:8080in this example, where you're prompted to log in. The default user isadminand your password can be retrieved usingecho $PASSWORD.
Set
$OPENFAAS_URLto the URL of the external IP address on port 8080 and log in with the Azure CLI using the following commands.export OPENFAAS_URL=http://52.186.64.52:8080 echo -n $PASSWORD | ./faas-cli login -g $OPENFAAS_URL -u admin --password-stdin
Create first function
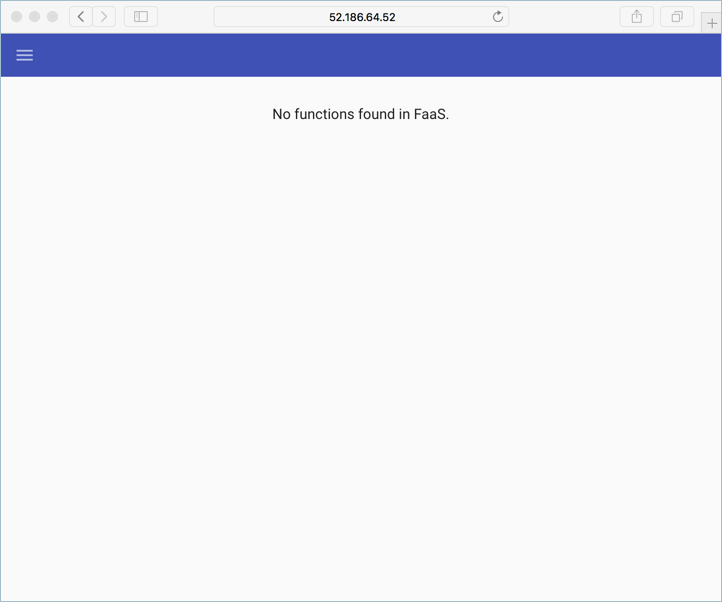
Navigate to the OpenFaaS system using your OpenFaaS URL.
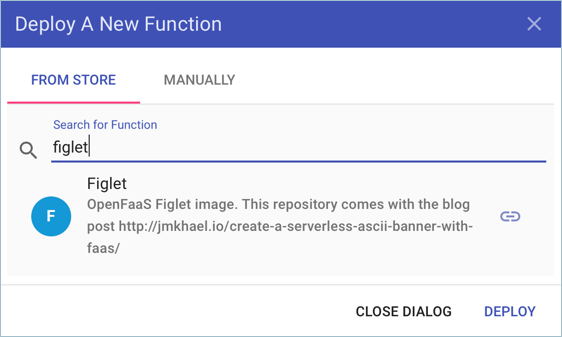
Create a function using the OpenFaas portal by selecting Deploy A New Function and search for Figlet.
Select the Figlet function, and then select Deploy.

Invoke the function using the following
curlcommand. Make sure you replace the IP address in the following example with your OpenFaaS gateway address.curl -X POST http://52.186.64.52:8080/function/figlet -d "Hello Azure"Your output should look similar to the following example output:
 _   _      _ _            _
| | | | ___| | | ___      / \    _____   _ _ __ ___
| |_| |/ _ \ | |/ _ \    / _ \  |_  / | | | '__/ _ \
|  _  |  __/ | | (_) |  / ___ \  / /| |_| | | |  __/
|_| |_|\___|_|_|\___/  /_/   \_\/___|\__,_|_|  \___|
Create second function
Configure your Azure Cosmos DB instance
Navigate to Azure Cloud Shell.
Create a new resource group for the Azure Cosmos DB instance using the
az group createcommand.az group create --name serverless-backing --location eastusDeploy an Azure Cosmos DB instance of kind
MongoDBusing theaz cosmosdb createcommand. Replaceopenfaas-cosmoswith your own unique instance name.az cosmosdb create --resource-group serverless-backing --name openfaas-cosmos --kind MongoDBGet the Azure Cosmos DB database connection string and store it in a variable using the
az cosmosdb keys listcommand. Make sure you replace the value for the--resource-groupargument with the name of your resource group, and the--nameargument with the name of your Azure Cosmos DB instance.COSMOS=$(az cosmosdb keys list \ --type connection-strings \ --resource-group serverless-backing \ --name openfaas-cosmos \ --output tsv)Populate the Azure Cosmos DB with test data by creating a file named
plans.jsonand copying in the following json.{ "name" : "two_person", "friendlyName" : "Two Person Plan", "portionSize" : "1-2 Person", "mealsPerWeek" : "3 Unique meals per week", "price" : 72, "description" : "Our basic plan, delivering 3 meals per week, which will feed 1-2 people.", "__v" : 0 }
Create the function
Install the MongoDB tools. The following example command installs these tools using brew. For more installation options, see the MongoDB documentation.
brew install mongodbLoad the Azure Cosmos DB instance with data using the mongoimport tool.
mongoimport --uri=$COSMOS -c plans < plans.jsonYour output should look similar to the following example output:
2018-02-19T14:42:14.313+0000    connected to: localhost
2018-02-19T14:42:14.918+0000    imported 1 document
Create the function using the
faas-cli deploycommand. Make sure you update the value of the-gargument with your OpenFaaS gateway address.faas-cli deploy -g http://52.186.64.52:8080 --image=shanepeckham/openfaascosmos --name=cosmos-query --env=NODE_ENV=$COSMOSOnce deployed, your output should look similar to the following example output:
Deployed. 202 Accepted.
URL: http://52.186.64.52:8080/function/cosmos-query
Test the function using the following
curlcommand. Make sure you update the IP address with the OpenFaaS gateway address.curl -s http://52.186.64.52:8080/function/cosmos-queryYour output should look similar to the following example output:
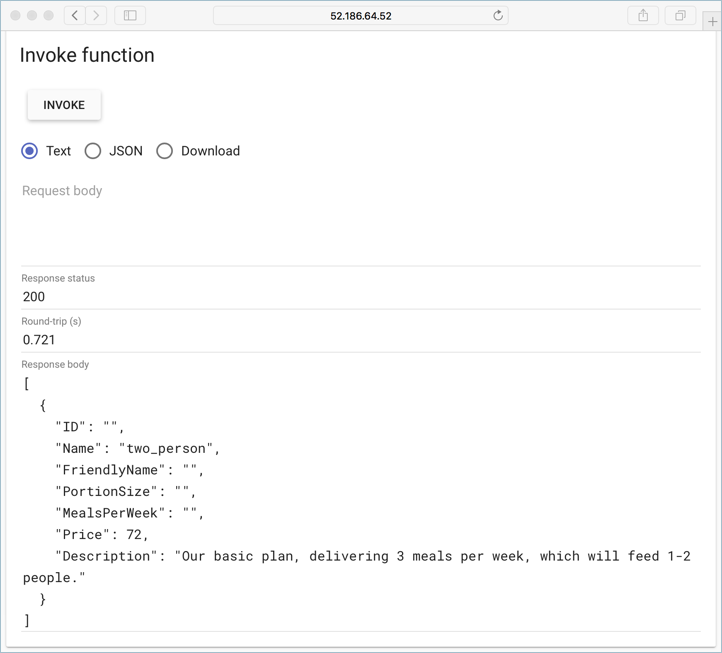
[{"ID":"","Name":"two_person","FriendlyName":"","PortionSize":"","MealsPerWeek":"","Price":72,"Description":"Our basic plan, delivering 3 meals per week, which will feed 1-2 people."}]Note
You can also test the function within the OpenFaaS UI:

Next steps
Continue to learn with the OpenFaaS workshop, which includes a set of hands-on labs that cover topics such as how to create your own GitHub bot, consuming secrets, viewing metrics, and autoscaling.
Azure Kubernetes Service
