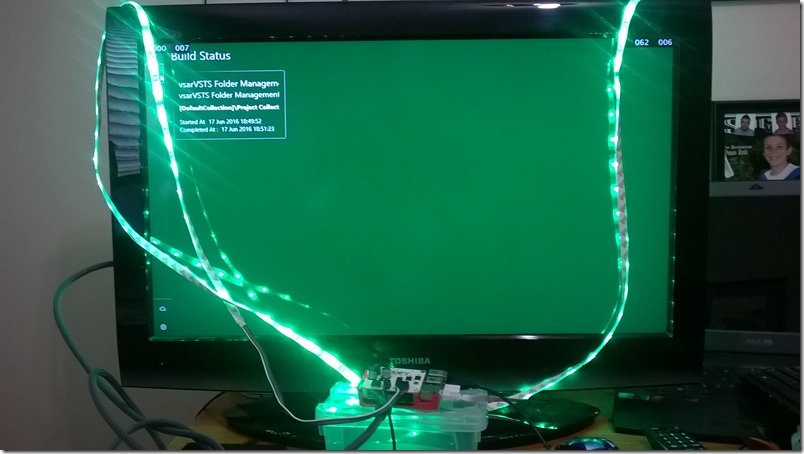
A Raspberry Pi2 VSTS Build Light – Part 2, assembling and installing the software
We continue from A Raspberry Pi2 VSTS Build Light – Part 1, unwrapping the package, following the meticulous https://myalmblog.com/2016/05/a-raspberry-pi3-vsts-build-light-part-2-installing-windows-10-iot-core/ post from Anthony Borton.
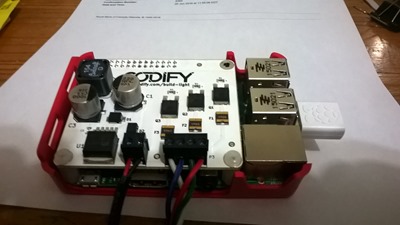
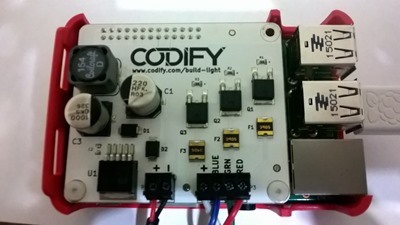
Assembling the device … simple!
There are only a few moving parts to assemble. It’s really simple!
Install Windows 10 IoT … interesting!
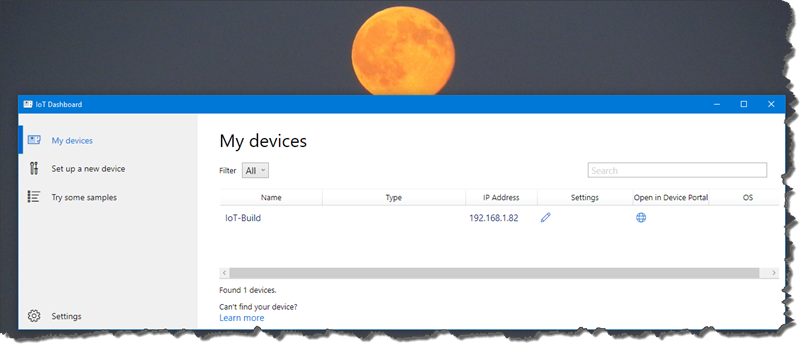
I ventured to https://developer.microsoft.com/en-us/windows/iot/win10/getstarted/setupyourdevice, which guided me to download, flash and install Windows 10 IoT Core onto the board using the IoT Core Dashboard as shown:

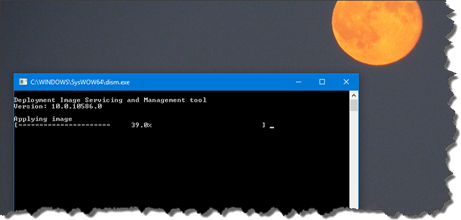
After inserting the MicroSD card and powering up the device you need to be patient for a minute or so.
I was literally gob-smacked to remote connect to the device and have so much control.
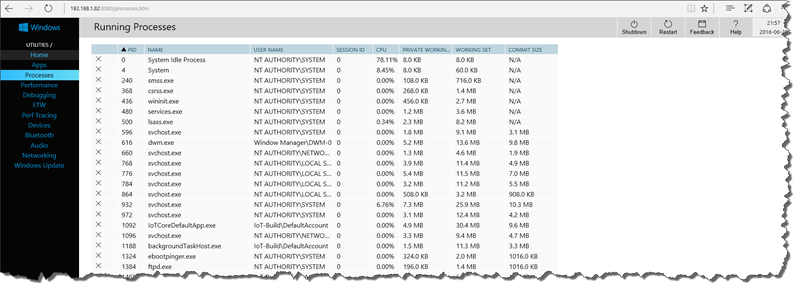
For example, you can review all running processes:
You can even watch the devices’ performance …
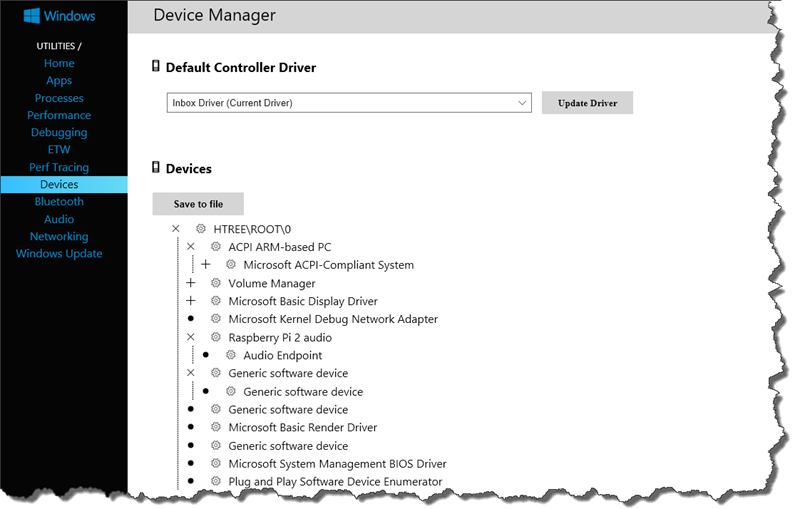
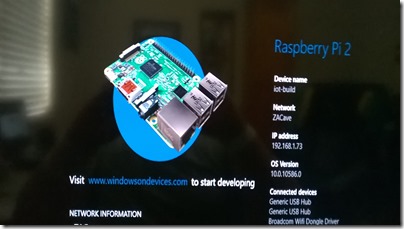
… or review it’s devices, Bluetooth, audio and networking. I used the latter to configure the WiFi, after which the device made an appearance in the IoT dashboard with two IP addresses.
Attach a monitor, keyboard and mouse
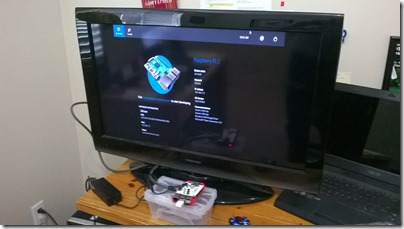
An alternative to remote connect, is to plug in a keyboard, mouse, and monitor.
Next … install Codify Build software
Next we will have look at the software developed in conjunction with the Codify VSTS Build Light Circuit Board as outline in A Raspberry Pi3 VSTS Build Light-Part 3, installing the Codify VSTS Build Light software.
This was so much FUN, but now my head is spinning around IoT, the vast opportunities and a few nagging security questions.
My next plan is to take it to the Microsoft Canada Excellence Centre and use it to visually monitor the health of our builds.
Watch the space on our team blog, aka.ms/vsarblog, for part 3.
