Using the WebView
[This post is a part of a series of post about the Social Media Dashboard Sample. This post was written by Simon Jäger. For an introductory blog post, click here]
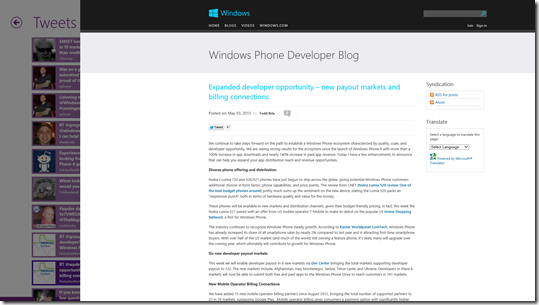
If you have checked out the twitter page in the Social Media Dashboard Sample you might have come across the WebView element that shows up to the right if the selected twitter contains a functional link.
As the user clicks on the preview of the WebView, it slides out horizontally covering the majority of the screen.
In this post we will be going through some remarks of the WebView control and how we can enable better interaction and flexibility with the control. Doing this is necessary to achieve the sliding behavior which is accomplished in the Social Media Dashboard Sample.
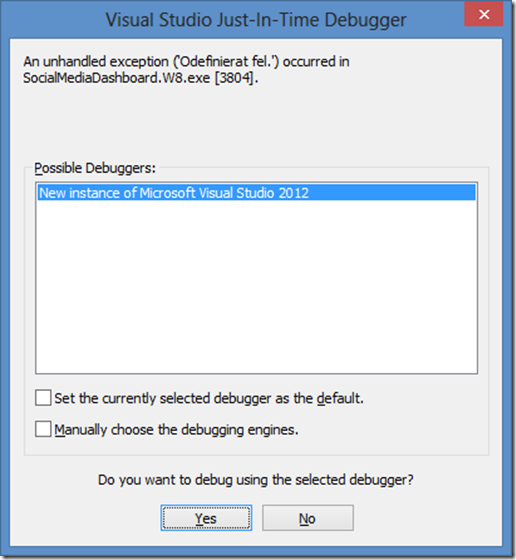
First things first, if you have ever worked with the WebView control before – you might have come across this prompt:
The Visual Studio Just-In-Time Debugger tends to pop up a lot, especially if you are working with web content that contains a lot of JavaScript. This debugger can become pretty frustrating over time so I would advise you to turn it off.
In order to do so you need to head over to the Options and Settings under the Debug context menu. Once you are in the options window navigate to the properties for the Just-In-Time debugger under Debugging and uncheck Scripts.
WebView remarks
The WebView control does not inherit from the base Control class which the other UI elements do. Because of this you cannot take advantage of the ControlTemplate in a WebView in order to build its appearance – because it doesn’t have one.
Worth to mention is that many of the WebViews events (UIElement events) are actually not supported, such as the PointerPressed, KeyDown events and so forth.
“WebView doesn’t support many of the UIElement events like KeyDown, KeyUp, and PointerPressed. A common workaround to this problem is to use WebView.InvokeScript with eval to use the HTML event handlers, and to use window.external.notify from the HTML event handler to notify the application using WebView.ScriptNotify.”
You can read more about the WebView remarks and workarounds at the MSDN documentation of the control: https://msdn.microsoft.com/library/windows/apps/BR227702
Handling UIElement events on the WebView
While there is no real way of getting the unsupported UIElement events to trigger on the WebView control, we can still build a nice workaround.
The first thing that you need to do is to set up your WebView, and let it load its content. Place a Rectangle element under the WebView element with identical dimensions. Once the WebView.LoadContent event has been fired – we can start doing wonders.
The trick is now to take displayed content of the WebView, insert it into a WebViewBrush (https://msdn.microsoft.com/en-us/library/windows/apps/windows.ui.xaml.controls.webviewbrush.aspx) object, fill the Rectangle with the brush and then hide the WebView control.
The following method which is included in the TwitterPostDetailPage.xaml.cs file in the Social Media Dashboard Sample achieves this.
 public void SwitchWebView(bool back)
{
    if (!back)
    {
        WebViewBrush brush = new WebViewBrush();
        brush.SourceName = "WebView";
        brush.Redraw();

        WebViewSurface.Fill = brush;
        WebViewSurface.Visibility = Windows.UI.Xaml.Visibility.Visible;
        WebView.Visibility = Windows.UI.Xaml.Visibility.Collapsed;
    }
    else
    {
        WebView.Visibility = Windows.UI.Xaml.Visibility.Visible;
        WebViewSurface.Fill = new SolidColorBrush(Colors.Transparent);
    }
}
Every time that we now need to update what the Rectangle is displaying, we simply revert the process and then invoke it again.
As we are putting the display of the WebView into a Rectangle element, we get the ability to work with the view as we would have with any other element. We can hook up the UIElement events such as the PointerPressed and KeyDown events, set the opacity of the control, animate the control, apply render transforms and so forth.
It’s quite a simple but useful trick!
For more information about Windows 8 app development, go here.
For more information about Windows Phone app development, go here.


