Construct 2 Windows 8 Object – Charms Bar Part 2
In Part 1 of working with the Charms Bar via Windows 8 Object in Construct 2 we walked through adding About, Support and Privacy pages as well as giving the user the ability to share his score via the Share Charm. Although we set all of that up in Construct 2, we have yet to be able to see our results because we needed to export to Windows (could be Windows 8, Windows 8.1 or a Universal App) to be able to run our game in Visual Studio to see the results. You should have ended Part 1 by exporting your project to Windows. I personally chose to export with Universal App as the target. If you have not done so, go back to Part 1. If you have exported, go ahead and open up the .sln Visual Studio solution file.
*** Alternatively, if you do not wish to go through Part 1, you can download the end project from Part 1 here. Then, you can export to Visual Studio Universal App project following these instructions, Exporting a Construct 2 Project to Windows and continue below. ***
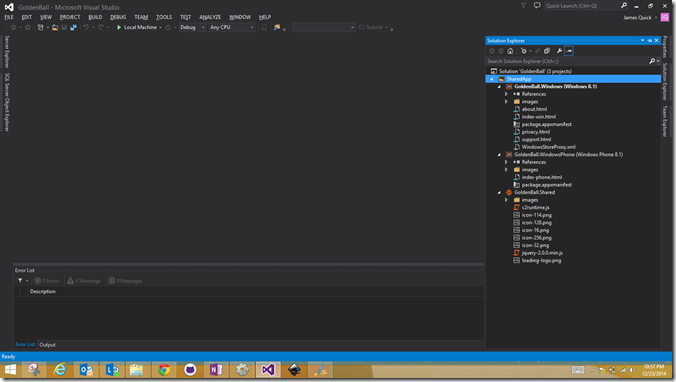
Once I open up my solution file, if I open the Solution Explorer tab, I am able to see all of my files. You should see the following.
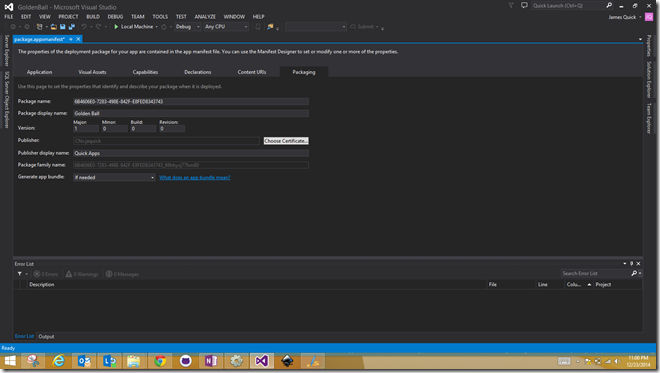
To be able to test our game, we will first need to add a certificate for Windows. If you do not know how to create a test certificate for your game, you can follow my post here, Creating a Test Certificate For Windows Apps. After you have created your test certificate, your package.appxmanifest file should be error free with all of the packaging details filled out as shown below!
Now, we could successfully run our game as a Windows 8.1 app, but first let’s take a look at the three files that we created in Construct 2 in Part 1, the About, Support, and Privacy pages. You can find each listed under the Solution Explorer under the Windows tab.
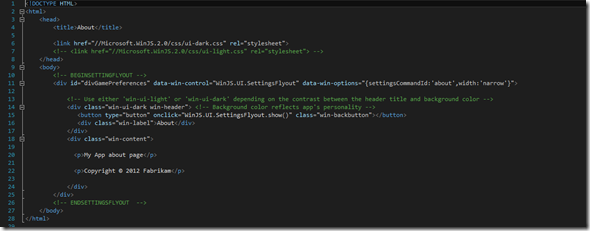
Go ahead and open all three, but let’s begin with the About page. Keep in mind here that you will be editing an HTML page. Although you will be editing minimal code, you will have to have at least some familiarity with HTML. When you open the file, you should see the following code.
We only want to change two things here. In the Paragraph tag that says “My App About Page” go ahead and replace that text with a relevant description of your app. Secondly, replace “Copyright…” with a relevant copyright statement or delete it completely. I am choosing to delete the Copyright statement so my finished About page looks like this.
After you make those small changes, you can save and close the file. Next up, open the Support page, which looks like this.
Inside of the Support page, we simply want to replace the two Paragraph tags with a relevant support info and email address. My finished version looks like this.
Save and close that file and then open up the Privacy page which be default looks like this.
I am simply going to update the two Paragraph tags with one, explaining that this game does not collect of use any of the user’s personal data. My final version looks like this.
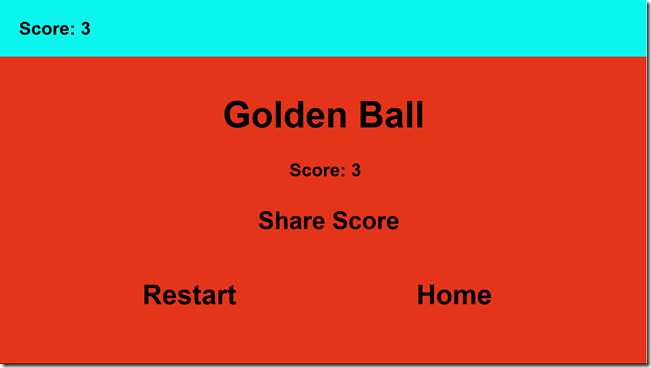
Really simple stuff, huh? Now, the real test. Let’s go ahead and run the app by clicking to “Local Machine” in the top middle of Visual Studio. I don’t need to put screenshots of the gameplay here, so let’s start with our end screen after playing the game once as shown below.
Notice I have the Share Button that we created in Construct 2. If I go ahead and click on that button the Share Charm UI should be activated as shown below. Notice that since I have the Facebook and Twitter apps installed on my machine, they pop up as options to share with. Pretty cool right?
If I then click on Twitter, you will notice that the message I intended to share pops up including my most recent score, a link to my app, and my twitter handle.
Works perfectly! Again, users who enjoy and share your game give you free marketing and it fits in perfectly and simply with the Charms Bar. Now, we need to take a look at our three pages from above. We can pull these up by activating the Charms Bar (swipe in from the right hand side of the computer).
Then, click Settings and you should see our three pages listed as shown below.
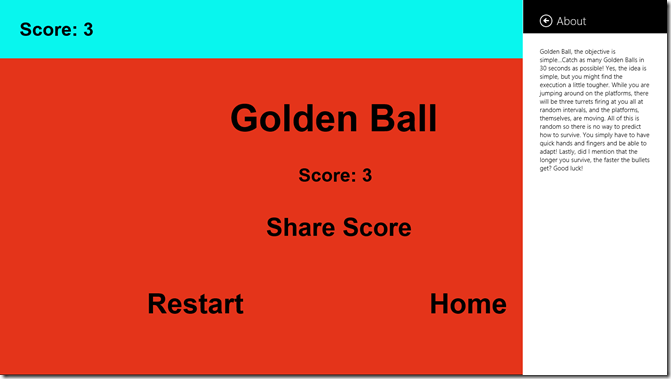
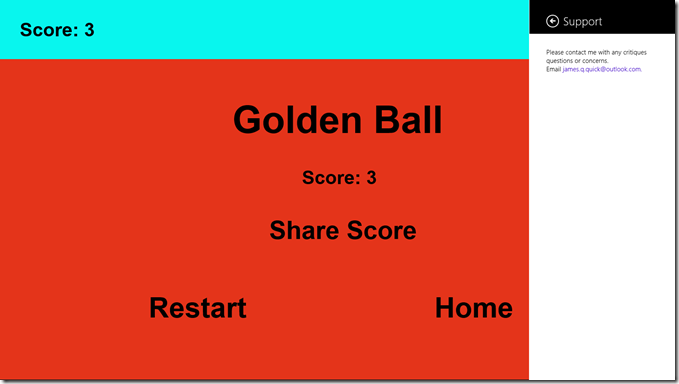
Here is what each individual page looks like.
About
Support
Privacy Policy
It even worked for me on my first try! Hopefully, it did the same for you and you have successfully been able to take advantage of the Charms Bar by using the functionality of the Windows 8 Object in Construct 2. Again, these are important features in a game that start to take your game to the next level. Remember, a successful game is more than just gameplay.
