In-Place Upgrade From Server 2008 R2 to Server 2012 R2 in Configuration Manager
Overview:
With the recent release of Configuration Manager 1602, the product group has now added support to perform an in-place upgrade from Server 2008 R2 to Server 2012 R2 on the Site Server.
It’s going to be important to get your site server and any site systems running a SUP role to Server 2012 R2 in order to service Windows 10, because it is a requirement to be running WSUS 4.0 (Server 2012 / 2012 R2) with KB3095113.
I wanted to document the process that I performed to upgrade the OS on my site server that also was hosting my active software update point role.
Note: The product group has not yet tested an in-place upgrade of remote site systems. If the Software Update Point role is running on a remote site system running Server 2008 R2, the current supported scenario will be to install a new Software Update Point on a remote site system running Server 2012 R2. Once this is done, you can remove the SUP role from the site system running Server 2008 R2.
Prerequisites:
- It’s a good idea to have valid backups in case the in-place OS upgrade has any issues
- Verify you have a valid ConfigMgr Site Backup or SQL Database backup and store it off the site server
- Backup the content library, any custom reports, SCUP database (If Used) to a remote share.
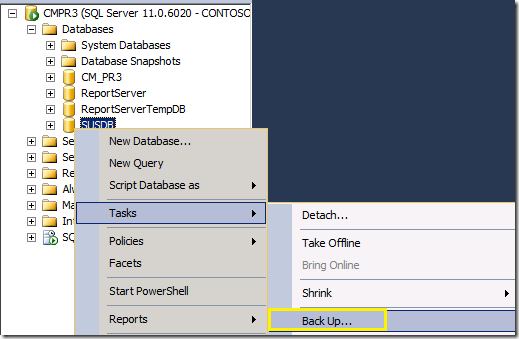
- Backup the WSUS database to a remote share
Step 1 - Uninstalling WSUS:
Verify the number of updates in WSUS through the WSUS console
We will want to ensure WSUS has the same number of updates when WSUS is restored in Server 2012 R2
Remove WSUS from Server Manager
-
- Failure to uninstall WSUS 3.2 on Server 2008 R2 prior to performing a Windows Server 2012 R2 upgrade will cause the post installation tasks for WSUS 4.0 in Windows Server 2012 R2 to fail. In this case, the only known corrective measure is to format the hard drive and reinstall Windows Server 2012 R2. https://technet.microsoft.com/en-us/library/hh852347.aspx
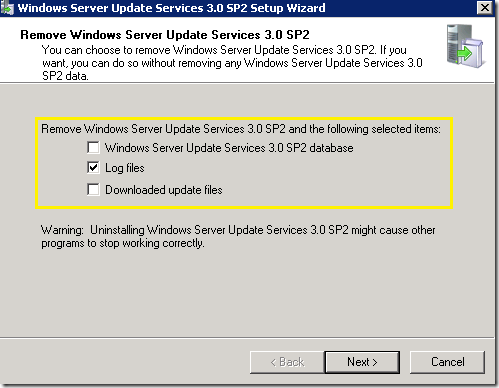
Choose to remove Log Files in the WSUS wizard
We will leave the database and content files, because we can re-use these when we configure the WSUS server in Windows Server 2012 R2
Don’t restart yet
Step 2 - Uninstalling IIS on Server 2008 R2:
During my testing, I ran into issues with IIS. When I left the IIS role installed prior to running the Server 2012 R2 setup media, the IIS and Windows Process Activation would be in a disabled state. It seems the cleanest way to perform the in-place upgrade is uninstalling IIS prior to running the Server 2012 R2 setup. All the virtual directory settings for your management point, distribution point, etc. will still be retained when re-installing IIS in Server 2012 R2.
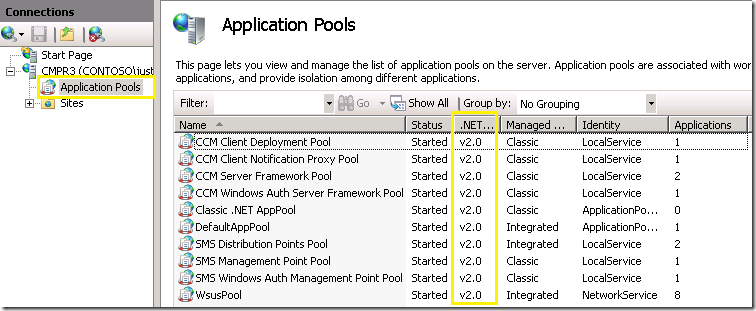
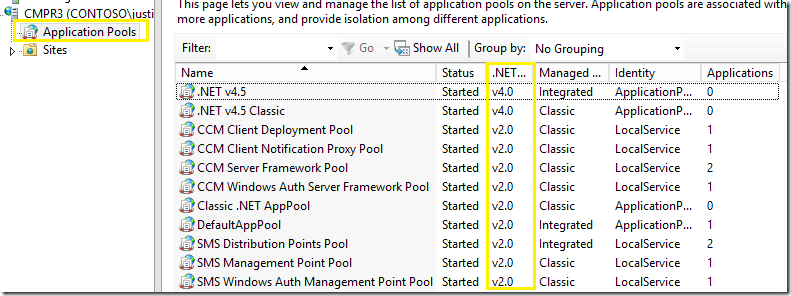
- Open IIS Manager, Review the application pools node and take a screenshot (We will review this after the in-place OS upgrade)
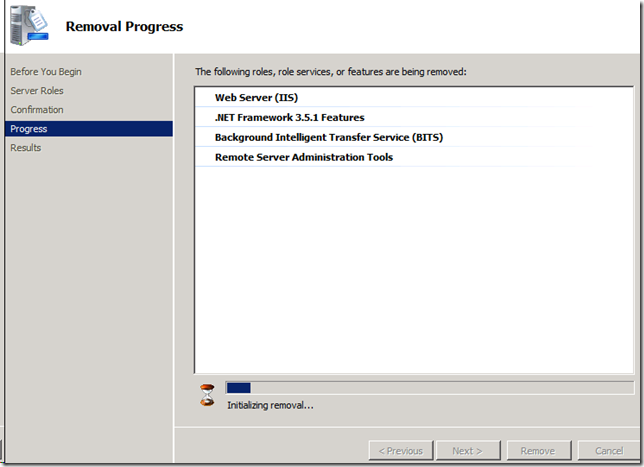
- Remove the IIS role in Server Manager
- Restart the server when prompted to complete the IIS uninstall
- After the restart is complete, you should see the uninstall finished

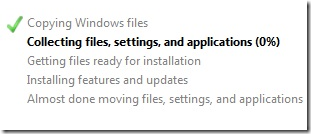
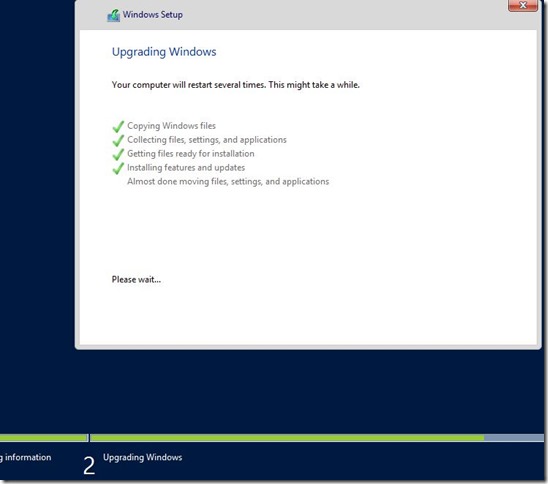
Step 3 - Start In-Place Upgrade on Server 2008 R2 to Server 2012 R2:
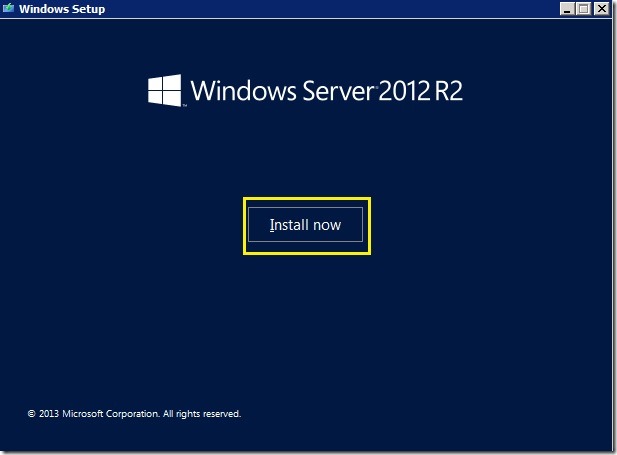
Now that we have everything backed up, uninstalled WSUS 3.0 SP2 and IIS, we are ready to start the in-place OS upgrade from Server 2008 R2 to Server 2012 R2.
Step 4 - Re-Install IIS in Server 2012 R2 Using PowerShell:
Once the OS is upgraded to Server 2012 R2, you will need to re-install IIS.
- Run PowerShell as administrator
- Pate the following command into PowerShell to install IIS: Install-WindowsFeature Web-Static-Content,Web-Default-Doc,Web-Dir-Browsing,Web-Http-Errors,Web-Http-Redirect,Web-Net-Ext,Web-ISAPI-Ext,Web-Http-Logging,Web-Log-Libraries,Web-Request-Monitor,Web-Http-Tracing,Web-Windows-Auth,Web-Filtering,Web-Stat-Compression,Web-Mgmt-Tools,Web-Mgmt-Compat,Web-Metabase,Web-WMI,BITS,RDC

- Verify IIS install returns success
- Open IIS Manager and review the Application Pools
Step 5 - Install WSUS 4.0 on Server 2012 R2:
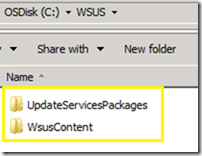
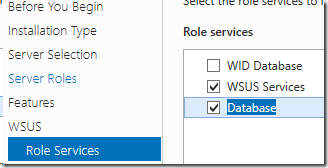
Next we need to re-install WSUS on Server 2012 R2. I used SQL database and stored the WSUS content on C:\WSUS (This will be the location the WSUS content was using)
- WSUS setup using SQL DB
- WSUS Content folder

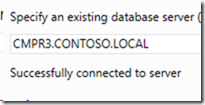
- I entered my SQL database server
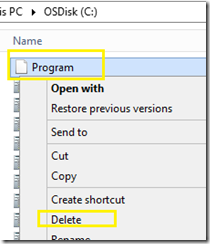
- After the WSUS service is installed, check if there if the following file exist: C:\Program if it does delete the file. This seems to be a Configuration Manager log file that doesn’t correctly save in the right location after the OS upgrade. This can cause issues with the WSUS post-install task if this file exist.
- Run the Post-Install task to finish the WSUS install
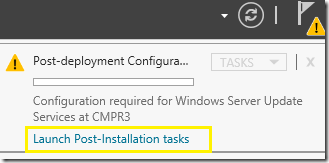
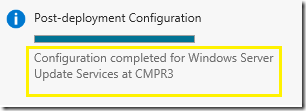
- Verify the post-install task completes
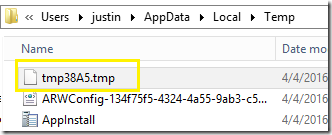
- Note: You can review the post-install task by opening the log in the %temp% folder
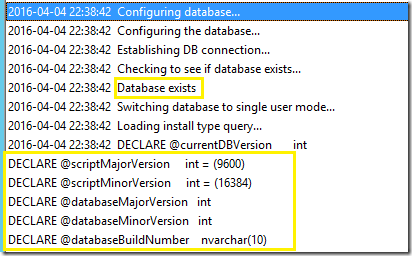
- In the post-install task, we can see it detected the SUSDB already exist and in runs a upgrade script to the database
- If you open the WSUS Console (Click Cancel if the WSUS Configuration Wizard comes up), the number of updates should match with what it was in WSUS 3.0 SP2

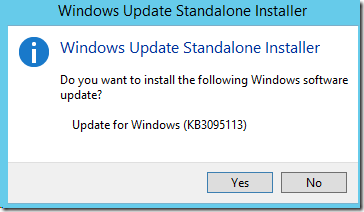
- Install the WSUS 4.0 KB3095113 to add support for Windows 10 servicing
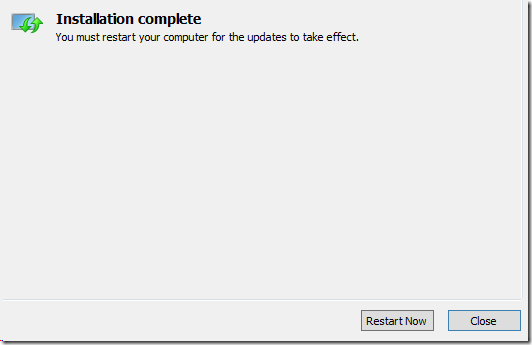
- Choose Restart Now
Step 6 - Monitor WCM / WSYNCMGR Components:
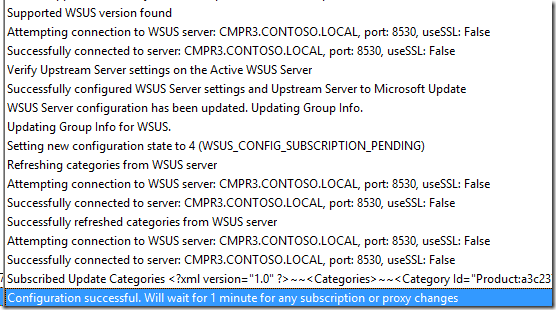
You can review the WCM.log file to see if it configured the SUP.
- You may see errors in WCM.log since it was trying to connect to WSUS prior to WSUS being re-installed

- These errors can be ignored if they were before WSUS was re-installed and the WSUS hotfix applied
- Verify WCM configured the WSUS server for the SUP
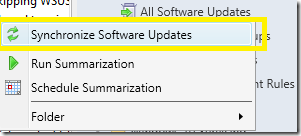
- Perform a manual software update synchronization
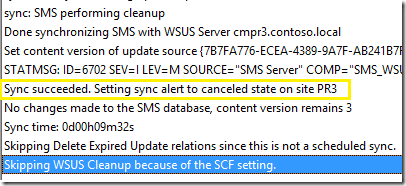
- Review wsyncmgr.log to verify the SUP synchronizes successfully
- Initiate a Software Update Scan Cycle on a client and verify scanagent.log shows a successful scan

Disclaimer: The information on this site is provided "AS IS" with no warranties, confers no rights, and is not supported by the authors or Microsoft Corporation. Use of any included script samples are subject to the terms specified in the Terms of Use
