Extracting Org Names from Text using AzureML Named Entity Recognition
Recently I have been spending some time on Speech Recognition. The Speech Recognition Grammar Specification (SRGS) file is typically used for defining speech commands that a user might utter. It works fine when the commands are known and you just want to capture it and in turn execute it. But there are scenarios where you want to capture everything that the user is speaking and then retrieve entities (e.g. nouns [ORG, PERSON, PLACE, etc.]) from the text. For example, in the financial scenario I am working on, I want to capture company names from user’s speech. Running this kind of algorithm locally can be resource consuming on the device (especially mobile). Introducing AzureML’s Named Entity Recognition.
Named Entity Recognition (NER) is a Text Analytics module in AzureML that does exactly what I want here. It will extract entities from text and tag them as people (PER), location (LOC), or organization (ORG). NER is probably the simplest module available in AzureML.
Step 1: Create Data
I just mocked up some training data in a text file and named it namedentitytrain.tsv. The contents of the file are as follows
search Microsoft.
show Microsoft.
get Microsoft.
show Microsoft details.
I am trying to train the NER module with similar text that I am expecting a user to speak. Note that this is a very simple dataset for blog purposes only. In reality, I will be adding more combinations of text utterances to train the module.
Step 2: Store Data
Next, I stored the data in Azure Blob Storage (you can store is anywhere) and made it accessible via URL.
Step 3: Start the experiment
Once I had my data in place, I opened the AzureML studio https://studio.azureml.net and created a new experiment
Step 4: Specifying the Data Input
In order to make your training data available to the experiment, you must use either an existing saved dataset or a Reader module
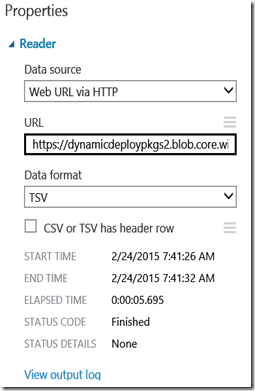
Next, I configured the Reader module to point to the TSV data file I had created earlier
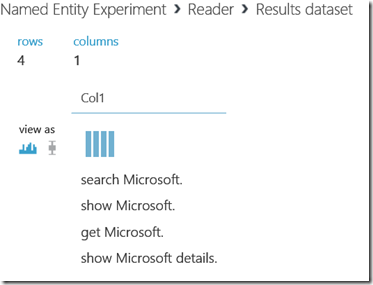
I follow the best practice of visualizing the data at every stage of the process.
Good, now the experiment can view the data. Note, you may have to run the experiment before visualizing it.
Step 5: Configure NER Module
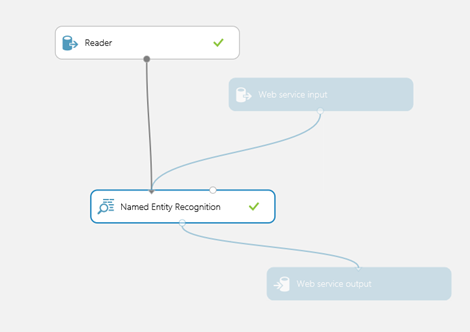
From the Text Analytics section, I simply dragged the NER module and then connected the Reader to its left input. Next, I ran the experiment and connected the Web Service Input and Output modules to the NER input and output.
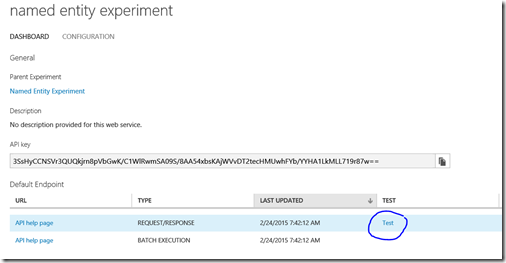
I ran the experiment again and published the web service by clicking Publish Web Service button
Step 6: Testing the Web Service
Once the Web Service is published, you are free to test it.
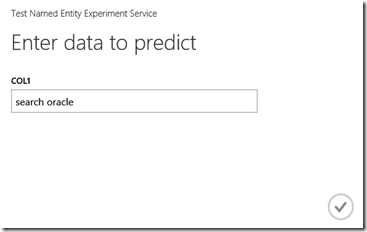
The Text link opens up a popup for you to enter web service parameters. I entered “search oracle”. Now, I expect the model to be trained and return be a tagged data.
Result:
Voila!
I can now retrieve named entities from any text. My next step is to tie this to Speech Recognition and then I should be able to retrieve entities spoken by a user during a conversation.
For more information on the NER return values, please refer to
https://msdn.microsoft.com/en-US/library/azure/dn905955
Isn’t Machine Learning Fun?
Thanks,
Tejaswi Redkar

