MIM WAL–Installation Guide Part 3
This post is a continuation of MIM WAL–Installation Guide Part 2
This is the 3rd part of the MIM WAL Installation Guide Series, and in this section we will take the newly compiled Solution
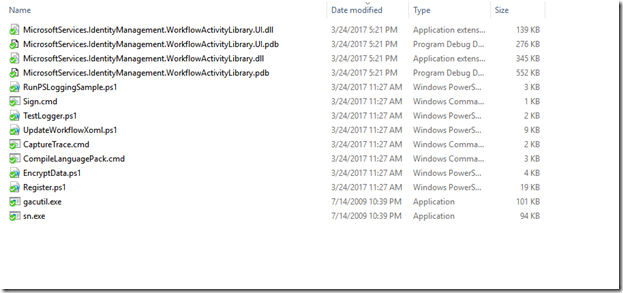
Navigate to the location where you copied the Solution Folder, If you have not yet copied the Solution Folder yet Navigate to the Location where your WAL Source Code is Located and copy the folder SolutionOutput folder to a shared drive, your desktop or any location you have easy access to.
Open the SolutionOutput
Within this folder you will see a .PS1 File (PowerShell Script) named Register.ps1
Right click on the File Register.ps1 and make a copy, Rename the copy to BackUpRegister.ps1
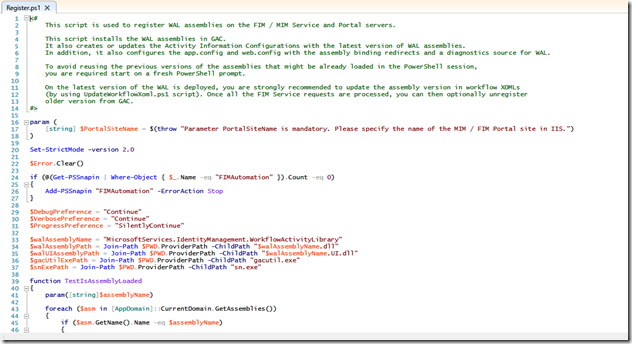
Now Right click on the original Register.ps1and click on Edit, this should open the Register.ps1 file with PowerShell ISE if for some reason the file doesn't automatically open in ISE just open up PowerShell ISE or your scripting editor of choice and then open the Register.ps1 file/
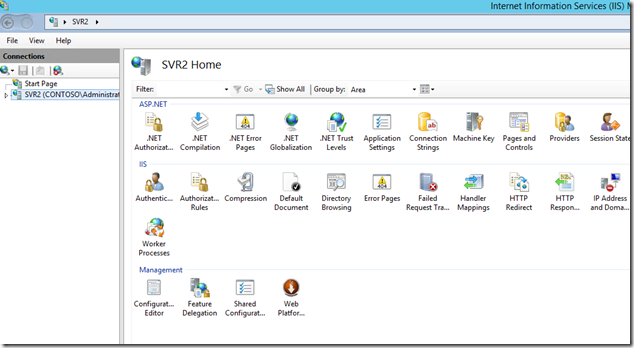
Now on a server that host the FIM / MIM Portal open IIS Manager
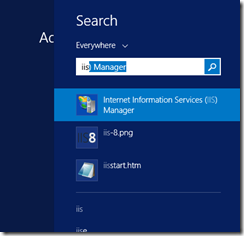
On a Server that host the FIM / MIM Portal click on the Start Menu Key and type IIS
The text window will probably auto fill in addition key words
Click on the Icon for Internet Information Services (IIS) Manager
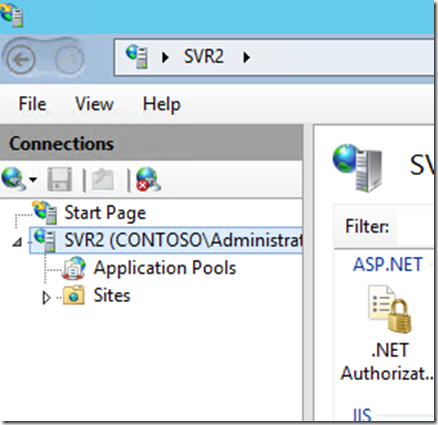
Expand the Server to the left by clicking on the Arrow
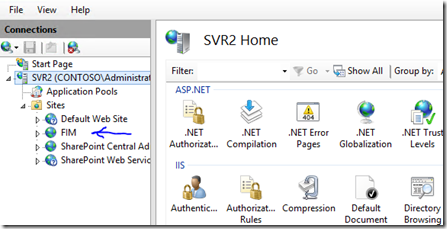
Now expand the Sites by clicking on the Arrow
Now take note of the name of the Site that the FIM/ MIM portal is hosted on , in this example it is “FIM”
Now navigate back to the Script Editor that you have the Register.ps1 file open
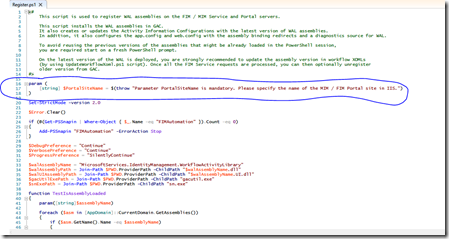
Now lets looks at the script Below I circled the section you need to focus on
replace what's circled with the following (in this example we typed in FIM in quotes but you will put the name of the site you looked up in in the IIS Manager in the previous step.
param (
[string] $PortalSiteName =$("FIM")
)
$PortalSiteName
OPTIONAL
The next part I update just to eliminate the chance that the script cant locate the proper referenced dll’s.
In a few lines below where you updated the site name look for the following
if your having a hard time finding this section
Now lets comment out each of these lines by adding a Pound sign before the line
Notice that the lines turn green
Now to make this easy lets consider where we are going to place the This SolutionOutput Folder on each of the servers that this solution needs to be installed on. (Remember This Solution Needs to be installed on every Server that Host the FIM / MIM Service or Portal. It may be easiest if you can place this folder directly on the C drive but no matter where you place it try to make it in a consistent location that the path is the same across all servers or you will need to update the path for each server you need to install on.
So if you place the SolutionOutput Folder directly on the C Drive the path would look like “C:\SolutionOutput”
Once you have your path determined update the following with the
Once you have everything updated save the Register.ps1 file and copy the SolutionOutput Folder to all server that need the Solution installed on in the path that we determined before such as the root of C
Depending on your environment You may need to run with elevated permissions,
Once your ready you can run the PowerShell Script as is but I prefer to Open up a PowerShell Console so I can review that actions.
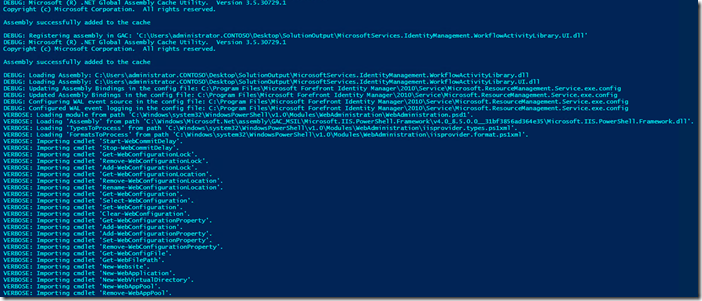
You should see a bunch of text probably blue
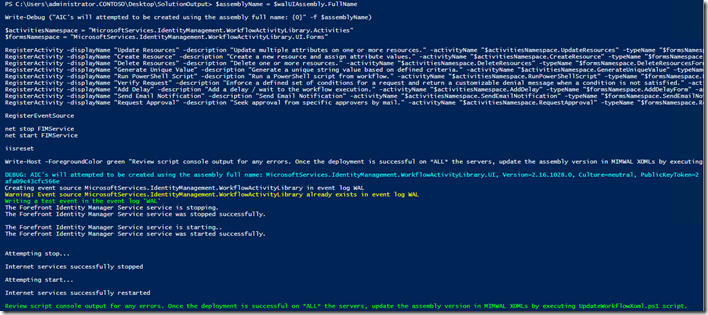
scroll down
Notice it says Internet services Successfully stopped, doing the install the portal is taken offline
Once you see the Serviced Restarted and you have the Solution Deployed on all your Servers that Host either the FIM / MIM Service or Portal open up the FIM / MIM Portal Page
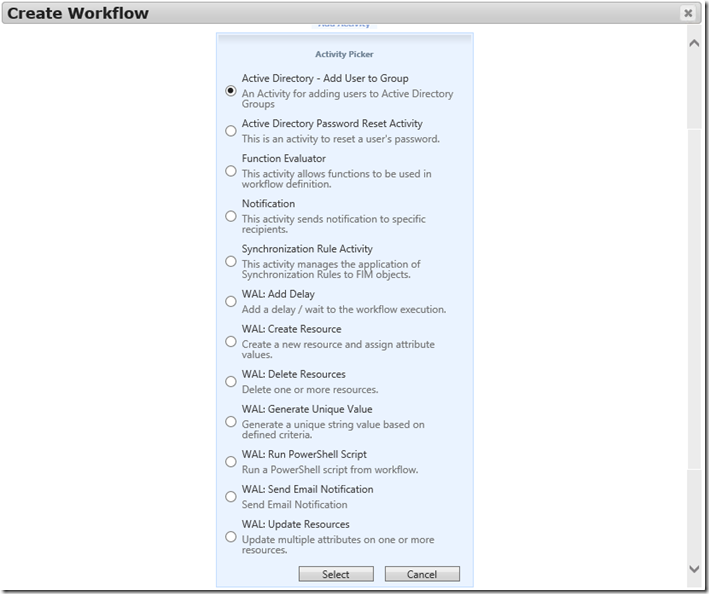
Navigate to the Workflows Section and begin creating a Workflows and select Action
Notice the extra activities, congratulations you successfully installed the WAL.


![image[41] image[41]](https://msdntnarchive.z22.web.core.windows.net/media/2017/04/image41_thumb.png)


