Back up Azure Files
This article describes how to back up Azure Files from the Azure portal.
Azure Files backup is a native cloud solution that protects your data and eliminates on-premises maintenance overheads. Azure Backup seamlessly integrates with Azure File Sync, centralizing your file share data and backups. The simple, reliable, and secure solution allows you to protect your enterprise file shares using snapshot and vaulted backups, ensuring data recovery for accidental or malicious deletion.
Azure Backup supports configuring snapshot and vaulted backups for Azure Files in your storage accounts. You can:
- Define backup schedules and retention settings.
- Store backup data in the Recovery Service vault, retaining it for up to 10 years.
Prerequisites
- Ensure the file share is present in one of the supported storage account types. Review the support matrix.
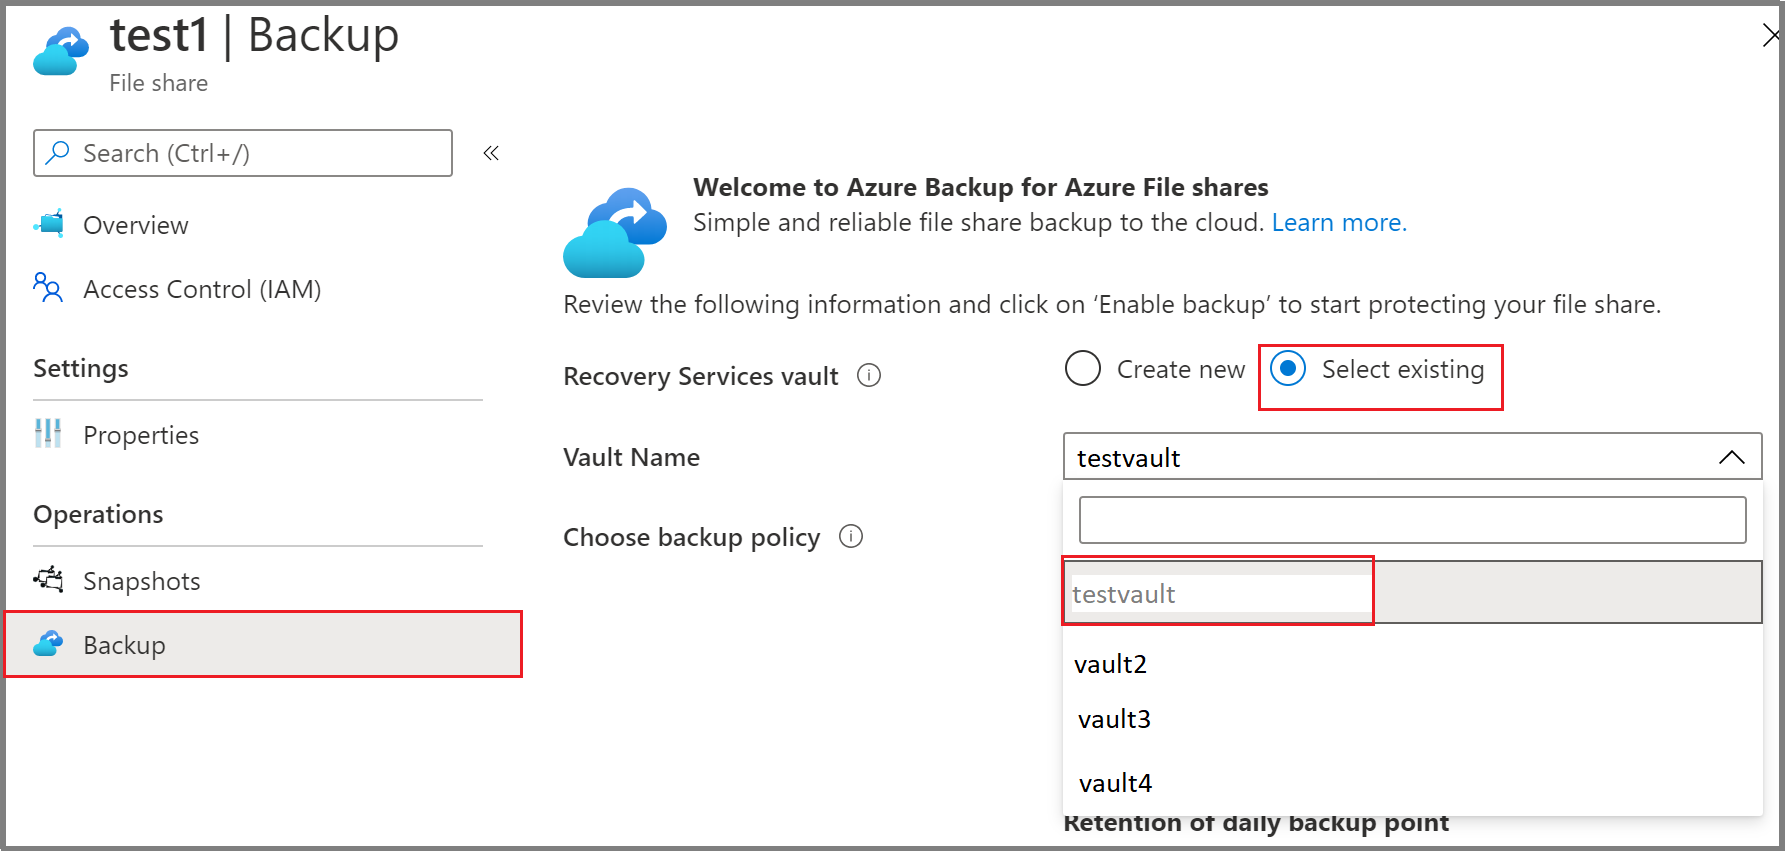
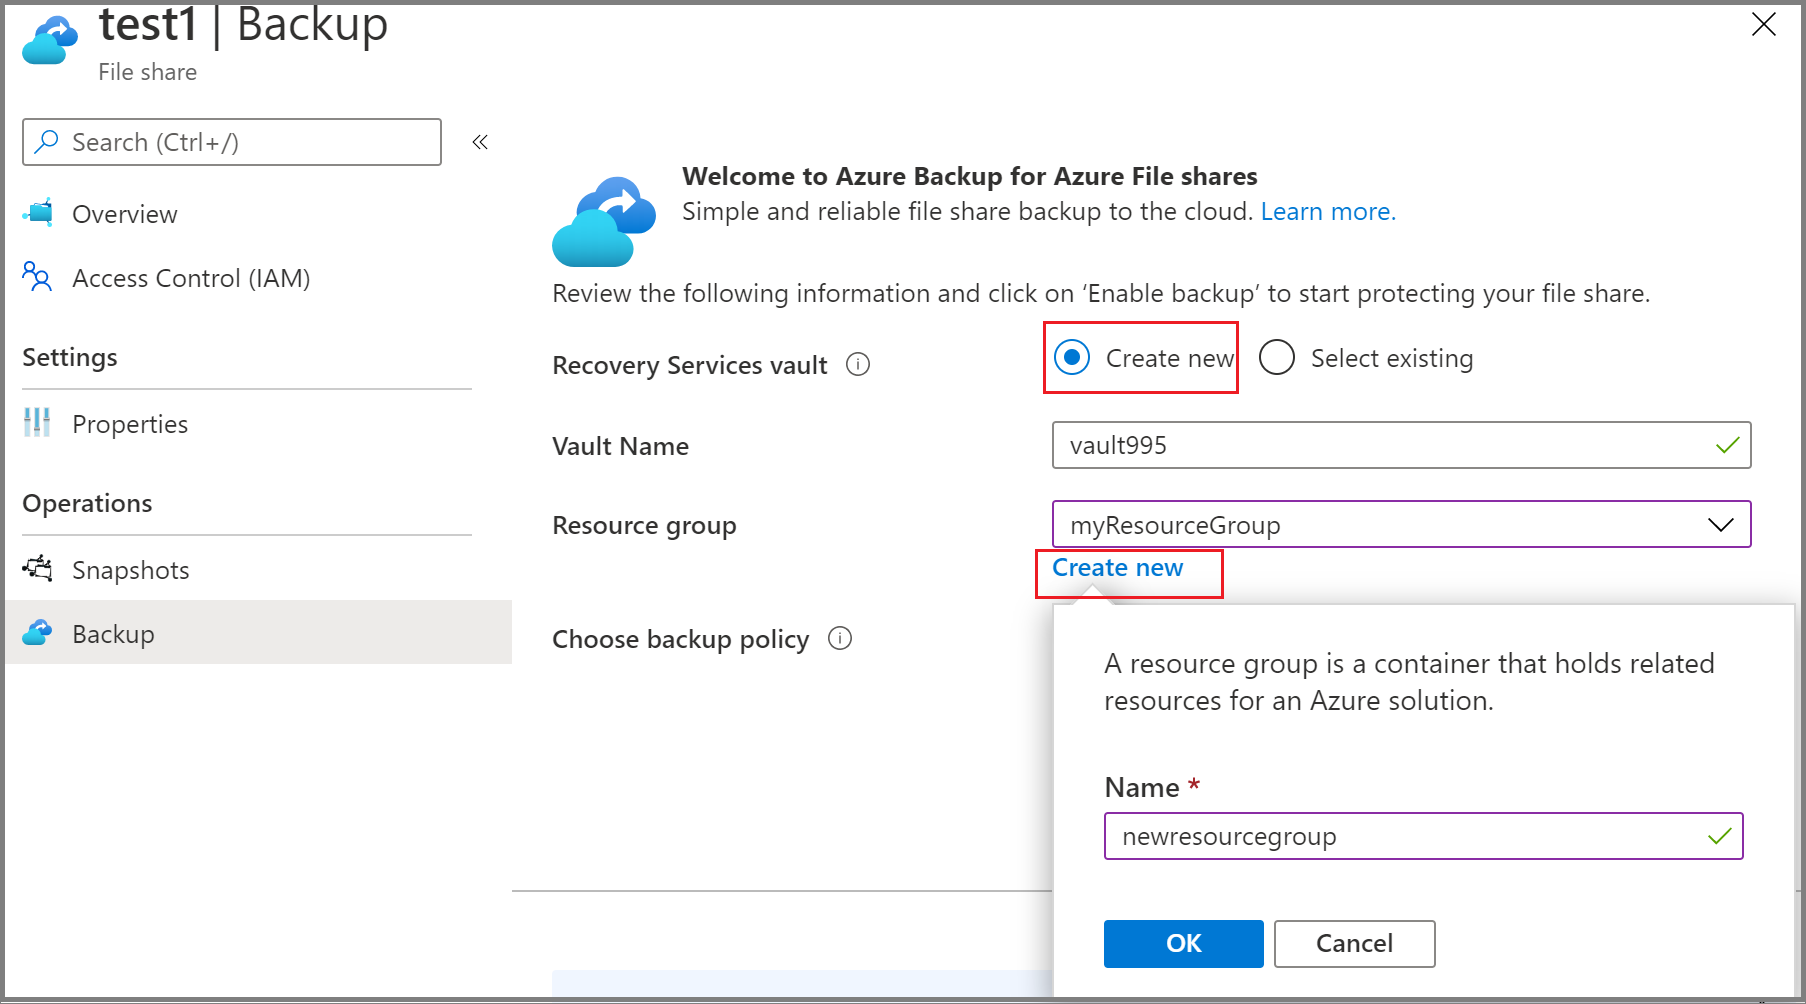
- Identify or create a Recovery Services vault in the same region and subscription as the storage account that hosts the file share.
- Create a backup policy for protection of Azure Files.
- If the storage account access has restrictions, check the firewall settings of the account to ensure the exception Allow Azure services on the trusted services list to access this storage account is in grant state. You can refer to this link for the steps to grant an exception.
- Ensure that you allow the Storage account key access in the required storage account.
Important
To perform Cross Subscription Backup (CSB) for protecting Azure Files (preview) in another subscription, ensure you register Microsoft.RecoveryServices in the subscription of the file share in addition to the given prerequisites. Learn about the supported regions for Cross Subscription Backup (preview).
Configure the backup
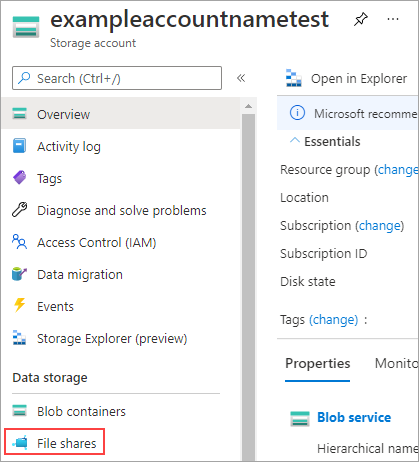
You can configure snapshot backup and vaulted backup for Azure Files from the Recovery Services vault or File share pane.
Choose an entry point
To configure backup for multiple file shares from the Recovery Services vault, follow these steps:
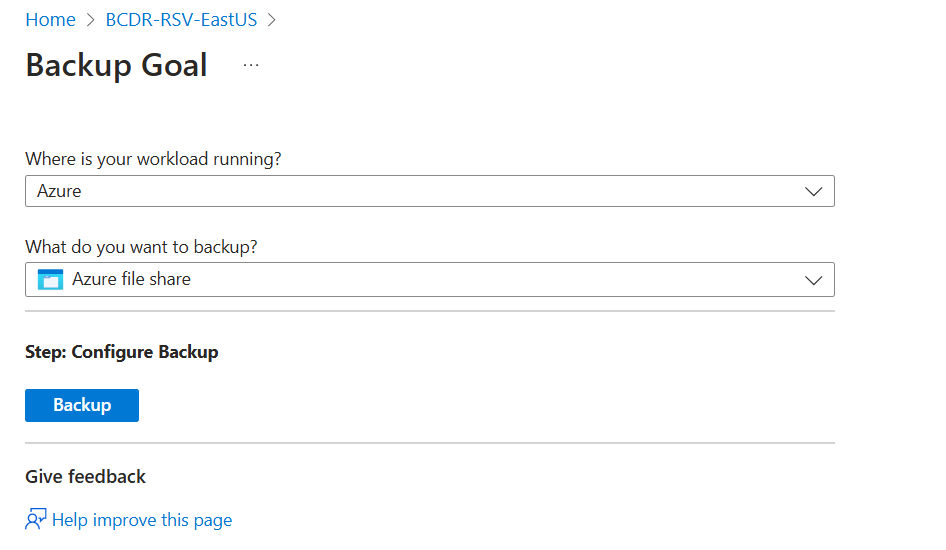
In the Azure portal, go to the Recovery Services vault and select +Backup.

On the Backup Goal pane, select Azure Files (Azure Storage) as the datasource type, select the vault that you want to protect the file shares with, and then select Continue.
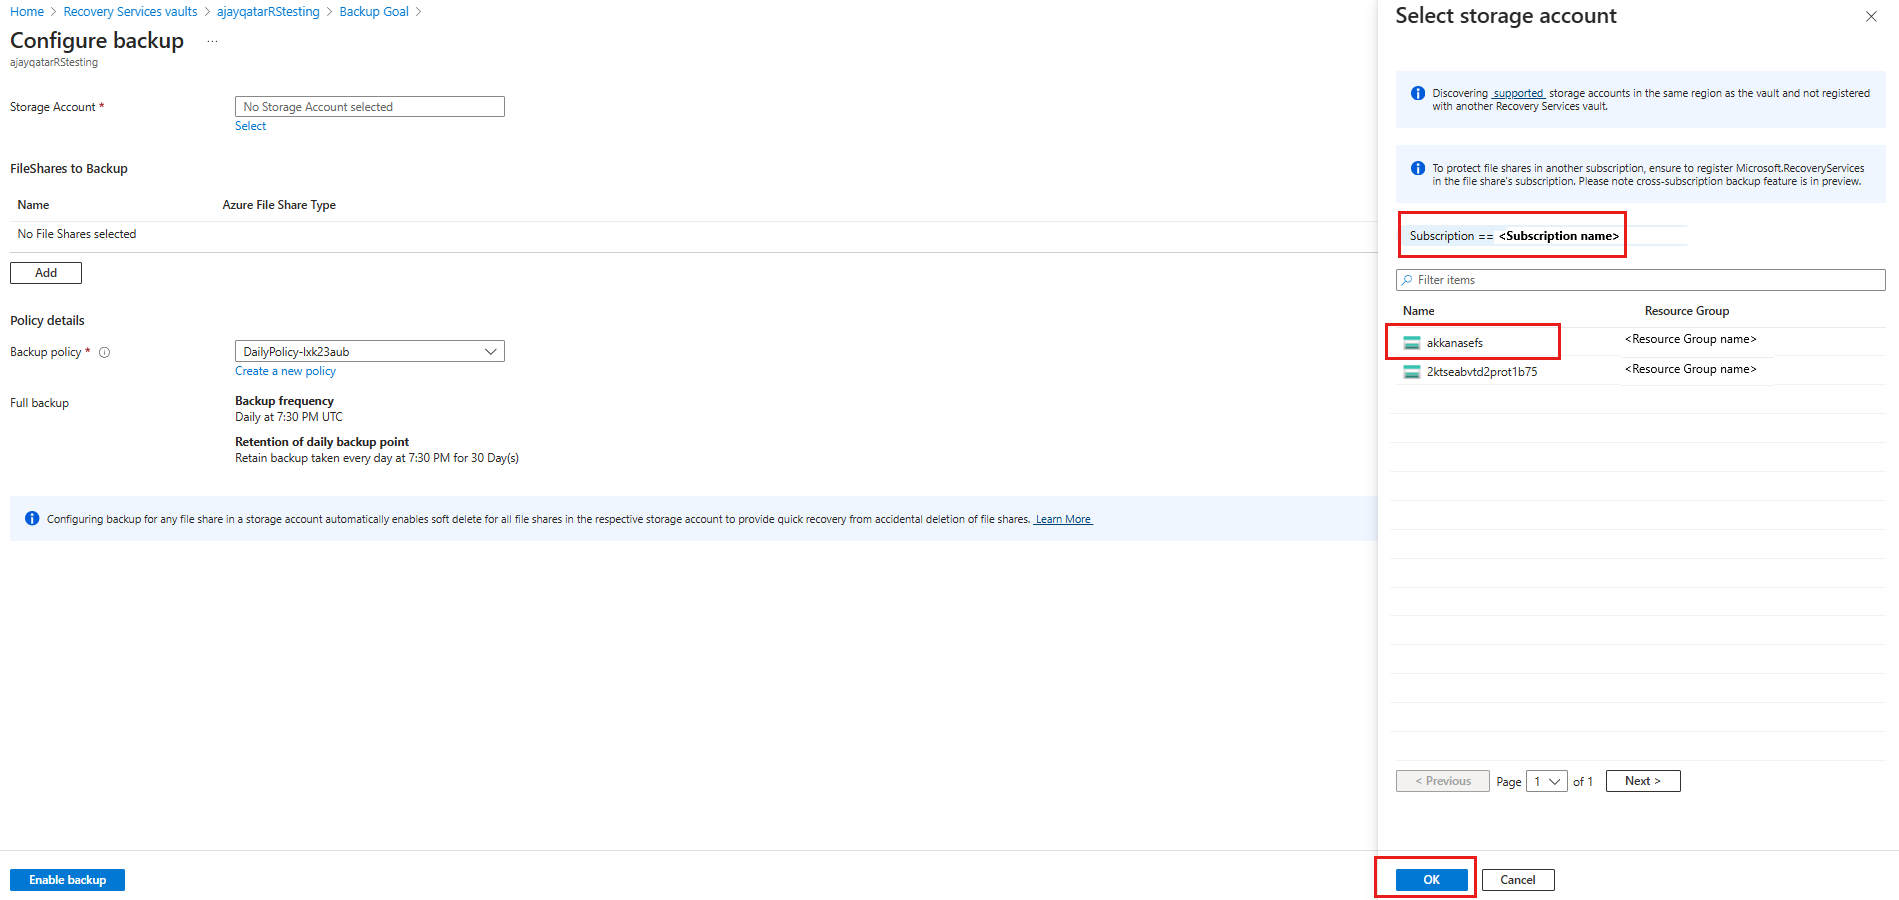
On the Configure backup pane, click Select to select the storage account that contains the file shares to be backed up.
The Select storage account pane opens, which lists a set of discovered supported storage accounts. They're either associated with this vault or present in the same region as the vault, but not yet associated with any Recovery Services vault.

On the Select storage account pane, by default it list the storage accounts from the current subscription. Select an account, and select OK.
If you want to configure the backup operation with a storage account in a different subscription (Cross Subscription Backup - preview), choose the other subscription from the Subscription filter. The storage accounts from the selected subscription appear.
Note
If a storage account is present in a different region than the vault, then the storage account doesn't appear in the discovery list.
On the Configure Backup pane, under the FileShares to Backup section, select the file shares type you want to back up, and then select Add.
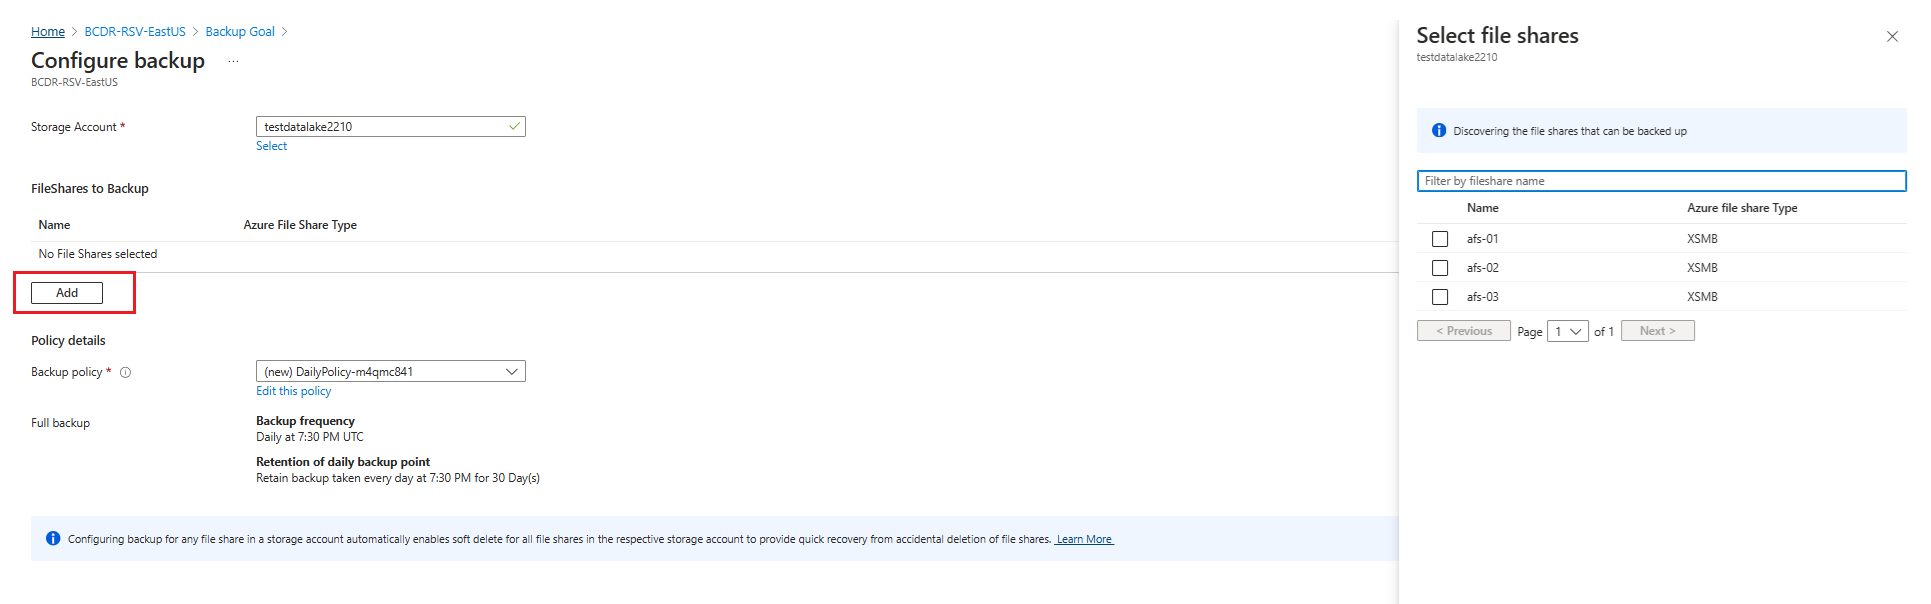
The Select file shares context pane opens. Azure searches the storage account for file shares that can be backed up. If you recently added your file shares and don't see them in the list, allow some time for the file shares to appear.
On the Select file shares pane, from the file shares list, select one or more file shares you want to back up, and then select OK.
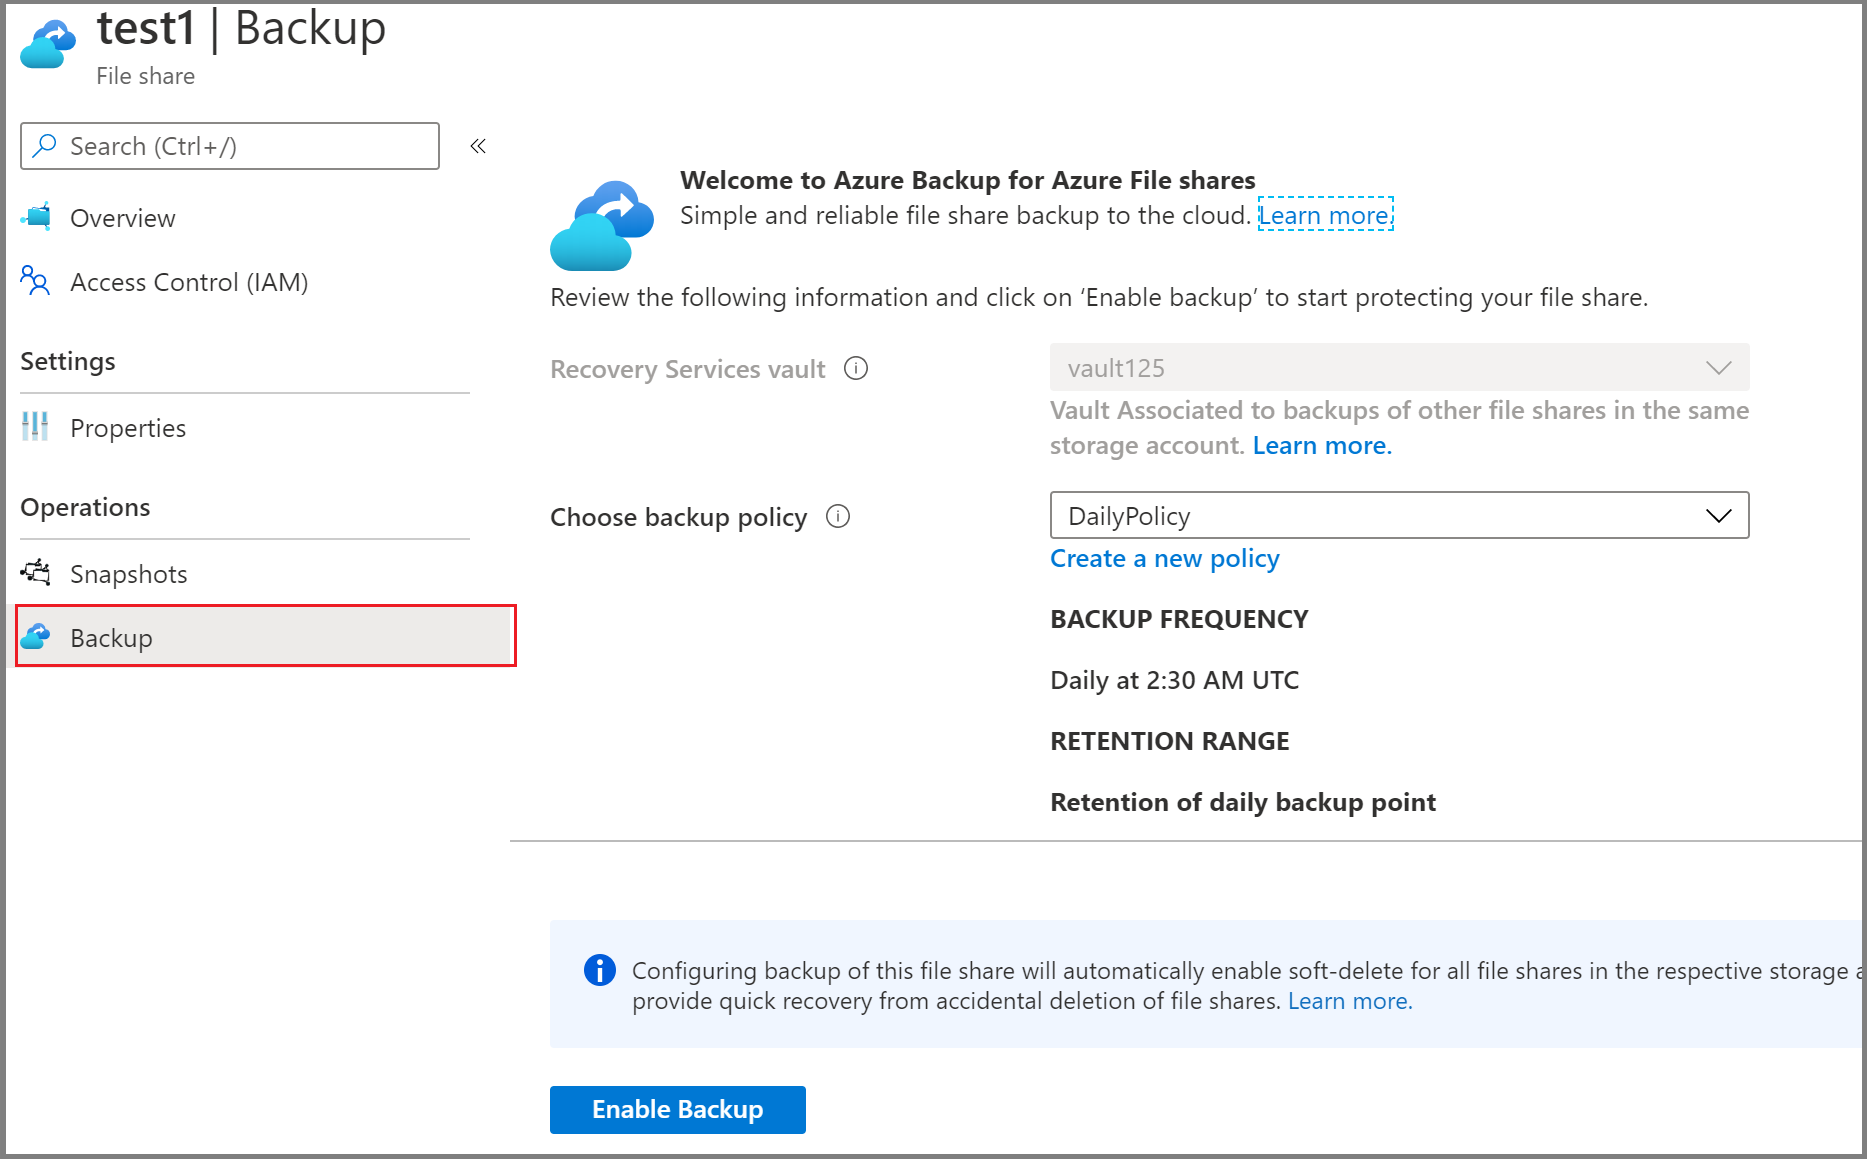
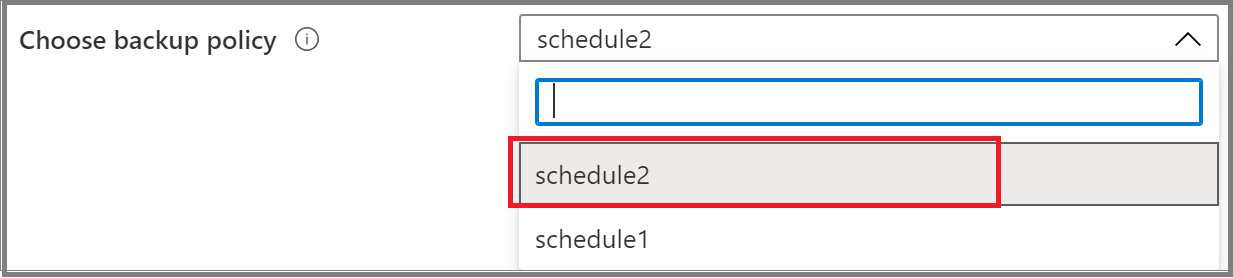
On the Configure Backup pane, under Policy Details, choose an existing backup policy from the list for your file share protection or create a new policy.
To create a new backup policy, you can configure the following attributes in the backup policy:
On the Configure Backup pane, select Create new under Policy Details.
On the Create policy pane, provide the policy name.
On Backup tier, select one of the following tiers:
- Snapshot: Enables only snapshot-based backups that are stored locally and can only provide protection during accidental deletions.
- Vault-Standard: Provides comprehensive data protection.
Configure the backup schedule as per the requirement. You can configure up to six backups per day. The snapshots are taken as per the schedule defined in the policy. For vaulted backup, the data from the last snapshot of the day is transferred to the vault.
Configure the Snapshot retention and Vault retention duration to determine the expiry date of the recovery points.
Note
The vault tier provides longer retention than the snapshot tier.
Select OK to create the backup policy.

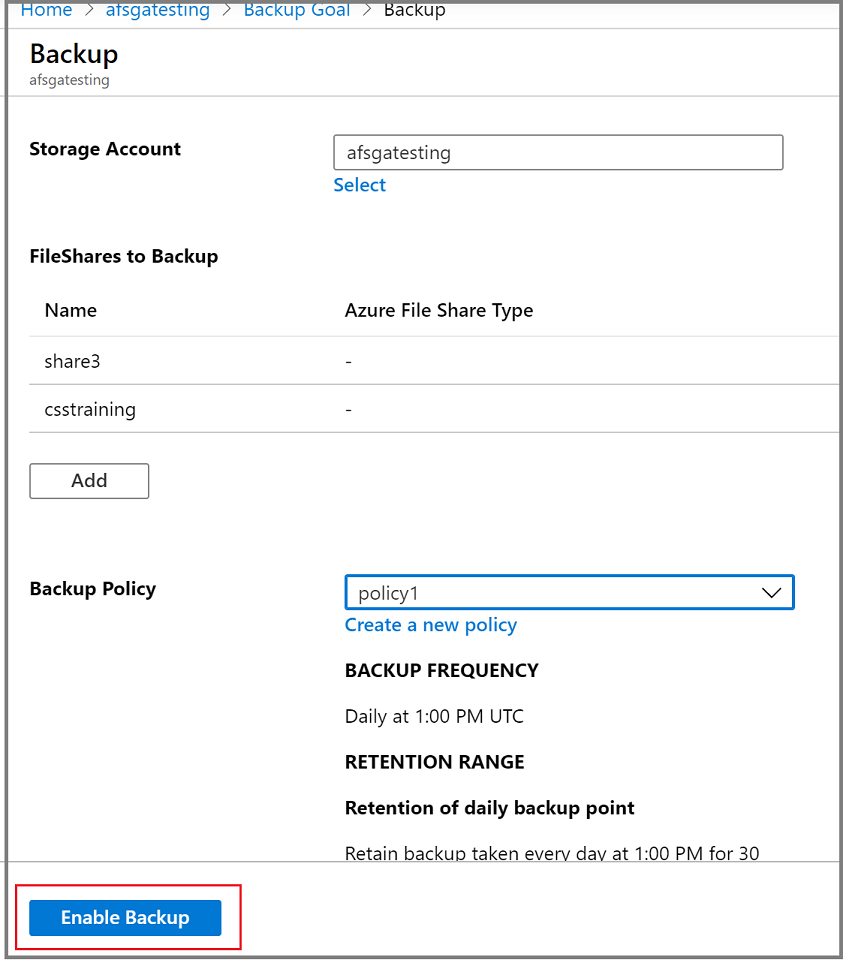
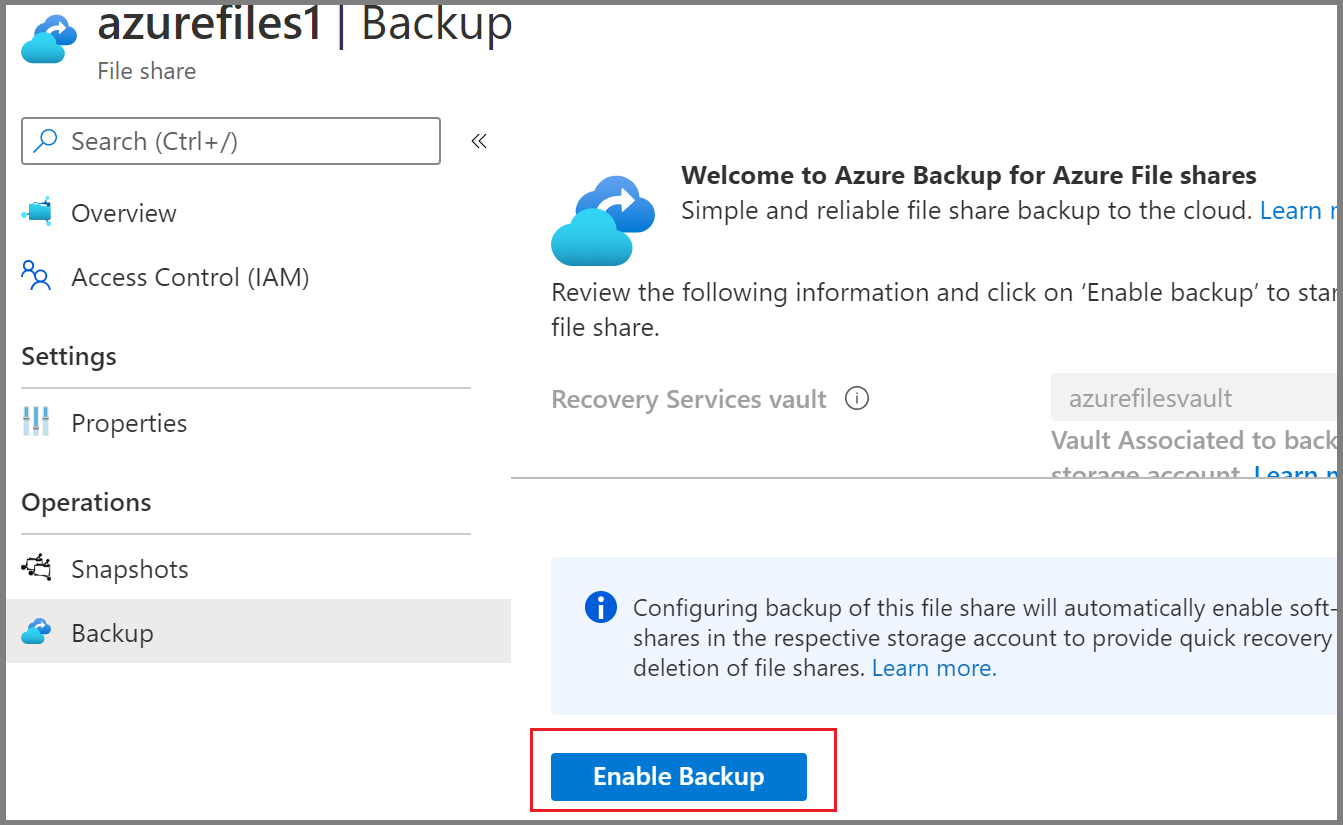
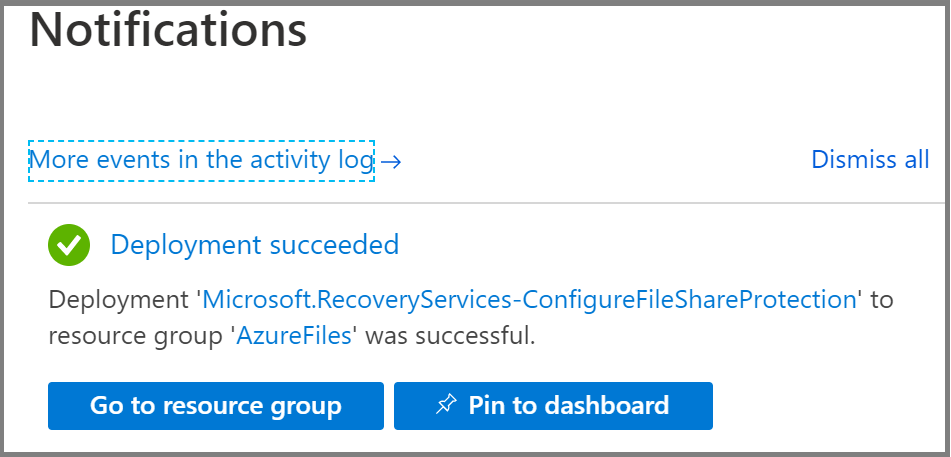
On the Configure Backup pane, select Enable Backup to start protecting the file share.


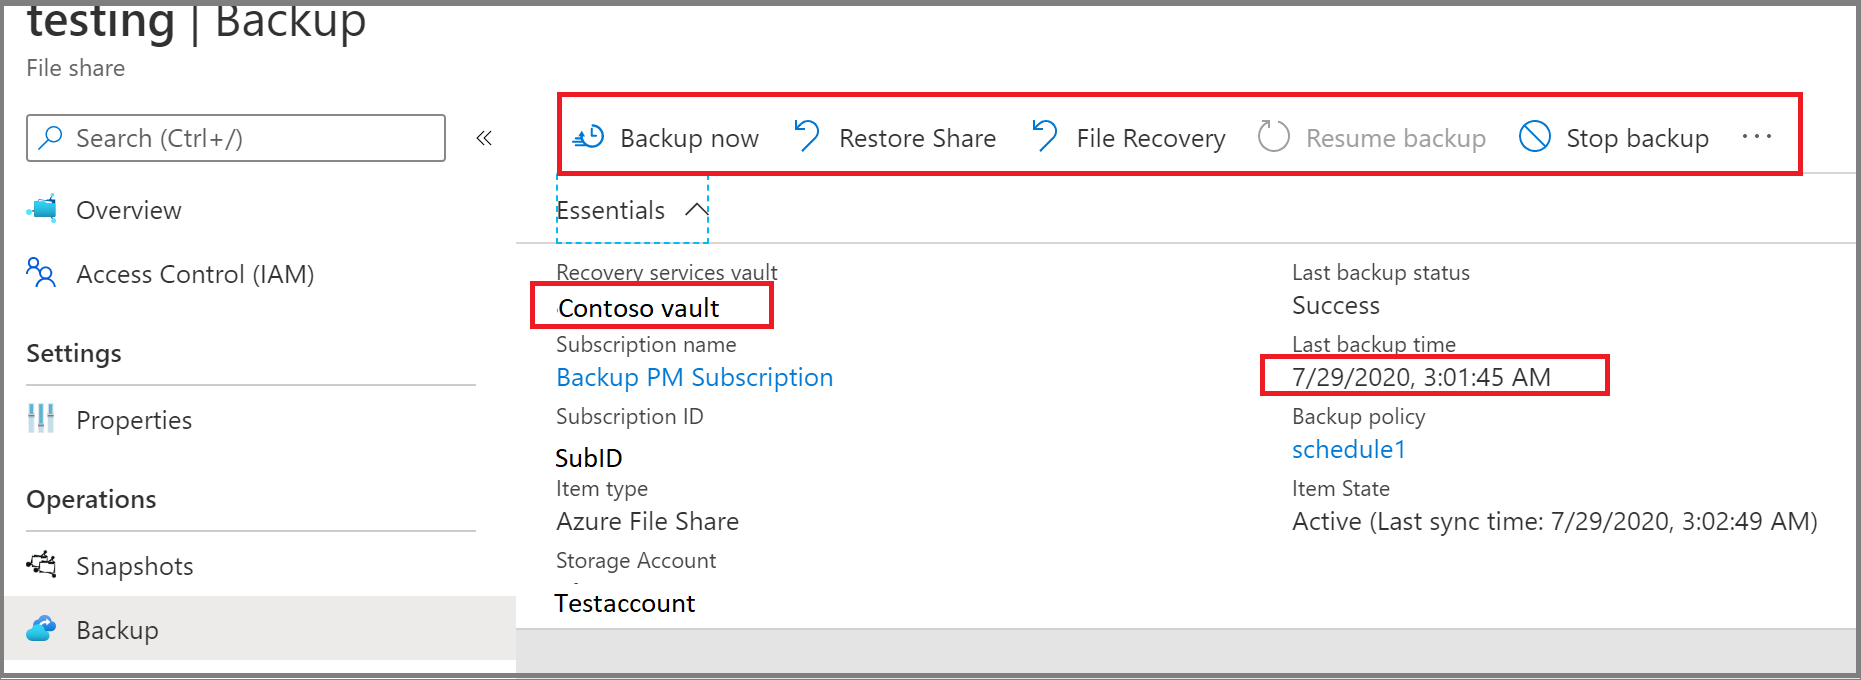
Once the backup configuration is complete, you can run an on-demand backup to create the recovery point.
Next steps
Learn how to: