Self-host your API Center portal
This article introduces the API Center portal, a website that developers and other stakeholders in your organization can use to discover the APIs in your API center. Deploy a reference implementation of the portal from the API Center portal starter repository.

About the API Center portal
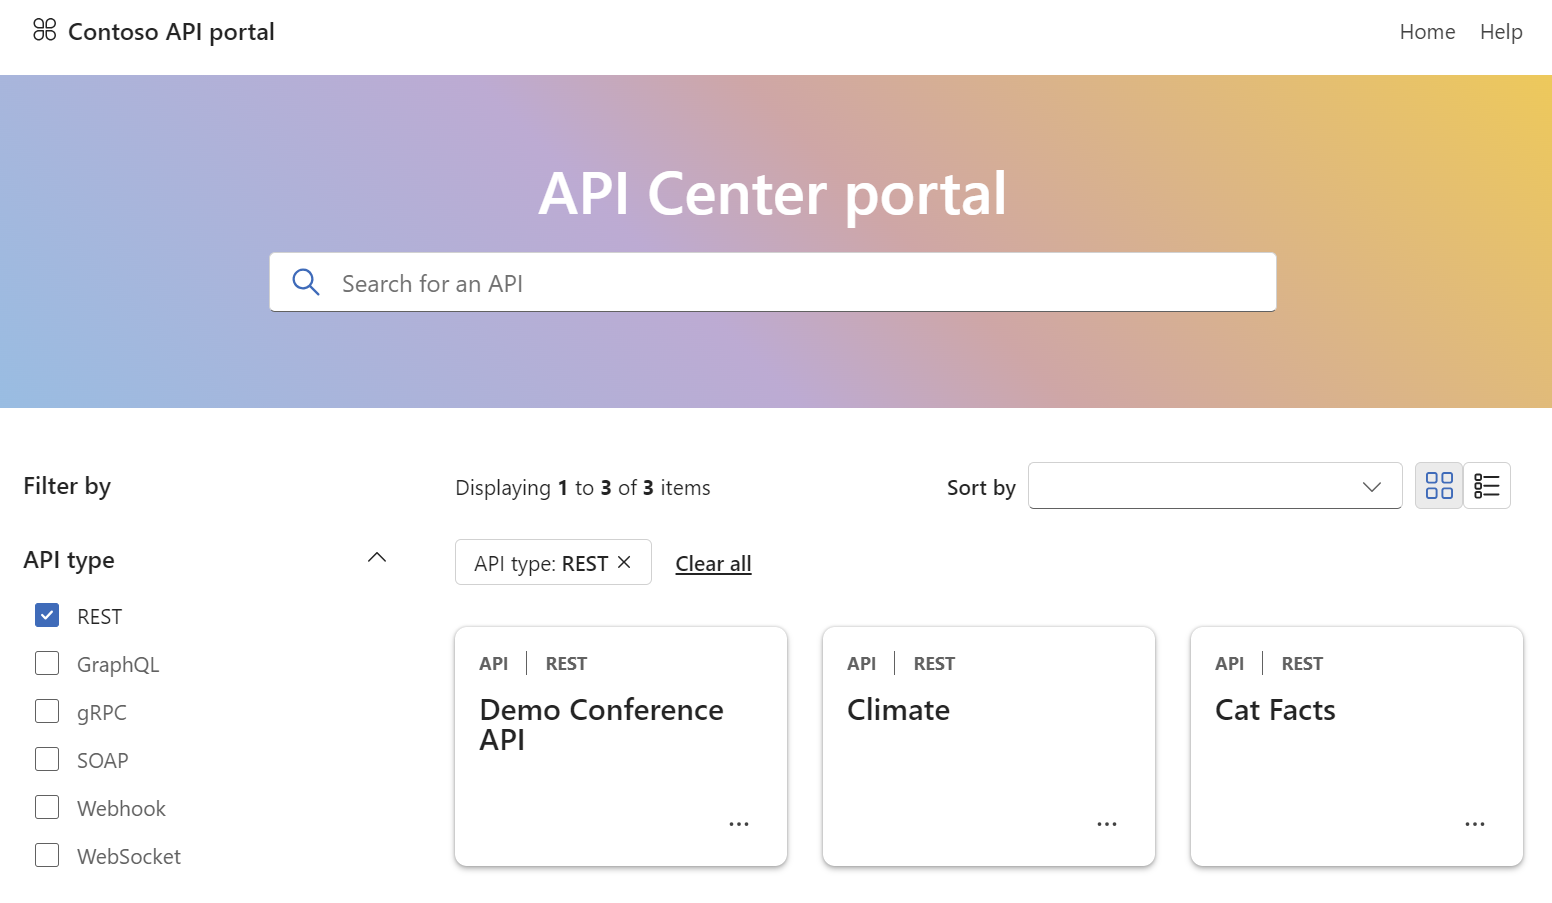
The API Center portal is a website that you can build and host to display the API inventory in your API center. The portal enables developers and other stakeholders in your organization to discover APIs and view API details.
You can build and deploy a reference implementation of the portal using code in the API Center portal starter repository. The portal uses the Azure API Center data plane API to retrieve data from your API center. User access to API information is based on Azure role-based access control.
The API Center portal reference implementation provides:
- A framework for publishing and maintaining a customer-managed API portal using GitHub Actions
- A portal platform that customers can modify or extend to meet their needs
- Flexibility to host on different infrastructures, including deployment to services such as Azure Static Web Apps.
Prerequisites
An API center in your Azure subscription. If you haven't created one already, see Quickstart: Create your API center.
Permissions to create an app registration in a Microsoft Entra tenant associated with your Azure subscription, and permissions to grant access to data in your API center.
To build and deploy the portal, you need a GitHub account and the following tools installed on your local machine:
Create Microsoft Entra app registration
First configure an app registration in your Microsoft Entra ID tenant. The app registration enables the API Center portal to access data from your API center on behalf of a signed-in user.
In the Azure portal, navigate to Microsoft Entra ID > App registrations.
Select + New registration.
On the Register an application page, set the values as follows:
Set Name to a meaningful name such as api-center-portal
Under Supported account types, select Accounts in this organizational directory (Single tenant).
In Redirect URI, select Single-page application (SPA) and set the URI.
- For local testing, set the URI to
https://localhost:5173. - For production, set the URI to the URI of your API Center portal deployment.
- For local testing, set the URI to
Select Register.
On the Overview page, copy the Application (client) ID and the Directory (tenant) ID. You set these values when you build the portal.
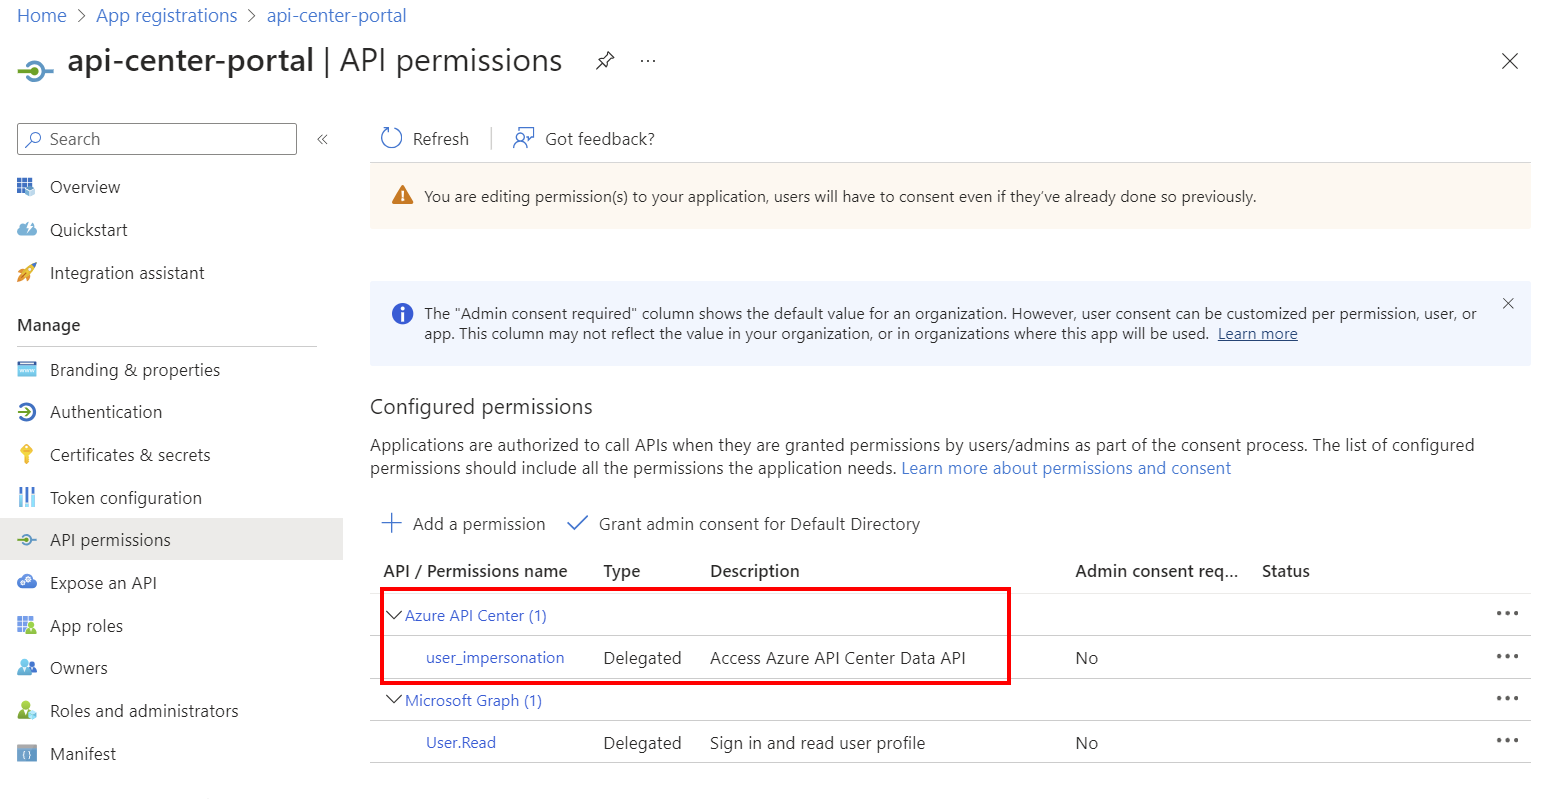
On the API permissions page, select + Add a permission.
- On the Request API permissions page, select the APIs my organization uses tab. Search for and select Azure API Center. You can also search for and select application ID
c3ca1a77-7a87-4dba-b8f8-eea115ae4573. - On the Request permissions page, select user_impersonation.
- Select Add permissions.
The Azure API Center permissions appear under Configured permissions.
- On the Request API permissions page, select the APIs my organization uses tab. Search for and select Azure API Center. You can also search for and select application ID
Configure local environment
Follow these steps to build and test the API Center portal locally.
Clone the API Center portal starter repository to your local machine.
git clone https://github.com/Azure/APICenter-Portal-Starter.gitChange to the
APICenter-Portal-Starterdirectory.cd APICenter-Portal-StarterCheck out the main branch.
git checkout mainTo configure the service, copy or rename the
public/config.examplefile topublic/config.json.Then edit the
public/config.jsonfile to point to your service. Update the values in the file as follows:- Replace
<service name>and<region>with the name of your API center and the region where it's deployed - Replace
<client ID>and<tenant ID>with the Application (client) ID and Directory (tenant) ID of the app registration you created in the previous section. - Update the value of
titleto a name that you want to appear on the portal.
{ "dataApiHostName": "<service name>.data.<region>.azure-apicenter.ms/workspaces/default", "title": "API portal", "authentication": { "clientId": "<client ID>", "tenantId": "<tenant ID>", "scopes": ["https://azure-apicenter.net/user_impersonation"], "authority": "https://login.microsoftonline.com/" } }- Replace
Install required packages.
npm installStart the development server. The following command will start the portal in development mode running locally:
npm startBrowse to the portal at
https://localhost:5173.
Deploy to Azure
For steps to deploy the portal to Azure Static Web Apps, see the API Center portal starter repository.
Enable sign-in to portal by Microsoft Entra users and groups
Users must sign in to see the APIs in your API center. To enable sign-in, assign the Azure API Center Data Reader role to users or groups in your organization, scoped to your API center.
Important
By default, you and other administrators of the API center don't have access to APIs in the API Center portal. Be sure to assign the Azure API Center Data Reader role to yourself and other administrators.
For detailed prerequisites and steps to assign a role to users and groups, see Assign Azure roles using the Azure portal. Brief steps follow:
- In the Azure portal, navigate to your API center.
- In the left menu, select Access control (IAM) > + Add role assignment.
- In the Add role assignment pane, set the values as follows:
- On the Role page, search for and select Azure API Center Data Reader. Select Next.
- On the Members page, In Assign access to, select User, group, or service principal > + Select members.
- On the Select members page, search for and select the users or groups to assign the role to. Click Select and then Next.
- Review the role assignment, and select Review + assign.
Note
To streamline access configuration for new users, we recommend that you assign the role to a Microsoft Entra group and configure a dynamic group membership rule. To learn more, see Create or update a dynamic group in Microsoft Entra ID.
After you configure access to the portal, configured users can sign in to the portal and view the APIs in your API center.
Note
The first user to sign in to the portal is prompted to consent to the permissions requested by the API Center portal app registration. Thereafter, other configured users aren't prompted to consent.
Troubleshooting
Error: "You are not authorized to access this portal"
Under certain conditions, a user might encounter the following error message after signing into the API Center portal with a configured user account:
You are not authorized to access this portal. Please contact your portal administrator for assistance.
`
First, confirm that the user is assigned the Azure API Center Data Reader role in your API center.
If the user is assigned the role, there might be a problem with the registration of the Microsoft.ApiCenter resource provider in your subscription, and you might need to re-register the resource provider. To do this, run the following command in the Azure CLI:
az provider register --namespace Microsoft.ApiCenter
Unable to sign in to portal
If users who have been assigned the Azure API Center Data Reader role can't complete the sign-in flow after selecting Sign in in the API Center portal, there might be a problem with the configuration of the Microsoft Entra ID identity provider.
In the Microsoft Entra app registration, review and, if needed, update the Redirect URI settings to ensure that the URI matches the URI of the API Center portal deployment.
Unable to select Azure API Center permissions in Microsoft Entra app registration
If you're unable to request API permissions to Azure API Center in your Microsoft Entra app registration for the API Center portal, check that you are searching for Azure API Center (or application ID c3ca1a77-7a87-4dba-b8f8-eea115ae4573).
If the app isn't present, there might be a problem with the registration of the Microsoft.ApiCenter resource provider in your subscription. You might need to re-register the resource provider. To do this, run the following command in the Azure CLI:
az provider register --namespace Microsoft.ApiCenter
After re-registering the resource provider, try again to request API permissions.
Support policy
Provide feedback, request features, and get support for the API Center portal reference implementation in the API Center portal starter repository.
