Create an Azure AI services multi-service resource
To use Content Understanding, you need an Azure AI Services resource. This multi-service resource enables access to multiple Azure AI services with a single set of credentials.
Prerequisites
To get started, you need an active Azure account. If you don't have one, you can create a free subscription.
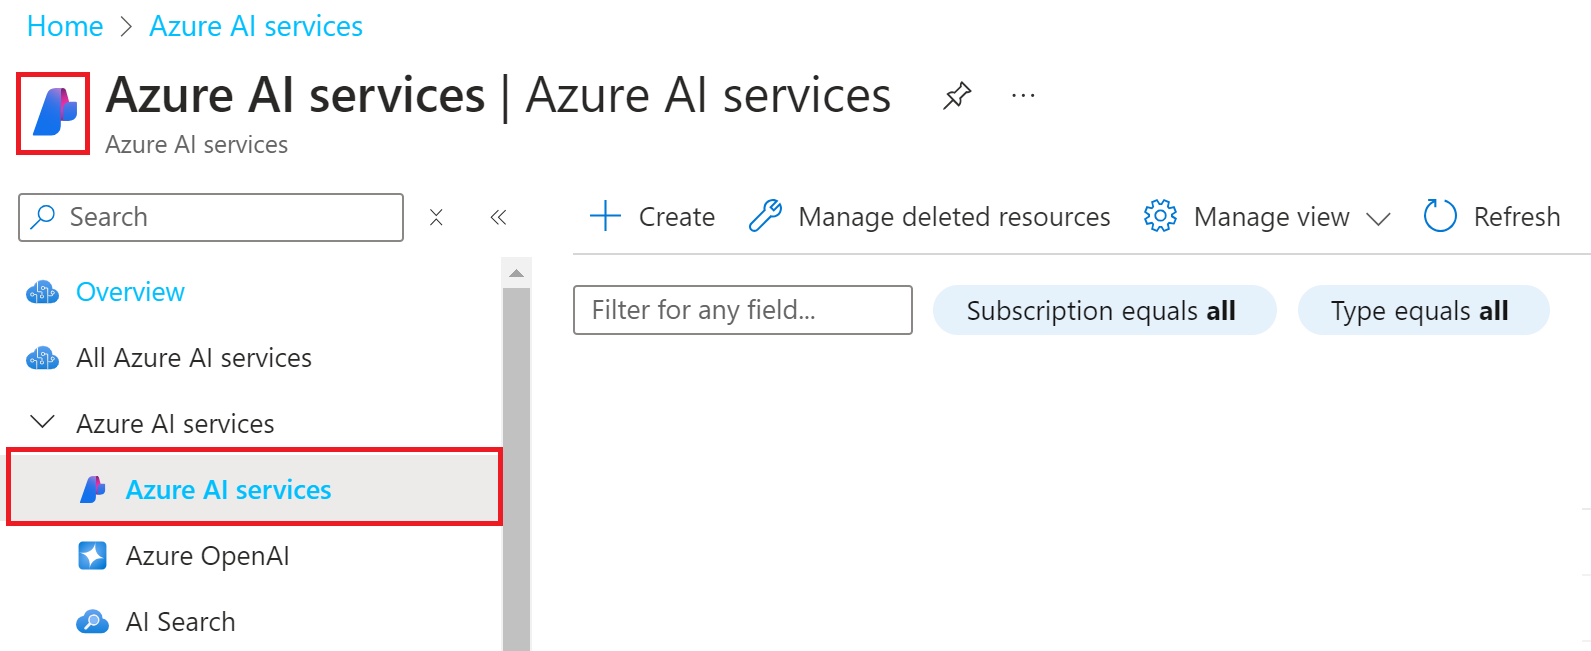
Once you have your Azure subscription, create an Azure AI services multi-services resource in the Azure portal. The Azure AI services multi-service resource is listed under Azure AI services → Azure AI services in the portal:

Important
Azure provides more than one resource types named Azure AI services. Be sure to select the one that is listed under Azure AI services → Azure AI services with the logo as shown previously.
Select the Create button.
Create a resource
To use the Azure AI Content Understanding service, you must create your Azure AI Service resource in a supported region. The Content Understanding features are available in the following regions:
| Geography | Region | Region Identifier |
|---|---|---|
| US | West US | westus |
| Europe | Sweden Central | swedencentral |
| Australia | Australia East | australiaeast |
Complete the Azure AI Services fields with the following values:
- Subscription. Select one of your available Azure subscriptions.
- Resource group. The Azure resource group that contains your resource. You can create a new group or add it to an existing group.
- Name. Enter a name for your resource. We recommend using a descriptive name, for example YourNameAIServicesResource.
Configure other settings for your resource as needed, read, and accept the conditions (as applicable), and then select Review + create.
Azure will run a quick validation check, after a few seconds you should see a green banner that says Validation Passed.
Once the validation banner appears, select the Create button from the bottom-left corner.
After you select create, you'll be redirected to a new page that says Deployment in progress. After a few seconds, you'll see a message that says, Your deployment is complete.