Adding HTTPS Support to Individual Windows Containers Using Self Issued Certificates
There are two types of Windows Containers you can work with Windows Server Containers and Windows Hyper-V Containers. While a Windows Server container shares a kernel with the container host and all containers running on the host, the kernel of the container host is not shared with the Hyper-V Containers, which results in expanded benefit of isolation between container host and containers. You can create Windows Containers using docker run, dockerfile and build, and docker compose. You can find more detail at Container Images on Windows Server, and Multi-Container Applications, a sample Music Store application with Windows containers. In this post I will focus on adding HTTPS support to Windows Containers using self-issued certificates for testing purpose. Note that I used a VM running Windows Server 2016 with Containers on Azure.
Note: Docker Compose is supported on Windows Server 2016. You can download the tool at https://docs.docker.com/docker-for-windows/ or https://github.com/docker/compose/releases and rename it to docker-compose.exe. Also, you can install it by using Invoke-WebRequest. Detail at https://blog.docker.com/2016/09/build-your-first-docker-windows-server-container/
Option 1 – use docker run command
docker run -ti --entrypoint cmd -p 80:80 -p 443:443 -h myweb -v c:\demo\appfiles:c:\temp microsoft/aspnet
Note that a few options are used in the command line. “-it” option is for an interactive session, “-p” for ports mapping, and “-v” for volume mapping between the local folder on the vm named demo to the container folder named temp. Using ipconfig to find the local ip address of the container, you can access the app hosted at “Default Web Site” via http, but not https. The reason is that no security certificate has been assigned to the web site.
Use the following PowerShell script to create a new certificate, add it to the trusted root of the certificate store on the container, bind it to port 443. Note that the New-SelfSignedCertificate cmdlet creates a self-signed certificate for testing purposes. It is a successor to the makecert tool. You can find more info on the tool here.
import-module webadministration
#Get-Module -ListAvailable
cd cert:
$cert = New-SelfSignedCertificate -DnsName myweb -Friendlyname MyCert -CertStoreLocation Cert:\LocalMachine\My
$rootStore = New-Object System.Security.Cryptography.X509Certificates.X509Store -ArgumentList Root, LocalMachine
$rootStore.Open("MaxAllowed")
$rootStore.Add($cert)
$rootStore.Close()
cd iis:
new-item -path IIS:\SslBindings\0.0.0.0!443 -value $cert
New-WebBinding -Name "Default Web Site" -IP "*" -Port 443 -Protocol https
iisreset
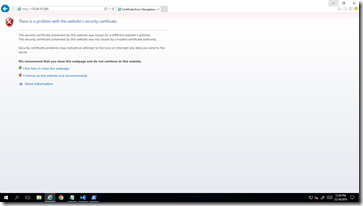
Refresh the https web page. It should be assessable now. Note that you may get a security certificate warning even though the certificate has been added to the trusted root. (The same script worked on on my local IIS server and I didn’t get certificate warning or error.) The reason is that it is a self-issued certificate, which, unlike commercially available certificates, is not countersigned by a trusted authority.
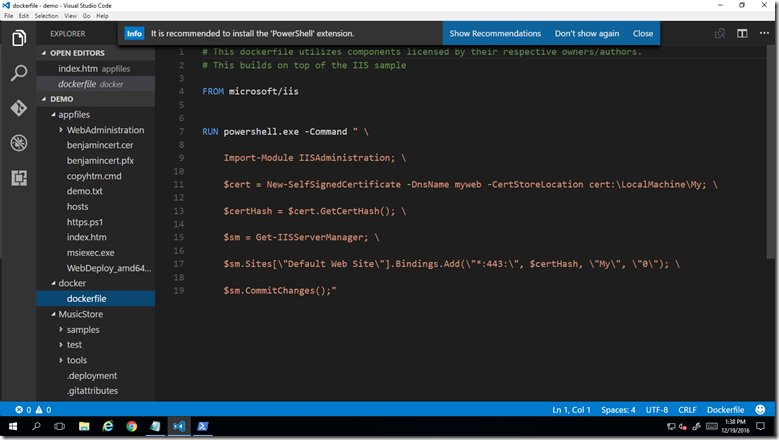
Option 2 – Use dockerfile published at github
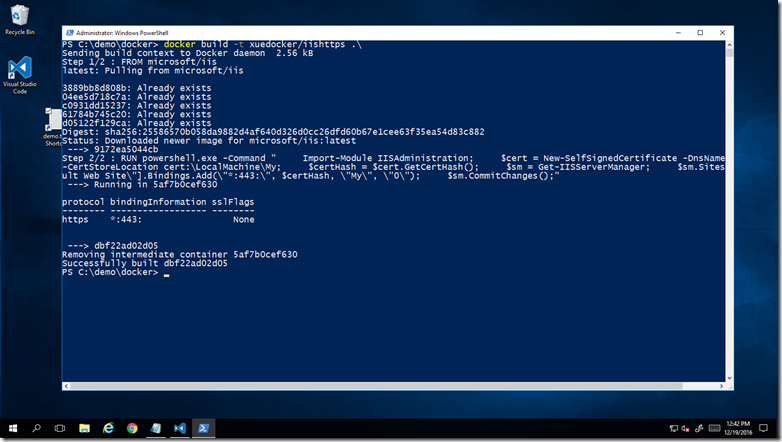
First, create a container using my own docker id named xuedocker.
docker build -t xuedocker/iishttps .\
docker images
docker run -it --entrypoint cmd -p 80:80 -p 443:443 -h myweb -v c:\demo\appfiles:c:\temp xuedocker/iishttps
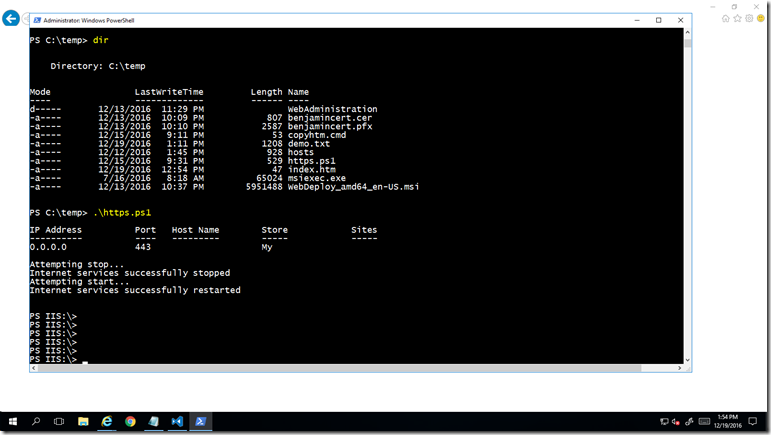
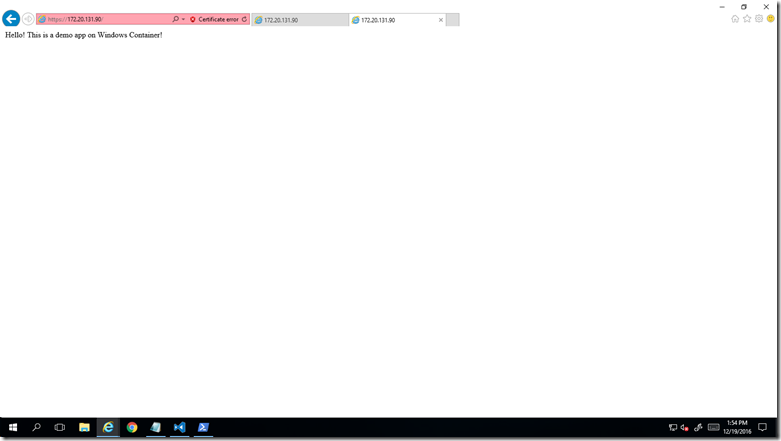
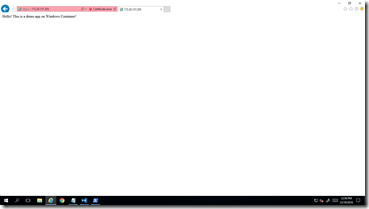
Then, copy a sample htm file from the mapped temp folder to c”\iputnet\wwwroot on the container. The sample app is accessible through http or https.
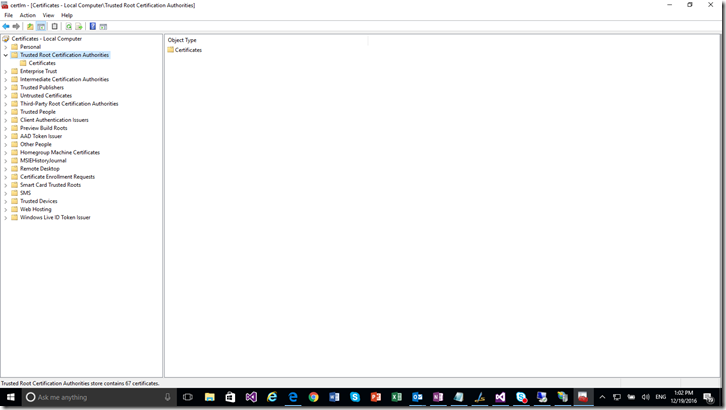
Note the security certificate warning. This is because the certificate is not present in your container’s trusted root certificate authorities. Because containers do not provide your regular Windows user interface, you won’t be able to check if the certificate is in the root certificate folder through certificate manager as shown below.
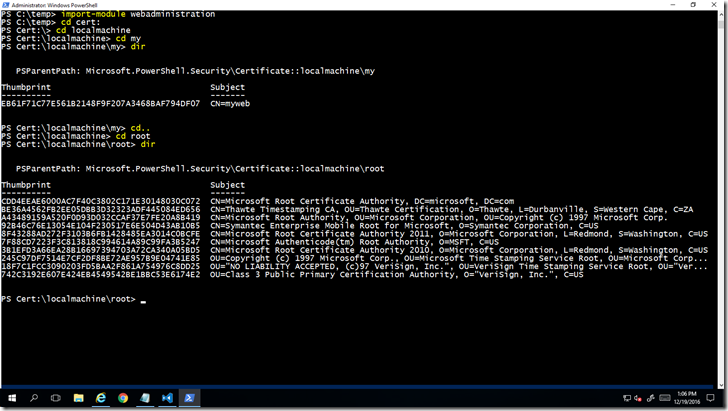
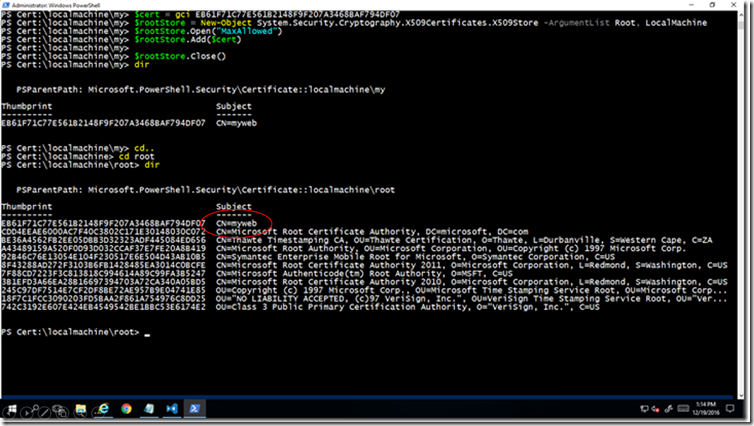
However, you can run PowerShell commands to verify its existence or absence.
import-module webadministration
cd cert:
cd localmachine
cd my
dir
cd..
cd root
dir
To add the self-signed certificate to the trusted root, use the PowerShell commands by referencing the certificate’s thumbprint
$cert = cert:\localmachine\my\gci EB61F71C77E561B2148F9F207A3468BAF794DF07
$rootStore = New-Object System.Security.Cryptography.X509Certificates.X509Store -ArgumentList Root, LocalMachine
$rootStore.Open("MaxAllowed")
$rootStore.Add($cert)
$rootStore.Close()
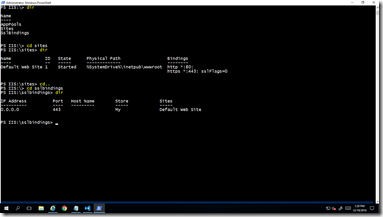
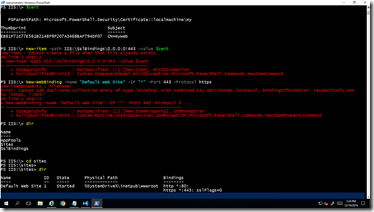
The certificate is now added to the trusted root. Note that the certificate was bound to port 443 already, executing commands below returns errors.
cd iis:
new-item -path IIS:\SslBindings\0.0.0.0!443 -value $cert
New-WebBinding -Name "Default Web Site" -IP "*" -Port 443 -Protocol https
iisreset
Option 3 – Use import-certificate and import-pfxcertificate methods
If you work with commercially available certificates, you can import certificates to the containers using import-certificate and import-pfxcertificate methods. I will provide more detail once I have tested this option.
Lastly, my colleague Patrick Lang, senor program manager on the Windows Container team, mentioned a couple other approaches related to SSL and containers.
SSL Load balancer. With this option, an SSL load balancer handles decryption of requests and encryption of responses on behalf of the web server or the container.
More info at https://www.nginx.com/resources/glossary/ssl-load-balancer/ and https://dzone.com/articles/load-balancing-containers-with-docker-swarm-and-ng
Secure storage in Docker v1.13. With this feature, a possible workflow would be something like this.
- Create certificates through whatever existing means you have
- Export as PKCS#7 or any other format that can be represented as ascii text
- Docker secret create … to store the certificate in the raft
- Create a script or EXE to run inside the container that:
- Finds the certificate passed in
- Imports it to the Windows certificate store
- Finishes configuring IIS or other services
More info at https://lostechies.com/gabrielschenker/2016/11/25/docker-and-swarmkit-part-6-new-features-of-v1-13/
