Publishing Web App to Azure Via Visual Studio...
My previous post " Publishing Websites from Visual Studio" explains how can we deploy our web apps to different sources. In this post I would like concentrate mainly on how to deploy a web app in to azure with out any extra scripting...
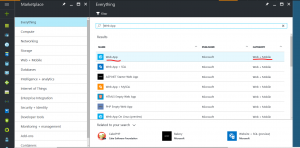
- Go to "portal.azure.com" and sign in with your credentials. Click on ADD and browse for web app, You can also find web app in web + mobile category.

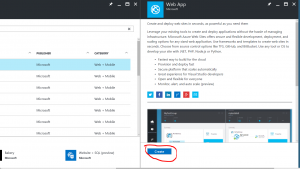
- After selecting web App you find the below screen then click on create

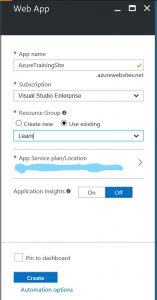
- After clicking on create there will new blade opening for filling the required credentials.

- App name is nothing but the URL what you want to choose for your app. You can choose the available resource group or you can create one to deploy your site. After creating your web app the home page will be looking similar to the below page.

- Open your code in visual studio, right click on the project from solution explorer and select publish. From publish select the target profile as "Microsoft Azure Web Apps" then new pop up window open for your login credentials to sign in. After the pop up signs in then select the web APP slot and click on OK.
- In the connection details if you select the web deploy then visual studio automatically downloads the publish settings for your account.
- Select the mode in settings,
- In Preview you can see all the files which are going to publish. Then click on Publish.
- Visual studio will publish the files in to the selected slot.
- You can browse the URL and you can find the home page is replaced with your app.
Thank you ...:)