Simple trix: Deploy Azure ML Workbench - trained model to Raspberry Pi
The new Azure Machine Learning tools got published last week at Ignite 2017. It was a a major upgrade, in fact I would say a revolution. You can train your models locally, with Spark, with containers, with GPU's , whatever suits your timetable and budget.
Then the deployment of models is totally separate action. An interesting feature of the runtime toolstack is heavy emphasis on containers. You can take trained models and deploy to Azure Container Services which will host your containers in professionally managed scalable environment or you can run locally on your own Docker or you can instance your containers from your Azure private register with Azure Container Instances or you can deploy your container on edge devices or ... you get the picture, the architecture is just great. A true "model once, run everywhere"-architecture.
But what if you want to do something less great ?
Like deploy your models to some very small computing environment where running docker containers would be an overkill or what if you wanted to deploy to such environment where containers just don't make any sense, like in most PaaS environments.
Luckily there's a way. If you look at the Iris-tutorial which defines a simple neural network for identifying flowers you'll quickly realise that the code to run the resulting network is not dependent on containers in any way. In fact the minimum needed code is downright simple if you choose to run your network directly without the boilerplate which makes the large-scale serving with container infrastructure possible.
So I decided to take a look at bringing a trained model to Raspberry Pi.
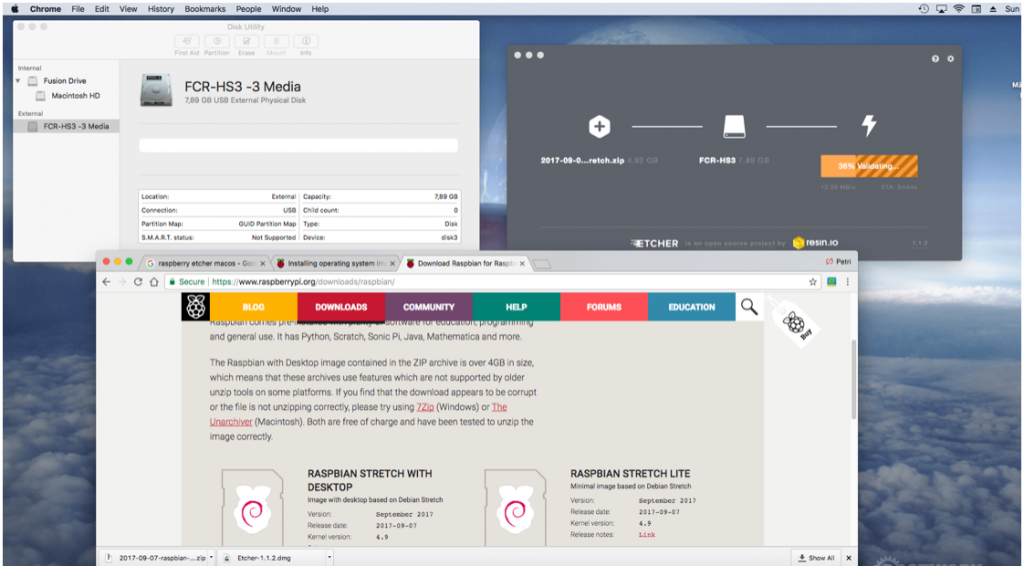
When I dug up and ran my old Raspberry 2 board I quickly noticed that the old "Wheezy"- image was a little rusty and left behind for modern python deployments. So I quickly installed Jessie onto my sd card using etcher.

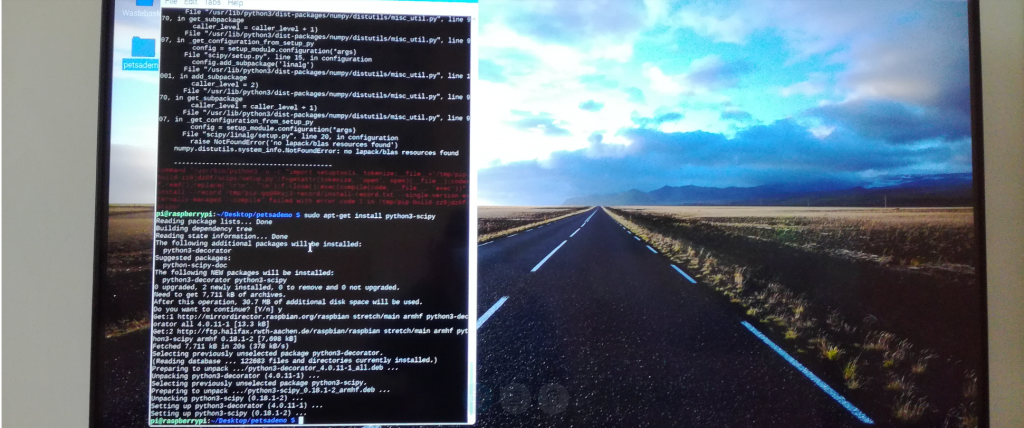
Next I had to get the needed scientific python libraries there as well and I first tried the usual way by using pip ... don't, it doesn't work that way, at least now in October 2017 it doesn't. I had to go:
sudo apt-get install python3-scipy and sudo apt-get install python3-sklearn
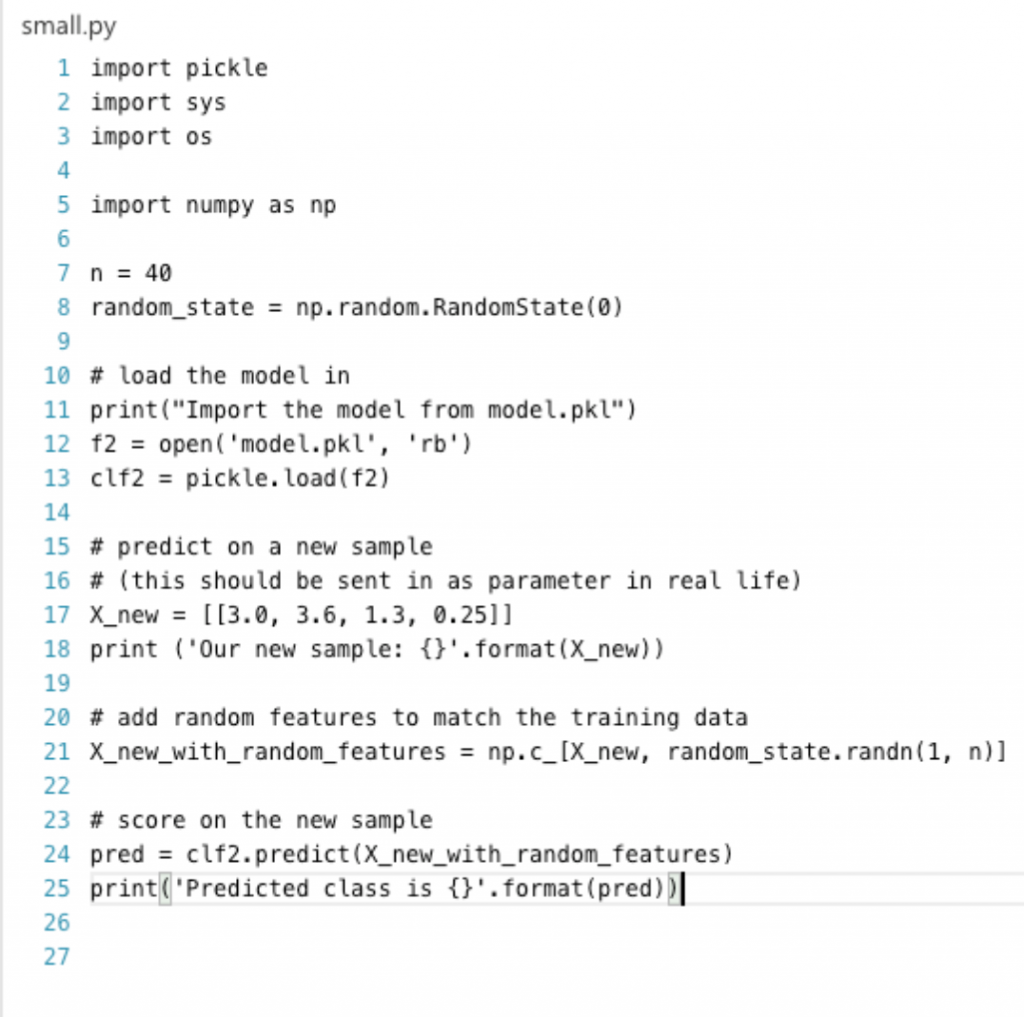
After that we were good to go. My little python program was basically a stripped down version of the sklearn.py found in the original Iris tutorial. I saved just the bits that load back the serialized model from disk and feed it a new line of data to be analysed.
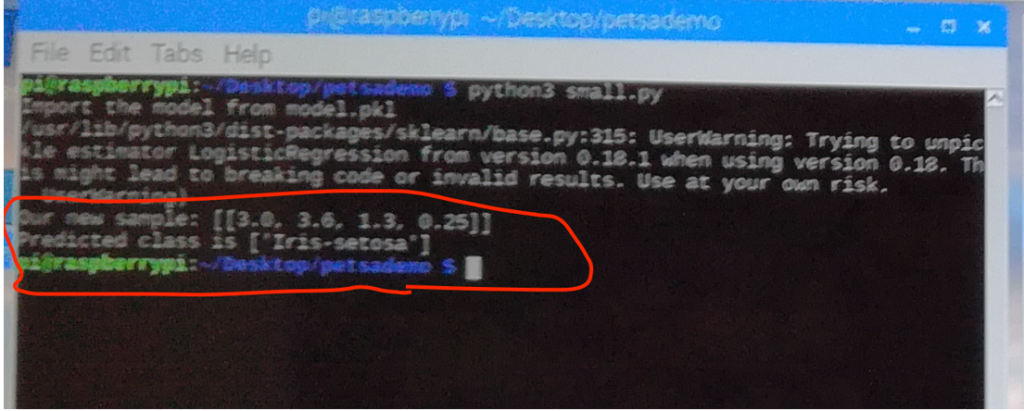
... and sure enough ... it worked ! 
So, there you have it. You can train your models with all the Spark awesomeness you can imagine but still when it comes down to it you can squeeze the models to almost any imaginable computing environment.
(I was thinking of trying android phone next)
enjoy.
Here are my onedrive shares for the two files (might require microsoft account login):
model file and the python file
oh btw, did you know that you can run these on a regular computer as well ? Just download and run "python small.py" and if you get complaints about the nonexistence of sklearn just install it the usual way "pip install sklearn" ...

