ZEN and The ART of ADFS Implementation–Part 4 of 5: SharePoint 2010 Integration
I have always configured the ADFS SharePoint 2010 integration referring to the Steve Peschka blogs and hence would recommend all to take a look at this one for a detailed explanation of all the steps.
To add a new relying party trust
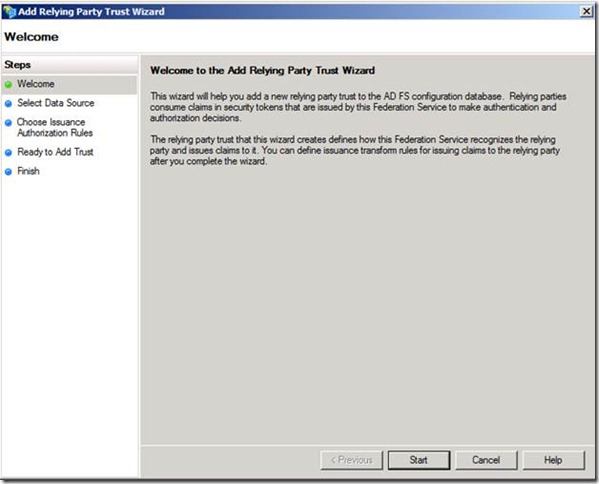
1. Click Start, point to Administrative Tools, and then click AD FS 2.0.
2. Under AD FS 2.0\Trust Relationships, right-click the Relying Party Trusts folder, and then click Add Relying Party Trust to open the Add Relying Party Trust Wizard.
3. On the Welcome page, click Start.
4. On the Select Data Source page, click Enter data about the relying party manually, and then click next.
Note
The Select Data Source page provides three options for entering the data about the relying party. If the relying party publishes its federation metadata or can provide a file copy of it for you to use, the automatic retrieval method is recommended. It can save time, and it allows you to skip most of the remaining steps in this procedure. The third option is to enter all the configuration data for the new relying party trust manually, as described in steps 5 through 9.
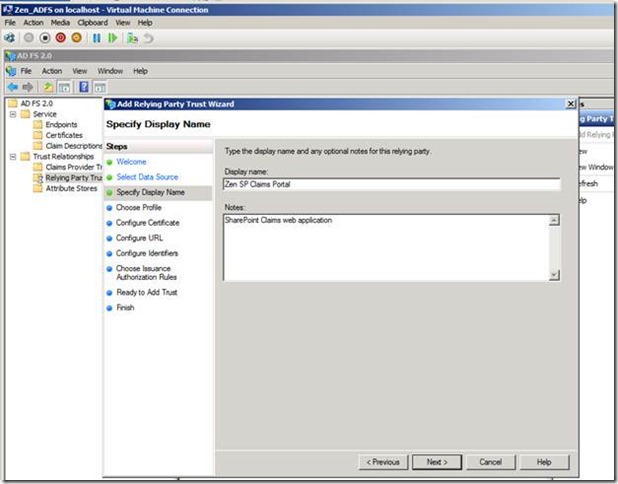
5. On the Specify Display Name page, type a name in Display name. Click Next after you enter the description details.
6. On the Choose Profile page, select the appropriate profile for your needs, and then click Next.
If you know you will require interoperability with federation servers running an earlier version of AD FS, such as provided in Windows Server 2003 R2, click AD FS 1.0 and 1.1 profile. Otherwise, click AD FS 2.0 profile.
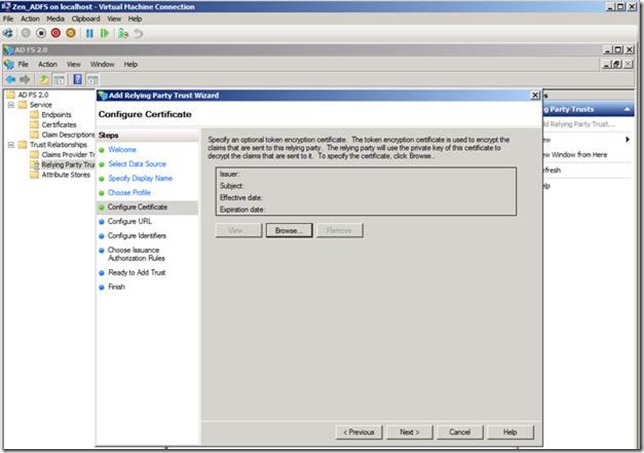
7. On the Configure Certificate page, click Browse to browse to and locate a certificate file and add it to the list of certificates, and then click Next.
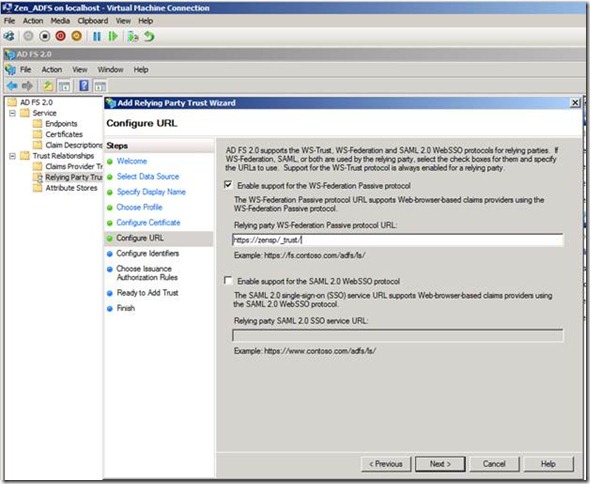
8. On the Configure URL page, select the appropriate check boxes and specify any corresponding URLs as appropriate for the WS-Federation Passive protocol-based or Security Assertion Markup Language (SAML) 2.0 WebSSO protocol-based endpoint, and then click Next.
9. On the Configure Identifiers page, you must specify at least one identifier for this relying party trust. Type the URI you want to use here, click Add to add it to the list, and then click Next.
Please note that the URN should be off the format URN: ZEN: ZENSP.
10. On the Choose Issuance Authorization Rules page, select whether you want to permit all users or restrict them, based on configuring authorization rules, and then click Next.
11. On the Ready to Add Trust page, review your settings. When you are ready to save your settings, click Next.
12. On the Finish page, click Close.
To create a rule to send LDAP attributes as claims
- Click Start, point to Programs, point to Administrative Tools, and then click AD FS 2.0 Management.
- In the console tree, under AD FS 2.0\Trust Relationships, click either Claims Provider Trusts or Relying Party Trusts, and then click a specific trust in the list where you want to create this rule.
- Right-click the selected trust and then click Edit Claim Rules.
- In the Edit Claim Rules dialog box, select one the following tabs, depending on the trust that you are editing and which rule set you want to create this rule in, and then click Add Rule to start the rule wizard that is associated with that rule set:
- Acceptance Transform Rules
- Issuance Transform Rules
- Issuance Authorization Rules
- Delegation Authorization Rules
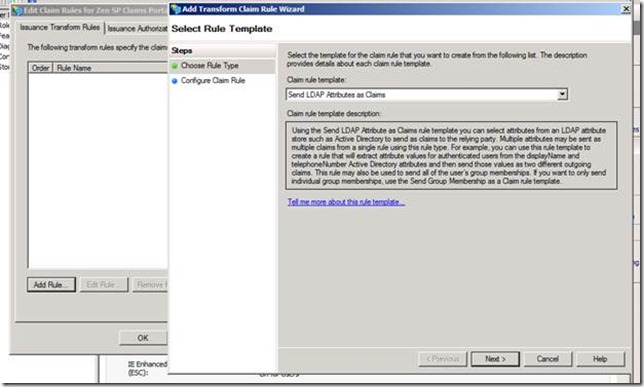
- On the Select Rule Template page, under Claim rule template, select Send LDAP Attributes as Claims from the list, and then click Next.
- On the Configure Rule page under Claim rule name type the display name for this rule, under Attribute store select Active Directory, and under Mapping of LDAP attributes to outgoing claim types select the desired LDAP Attribute and corresponding Outgoing Claim Type types from the drop-down lists.
You have to select a new LDAP attribute and outgoing claim type pair on a different row for each Active Directory attribute that you want to issue a claim for as part of this rule.
In this case I am going to use the email address (UPN) and Role as the Claim Type.
Click the Finish button.
In the Edit Claim Rules dialog box, click OK to save the rule.
Final output will look as shown in below screenshot.
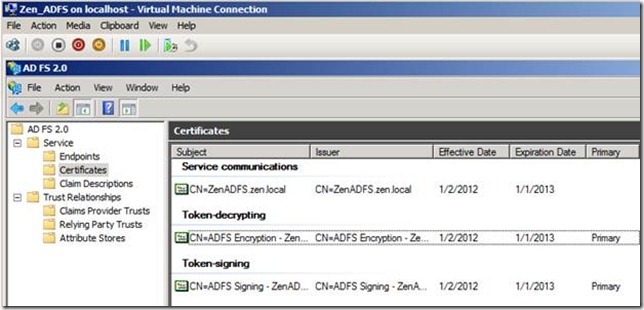
I am not an expert in certificates, but I would recommend having a look at this blog for a better understanding of the various ADFS Certificates and their roles.
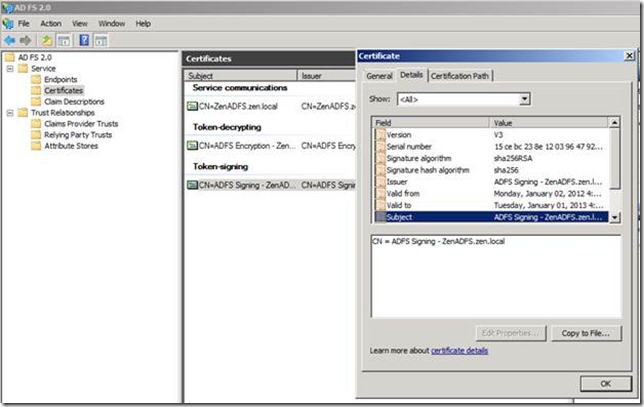
Only one thing I would like to call out from the above blog is that the Subject Name of the SSL certificate must match the names used in the ADFS configuration. For example, if you specify a federation server endpoint URL as https://zenadfs.local/adfs/ls/ - then the subject name on the SSL certificate for that server must be “ZENADFS.local”.
If this is an intranet only environment then you would only want to use the host name, then the endpoint URL would be https://zenadfs/adfs/ls/ and the Subject Name on the certificate should be “ZENADFS”
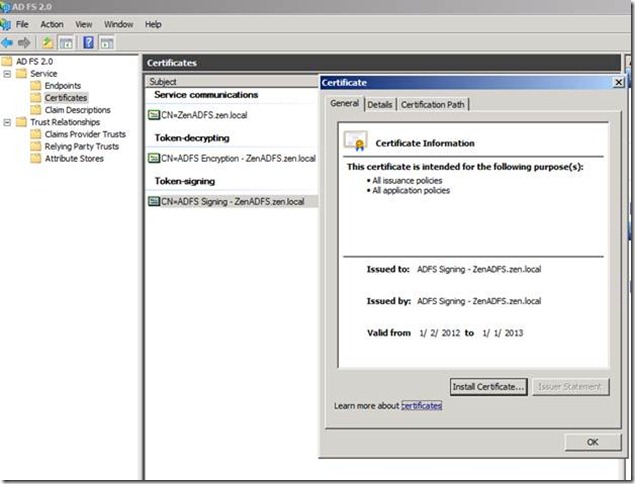
Verify that there are no errors on the certificate and it’s is part of the Trusted Root Authority store.
Same with Token decrypting and Token Signing.
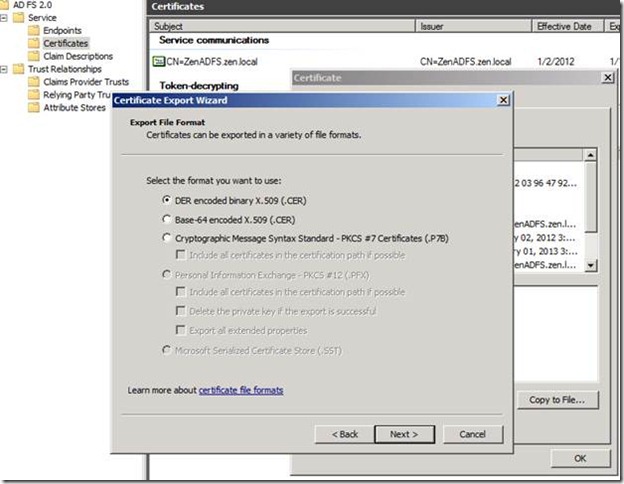
Next step, I would export the Token signing certificate from ADFS server and import it to the SharePoint server.
Once Export has completed copy it to the SharePoint 2010 server.
After importing the Token signing certificate and Its root certificate (IF any) to the Trusted Root Store of SharePoint 2010, we need to run the below command.
If you notice I have chosen both the Windows Authentication and ZEN ADFS provider as the auuthentication source. This will help me login via Windows and provide access to ADFS users. I have added permissions to test user Steve@zen.local, by adding his UPN.
Please note two things,
1) The user should have a valid UPN and should have the email address field filled with appropriate email address. I wasted an hour in troubleshooting without realizing that the email address field was empty for the user in AD.
2) While adding users to SharePoint it will resolve any UPN that you provide say even if you give stev@zen.local instead of Steve@zen.local, it will get resolved with outr giving any errors. This doesn’t mean that user exists or you have added the cortrect user. Hence you will need to double checfk the users while adding them.
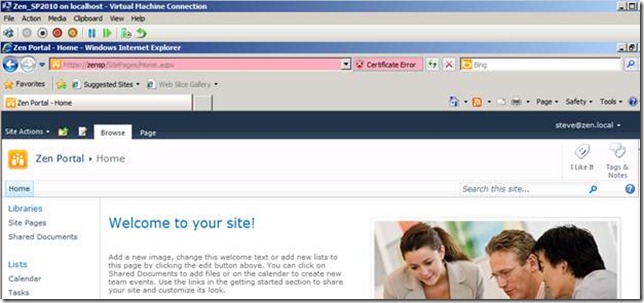
So far So good..!!!! Steve@Zen.local was able to successfully login to the SharePoint Site.
Stay tuned for the remaining part of the series !!
Happy Reading!
Cheers,
Sarath
Comments
- Anonymous
November 05, 2012
In the ADFS Claim Rules, it uses E-Mail-Address.
- If I remove E-Mail-Address from the ADFS Claim rules, and add email address for the user account information in Active Directory. It does not work.
- If I add E-Mail-Address in the ADFS Claim rules, and remove email address from the user account in AD, it does not work.
- Using E-Mail-Address in the ADFS Claim rules and the user has to have email address in user account information in AD, it works. May I use another rule for Sharepoint integrates CRM, because some user does not have email address.
- Anonymous
May 29, 2013
In a case like Josh, or all cases IMO, you should use UPN. That will always exist in AD and always be unique. Email address does not always exist, and is not always unique. Especially in test environments where multiple accounts might have the same email address. Another place UPN can help is when federating multiple domains and usernames might be the same. UPN takes care of that as well. A lot of ADFS blogs are using email address as the ID claim. Bad bad bad IMO.
