How to activate Yammer enterprise in your Office 365 Tenant ?
1. When should you activate Yammer?
If you use Yammer Basic, the free version of Yammer, you don't need to activate Yammer.
You need to activate Yammer if you paid for Yammer Enterprise which is available online with the following plans :
- Yammer Enterprise Standalone
- Office 365 Enterprise Plans
- Office 365 Midsize Business
- SharePoint Online + Yammer Enterprise Plans
- Office 365 Education Plans
For more details: https://about.yammer.com/success/activate/activation-guide/why-yammer/
2. Where do you activate Yammer?
As part of Yammer Enterprise, you receive access to your ownOffice 365 Admin Portal with a Global Admin account. Use this portal to configure your account and activate your Yammer Enterprise network.
3. What are Yammer activation prerequisites?
Yammer requires a company domain, such as contoso.com to activate the network. This means the default domain (contoso.onmicrosoft.com) you created with your Office 365 account can't be used to activate Yammer Enterprise. So, if you don't have a company domain, you can purchase one from a domain name registrar (for example GoDaddy.com, Gandi.net, etc.), or on the Domains page in O365 Admin portal.
If your enterprise domain is already created, you'll need to have access to your DNS hosting provider or domain registrar to confirm ownership of this domain.
For more details: Add a Company Domain
4. How to activate Yammer?
Create your enterprise domain (for this lab, I created imenbacha.com domain).
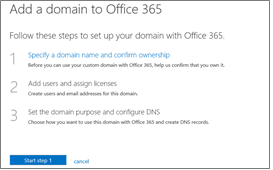
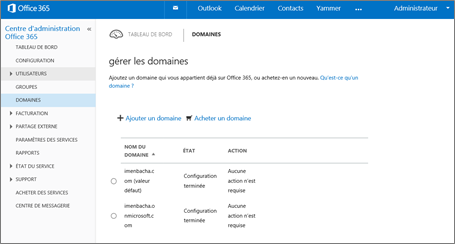
Log into your Office 365 Admin Center and go to Domains > Add a domain.
Add your domain
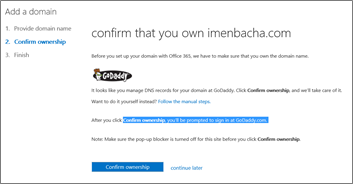
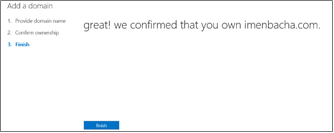
Confirm that you own the specified domain
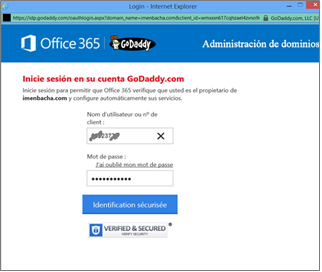
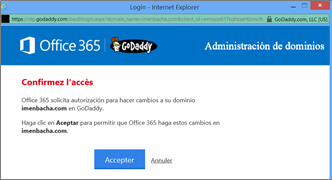
You are redirected to the site where you created your domain to confirm the ownership of this domain. You'll need to have access to your DNS hosting provider or domain registrar.
Once the ownership confirmed, you can add users immediately or later.
By default, Office 365 uses the user authentication service of Azure Active Directory to provide authentication to Office 365 services (such as Exchange Online, Lync Online, SharePoint Online, and so on). This means Office 365 uses the identity that is synchronized with Azure AD to provide authentication. This flexible model allows you to use one of the following three methods to manage your accounts:
Source : Plan for managing Office 365 user accounts using Azure Active Directory |
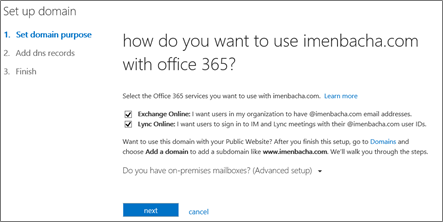
7. Define how you'll use your domain by selecting Yammer or a combination with other Office 365 services like Exchange Online or Lync Online.
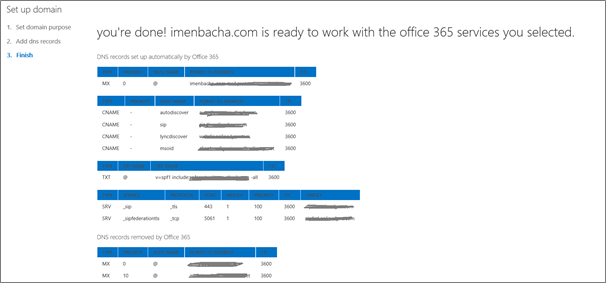
8. Set up DNS records for your enterprise domain at your DNS hosting provider
9. If this domain is your organization's primary domain, change your default Office 365 domain from onmicrosoft.com to the company domain you just added. Go to Admin > Office 365, click your organization name in the upper-right corner, and then choose Default domain.
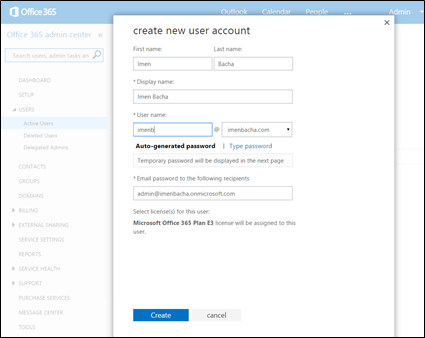
10. If you choose to manage user accounts in Office 365, you should create a new user in this newly configured domain (for example johndoe@imenbacha.com) and assign it "Global admin". He will automatically be Yammer administrator.
Note : Assign Global Admins : Office 365 Global Admin accounts assigned to *.onmicrosoft.com or with generic usernames will not be synchronized with Yammer. Generic usernames include: admin, noreply, help, support, workfeed, feedback, yammer, api, abuse, postmaster, hostmaster, root, new, create, index, show, destroy, delete, and update.
Source : https://about.yammer.com/success/activate/activation-guide/why-yammer/ |
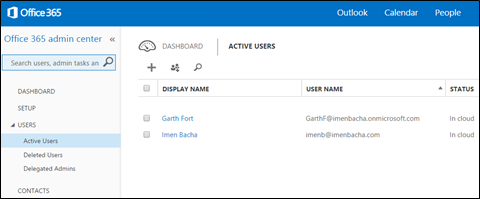
Create a new user in the new domain:
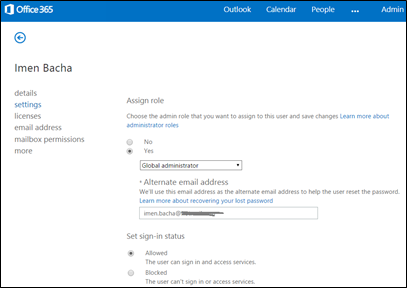
11. Assign "Global Admin" role to this user. He will automatically be Yammer Admin. To do this Click on the user > Settings
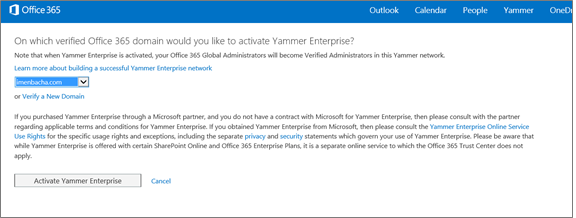
12. Now you are ready to activate Yammer in O365 Admin center!
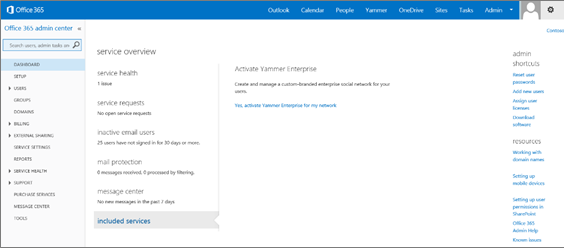
To do this: Office 365 Admin Site > Dashboard > Included Services > Yes, activate Yammer Enterprise for my network
You can now see Yammer Admin Link:
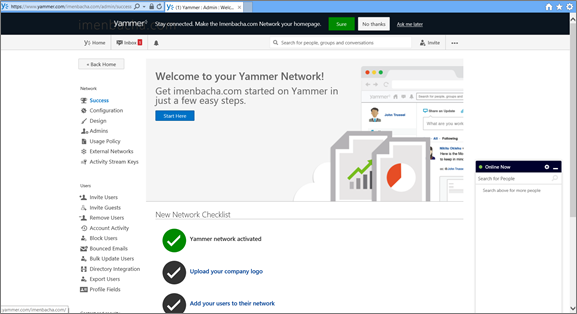
13. Click on this Yammer Admin Link, you will be redirected to https://www.yammer.com/yourDomain/admin
Note: Your account is Global Admin in O365 Admin center, so it will automatically be Yammer Admin. However you should explicitly create your Yammer profile.
14. Click on: Don't have an account? Sign Up
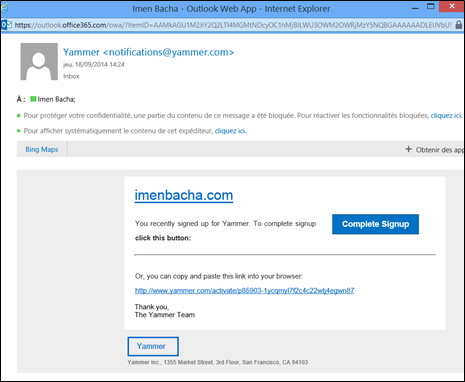
15. When you signup, you will receive an email in order to complete registration. Click on "Complete Signup":
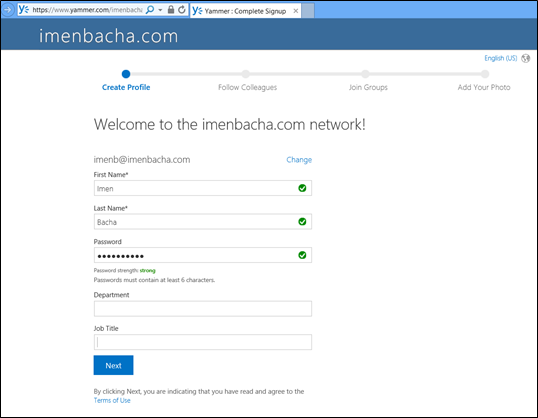
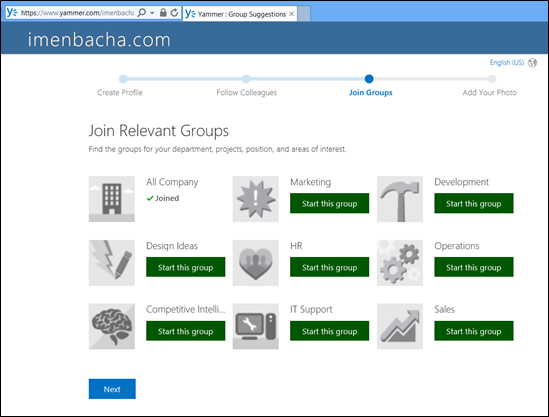
16. Complete the creation of your Yammer profile
17. And you're done!
18. You are in "Global Admin" role in Office 365 admin site, so you are automatically a Yammer Administrator.
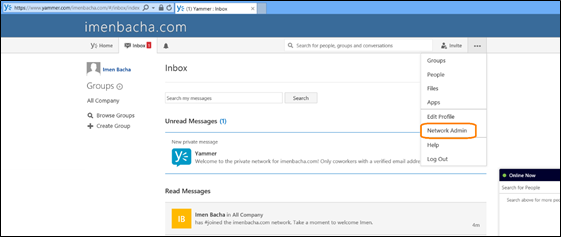
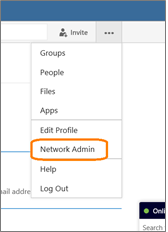
To access Yammer's administration menu, click on "Network Admin"
19. Now you can use your enterprise social network.
Thanks to Hélène Lemontvert & Dominique VIVES for having reviewed my post.
Imen Bacha
Version : Microsoft Office 365 Plan E3
Date : 25/09/2014
Comments
- Anonymous
February 18, 2015
Thanks, I was having trouble finding "Dashboard > Included Services > Yes, activate Yammer Enterprise for my network" again, but I knew I saw it at some point. I actually do NOT want to activate Yammer in my EDU. I would like to unlicense Yammer as well so that my accounts are not having OverallProvisioningStatus set to PendingInput rather than Success (I previously looked at this attribute to find accounts which did not have an Exchange mailbox provisioned correctly). I have been unable to unassign the yammer license no matter what I try (even when powershell doesn't error out when trying to disable plan YAMMER_EDU within the license on an account). I do not like how Microsoft forces the sublicense to be enabled.


