Computer Vision - Analyze (Get Meta Data of Image)
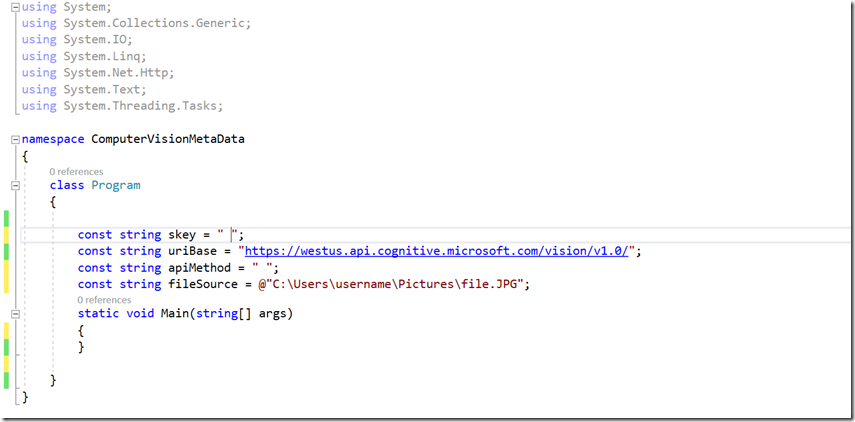
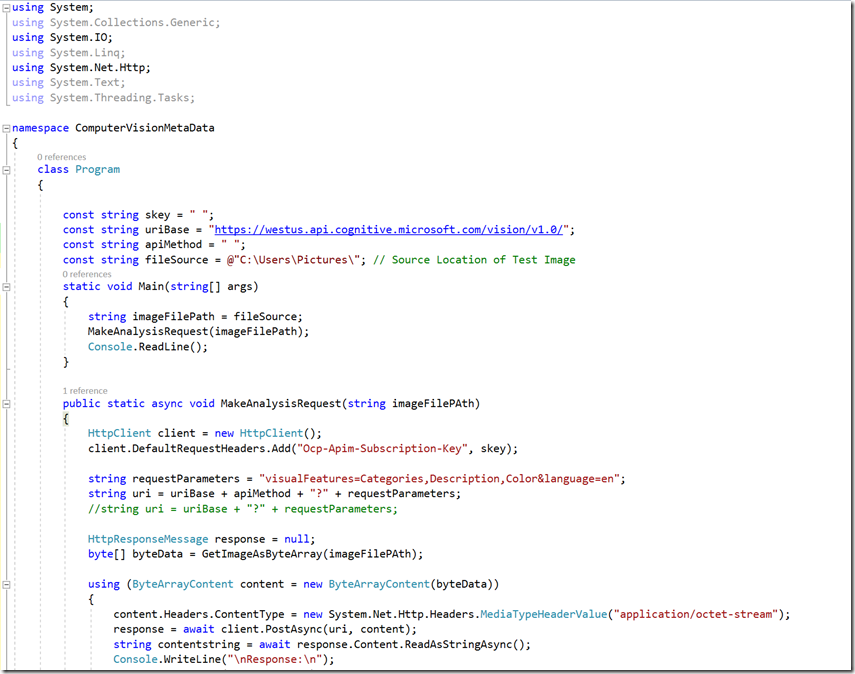
The first project we will compose, will be built off the Starter Project we created in Setting up the Project post. This Base project should look like the following.
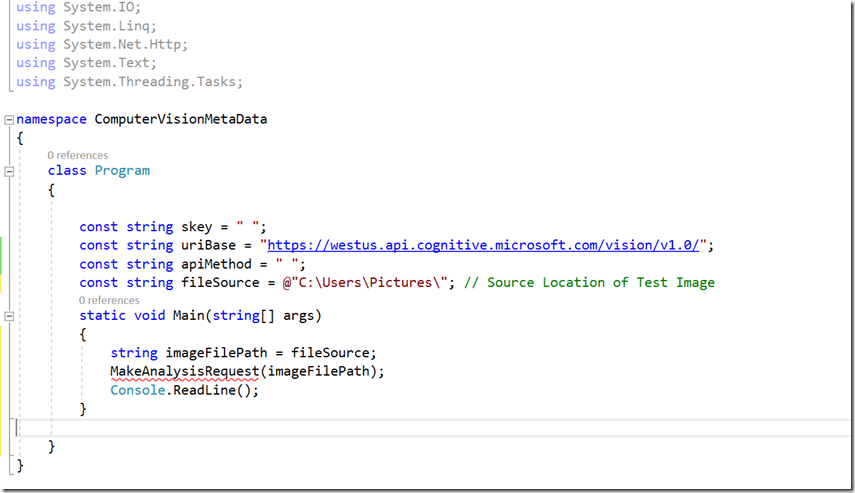
Now lets add the following inbetween the 2 braces within the “static void Main(string[] args) section
string imageFilePath = fileSource;
MakeAnalysisRequest(imageFilePath);
Console.ReadLine();
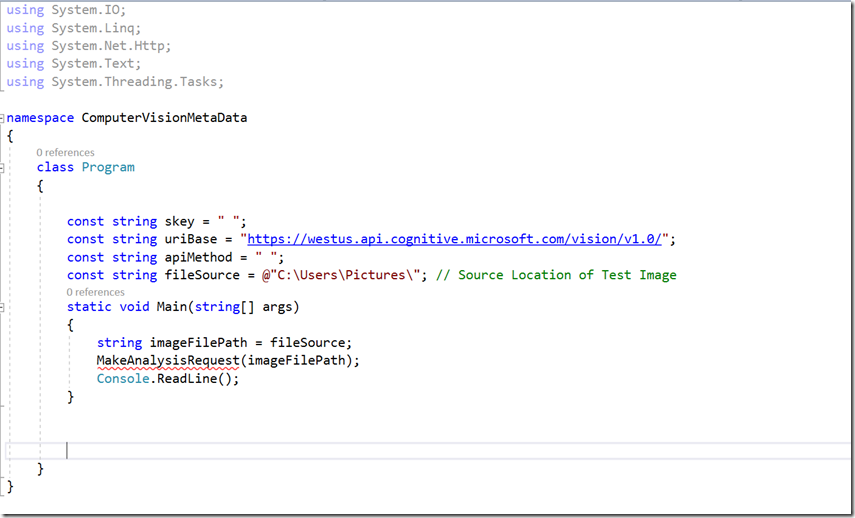
Your code should now look like the this
At this point you should see some red squiggly lines under MakeAnalysisRequest, this is normal behavior as we have not defined what this is.
Now just after the block of code we just added give your self some space one or two lines
In this space add this next block of code.
public static async void MakeAnalysisRequest(string imageFilePAth)
{
HttpClient client = new HttpClient();
client.DefaultRequestHeaders.Add("Ocp-Apim-Subscription-Key", skey);string requestParameters = "visualFeatures=Categories,Description,Color&language=en";
string uri = uriBase + apiMethod + "?" + requestParameters;
//string uri = uriBase + "?" + requestParameters;HttpResponseMessage response = null;
byte[] byteData = GetImageAsByteArray(imageFilePAth);using (ByteArrayContent content = new ByteArrayContent(byteData))
{
content.Headers.ContentType = new System.Net.Http.Headers.MediaTypeHeaderValue("application/octet-stream");
response = await client.PostAsync(uri, content);
string contentstring = await response.Content.ReadAsStringAsync();
Console.WriteLine("\nResponse:\n");
Console.WriteLine(contentstring);
//Console.WriteLine(contentstring);
//Console.WriteLine(JsonPrettyPrint(contentstring));}
}
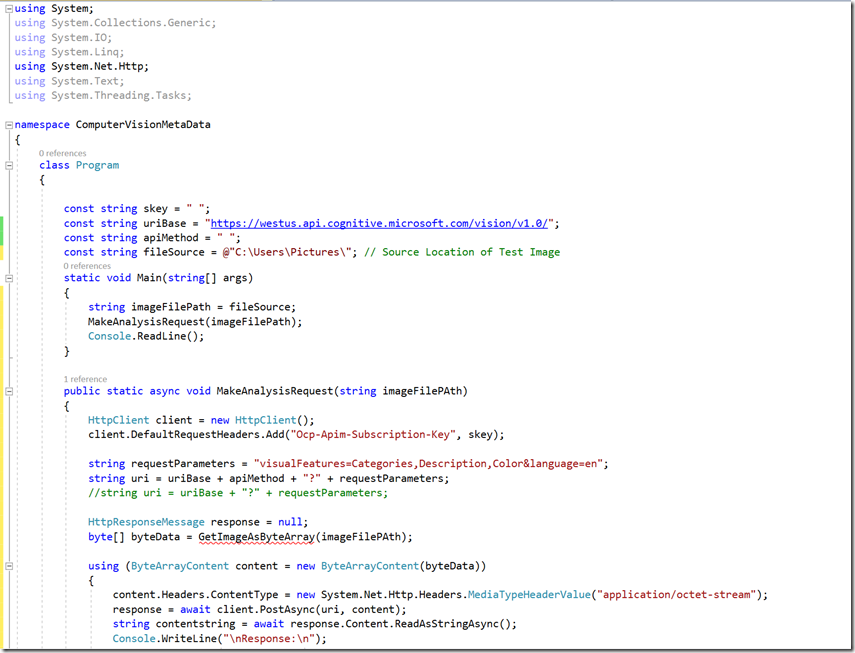
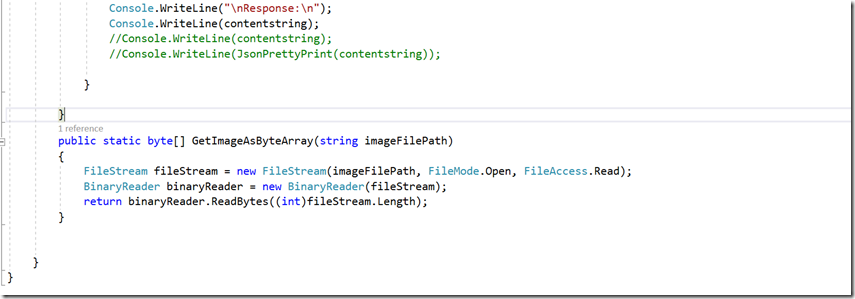
Your program should now look like the following 2 images together.
Now you should notice that the “MakeAnalysisRequest” is no longer marked with a red squiggly line. But within the new section you just added you will see a new red squiggly line, which is under GetImageAsByteArray
Under that last block of code you just added, give your self some space and insert the following block of code.
public static byte[] GetImageAsByteArray(string imageFilePath)
{
FileStream fileStream = new FileStream(imageFilePath, FileMode.Open, FileAccess.Read);
BinaryReader binaryReader = new BinaryReader(fileStream);
return binaryReader.ReadBytes((int)fileStream.Length);
}
The red squiggly line should now be gone and the code should look like this.
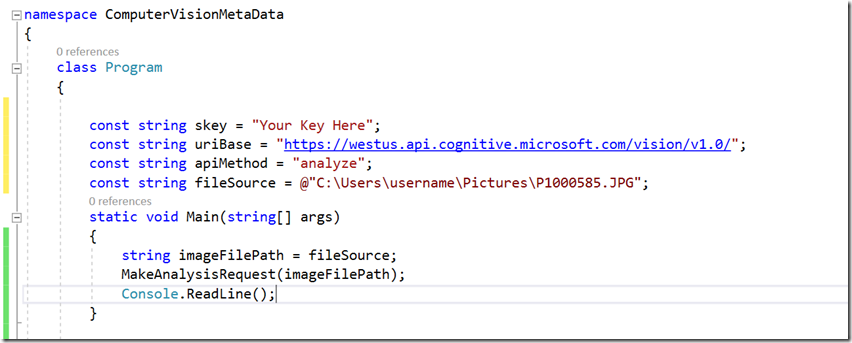
Click “Build Solution” and verify there are no issues, but WAIT your not done just yet, Open up your Azure Portal and Get your Vision API Key and paste it in between the quotes of the skey in the Variable. Verify that the Endpoint matches the Endpoint for your Vision API, if it doesn't replace the uriBase variable we predefined earlier with the Endpoint that you have. Now for the apiMethod in between the quotes type “analyze”. for your fileSource leave the @ symbol and add the full path and name of an image you would like to submit to the Cognitive Services Vision API.
this block of code should look something like this
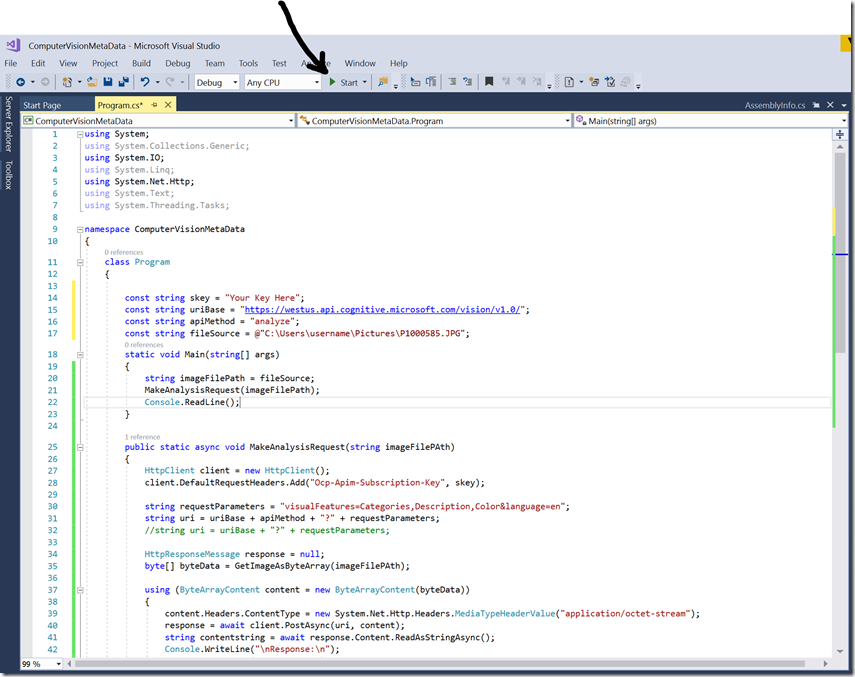
ok now click on Build again and verify there are no errors. When your ready to test click on the Green Start Arrow
In a moment you should see a console window pop up, this process may take a second, so if its blank like this, do not close this window.
After a moment or 2 you should get some metadata back about the image you submitted,
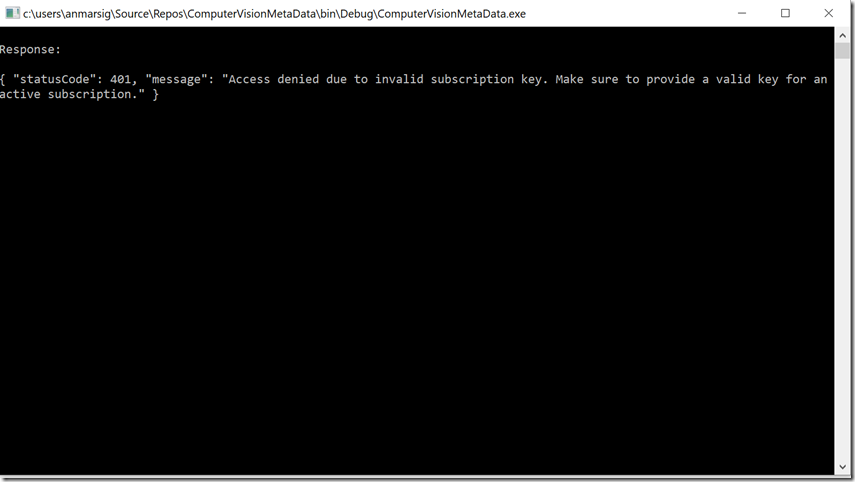
but if you get this message than you need to check and re enter your subscription key
 after you fix the subscription key lets click on start again
